Halloween Pumpkin Carving Contest · Starts October 1st · $500 in prizes
← Back to ideas
@ai_concepts
Jul 16, 2026
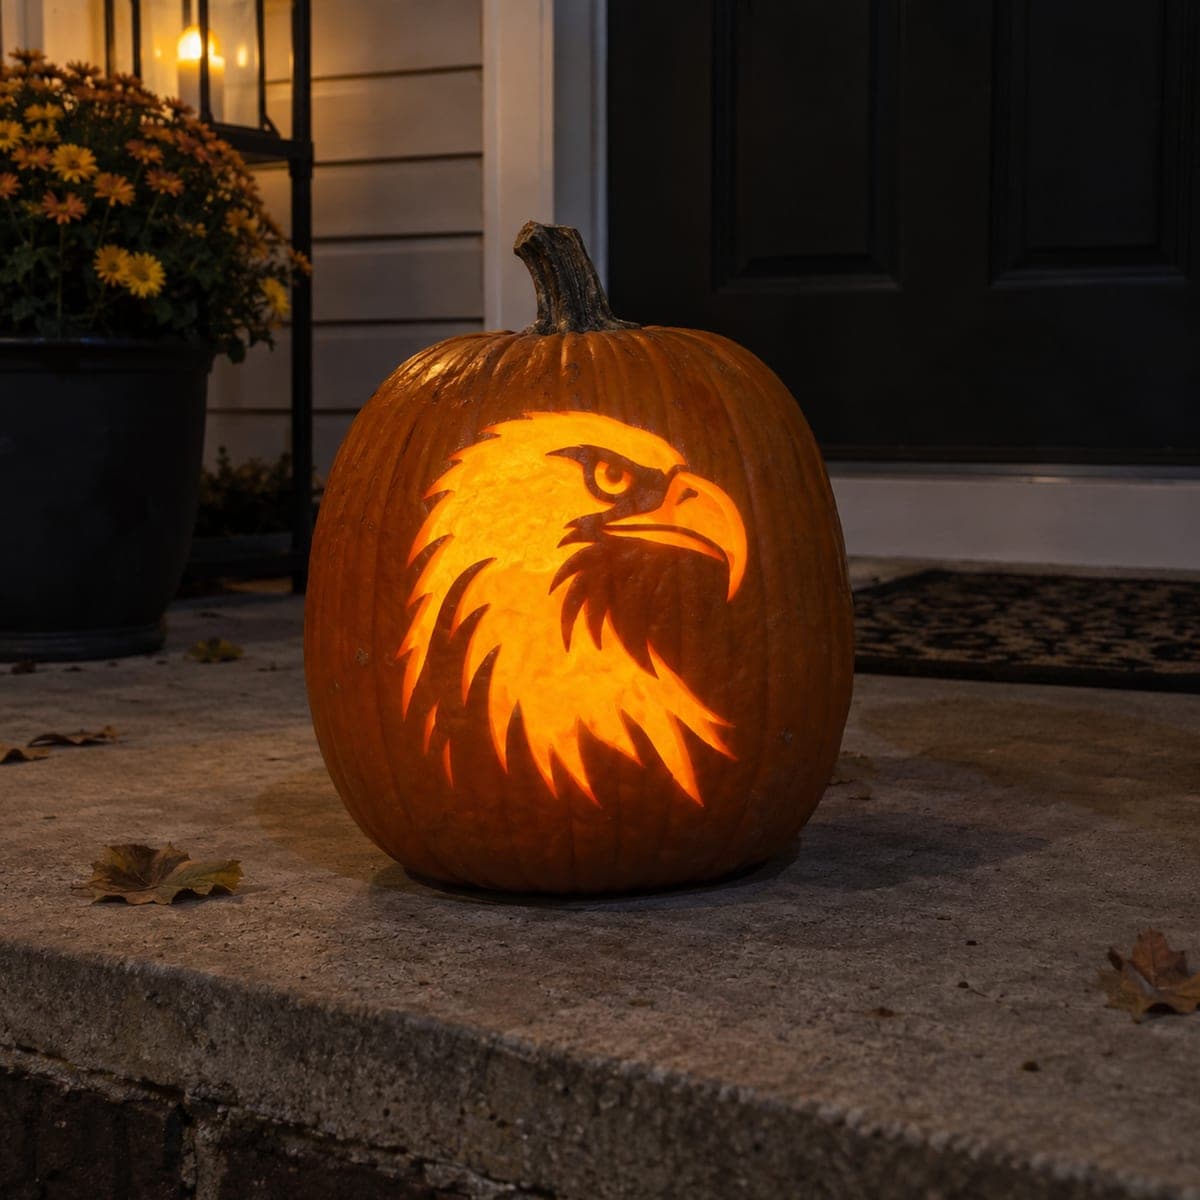
Patriotic Bald Eagle Painted Pumpkin IdeaAI
0

Patriotic Bald Eagle Painted Pumpkin Idea

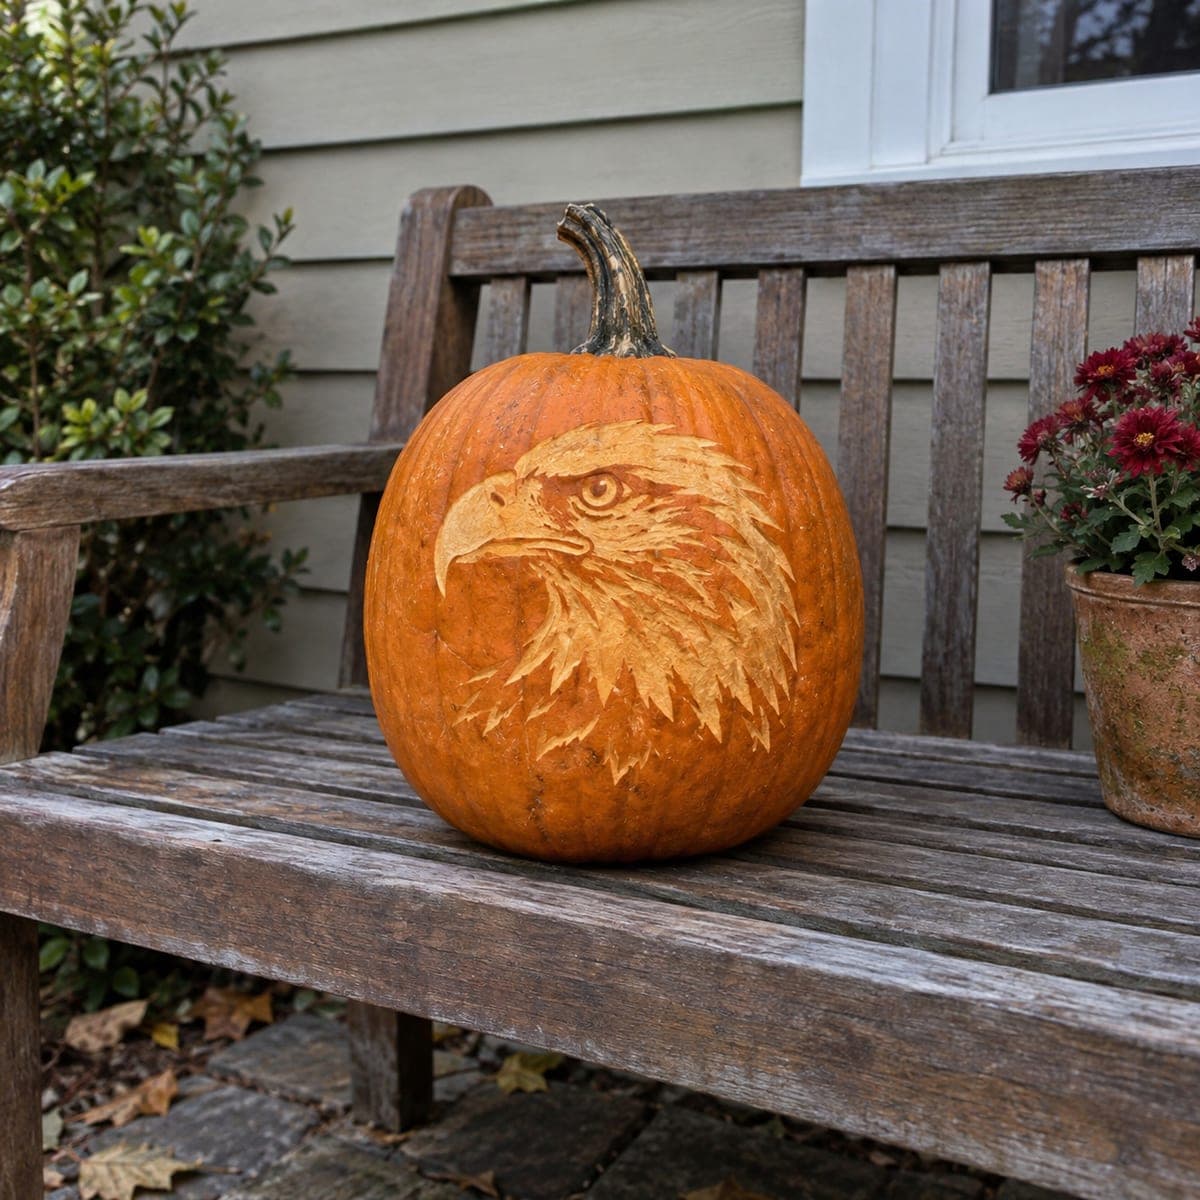
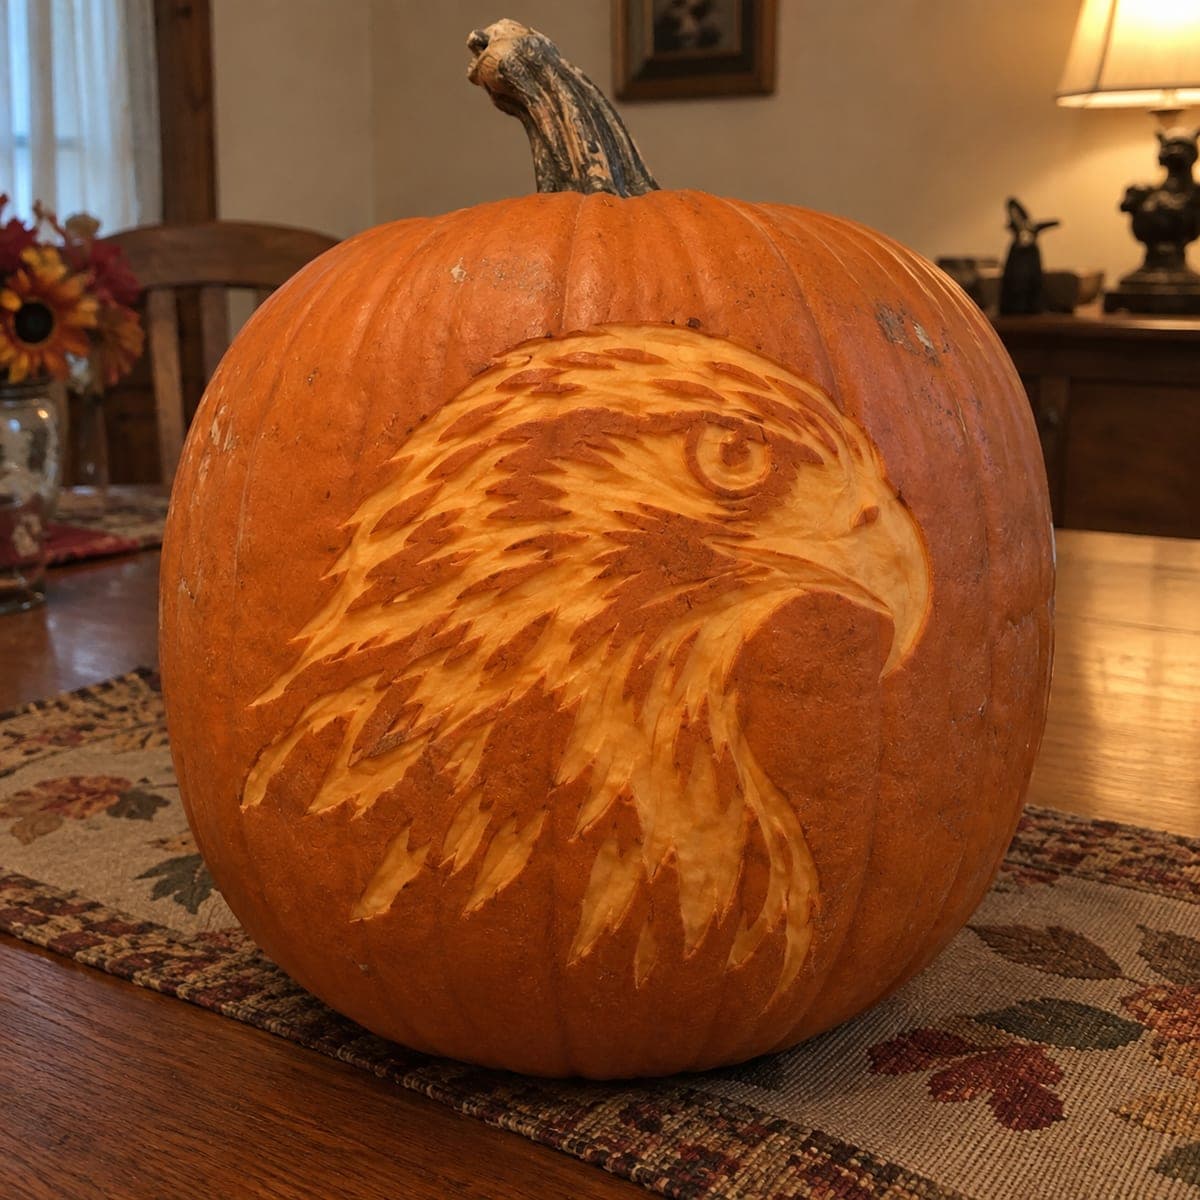
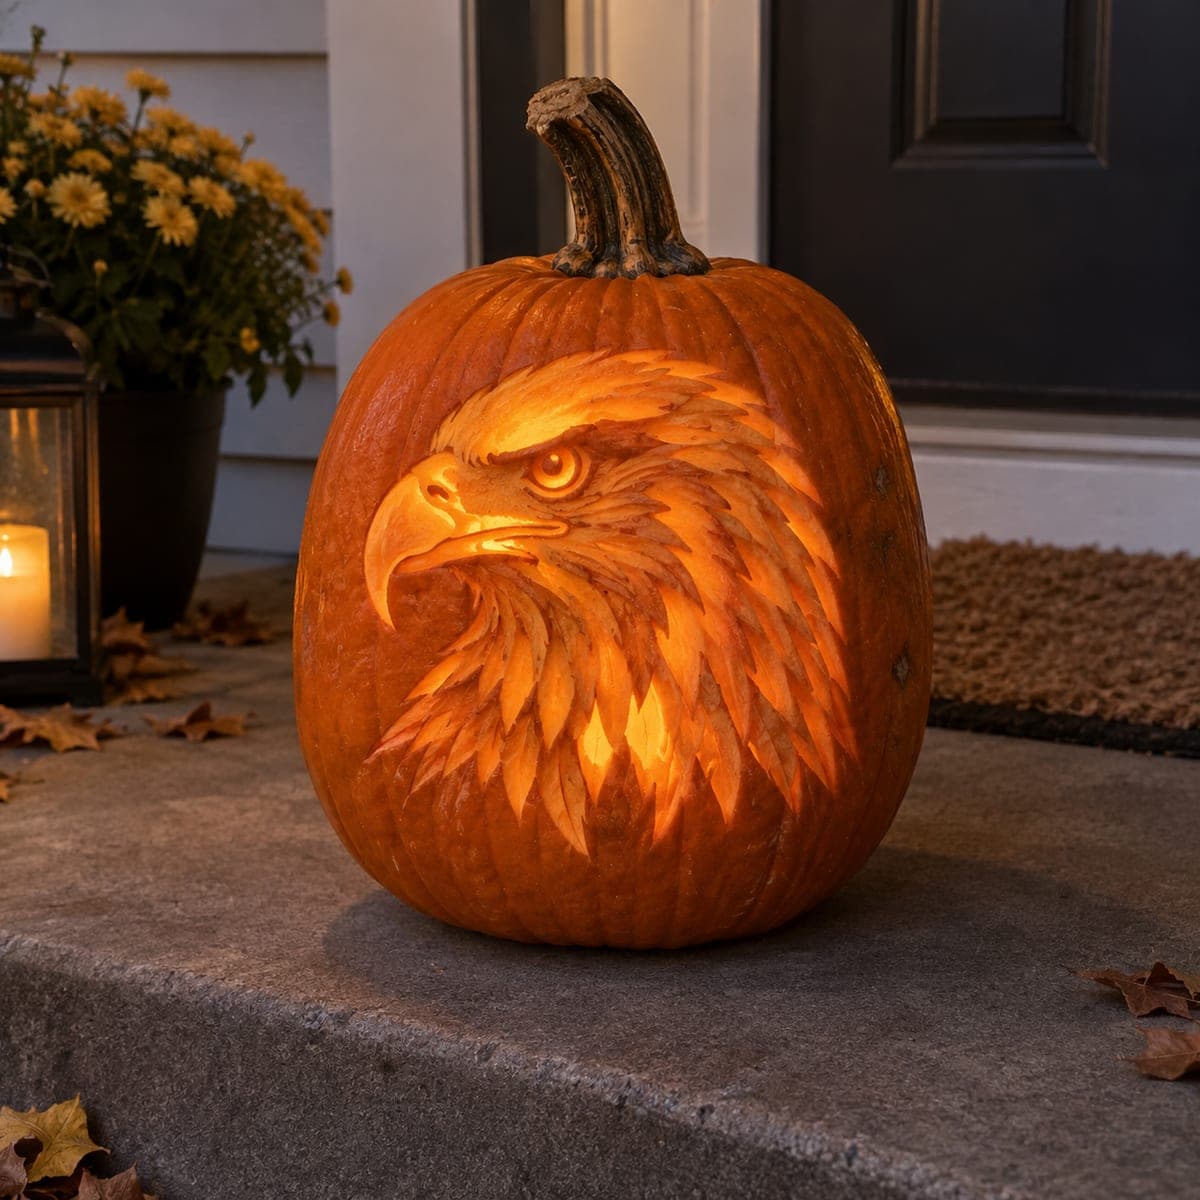
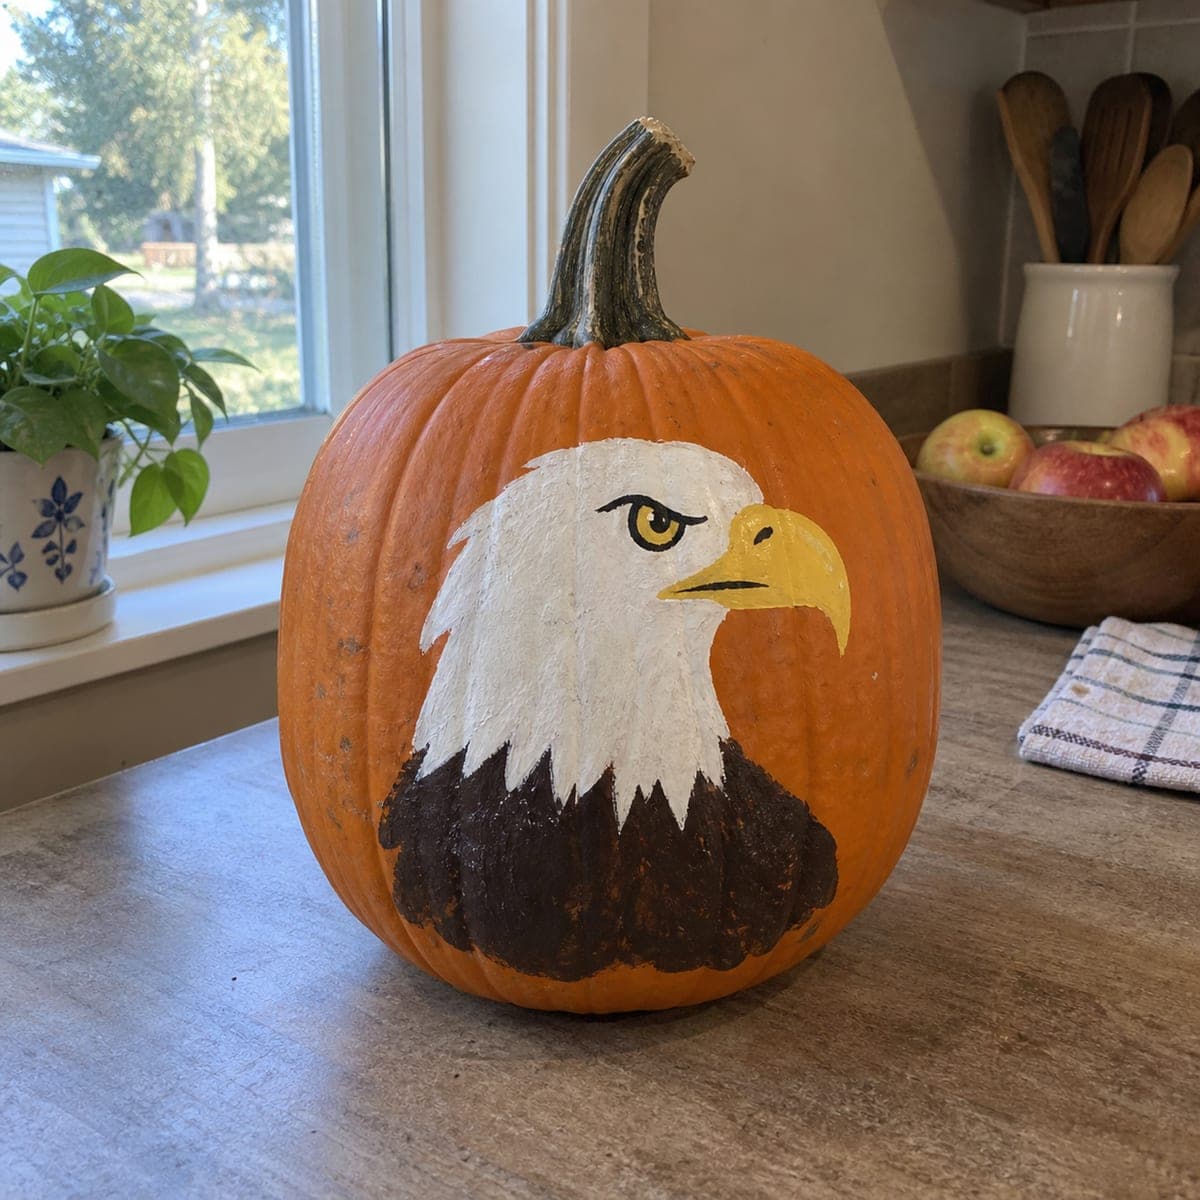
A proud bald eagle head with a fierce yellow beak and white feathered crown is hand painted on this no-carve pumpkin. Painted pumpkins like this last far longer than carved ones, so it can decorate a kitchen counter or entry from early October on. Sketch the profile in pencil, paint the white head in two coats for coverage, then add the brown chest with a dry-brush for feather texture.

This is an AI-generated concept image: a realistic, carvable design idea rather than a photo of a finished carve. AI concepts are always labeled and sit out the leaderboard and the contest.

No ratings yet · Sign in to rate
Comments (0)

  • No comments yet — be the first.

Save without an account. Sign in to like or comment.

Our tips for carving a similar design

The core trick here is a clean pencil profile that separates the white feathered head, the yellow hooked beak, and the dark brown chest before any paint touches the pumpkin. This is a no-carve design, so the whole plan is layered acrylic paint with a dry-brush for feather texture. Since this is an AI concept image, treat it as a template for a design you could paint yourself on a smooth, tall pumpkin.

Written by PumpkinCarvingIdeas.com, inspired by the image above. These are our suggestions, not instructions from the uploader. This approach to the AI concept has not been tested on a real pumpkin.

From pumpkin to porch

  1. Pick and prep the pumpkin

    Choose a tall, smooth pumpkin with one broad, flat-facing side for the eagle profile. Wipe it clean with a damp cloth and let it dry fully so paint grips well. A pale, unblemished area works best as your canvas. Keep the natural orange around the design as the background.

  2. Sketch the profile in pencil

    Lightly draw the eagle head in profile, facing right, with the eye placed high and the beak reaching toward the shoulder. Block in three zones: the rounded white crown and face, the yellow hooked beak, and the brown chest that flares down and out. Keep the beak curve simple with a clear hook at the tip. Pencil lines are easy to erase or paint over, so take your time getting the proportions right.

  3. Paint the white head first

    Fill the head and neck area with white acrylic in two thin coats, letting the first dry before the second for solid coverage. Feather the bottom edge of the white into soft points where it meets the chest instead of a hard line. Leave a small gap for the eye and the beak so those colors stay crisp. Two light coats beat one thick coat, which can crack or run.

  4. Add the beak, eye, and details

    Paint the hooked beak yellow, then deepen the tip and the mouth line with a touch of darker gold or brown. Add the round yellow eye, then outline it and the brow with a fine black liner brush for that fierce look. A steady hand and a thin brush make these small features read clearly. Let each color dry before adding the next so they do not bleed.

  5. Dry-brush the brown chest

    Load a little dark brown on a nearly dry brush and drag short upward strokes to build the chest feathers. Work from the bottom up so the feathers overlap naturally and some orange peeks through for texture. Blend the top of the brown into the white points of the neck. This broken, streaky coverage looks more like feathers than a flat fill.

  6. Seal and stage it

    Once everything is bone dry, brush on a clear matte or satin acrylic sealer to protect the paint from smudges and moisture. Set the pumpkin on a counter or entry table where the profile faces the room. Because it is painted and not cut, it can stay out from early October with no rotting. Snap your photo in soft daylight to show off the feather texture.

Gather your supplies

Check things off as you get ready.

Work on a stable surface, keep your free hand out of the cutting path, and have an adult handle sharp tools.

Three levels of light

  • Leave intact

    The natural orange background and the peeking flecks between brown feather strokes stay untouched.

  • Peel & shade

    This is a no-carve design, so there is no peeled glow, but the dry-brushed brown chest gives a similar broken, textured look.

  • Cut through

    Nothing is cut through; if you want a lit version, you could add a small LED tealight inside a lightly hollowed pumpkin behind an unpainted zone.

Learn the carving basics

Before you start cutting

Do I need to carve anything for this design?

No, this is a fully painted, no-carve pumpkin. All the detail comes from layered acrylic paint, so you skip the knife entirely. That also means it lasts far longer than a carved jack-o-lantern.

How do I get smooth white coverage over orange?

Use two or three thin coats of white acrylic rather than one heavy layer, letting each dry first. The orange is dark, so it takes a couple of passes to fully cover. A little white primer or gesso underneath helps if you want extra brightness.

How do I make the chest look like feathers?

Dip a nearly dry brush in dark brown and drag short, overlapping upward strokes. Let bits of orange or the layer below show through instead of filling solid. This broken texture reads as feathers far better than a flat brown patch.

Your take belongs here, too.

Changed a detail? Made it simpler? Share a photo of your version and tell the community what worked.

Share your pumpkin

More pumpkins like this

You've reached the end · 8 pumpkins
The Patch Report

Fresh pumpkins, in your inbox.

The best new carvings, ideas worth stealing, and how-tos for carving season. Short, seasonal, and gone by November.

A short email during carving season. Unsubscribe anytime. See our privacy policy.