Halloween Pumpkin Carving Contest · Starts October 1st · $500 in prizes
← Back to ideas
@ai_concepts
Sep 1, 2026
Staring Ostrich Head Sculpted PumpkinAI
0

Staring Ostrich Head Sculpted Pumpkin

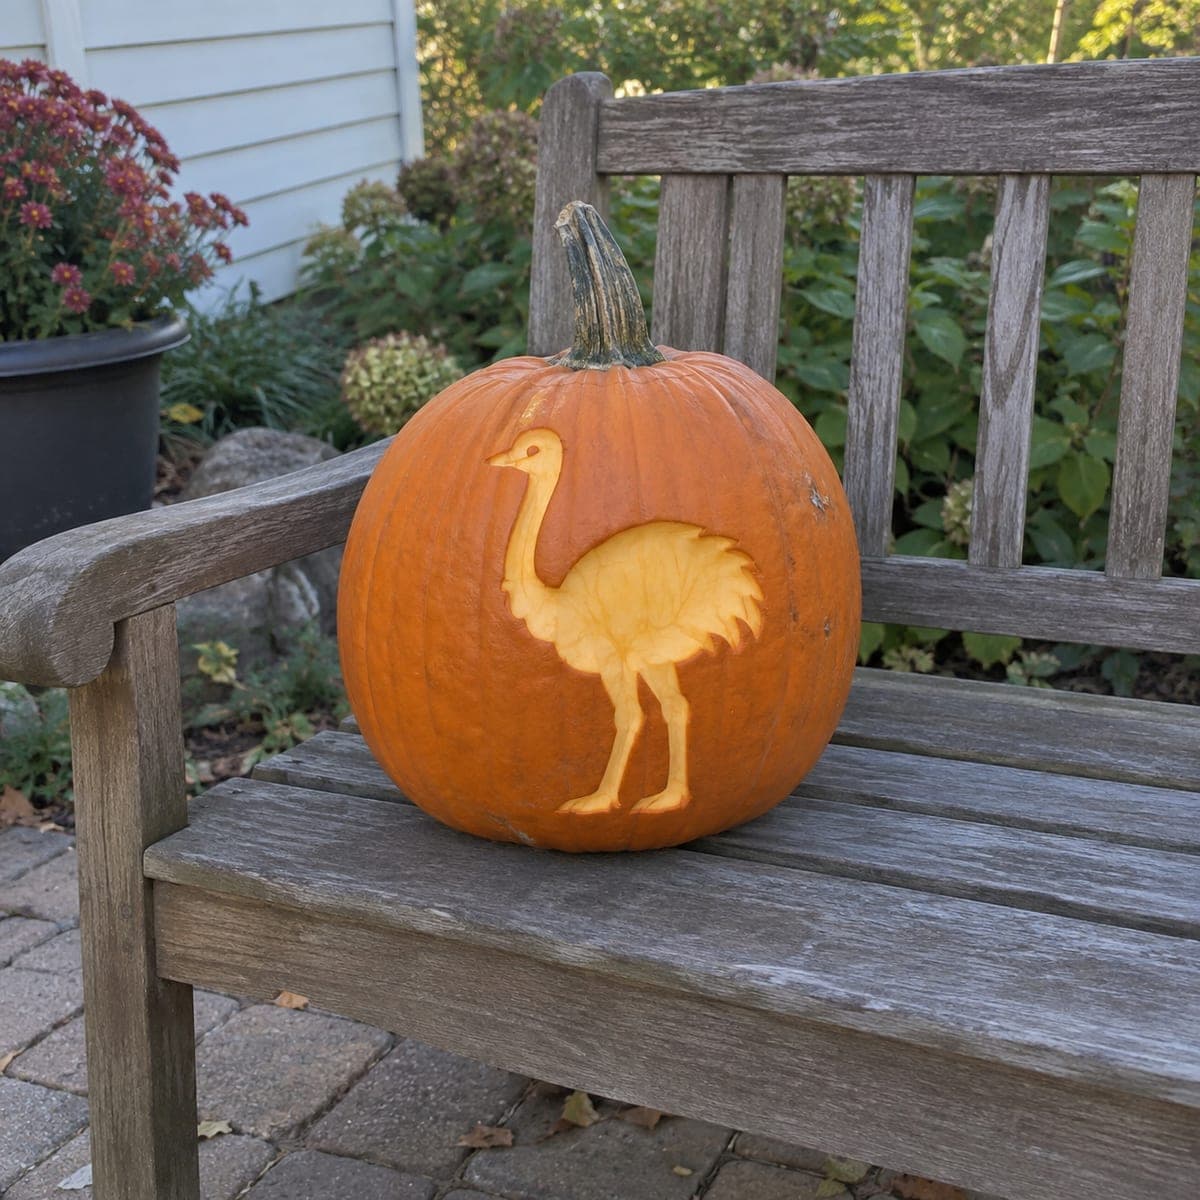
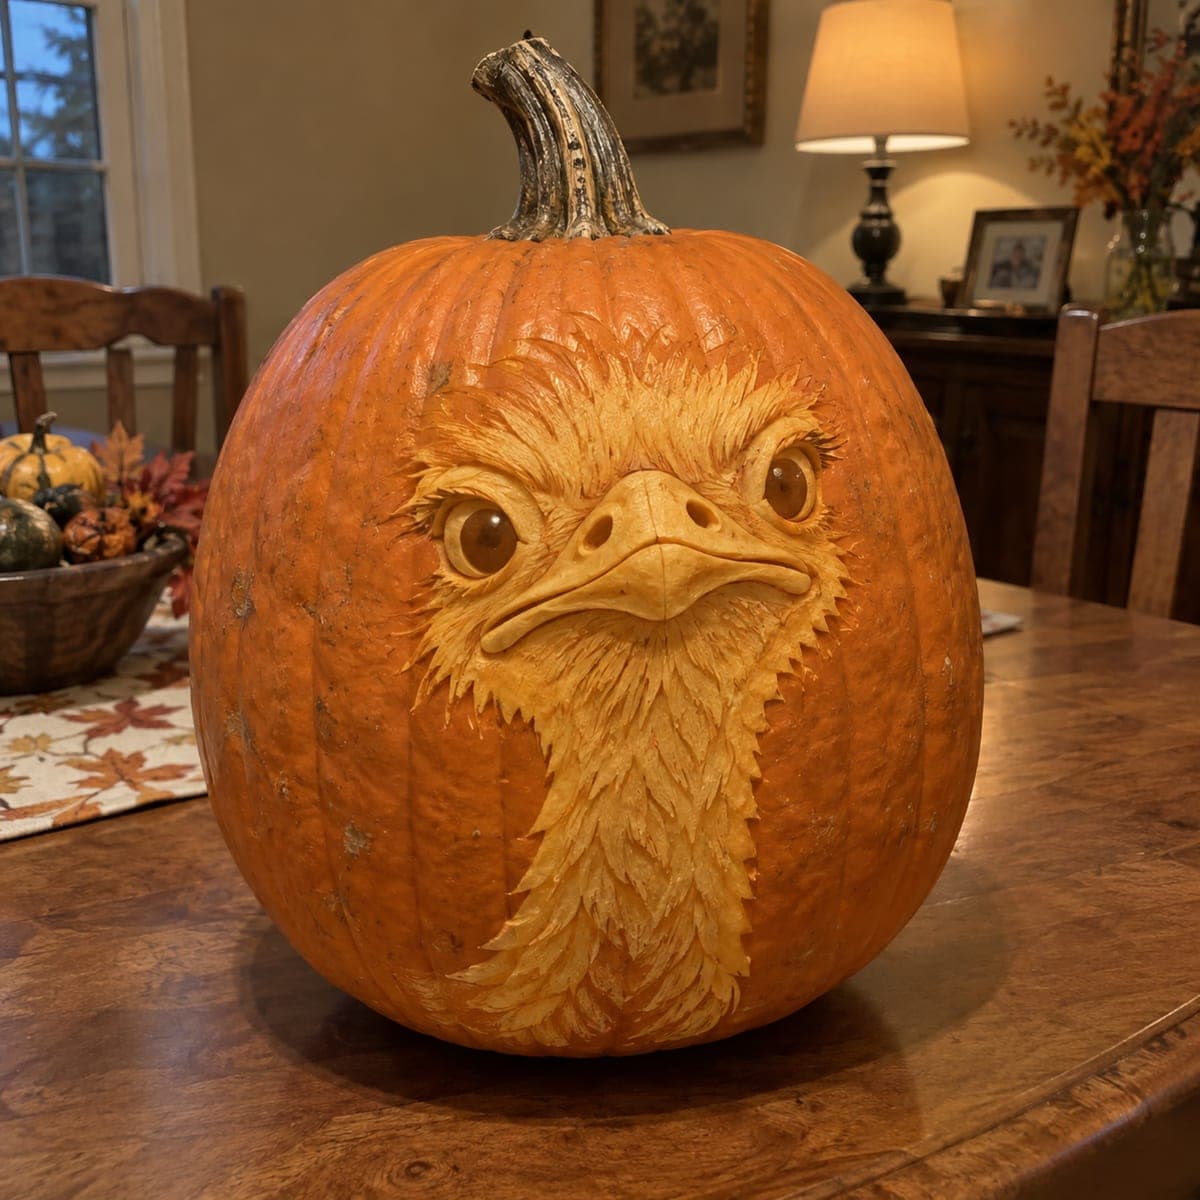
An ostrich fixes you with a wide-eyed, faintly judgmental stare on this sculpted pumpkin, its wispy head feathers and long neck carved in fine relief strokes. The comedy is in the eyes, which are domed and polished so they catch the light like glass. Shape the beak and eye sockets before adding any feather texture, and mist the finished carving with water and lemon juice to slow browning.

This is an AI-generated concept image: a realistic, carvable design idea rather than a photo of a finished carve. AI concepts are always labeled and sit out the leaderboard and the contest.

No ratings yet · Sign in to rate
Comments (0)

  • No comments yet — be the first.

Save without an account. Sign in to like or comment.

Our tips for carving a similar design

The trick here is depth without holes: almost the whole ostrich is skin-carving, where you shave away rind at different depths so the light glows through the thin spots. Sculpt the solid forms first, the domed eyes and the smooth beak, then build the wispy feathers around them with short flicking strokes. Since this is a concept image, treat it as a target look and carve conservatively so the eye domes and beak stay strong.

Written by PumpkinCarvingIdeas.com, inspired by the image above. These are our suggestions, not instructions from the uploader. This approach to the AI concept has not been tested on a real pumpkin.

From pumpkin to porch

  1. Transfer and block the face

    Pick a large, smooth-shouldered pumpkin and scrape the front panel flat where the face will sit. Tape your ostrich pattern on and poke or trace the main lines: the two eye circles, the beak, and the outer edge of the feathered head and neck. Leave the pumpkin whole and uncut for now so the wall stays rigid while you sculpt. Mark which areas are eyes and beak so you do not accidentally texture over them.

  2. Sculpt the eyes and beak first

    Use a loop or ribbon tool to carve the two eye domes as raised, rounded mounds, then burnish them smooth so they will catch the light like glass. Shape the beak as a separate smooth ridge with a soft downward hook and the small nostril dents. Keep these forms slightly proud of the surrounding surface so they read as solid features. Do not thin them out; they are the anchors of the whole face.

  3. Set the eye sockets and brow shadows

    Carve gently around each eye dome to sink the socket and create a ring of shadow that makes the eye pop forward. Deepen the crease above each eye for that faintly annoyed brow. Work in shallow passes and check the shape often, because you cannot add rind back. These recesses stay fairly thick, so they will read as soft dark tone rather than bright light.

  4. Build the feather texture

    Switch to a small V-gouge or detail knife and carve short, curved flicking strokes radiating out from the face across the head and down the long neck. Vary the depth: leave some strokes shallow and cut others thinner so the feathers shimmer at different brightness. Always flick in the direction the feathers lie, keeping strokes attached at the base so nothing snaps off. Take your time; this fine relief is where the character lives.

  5. Thin the glow zones

    Go back over the brightest feather clumps and the neck tips and shave the rind thinner from behind the surface so light can pass. Keep a steady wall thickness of a few millimeters in these spots so they glow amber without tearing. Leave the outer pumpkin skin fully intact as dark background around the bird. Step back frequently to balance the light and dark areas.

  6. Light, preserve, and photograph

    Cut a small access hole in the back or bottom, scoop just enough to fit a battery LED, and set it inside; skip candles so the fine relief does not scorch. Mist the whole carving with water and a little lemon juice, then wrap it in plastic in the fridge between showings to slow browning. Photograph it in a dim room so the eye domes catch a highlight. A low side light will exaggerate the feather texture beautifully.

Gather your supplies

Check things off as you get ready.

Work on a stable surface, keep your free hand out of the cutting path, and have an adult handle sharp tools.

Three levels of light

  • Leave intact

    The outer pumpkin skin around the bird and the deep eye sockets stay dark for contrast.

  • Peel & shade

    The head, cheeks, and most feather relief are skin-carved to a warm mid glow, with the eye domes burnished smooth to catch highlights.

  • Cut through

    Only a small hidden access hole in the back or bottom is cut through; the face itself has no full openings.

Learn the carving basics

Before you start cutting

Do the eyes need to be cut all the way through?

No, and they should not be. The glassy look comes from leaving the eyes as smooth, polished domes that reflect light, not from open holes. Carve the sockets around them for shadow and let a low light source do the shining.

How do I keep the fine feathers from breaking off?

Carve each feather stroke as a shallow relief cut that stays attached to the pumpkin at its base rather than a free-standing flap. Work with a sharp small gouge so the rind slices cleanly instead of tearing. Keep the surrounding wall reasonably thick for support and save the thinnest glow spots for last.

This is shown as a concept. Can a real pumpkin actually look like this?

Yes, with patience. The whole design is surface relief and skin-carving rather than risky cutouts, so it holds together well on a real pumpkin. Just carve conservatively, keep the eye domes and beak solid, and expect several hours for the feather texture.

Your take belongs here, too.

Changed a detail? Made it simpler? Share a photo of your version and tell the community what worked.

Share your pumpkin

More pumpkins like this

You've reached the end · 8 pumpkins
The Patch Report

Fresh pumpkins, in your inbox.

The best new carvings, ideas worth stealing, and how-tos for carving season. Short, seasonal, and gone by November.

A short email during carving season. Unsubscribe anytime. See our privacy policy.