Halloween Pumpkin Carving Contest · Starts October 1st · $500 in prizes
← Back to ideas
@ai_concepts
Aug 31, 2026
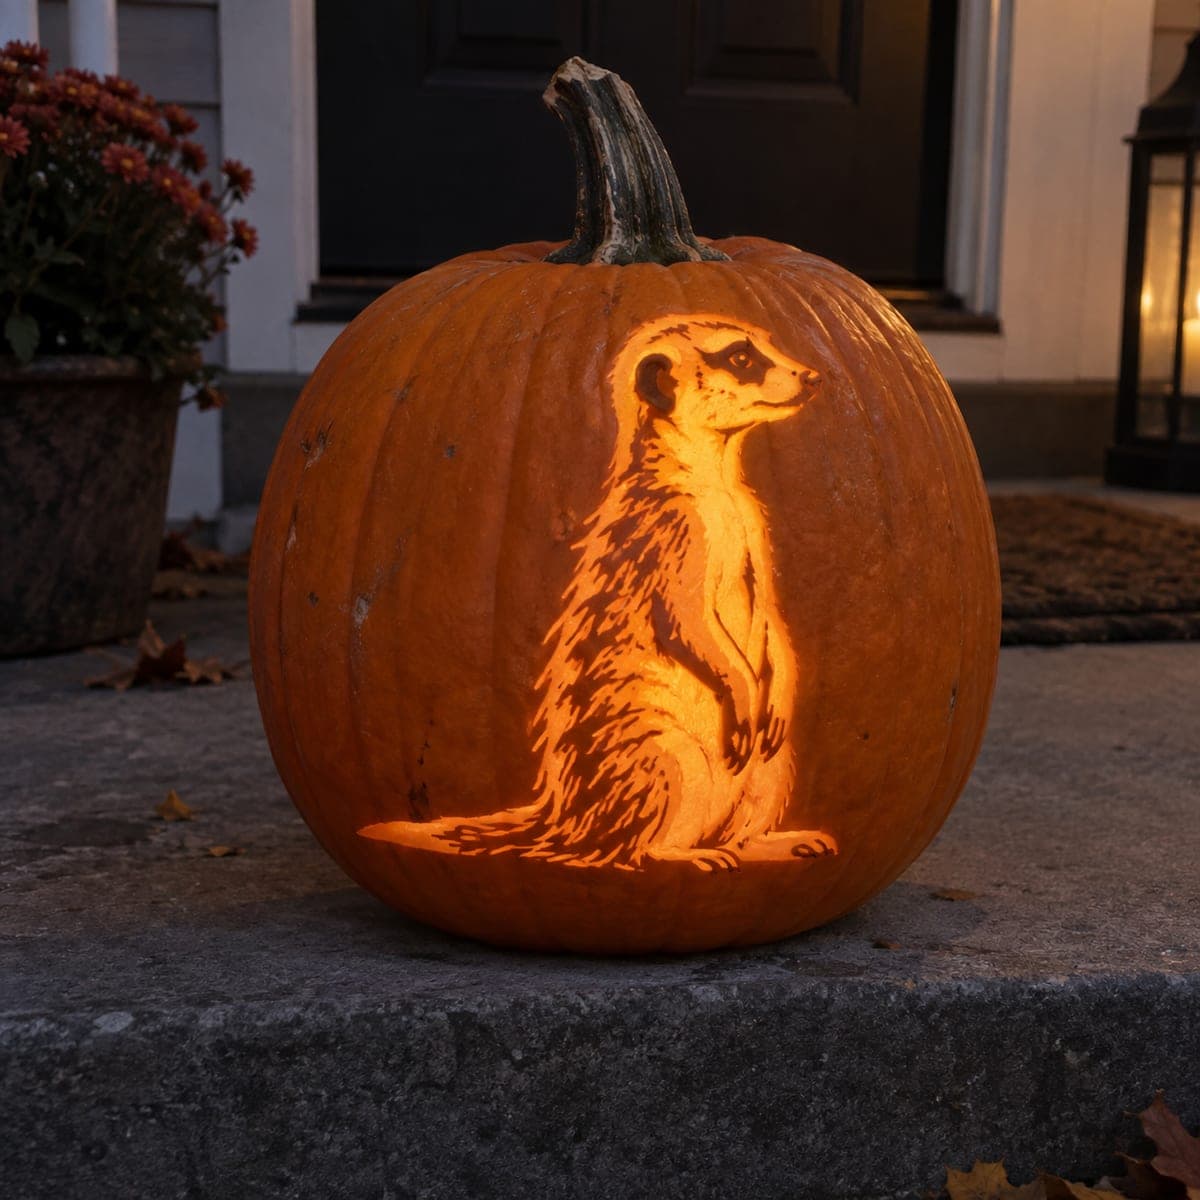
Meerkat Portrait Relief Carved Pumpkin CenterpieceAI
0

Meerkat Portrait Relief Carved Pumpkin Centerpiece

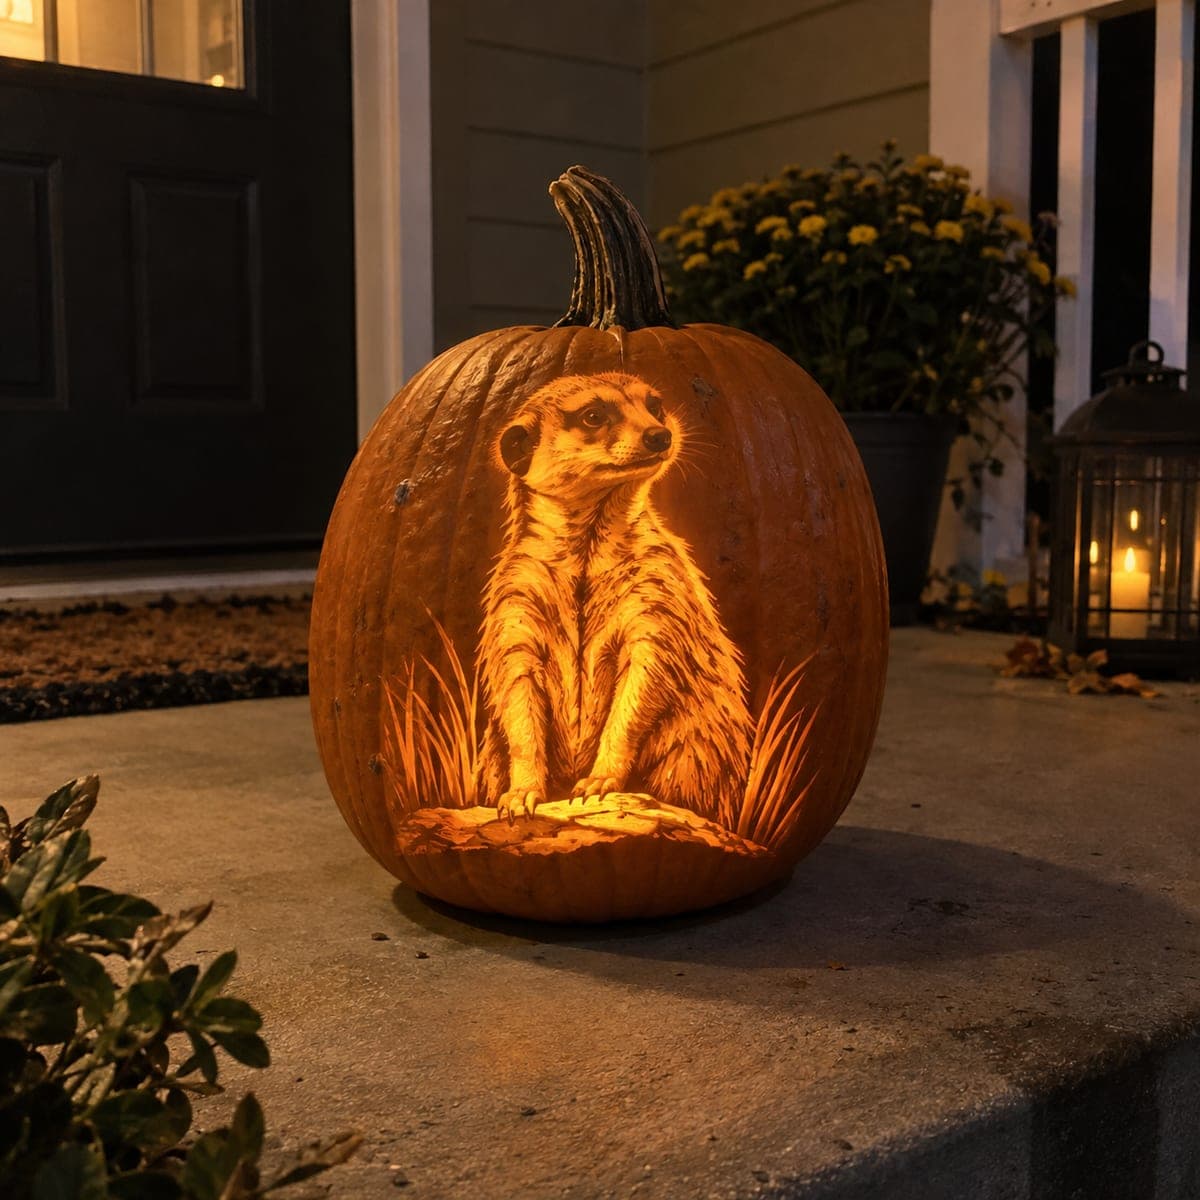
A meerkat sits upright with its characteristic alert posture, big soft eyes, and dense textured fur rendered in exquisite detail through relief carving that captures every individual hair with a fine loop tool. This distinctive animal pumpkin carving idea works beautifully as a fall table centerpiece or indoor display piece. Map out the eyes first since they anchor the composition, then build the fur texture outward in radiating strokes, deepening shadows beneath the chin and along the sides. No backlight is needed in daylight because the dimensional carving reads well even unlit.

This is an AI-generated concept image: a realistic, carvable design idea rather than a photo of a finished carve. AI concepts are always labeled and sit out the leaderboard and the contest.

No ratings yet · Sign in to rate

Comments (0)

  • No comments yet — be the first.

Save without an account. Sign in to like or comment.

Our tips for carving a similar design

This design is pure relief carving, which means you shave the skin away at different depths instead of cutting holes, so it reads beautifully in daylight without any light behind it. The core trick is the fur: hundreds of fine radiating strokes with a loop tool that build shadow and highlight around a soft, wide-eyed face. Anchor the eyes first, then work the texture outward and downward, going deeper for shadows under the chin and along the body.

Written by PumpkinCarvingIdeas.com, inspired by the image above. These are our suggestions, not instructions from the uploader. This approach to the AI concept has not been tested on a real pumpkin.

From pumpkin to porch

  1. Prep and transfer the portrait

    Pick a large pumpkin with a smooth, pale, blemish-free front so the shaved surface stays even. Cut a lid or a bottom access hole and scrape the front interior wall down to about one inch so you have room to carve depth. Tape your meerkat stencil to the front and poke through the main outlines: the eyes, nose, ear edges, face border, and the line where the body meets the untouched skin.

  2. Set the eyes as your anchor

    Start with the eyes since everything else is measured against them. Score the outline of each eye, then peel a thin layer of skin around them to define the lids and brow. Leave small rounded islands of untouched skin as the dark pupils and a tiny highlight dot so the eyes look glossy and alert. Keep these two eyes symmetrical before you move on, because fixing spacing later is nearly impossible.

  3. Shape the nose, muzzle, and ears

    Peel the skin around the nose and lower it slightly so the snout appears to project forward. Use a small loop tool to hollow the nostril shadows and the crease under the nose. Define the ear openings by peeling a shallow bowl and leaving a raised rim. Vary your depth here so the muzzle feels rounded rather than flat.

  4. Build the fur in radiating strokes

    Switch to a fine loop or ribbon tool and pull short, curved strokes that follow the direction fur naturally grows, outward from the eyes and down the chest. Overlap your strokes and remove a little more skin where you want shadow, less where you want a raised highlight. Work in patches and step back often to check the flow. This is slow, meditative work, so keep your tool sharp and your strokes consistent.

  5. Deepen shadows and the face border

    Go back into the recesses under the chin, along the sides of the face, and beneath the arms to carve deeper and darken those zones. This contrast is what makes the meerkat pop out from the pumpkin. Clean up the outer border where the carved figure meets the untouched skin so the edge reads as a crisp frame. Blend any hard steps between depths with light passes.

  6. Finish, seal, and display

    Wipe away pulp dust with a damp cloth and let the surface dry. Rub cut edges with a little petroleum jelly to slow drying and browning, which keeps your fur detail sharp for days. This piece is meant to be seen in daylight, so set it as a table centerpiece where soft room light rakes across the texture. If you do want a glow, tuck a small LED behind or beside it rather than cutting holes through the portrait.

Gather your supplies

Check things off as you get ready.

Work on a stable surface, keep your free hand out of the cutting path, and have an adult handle sharp tools.

Three levels of light

  • Leave intact

    The background pumpkin skin around the meerkat stays untouched and dark, framing the portrait.

  • Peel & shade

    The face, chest, and fur are skin-peeled at varying depths for a warm dim glow that carries the shading.

  • Cut through

    Nothing is cut all the way through on this relief design, though tiny eye highlights can be shaved thinnest for a spark.

Learn the carving basics

Before you start cutting

Do I need to light this pumpkin from inside?

No. This is a relief carving, so the dimensional shading reads well in normal room light and works great as an unlit centerpiece. If you want a little glow, place a small LED beside or behind the pumpkin instead of cutting openings that would break up the fur detail.

How do I keep the eyes looking alert and glossy?

Carve the eyes first and leave small rounded islands of untouched skin for the dark pupils. Then shave a tiny highlight dot even thinner near the top of each eye so it catches light. Getting both eyes the same size and spacing is what sells the friendly, alert expression.

How long will the fur detail stay sharp?

Fine peeled texture starts to dry and curl within a day or two. Rub all exposed surfaces with a thin coat of petroleum jelly to slow moisture loss, and keep the pumpkin cool and out of direct sun. Carve it close to when you want to display it for the best look.

Your take belongs here, too.

Changed a detail? Made it simpler? Share a photo of your version and tell the community what worked.

Share your pumpkin

More pumpkins like this

You've reached the end · 8 pumpkins
The Patch Report

Fresh pumpkins, in your inbox.

The best new carvings, ideas worth stealing, and how-tos for carving season. Short, seasonal, and gone by November.

A short email during carving season. Unsubscribe anytime. See our privacy policy.