Halloween Pumpkin Carving Contest · Starts October 1st · $500 in prizes
← Back to ideas
@ai_concepts
Aug 30, 2026
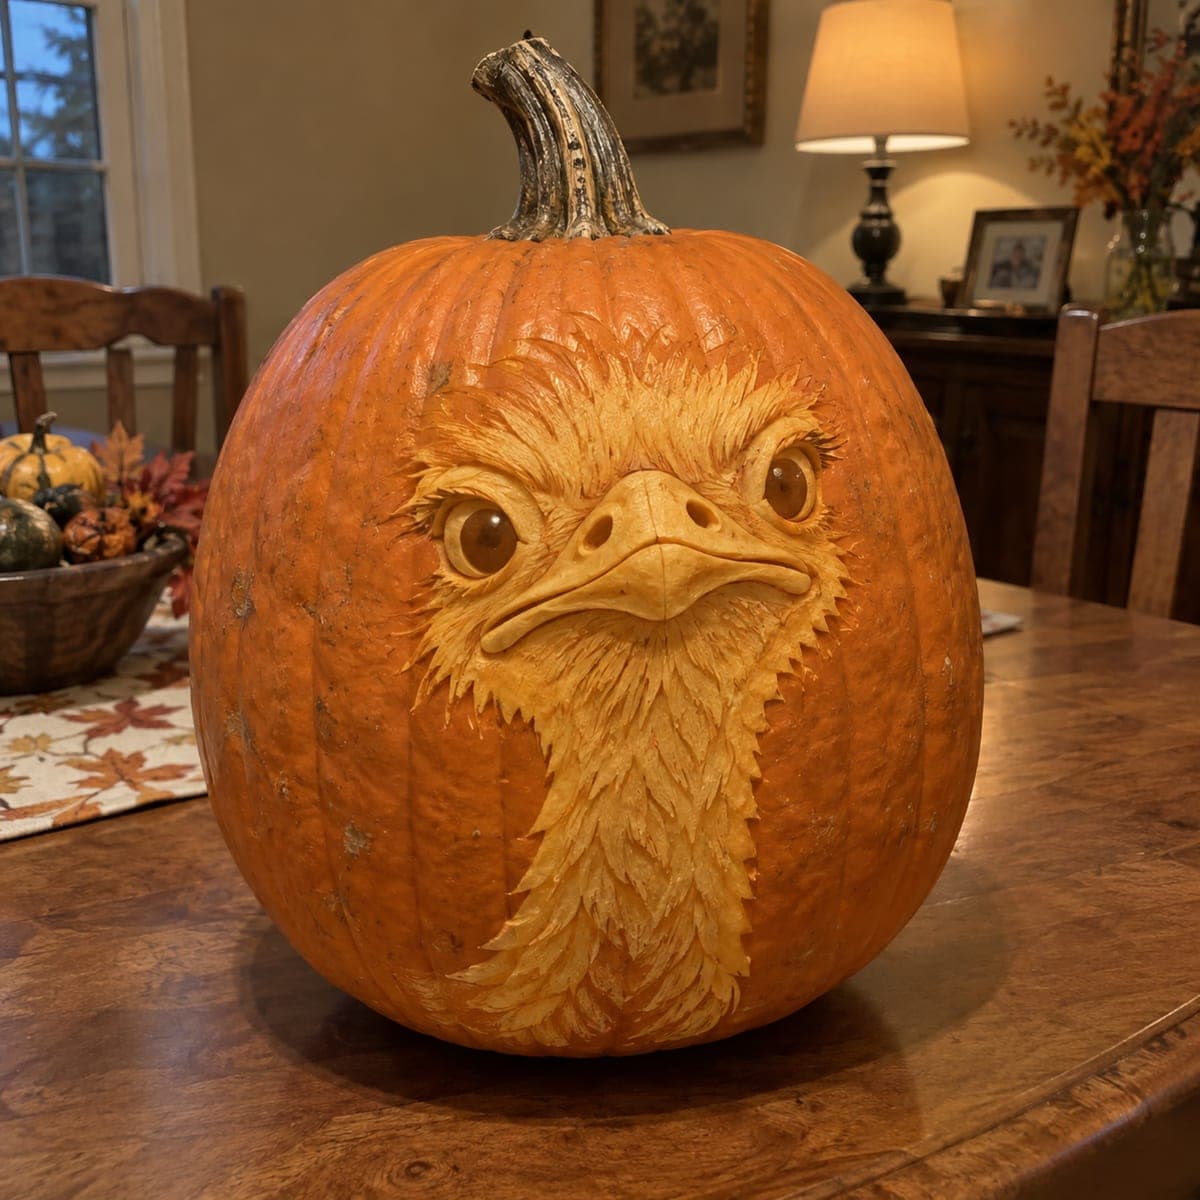
Ostrich Silhouette Carved Pumpkin EtchingAI
0

Ostrich Silhouette Carved Pumpkin Etching

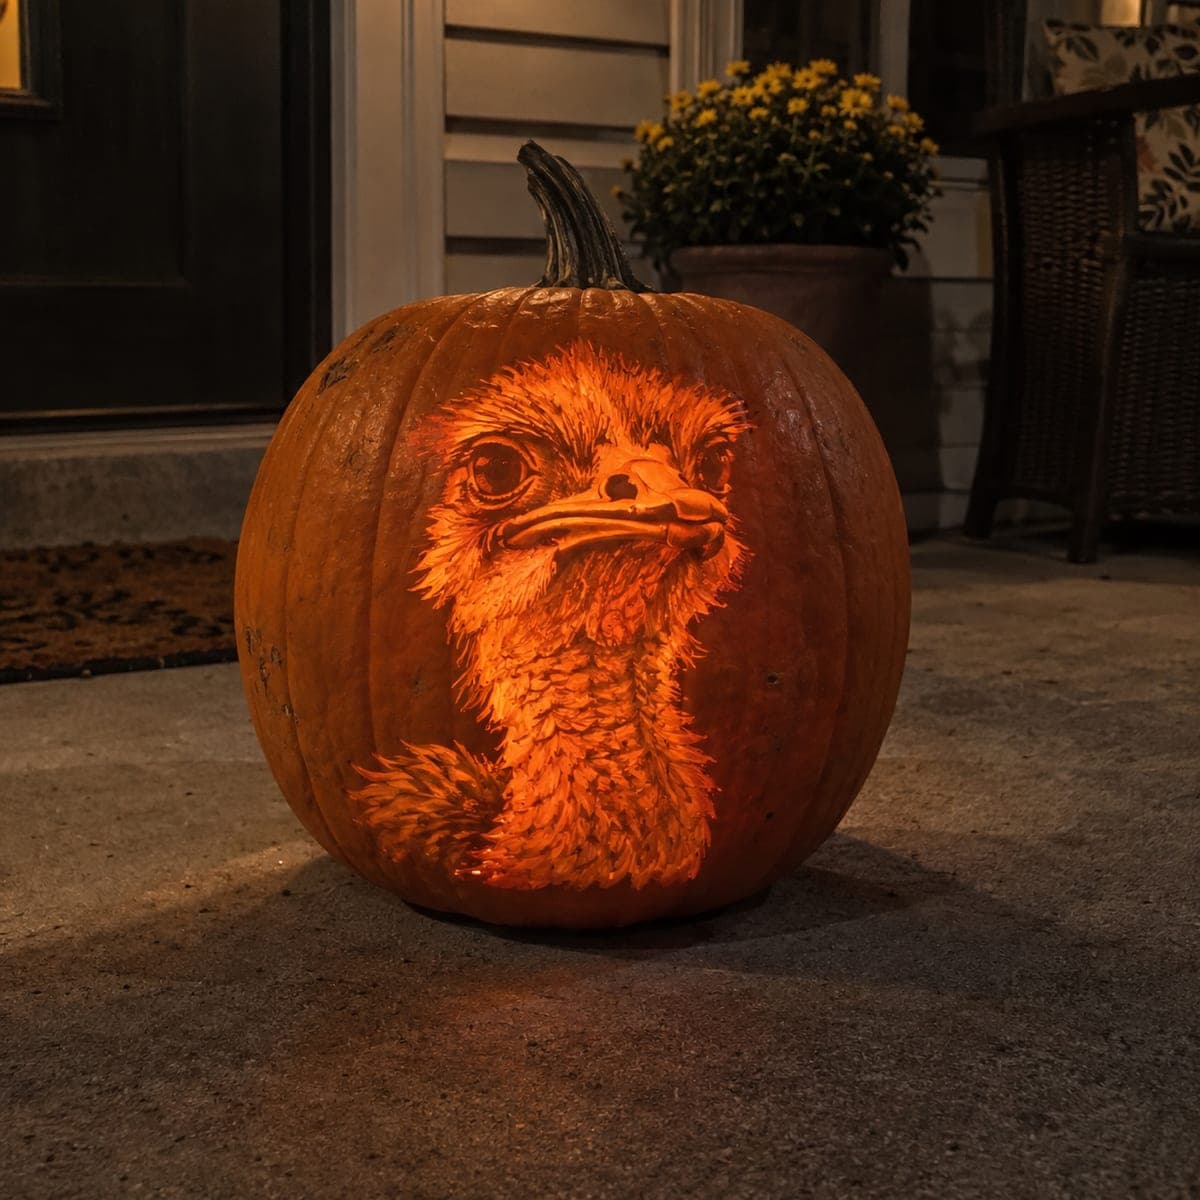
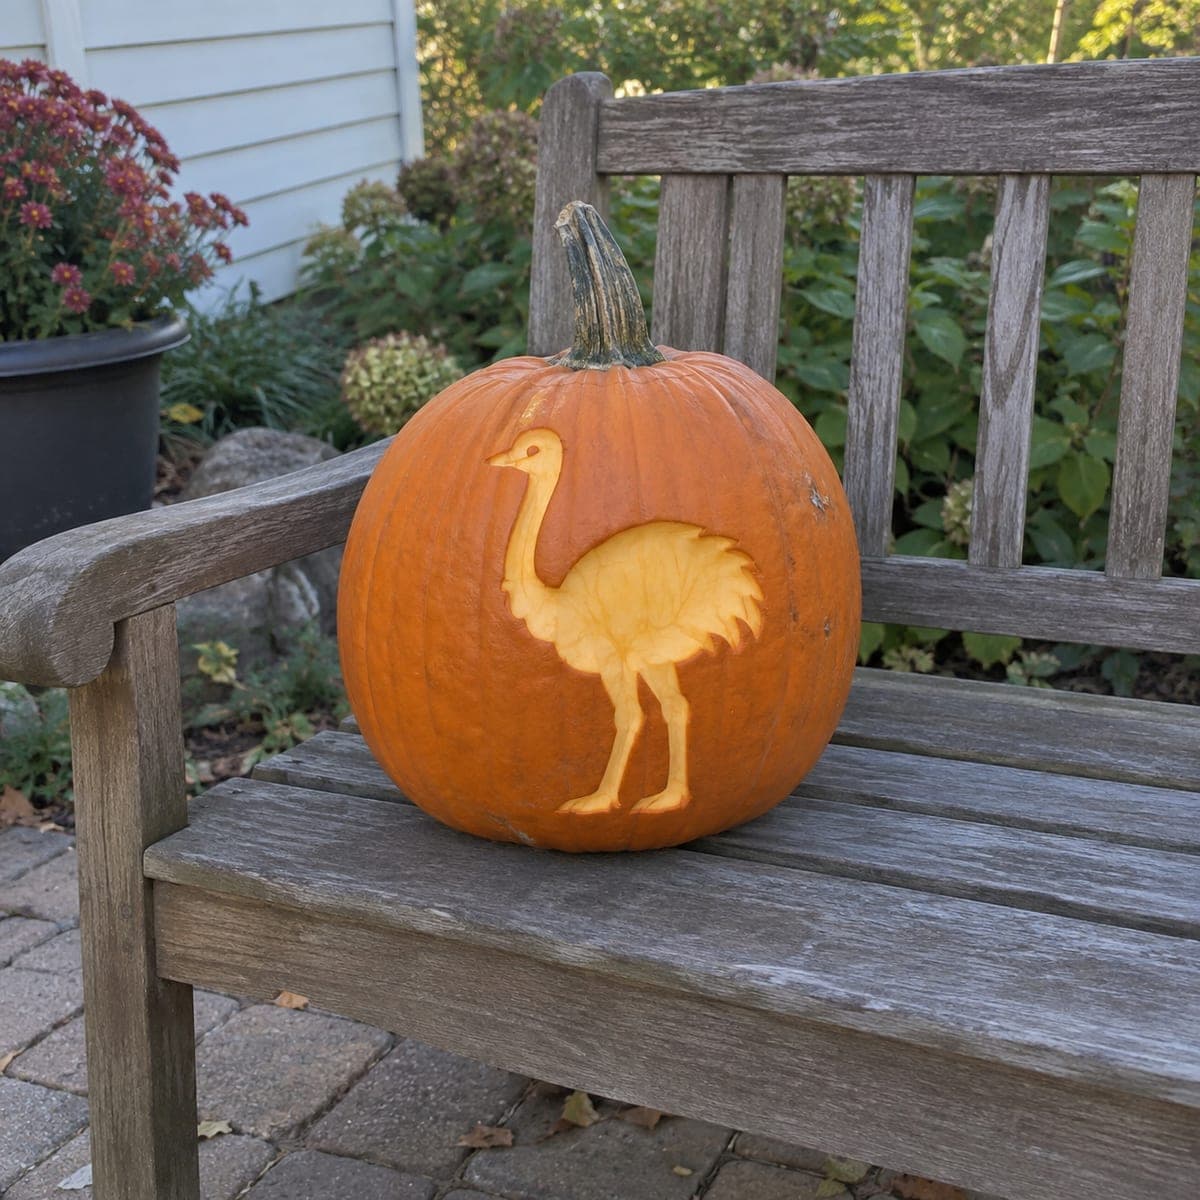
An ostrich struts across this daytime pumpkin, peeled from the skin in a pale two-tone silhouette with fluffed wing feathers and knobby legs. No piercing means no glow needed; the contrast between skin and pale flesh carries the whole design in sunlight. Scribe the outline with a clay needle before stripping the shape, and shave the feather scallops shallowly so they stay creamy white.

This is an AI-generated concept image: a realistic, carvable design idea rather than a photo of a finished carve. AI concepts are always labeled and sit out the leaderboard and the contest.

No ratings yet · Sign in to rate
Comments (0)

  • No comments yet — be the first.

Save without an account. Sign in to like or comment.

Our tips for carving a similar design

The whole design lives in the contrast between untouched orange skin and the pale flesh you expose underneath, so nothing gets cut through. Scribe the ostrich outline first, then strip the body to a bright silhouette and shave the wing feathers and legs at different depths for a soft two-tone effect. Because there are no openings, this pumpkin reads best in daylight and does not need a light inside.

Written by PumpkinCarvingIdeas.com, inspired by the image above. These are our suggestions, not instructions from the uploader. This approach to the AI concept has not been tested on a real pumpkin.

From pumpkin to porch

  1. Pick a smooth-faced pumpkin

    Choose a pumpkin with one broad, relatively flat side and even orange color, since every mark will show. Wipe the surface clean and dry so your stencil and scribe lines stay crisp. Avoid a side with deep ribs or blemishes running through where the body will sit. A slightly taller pumpkin gives the ostrich neck and legs room to stretch.

  2. Transfer and scribe the outline

    Tape your ostrich stencil onto the flat face and poke the outline with a clay needle or pin, following the neck, body, wing, and legs. Remove the paper and connect the dots by scribing a shallow groove with the needle so you have a clear border to peel up to. Keep the tiny beak and thin legs as continuous lines so they stay attached to the surrounding shape. Take your time here, since this scribed edge defines the entire silhouette.

  3. Peel the body to pale flesh

    Using a ribbon loop or a shallow gouge, remove only the thin orange skin inside the outline to expose the creamy layer beneath. Work in even, overlapping strokes and stay well inside your scribed line, cleaning up to the edge last. Keep the depth consistent so the body glows one bright tone in sunlight. An adult should handle the loop tools, and always push strokes away from your other hand.

  4. Shave the feathers and legs shallow

    For the fluffed wing, shave the scallop shapes even more shallowly so they stay lighter and creamier than the deeper body. Leave narrow ridges of slightly darker flesh between scallops to suggest layered feathers. Give the knobby legs a light touch too so they read as a paler tone against the body. Varying depth by just a millimeter or two is what creates the soft two-tone shading.

  5. Refine edges and details

    Go back to the beak, eye area, and toes with the tip of a small knife or detail tool to sharpen those small shapes. Leave a dot of untouched skin for the eye so it stays dark against the peeled head. Brush away shavings and check the contrast in good light, deepening any spot that looks too orange. Rub a little vegetable oil or petroleum jelly on the peeled areas to slow browning.

  6. Display in daylight

    Set the finished pumpkin where sun or bright ambient light hits the face, since the design carries itself without a flame or bulb. Photograph it outdoors during the day to capture the pale silhouette against the orange skin. If you want a hint of evening presence, place a small LED nearby to graze the surface, never a candle. Refresh the oiled surface each day to keep the flesh looking bright.

Gather your supplies

Check things off as you get ready.

Work on a stable surface, keep your free hand out of the cutting path, and have an adult handle sharp tools.

Three levels of light

  • Leave intact

    The full orange background and a small dot for the ostrich eye stay untouched and dark.

  • Peel & shade

    The wing feather scallops and knobby legs are peeled shallowly for the palest creamy tone.

  • Cut through

    Nothing is cut all the way through on this design, so there are no full-light openings.

Learn the carving basics

Before you start cutting

Do I need a light inside this pumpkin?

No. Since nothing is pierced through, the design relies on daylight contrast between orange skin and pale flesh. If you want some evening glow, set a small LED beside it to graze the surface rather than lighting it from within.

How do I keep the two-tone effect from blending together?

Vary your depth. Peel the main body to one even level, then shave the feathers and legs more shallowly so they stay lighter. Leaving thin ridges of skin or slightly deeper flesh between the feather scallops keeps each tone distinct.

Will the peeled flesh turn brown before Halloween?

Exposed flesh browns within a day or two as it dries. Coat the peeled areas with a thin layer of vegetable oil or petroleum jelly and refresh it daily to slow the browning. This is a short-lived display piece, so carve it close to when you want to show it off.

Your take belongs here, too.

Changed a detail? Made it simpler? Share a photo of your version and tell the community what worked.

Share your pumpkin

More pumpkins like this

You've reached the end · 8 pumpkins
The Patch Report

Fresh pumpkins, in your inbox.

The best new carvings, ideas worth stealing, and how-tos for carving season. Short, seasonal, and gone by November.

A short email during carving season. Unsubscribe anytime. See our privacy policy.