Halloween Pumpkin Carving Contest · Starts October 1st · $500 in prizes
← Back to ideas
@ai_concepts
Sep 25, 2026
Expert Derpy Tiger Seated Pumpkin With BirdAI
0

Report this carving

Tell us what is wrong. Reports are private.

Expert Derpy Tiger Seated Pumpkin With Bird

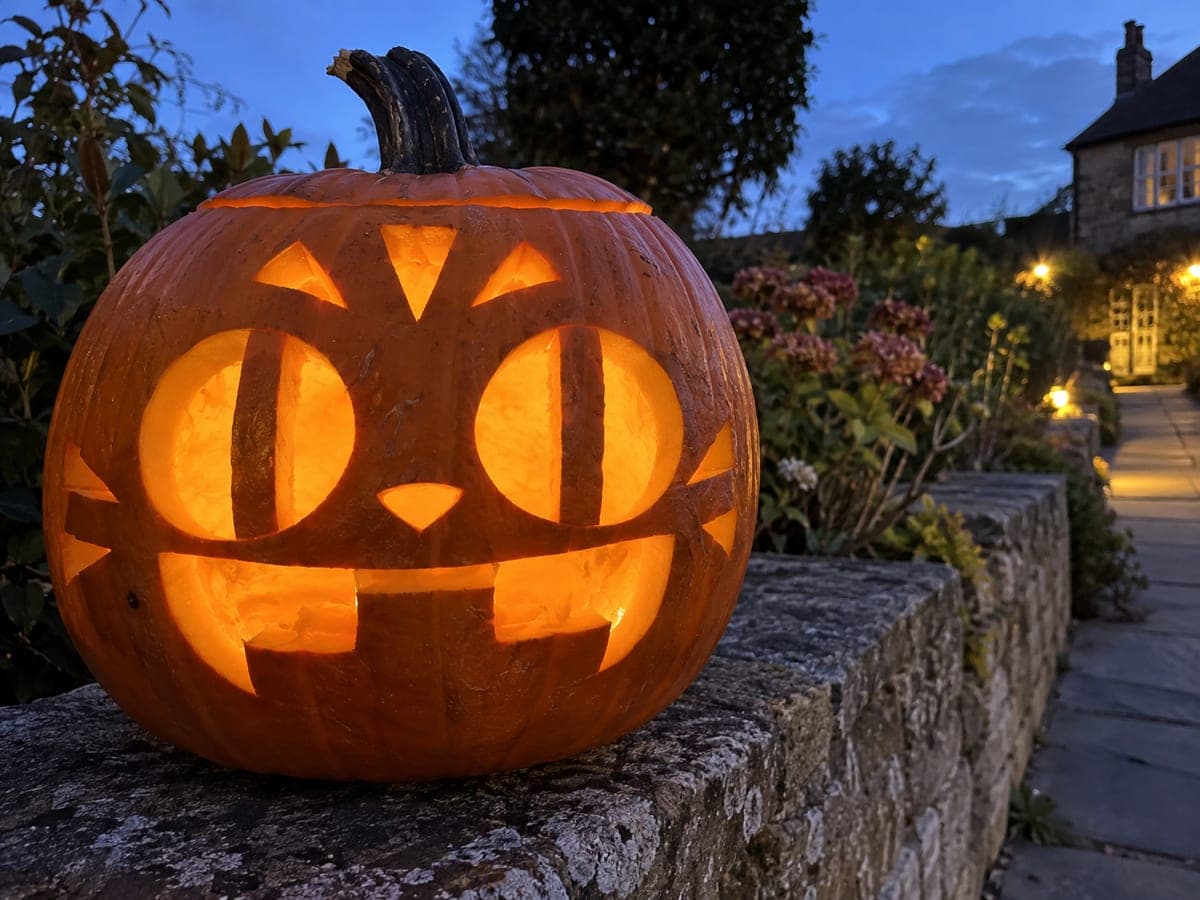
This expert derpy tiger pumpkin carving idea shows the tiger seated inside an open arch, paws and base broadly rooted, with a bird perched on the head and connected via legs and beak to the top. Full vertical pupil bars add the signature wall-eyed expression, and the stripe slits are each separated open cuts. Tackle the arch and outer frame first, then the body, and save the tiny bird connection points for last since they are the most fragile elements.

No ratings yet · Sign in to rate

Comments (0)

  • No comments yet — be the first.

Save without an account. Sign in to like or comment.

Our tips for carving a similar design

An open arch frames the seated tiger body, with broad paws and base rooting the figure solidly at the bottom and the tail joining both the body and the right arch rim for extra support. The tiny bird perched on the tiger's head is the most fragile element: its legs and beak contact points are the last cuts made, and they need the widest possible base to survive display. Full vertical pupil bars create the wall-eyed expression that defines the character.

From pumpkin to porch

  1. Choose a large pumpkin and plan carefully

    This design fills the entire face of the pumpkin. Choose a large, symmetrical pumpkin with a flat front. Print the stencil to scale and dry-fit it against the pumpkin before cutting. Spend extra time mapping the arch legs, the base root zone, the tail path, and the bird contact points before removing the stencil.

  2. Transfer every detail

    Pin-transfer the arch outline, seated body silhouette, paw shapes, tail path, bird legs and beak, tooth positions, stripe slits, and eye-pupil locations. Use different colored markers for cut-through versus shallow areas. The bird contact points especially need clear markings so you do not accidentally cut through them.

  3. Cut the open arch

    Cut the arch background opening first, removing the rind inside the arch except where the figure elements are positioned. Work the arch in sections from bottom to top. Leave the full bird crown contact area and the right-side tail-to-arch-rim join completely uncut at this stage.

  4. Define the seated body and tail

    Shape the seated body by cutting the open background around it within the arch. The broad paw and base root is a single connected horizontal strip at the bottom. The tail joins the body and the right arch rim, so cut the tail outline carefully to preserve both connection points simultaneously.

  5. Cut the eyes with vertical pupil bars and teeth

    Cut the eye openings with the vertical pupil bars remaining as retained strips spanning each eye hole. Add the tooth shapes rooted to the lip as in earlier difficulty levels. Then add the stripe slits across the body, keeping each one isolated from its neighbors by solid rind.

  6. Add the bird connections last

    The bird's legs contact the tiger's head and its beak or tail contacts the arch top. Cut these connections as the absolute final step. Use a very narrow detail saw and make each cut slowly. Insert the LED immediately after, as the fully carved pumpkin is at its most fragile right after this step.

Written with AI to match this design

Gather your supplies

Check things off as you get ready.

Work on a stable surface, keep your free hand out of the cutting path, and have an adult handle sharp tools.

Three levels of light

  • Leave intact

    Retained seated body, paws, tail, and bird silhouette as dark-rind shapes against the open arch

  • Peel & shade

    None specified, but stripe texture inside the body can be shallow-backed if desired

  • Cut through

    Open arch background, stripe slits, inter-tooth gaps, eye surrounds around vertical pupil bars, and bird connection cuts

Learn the carving basics

Before you start cutting

The bird's leg contact points are tiny. How do I prevent them from snapping?

Keep each leg at least 5 mm wide and cut them with a single, decisive stroke rather than a back-and-forth motion that fatigues the rind. The beak-to-arch-top contact can be made slightly wider than the stencil shows without ruining the design. After carving, display the pumpkin in a protected spot where it will not be bumped.

How do I cut the tail so it connects to both the body and the right arch rim?

Trace the tail as a single continuous curve and cut its upper edge first, then its lower edge, leaving both endpoints connected. The tail should act like a curved bridge between the body and the arch rim. Verify the tail is still attached at both ends before cutting anything else nearby.

What is the right sequence for the stripe slits and why does it matter?

Cut stripe slits after the arch and body are established but before the bird connection points. At that stage the body still has maximum structural support from the paw base and the surrounding rind. Cutting slits after the bird connections are made means working on a pumpkin that is already at its most fragile, increasing the chance of accidental cracks.

Your take belongs here, too.

Changed a detail? Made it simpler? Share a photo of your version and tell the community what worked.

Share your pumpkin

More pumpkins like this

You've reached the end · 8 pumpkins
The Patch Report

Fresh pumpkins, in your inbox.

The best new carvings, ideas worth stealing, and how-tos for carving season. Short, seasonal, and gone by November.

A short email during carving season. Unsubscribe anytime. See our privacy policy.