The 2026 contest winners are inGrand Prize, People's Choice and Most Creative, all crowned.
@ai_concepts
Sep 25, 2026
Derpy Tiger No-Carve PumpkinAI
0

Report this carving

Tell us what is wrong. Reports are private.

Derpy Tiger No-Carve Pumpkin

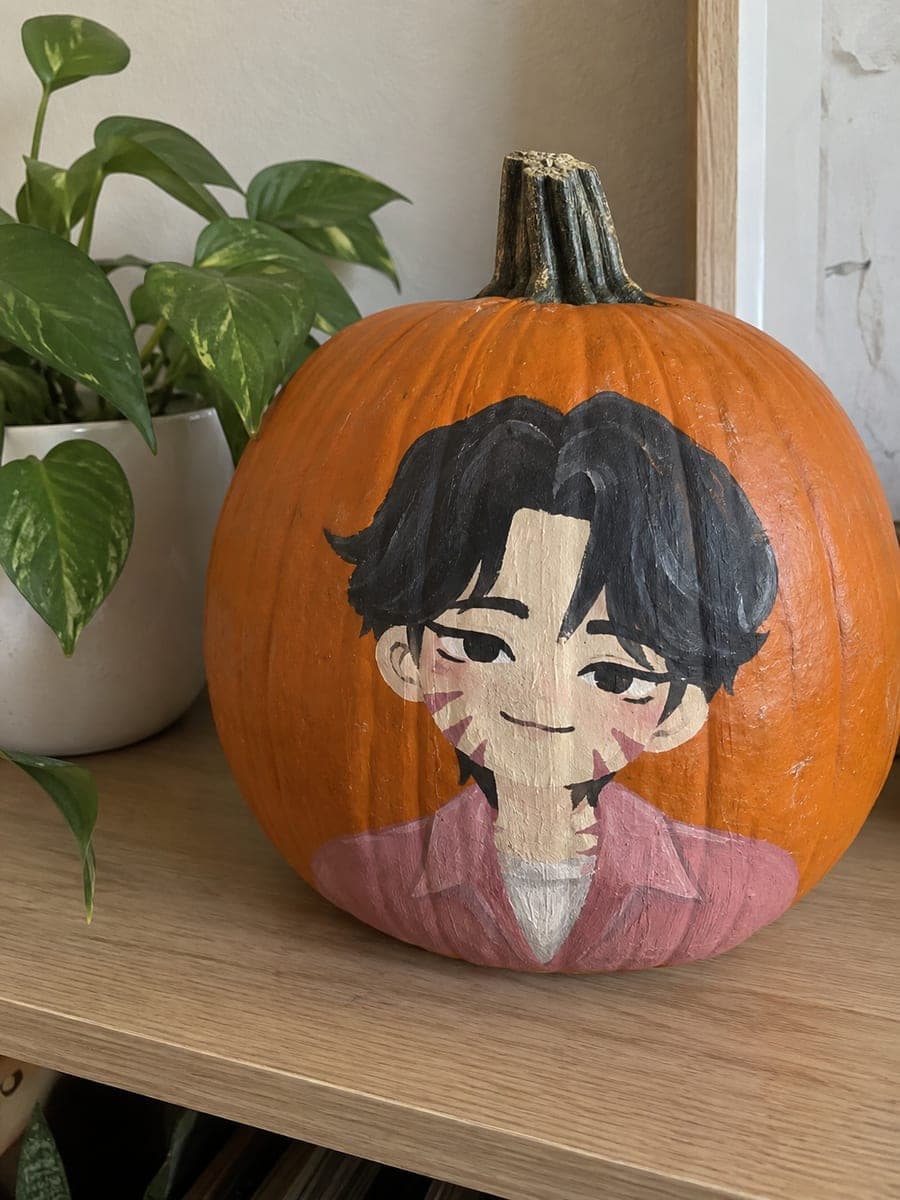
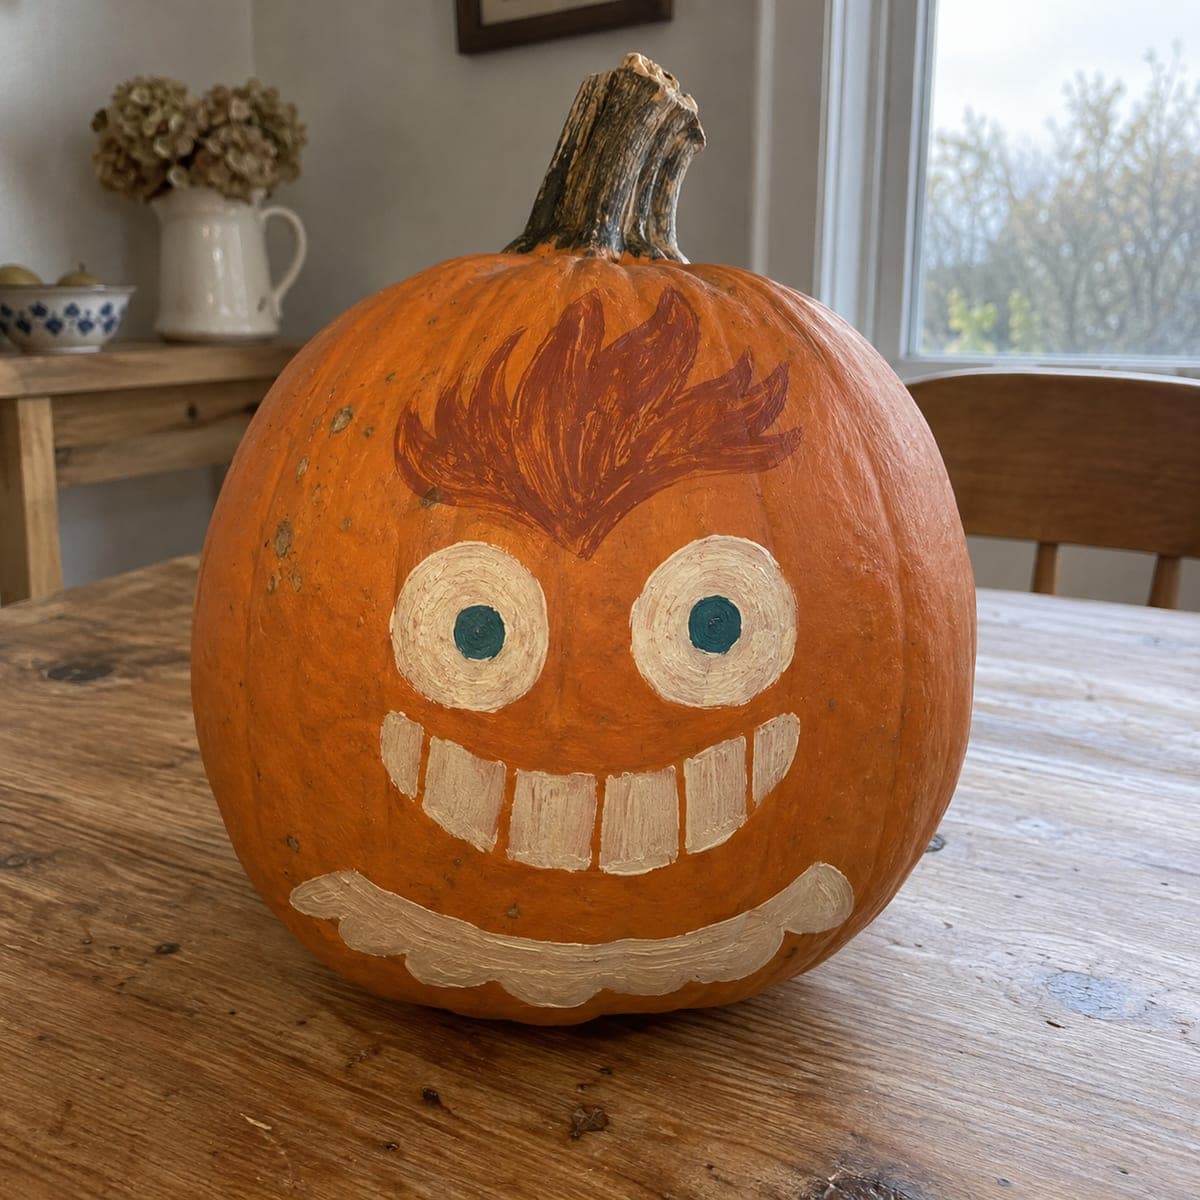
This no-carve derpy tiger pumpkin carving idea renders the character's silly face entirely in flat acrylic paint on an intact rind. Use a thick brush to block in the orange base, then add bold black stripes and the cartoonishly large eyes with a liner brush. A glossy top coat keeps the colors vivid and helps the painted pumpkin carving idea survive a week on the doorstep.

No ratings yet · Sign in to rate
derpy-tigeranimalno-carvepaintedmoviekpop-demon-hunterstigerfunny

Save this design for carving night, then share a photo of your own jack-o'-lantern once it's glowing.

Derpy Tiger and all related characters, names, logos, and trademarks are the property of their respective owners. This is an unofficial fan carving shared by our community for inspiration only. PumpkinCarvingIdeas.com is not affiliated with, sponsored by, or endorsed by any rights holder or person depicted, and no such connection is implied.

Comments (0)

  • No comments yet. Be the first.

Our tips for carving a similar design

The character's comedy comes entirely from its oversized, cartoonishly large eyes and bold black stripes, which translate directly to flat paint shapes on the rind. Blocking in the orange base first unifies the surface before adding the black markings. A glossy top coat keeps the vivid colors vibrant and protects the pumpkin through outdoor display.

From pumpkin to porch

  1. Clean and prep

    Wipe the pumpkin with a damp cloth and let it dry. If the rind is smooth and shiny, do a light wipe with rubbing alcohol to help the paint grip. Select your acrylic colors: orange for the base, black for stripes and outline, white for the large eye whites, and a contrasting color for the iris.

  2. Block in the orange base

    Paint the entire face area with a medium orange or amber acrylic to create a warm, uniform base. Let this dry fully. Even if the pumpkin is already orange, a painted layer gives the subsequent colors more consistent contrast to sit against.

  3. Sketch and paint the eyes

    Pencil in two large circular eye shapes, then paint them with white as a base layer. Once dry, add large colored irises and tiny off-center pupils for the crossed-eye effect. The eyes are the biggest contributor to the expression, so take the most time here.

  4. Paint the bold black stripes

    Use a flat or angled brush to paint the forehead and cheek stripes in bold black. Keep stripes broad and slightly curved to suggest the tiger's facial structure. Three to four stripes on the forehead and two on each cheek are enough to read clearly as tiger markings.

  5. Add nose, mouth, and any extra details

    Paint a small pink or salmon nose triangle above the mouth center, then paint a wide grin with blunt white teeth below. Use a liner brush for the mouth outline and tooth definition. Add any other character-specific details like ear shapes or a collar.

  6. Seal and display

    Apply two thin coats of glossy acrylic spray sealer once all paint is dry, waiting between coats. A glossy finish makes the colors look vivid and enhances the cartoonish, playful feel of the design. Display on a covered surface to protect the pumpkin from pooling water.

Written with AI to match this design

Gather your supplies

Check things off as you get ready.

Work on a stable surface, keep your free hand out of the cutting path, and have an adult handle sharp tools.

Three levels of light

  • Leave intact

    The full intact rind, with orange base paint covering the natural surface

  • Peel & shade

    None, the shell remains completely uncut

  • Cut through

    None. Use an external accent light or place the pumpkin near an outdoor lamp for evening display

Learn the carving basics

Before you start cutting

How do I get the eyes to look genuinely crossed and goofy rather than just off-center?

Place the left pupil dot in the center-left of the left iris and the right pupil in the center-right of the right iris, so both pupils point slightly toward the nose bridge. This directs the implied gaze inward and creates the cross-eyed effect even in flat paint. Exaggerating the distance slightly makes it more readable.

My orange base paint looks too flat compared to the natural pumpkin. Should I skip it?

You can skip the base coat if the natural rind color is consistent and well-suited to the design. The base coat helps most when the rind has green patches or uneven coloring. If the natural rind is bright orange and uniform, painting directly on it is perfectly fine.

Can kids help with this project?

Yes, this is one of the most kid-friendly pumpkin activities since there is no cutting involved. Set up a dedicated painting station with smocks, let adults handle the sealing spray outdoors, and give kids a large flat brush for the base and stripes. The bold, forgiving shapes look good even with a loose hand.

Your take belongs here, too.

Changed a detail? Made it simpler? Share a photo of your version and tell the community what worked.

Share your pumpkin

Want more designs like this? Browse our full library of pumpkin carving ideas, or pick a free printable stencil. Every pattern and template in our own collection is free to print at home.

More pumpkins like this

You've reached the end · 8 pumpkins
The Patch Report

Fresh pumpkins, in your inbox.

The best new carvings, ideas worth stealing, and how-tos for carving season. Short, seasonal, and gone by November.

A short email during carving season. Unsubscribe anytime. See our privacy policy.