Halloween Pumpkin Carving Contest · Starts October 1st · $500 in prizes
← Back to ideas
@ai_concepts
Sep 25, 2026
Painted Jinu K-Pop Idol Pumpkin DecorationAI
0

Report this carving

Tell us what is wrong. Reports are private.

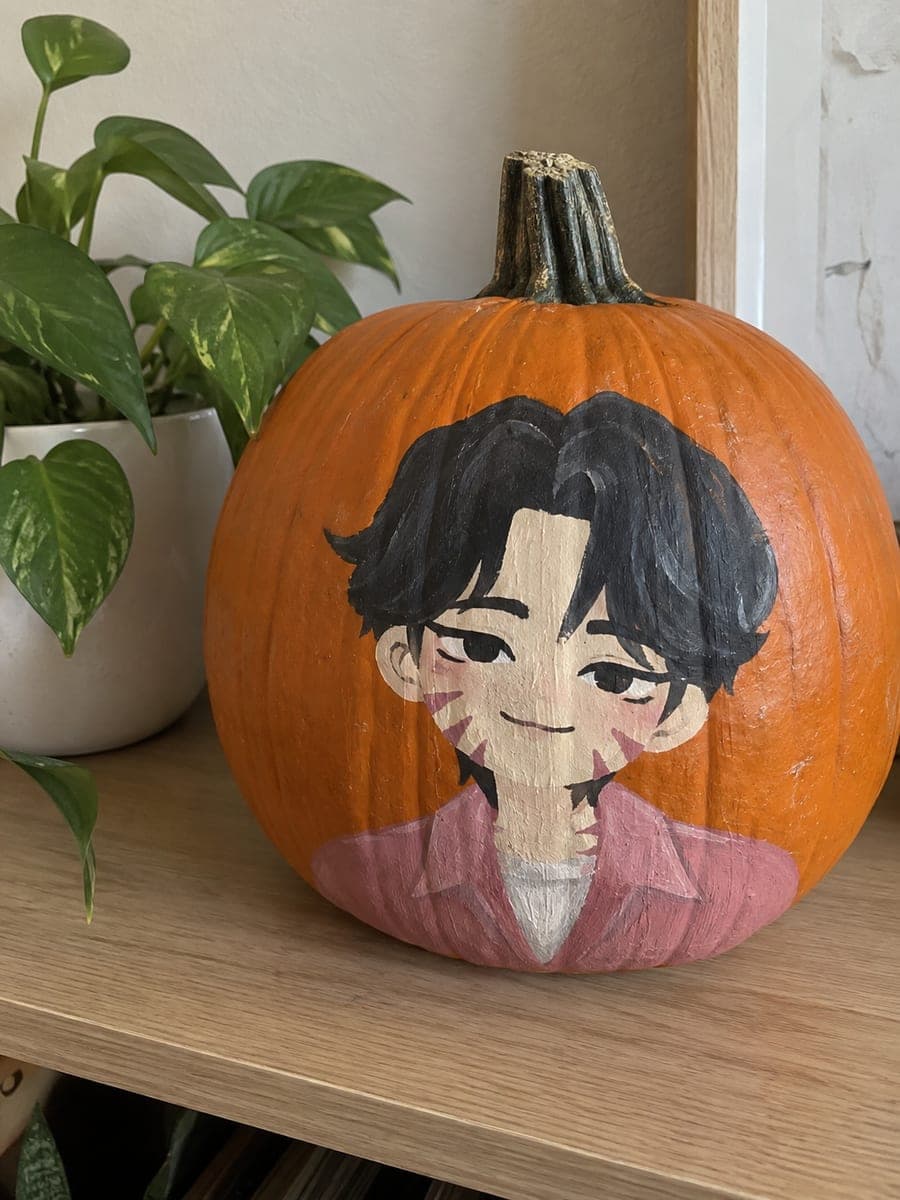
Painted Jinu K-Pop Idol Pumpkin Decoration

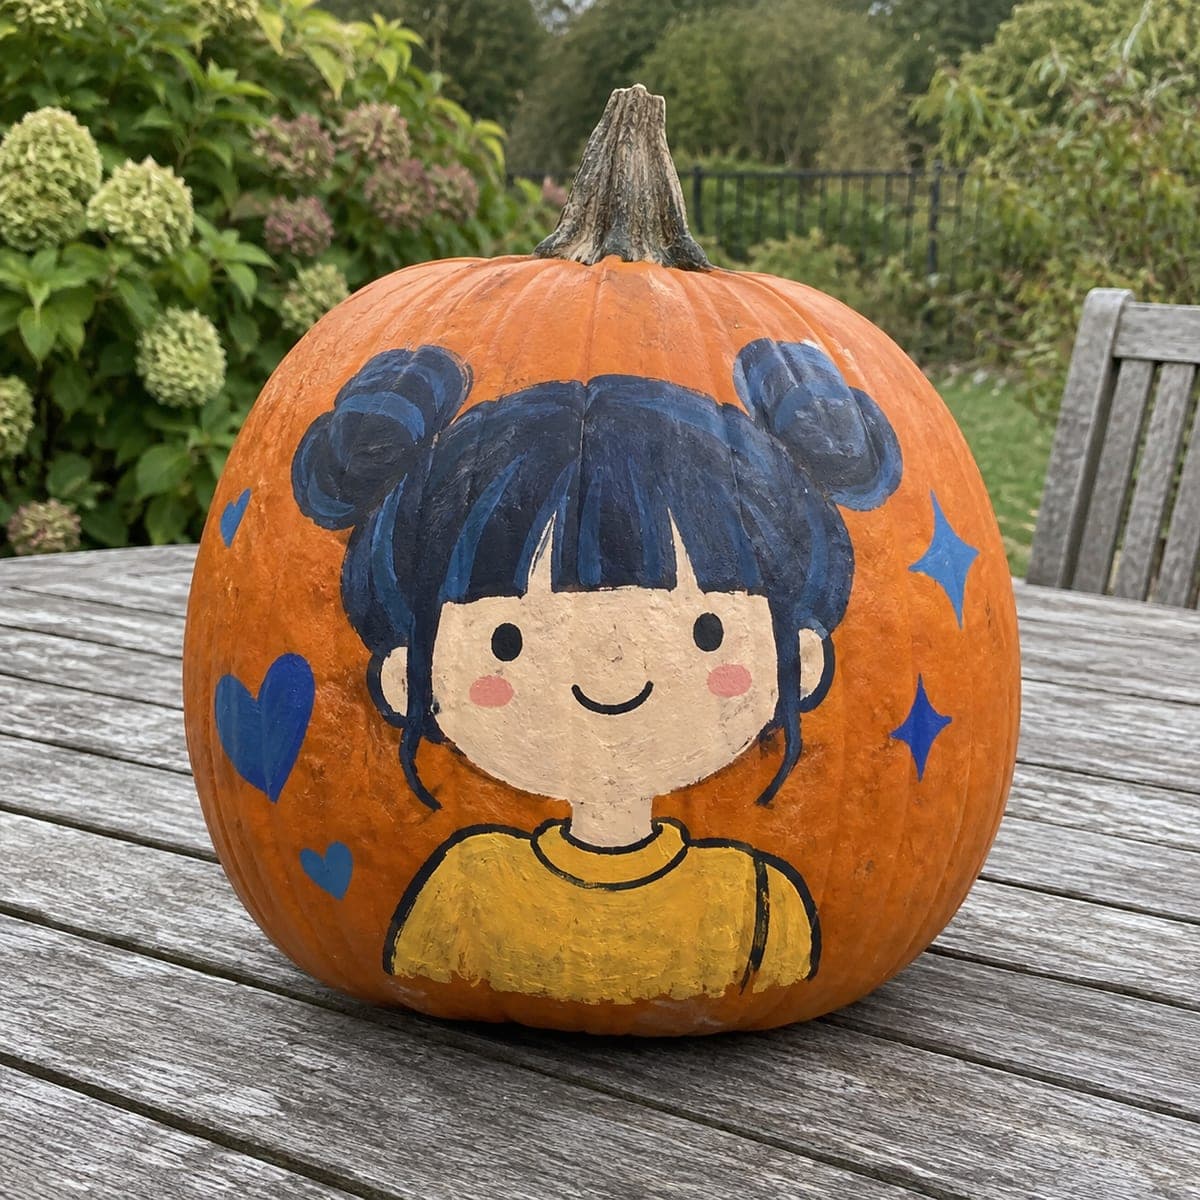
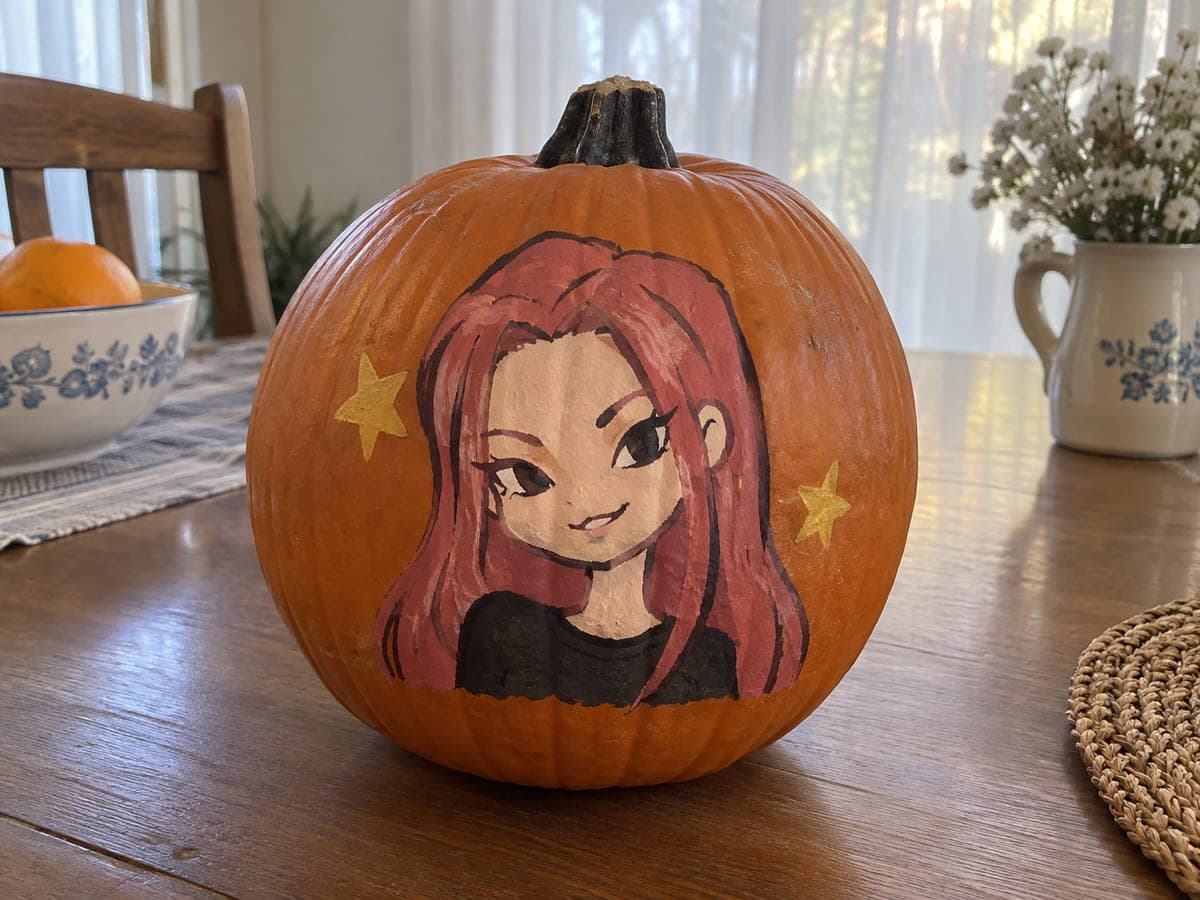
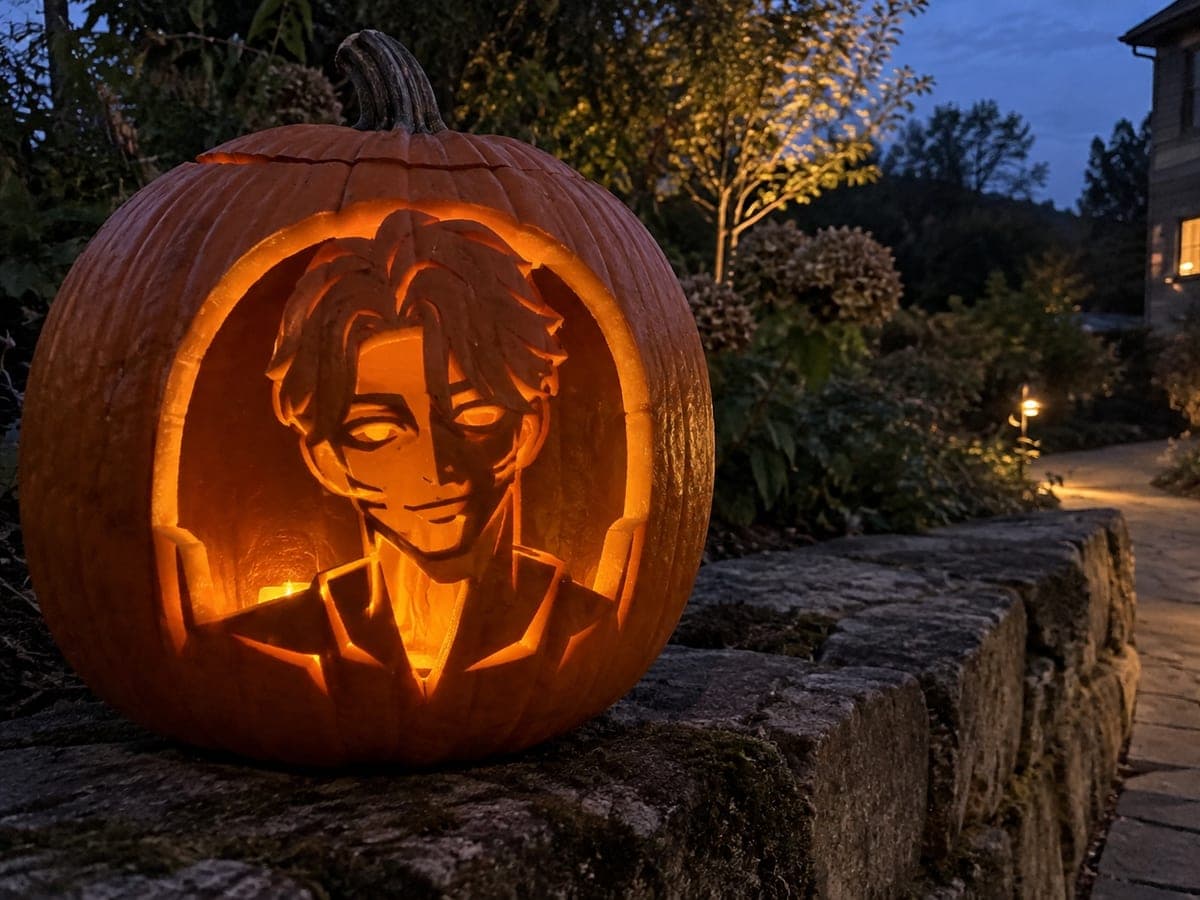
This no-carve jinu pumpkin carving idea uses flat acrylic shapes painted directly onto the intact rind, making it accessible for any skill level. Sketch the face outline with a pencil before committing to paint, then layer the darkest areas first and add the lighter skin tones on top. A matte sealer coat will help your painted jinu pumpkin hold up through weeks of outdoor display.

No ratings yet · Sign in to rate
Comments (0)

  • No comments yet — be the first.

Save without an account. Sign in to like or comment.

Our tips for carving a similar design

Flat acrylic shapes build Jinu's face and K-pop style costume directly on the intact rind, requiring no tools sharper than a brush. Layering darkest tones first and lightest highlights last keeps the colors vibrant and the details crisp. A matte sealer applied at the end protects the work through a full month of outdoor display.

From pumpkin to porch

  1. Wash and dry the surface

    Wipe the pumpkin with a damp cloth and let it dry fully. If the skin feels waxy or paint beads up during a test stroke, wipe the area with rubbing alcohol and allow it to dry again before sketching. Starting on a clean surface prevents paint from peeling as the rind ages.

  2. Sketch the face and costume

    Pencil in the face oval, the hair outline, and the costume collar and jacket shape. Take a step back and check that the head is centered and appropriately sized relative to the costume. Adjusting now costs nothing, while adjusting after painting is much harder.

  3. Block in the darkest areas

    Paint the hair and jacket with dark colors first, using a medium flat brush. Fill these shapes solidly and let each coat dry before adding a second. Dark paint applied first prevents lighter skin tones from looking muddied if colors overlap slightly at the edges.

  4. Add skin tone and face details

    Paint the face oval with your skin-tone color, then let it dry and add eyes, brows, nose, and mouth with a fine liner brush. A slightly diluted paint consistency helps liner work flow smoothly without clumping. Keep a damp cotton swab handy for quick corrections.

  5. Finish the costume and any accessories

    Detail the collar, any buttons, and the K-pop costume trim with a liner brush. This stage brings the idol personality into the design, so take your time and refer to the character reference for color accuracy. Let everything dry completely before sealing.

  6. Seal and position

    Apply two thin coats of matte acrylic spray sealer, waiting for the first coat to dry before the second. Display in a spot where the painted face catches natural or artificial light from slightly above. Avoid placing it where direct rain will fall on the surface even after sealing.

Written with AI to match this design

Gather your supplies

Check things off as you get ready.

Work on a stable surface, keep your free hand out of the cutting path, and have an adult handle sharp tools.

Three levels of light

  • Leave intact

    The entire intact rind serves as canvas, with unpainted sections showing as natural orange

  • Peel & shade

    None, the shell is untouched throughout

  • Cut through

    None. Position a porch or accent light to illuminate the painted face from outside

Learn the carving basics

Before you start cutting

What colors do I need to paint the costume accurately?

A basic palette of black, white, a medium skin tone, and two to three accent colors for the costume covers most K-pop idol designs. Mix colors on a palette before applying them to the pumpkin. Starting with a limited palette keeps the design from looking muddy.

The hair looks flat with just one black color. How can I add dimension?

Once the base black is dry, lightly dry-brush a very small amount of dark brown or very dark navy along the hair highlights using a nearly dry brush. This adds a subtle sheen without overcomplicating the design. Less is more here.

How long will an outdoor painted pumpkin last?

A well-sealed painted pumpkin typically looks good for two to three weeks outdoors in cool, dry weather. Bring it inside during heavy rain even with sealant. Keeping it out of direct sunlight also slows both paint fading and rind softening.

Your take belongs here, too.

Changed a detail? Made it simpler? Share a photo of your version and tell the community what worked.

Share your pumpkin

More pumpkins like this

You've reached the end · 8 pumpkins
The Patch Report

Fresh pumpkins, in your inbox.

The best new carvings, ideas worth stealing, and how-tos for carving season. Short, seasonal, and gone by November.

A short email during carving season. Unsubscribe anytime. See our privacy policy.