Halloween Pumpkin Carving Contest · Starts October 1st · $500 in prizes
← Back to ideas
@ai_concepts
Sep 25, 2026
Painted Rumi KPop No-Carve Pumpkin DesignAI
0

Report this carving

Tell us what is wrong. Reports are private.

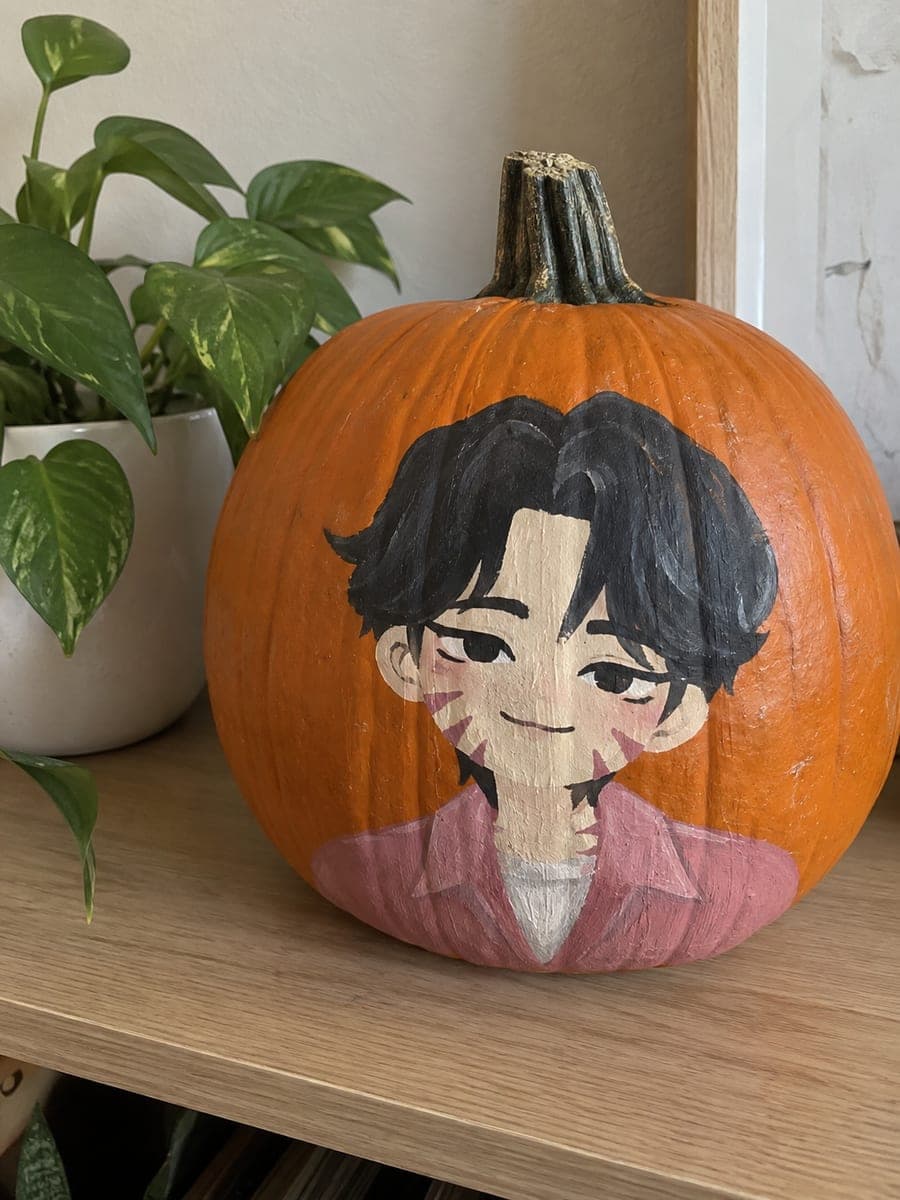
Painted Rumi KPop No-Carve Pumpkin Design

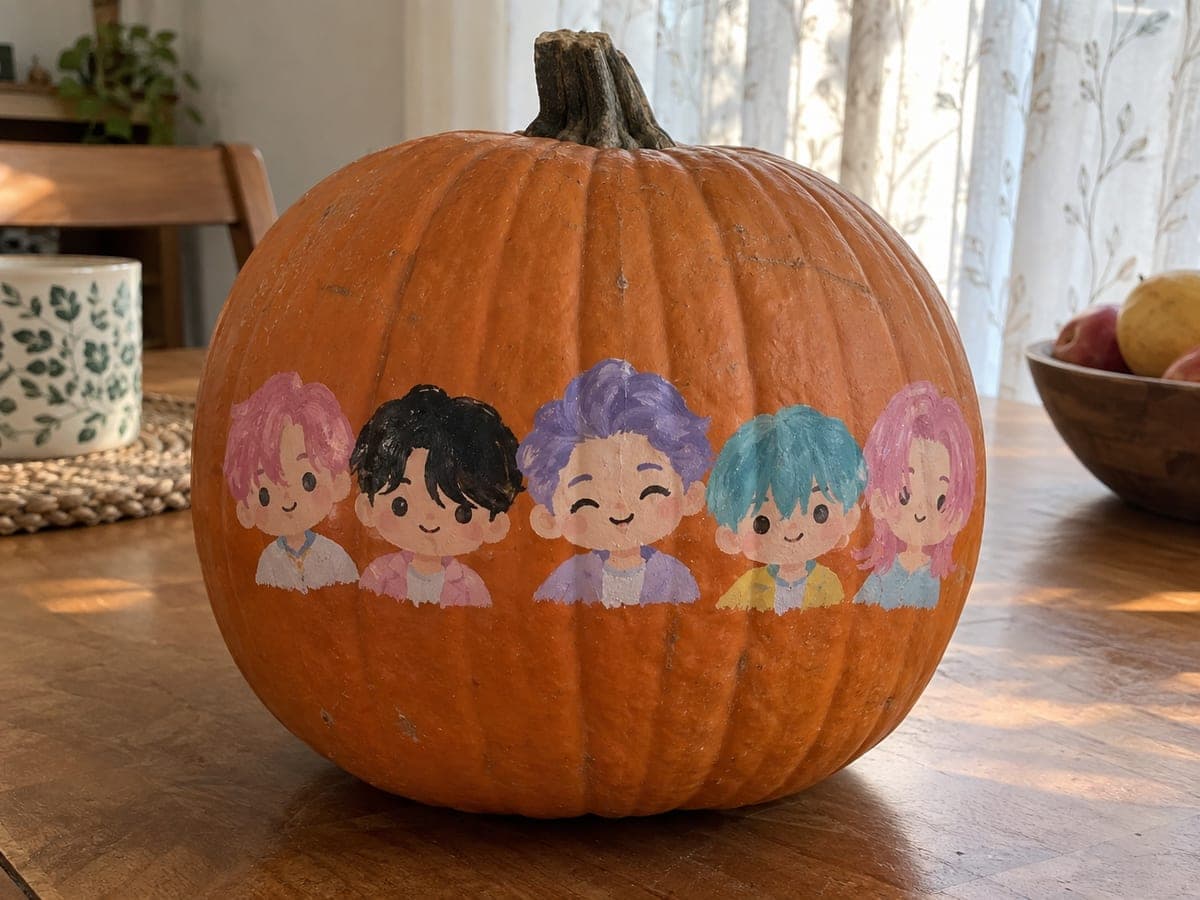
Flat acrylic shapes on an intact rind capture Rumi from KPop Demon Hunters in this no-carve rumi pumpkin carving idea, photographed in a home setting that suits a fan display. Sketch the character outline lightly in pencil to place the braid and costume proportions correctly before picking up a brush. Build the design in layers, starting with the largest costume color blocks, then adding hair detail and facial features with a fine liner. Seal with matte spray varnish once all layers are fully dry to protect the finish through the Halloween season.

No ratings yet · Sign in to rate
Comments (0)

  • No comments yet — be the first.

Save without an account. Sign in to like or comment.

Our tips for carving a similar design

This no-carve Rumi design captures the character in flat acrylic layers on an uncut rind, building up from the largest costume color blocks to the finest liner details for hair, braid, and facial features. A light pencil sketch before painting ensures the braid and costume proportions sit correctly on the pumpkin's curved surface. Matte varnish at the end protects all the painted layers through the full Halloween season.

From pumpkin to porch

  1. Clean and dry

    Wipe the pumpkin with a damp cloth and let it dry completely for 30 minutes. If the rind is smooth and waxy, wipe the front face with a cotton pad and a small amount of rubbing alcohol to improve acrylic adhesion before sketching.

  2. Sketch the character layout

    Use a soft pencil to sketch Rumi's head and upper body position, marking the braid line running down from the back of the head and the costume boundary across the lower half of the face. Keep the sketch light so pencil lines disappear under paint.

  3. Paint the costume base

    Apply the main costume colors as flat, opaque blocks using a flat brush, working from the largest areas down to smaller details. Let each color dry fully before applying an adjacent color to prevent bleeding. Two thin coats per color give more consistent coverage than one heavy coat.

  4. Paint the face and hair

    Add the skin tone across the face area, then the hair color on top in the correct placement. Use a round brush for the flowing hair shapes and keep the braid as a thin elongated form running from the head downward. Follow the braid direction with the brush stroke rather than across it.

  5. Add facial features and braid detail

    With a fine liner brush, paint the eyes, nose, and mouth in a style matching the character's aesthetic. Score the braid with thin diagonal crossing lines in a slightly darker hair tone to suggest the woven texture. Add any costume accessory lines or collar details.

  6. Seal and display

    Apply two light coats of matte spray varnish once all paint layers are fully dry, waiting 15 minutes between coats. Display the pumpkin with the painted face toward the main viewing direction and use a front-facing light source to illuminate the design after dark.

Written with AI to match this design

Gather your supplies

Check things off as you get ready.

Work on a stable surface, keep your free hand out of the cutting path, and have an adult handle sharp tools.

Three levels of light

  • Leave intact

    Natural orange rind on the back and sides

  • Peel & shade

    None, the shell stays completely intact

  • Cut through

    None. Use a front-facing porch light or small spotlight to illuminate the painted character after dark.

Learn the carving basics

Before you start cutting

How do I paint the braid so it looks like a braid rather than a rope?

Paint the base braid shape in the main hair color first, then add thin diagonal lines in a slightly darker tone crossing in a consistent chevron pattern along the braid. The crossing lines do not need to be perfectly regular. Three to four lines per inch of braid is enough detail to read from a normal display distance.

The braid is a thin shape. How do I paint it without it looking wobbly?

Load a fine liner brush and rest your painting hand against the pumpkin surface for stability. Pull the brush from the head of the braid downward in one smooth stroke per side. Having a stable anchor point for your wrist is the key to keeping thin linear elements straight on a curved surface.

Can I use paint markers instead of a brush for the fine liner details?

Yes. A fine-tip black paint marker is often easier to control than a loaded liner brush for facial features and braid lines. Test the marker on a scrap surface first to check its line width. Make sure the marker is acrylic-based and seal it with matte varnish the same as brush-painted layers.

Your take belongs here, too.

Changed a detail? Made it simpler? Share a photo of your version and tell the community what worked.

Share your pumpkin

More pumpkins like this

You've reached the end · 8 pumpkins
The Patch Report

Fresh pumpkins, in your inbox.

The best new carvings, ideas worth stealing, and how-tos for carving season. Short, seasonal, and gone by November.

A short email during carving season. Unsubscribe anytime. See our privacy policy.