Halloween Pumpkin Carving Contest · Starts October 1st · $500 in prizes
← Back to ideas
@ai_concepts
Sep 25, 2026
Rumi Profile Easy KPop Pumpkin CarvingAI
0

Report this carving

Tell us what is wrong. Reports are private.

Rumi Profile Easy KPop Pumpkin Carving

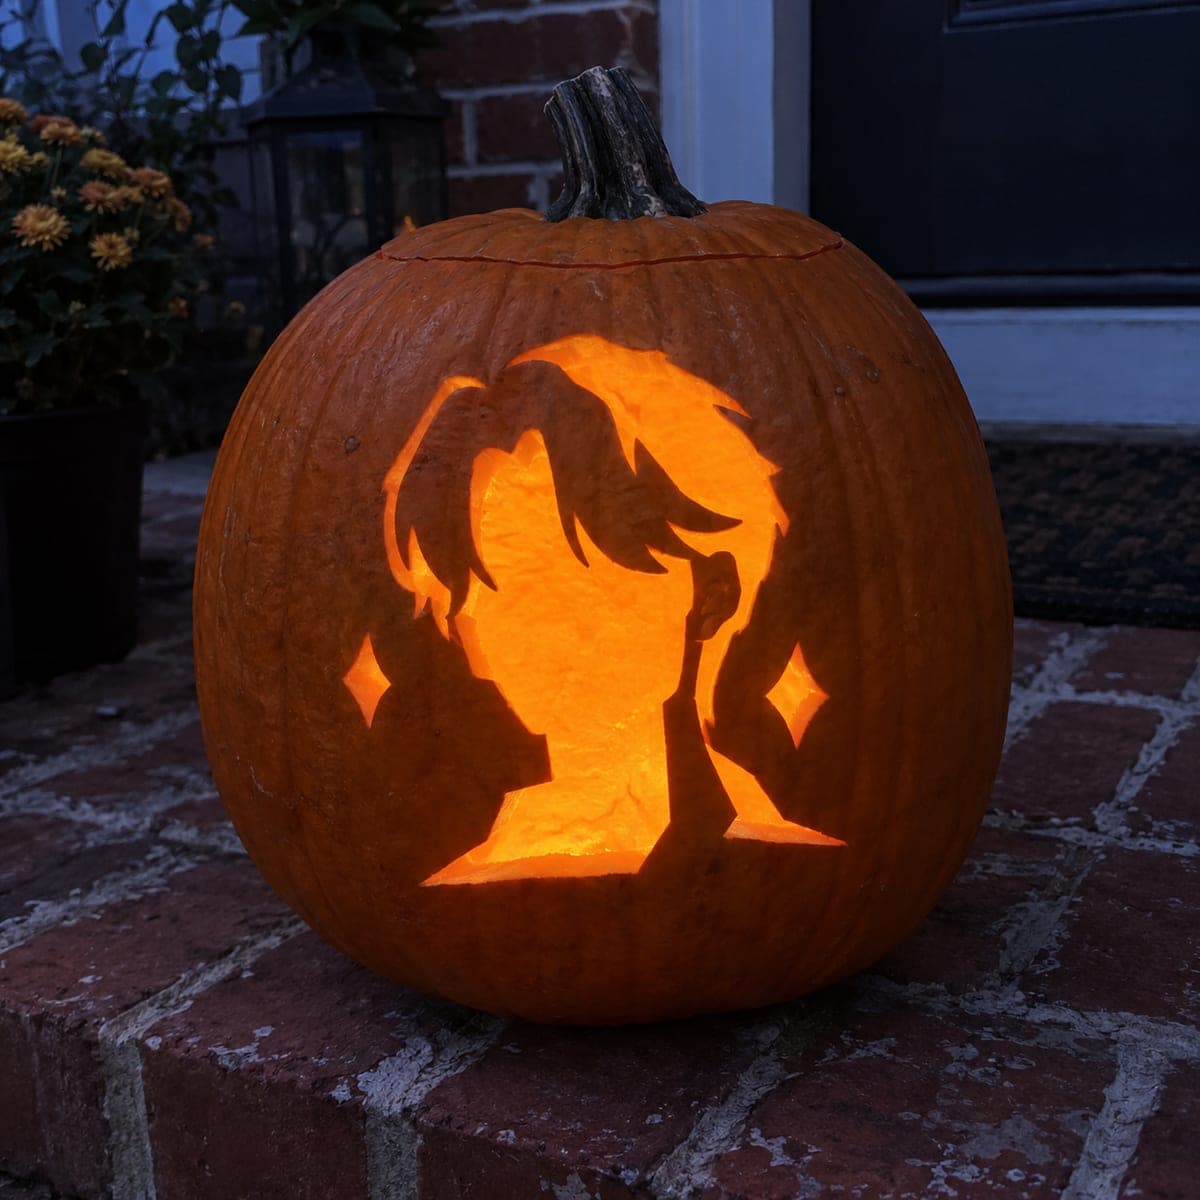
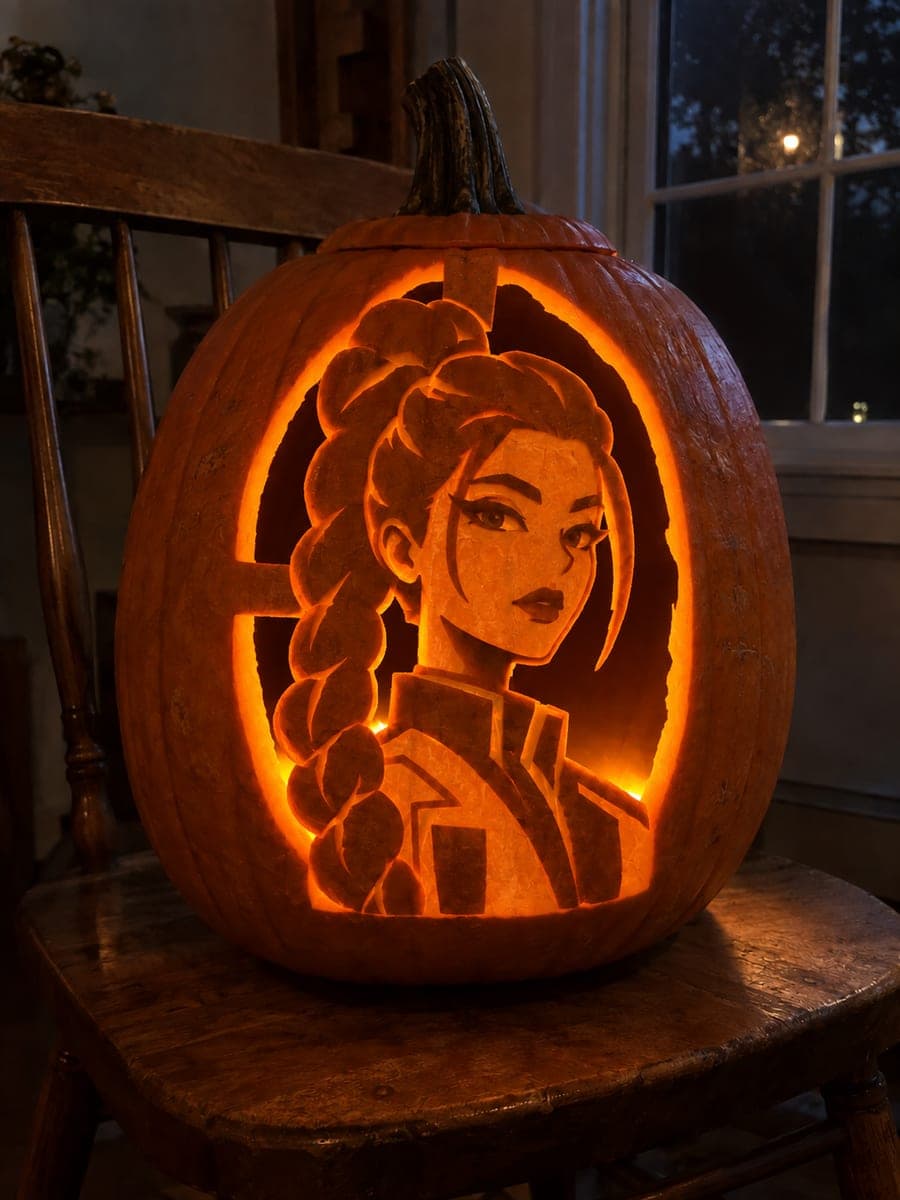
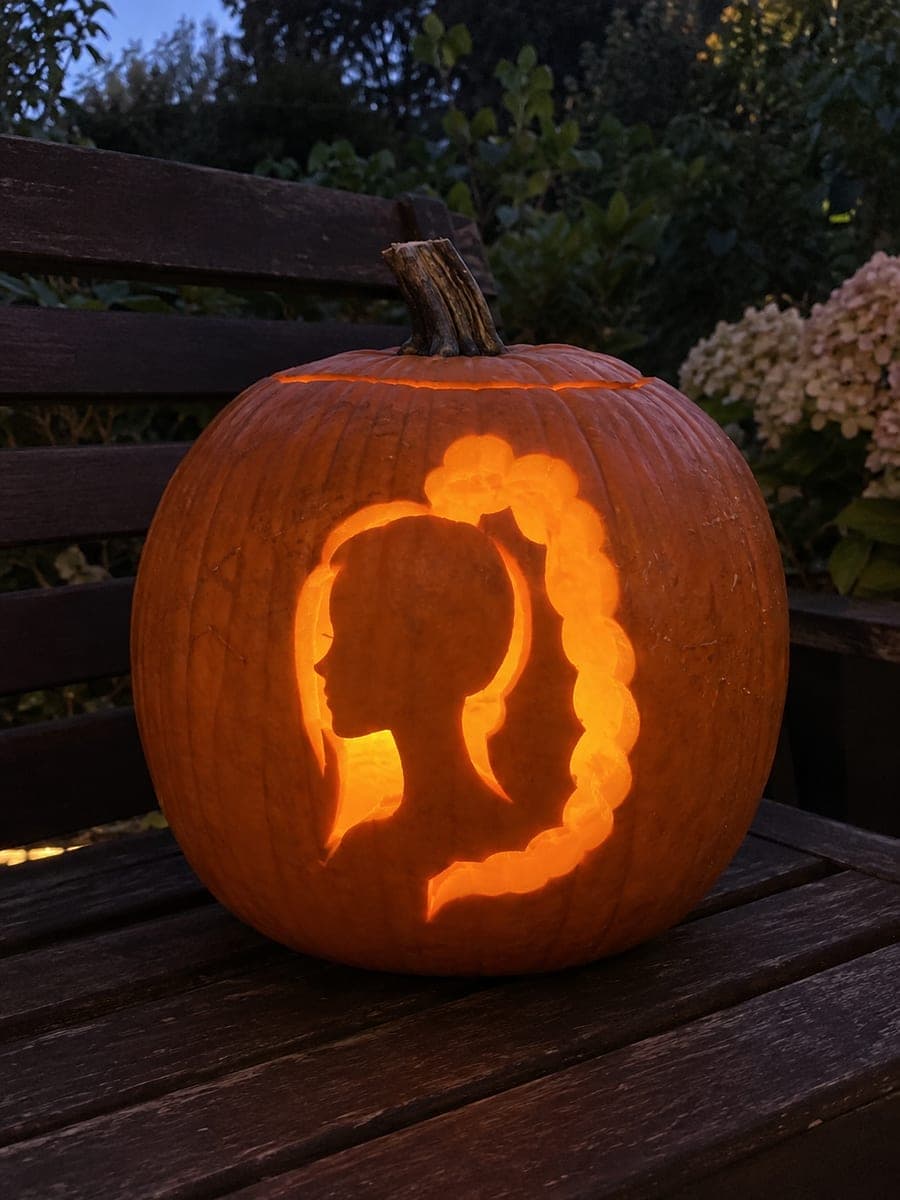
Rumi's side profile with her long braid glows as a retained dark silhouette against a glowing background in this easy rumi pumpkin carving idea, rooted broadly at the lower left neck and shoulder so the figure stays secure. The surrounding glowing hair and profile openings are removed as hollow cutouts, while no floating facial islands complicate the design. Transfer the profile outline with a stylus before cutting the open background areas, keeping the neck and shoulder root points wide. Warm orange candlelight behind the retained profile creates a beautiful backlit portrait effect.

No ratings yet · Sign in to rate
Comments (0)

  • No comments yet — be the first.

Save without an account. Sign in to like or comment.

Our tips for carving a similar design

Rumi's side profile is kept as a retained dark silhouette while the surrounding hair and background areas are removed as hollow cutouts, producing a warm glowing halo around the character shape. The figure is rooted broadly at the lower left neck and shoulder so it stays secure despite the large surrounding openings. The design has no floating facial islands, which makes it very achievable for a beginner who follows the rule of keeping root widths wide before cutting adjacent background areas.

From pumpkin to porch

  1. Hollow the pumpkin

    Cut a back or bottom opening and scoop the cavity clean, leaving a consistent 1-inch wall on the front face. This is a backlit silhouette design, so the front wall should be as even as possible for a smooth uniform glow around the retained profile. Dry the interior before transferring the design.

  2. Transfer the profile outline

    Transfer Rumi's profile outline with a stylus, marking the boundary of the retained figure and the background cutout areas separately. Confirm the neck and shoulder root spans at least one-quarter of the total profile width at its widest point. Mark any thin spots in the background openings that come close to the root area.

  3. Cut the outer background areas first

    Begin with the outermost background sections, furthest from the retained profile. Remove these sections in small pieces, working inward toward the profile boundary. Leave at least 5 mm beyond the perforated profile line until you have removed all the easier outer sections.

  4. Cut the profile boundary

    With the outer sections removed, cut along the actual profile boundary line in smooth careful passes. At the neck and shoulder root, use very short saw strokes and confirm the root width is still wide and solid as you work along it. The hair silhouette above the head has organic curves, so use short curved strokes to follow them.

  5. Remove the background pieces

    Remove all background pieces around the retained profile, checking after each removal that the profile is still firmly attached at the root. If the profile feels slightly flexible, the root may need a reinforcing support: a thin strip of packing tape applied to the inner face bridges the root from the inside.

  6. Light and display

    Place a warm LED close to the back wall and view the design in a dark room. The retained profile should appear as a crisp dark shape surrounded by warm orange glow. Position the pumpkin so viewers see the profile from slightly in front and to the side for the best silhouette effect.

Written with AI to match this design

Gather your supplies

Check things off as you get ready.

Work on a stable surface, keep your free hand out of the cutting path, and have an adult handle sharp tools.

Three levels of light

  • Leave intact

    Retained Rumi profile shape including the head, face, and braid, all remaining dark as the silhouette subject

  • Peel & shade

    None in this design

  • Cut through

    All surrounding background and hair-shaped openings, blazing with full warm light around the silhouette

Learn the carving basics

Before you start cutting

How do I trace Rumi's braid accurately so it reads as a braid rather than a blob?

The braid is part of the retained dark profile, not a cutout. On the template, it appears as an elongated tear-drop shape extending from the back of the head downward. The braid's silhouette is defined by the cutout areas on either side of it. Transfer the full boundary carefully and the braid shape will read correctly once lit.

The retained profile is touching the outer rind edge on one side. Is that okay?

If the profile merges with the outer pumpkin edge, that section simply has no glowing background around it, which looks intentional as long as it is consistent. However, if you want a glow all the way around the profile, leave at least 1 cm between the profile boundary and the outer pumpkin edge when sizing the template.

Can I add Rumi's braid detail as scoring on the retained profile surface?

Yes. Once the background is removed, score shallow diagonal lines across the retained braid section using a V-gouge to suggest the woven strands. These will transmit soft light in the otherwise dark silhouette, adding detail without breaking the overall silhouette effect.

Your take belongs here, too.

Changed a detail? Made it simpler? Share a photo of your version and tell the community what worked.

Share your pumpkin

More pumpkins like this

You've reached the end · 8 pumpkins
The Patch Report

Fresh pumpkins, in your inbox.

The best new carvings, ideas worth stealing, and how-tos for carving season. Short, seasonal, and gone by November.

A short email during carving season. Unsubscribe anytime. See our privacy policy.