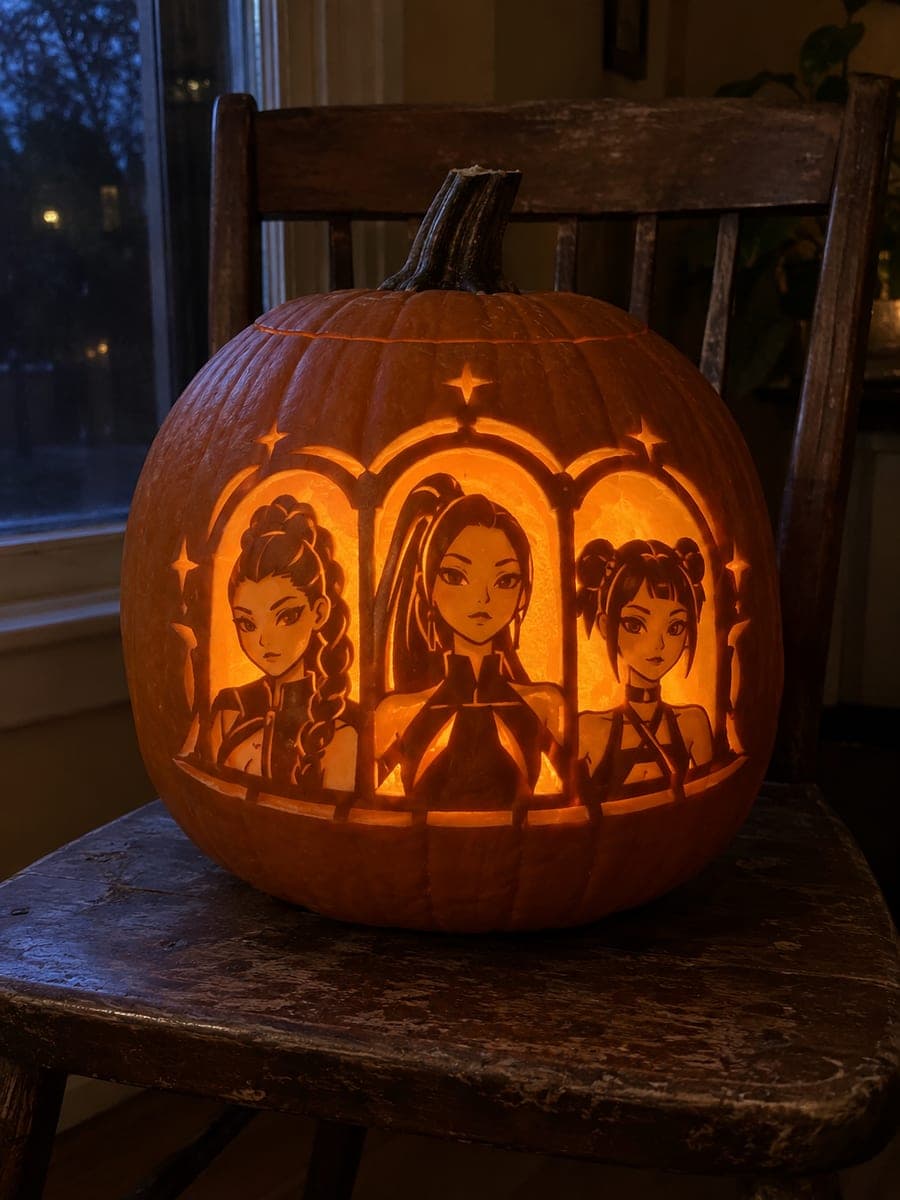
Halloween Pumpkin Carving Contest · Starts October 1st · $500 in prizes
← Back to ideas
@ai_concepts
Sep 25, 2026
Expert Rumi With Sword Jack-O-Lantern CarvingAI
0

Report this carving

Tell us what is wrong. Reports are private.

Expert Rumi With Sword Jack-O-Lantern Carving

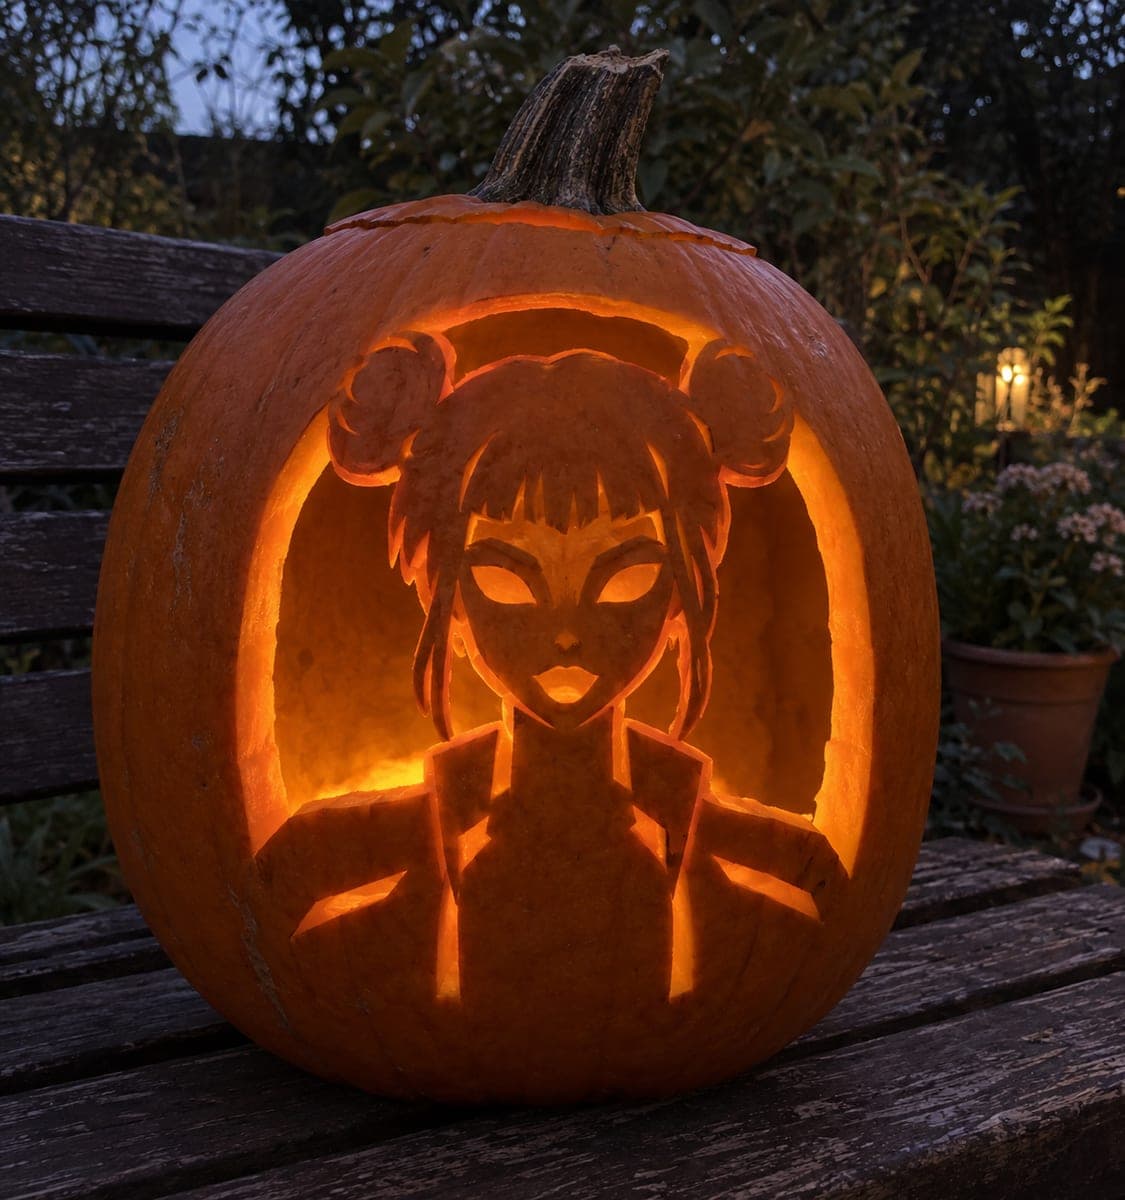
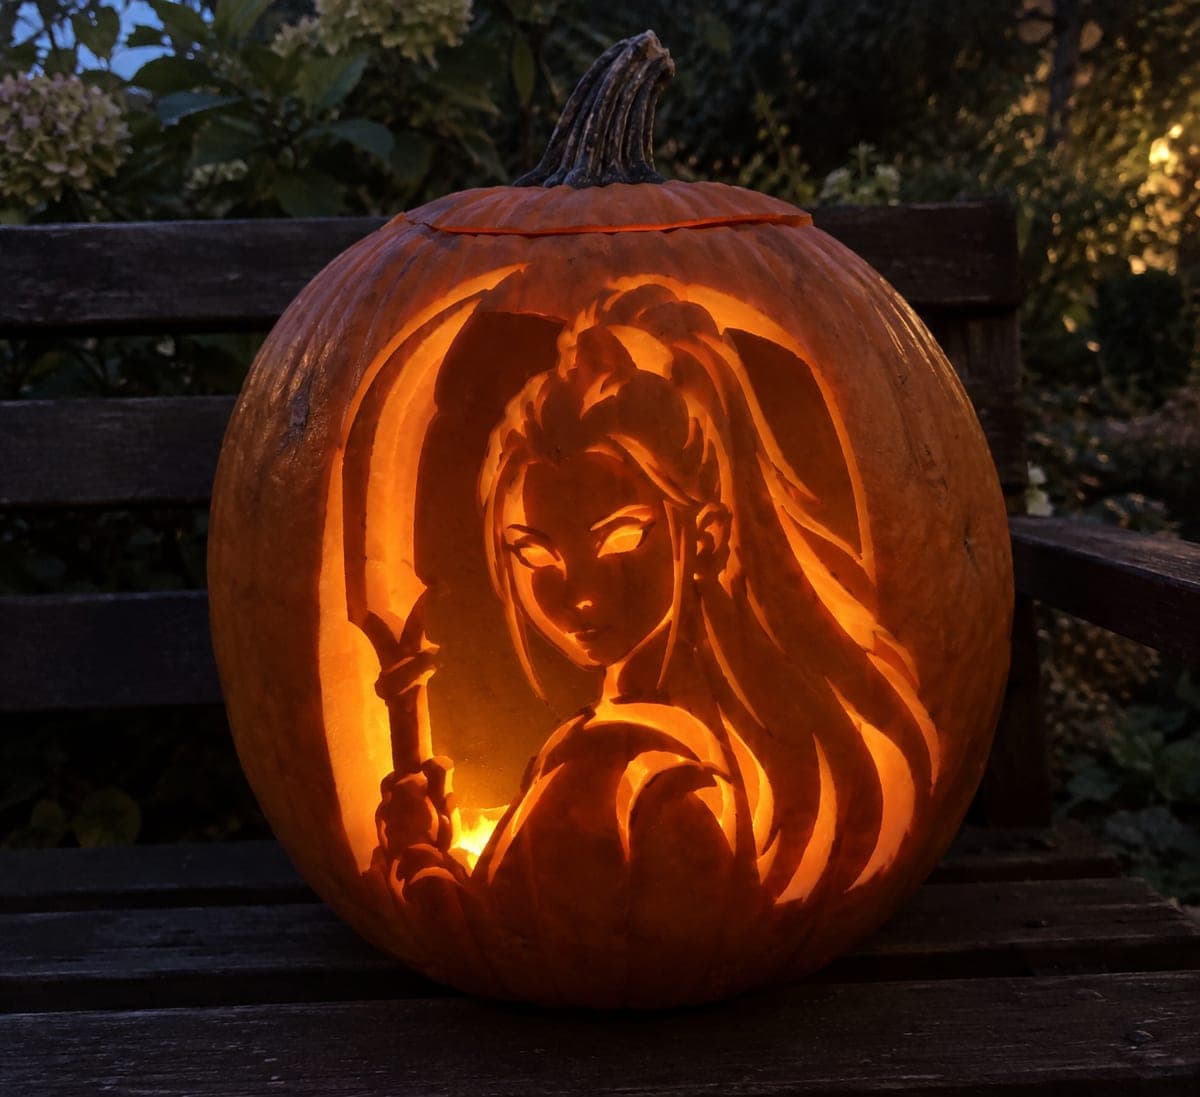
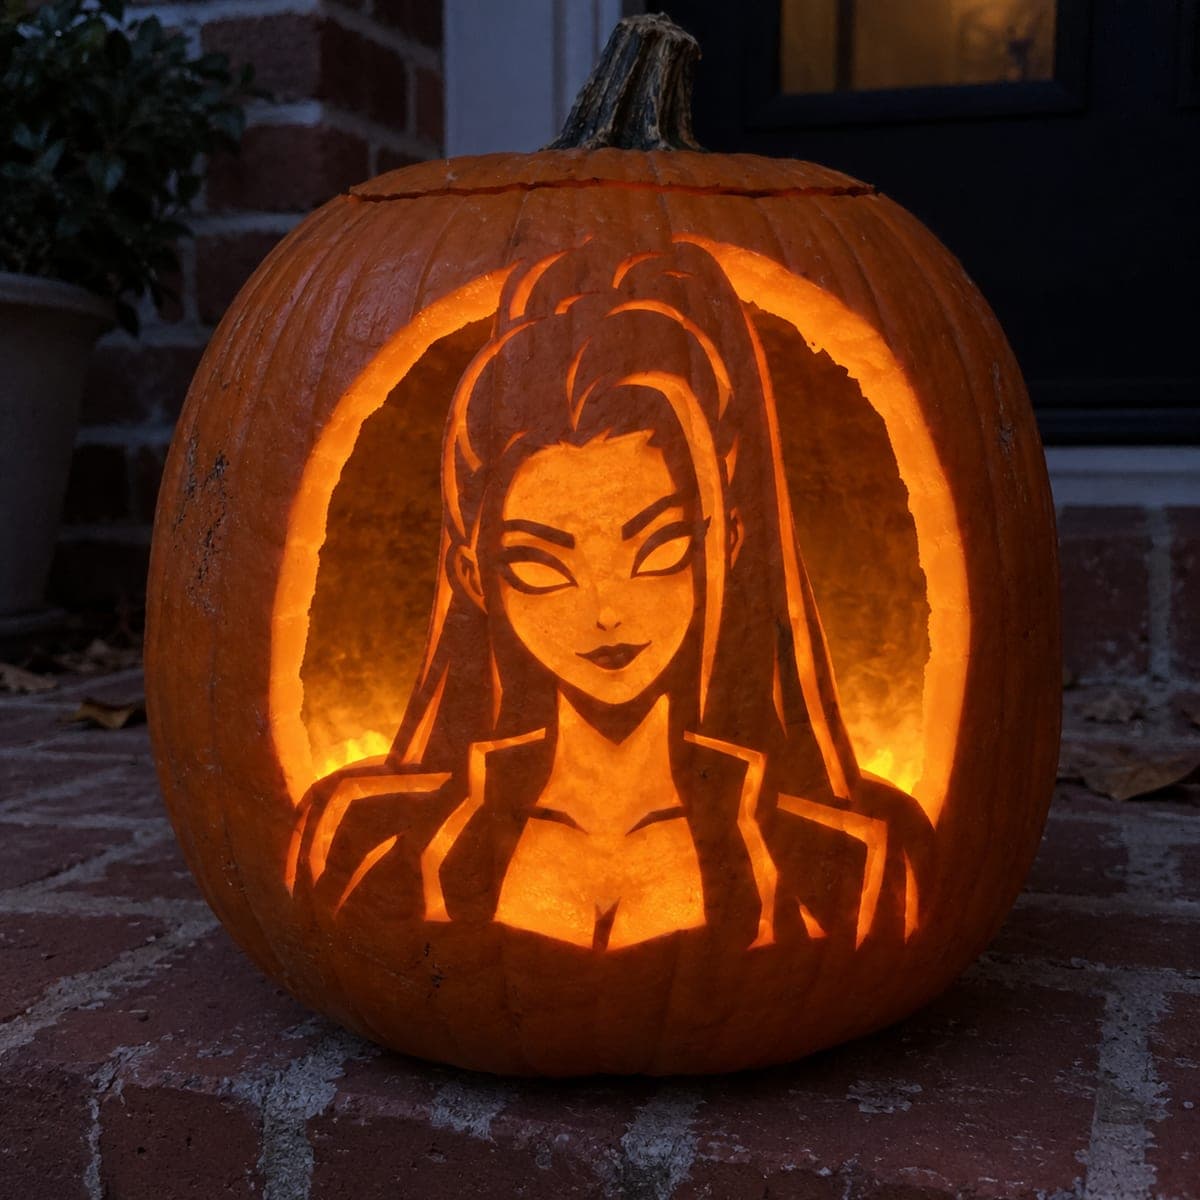
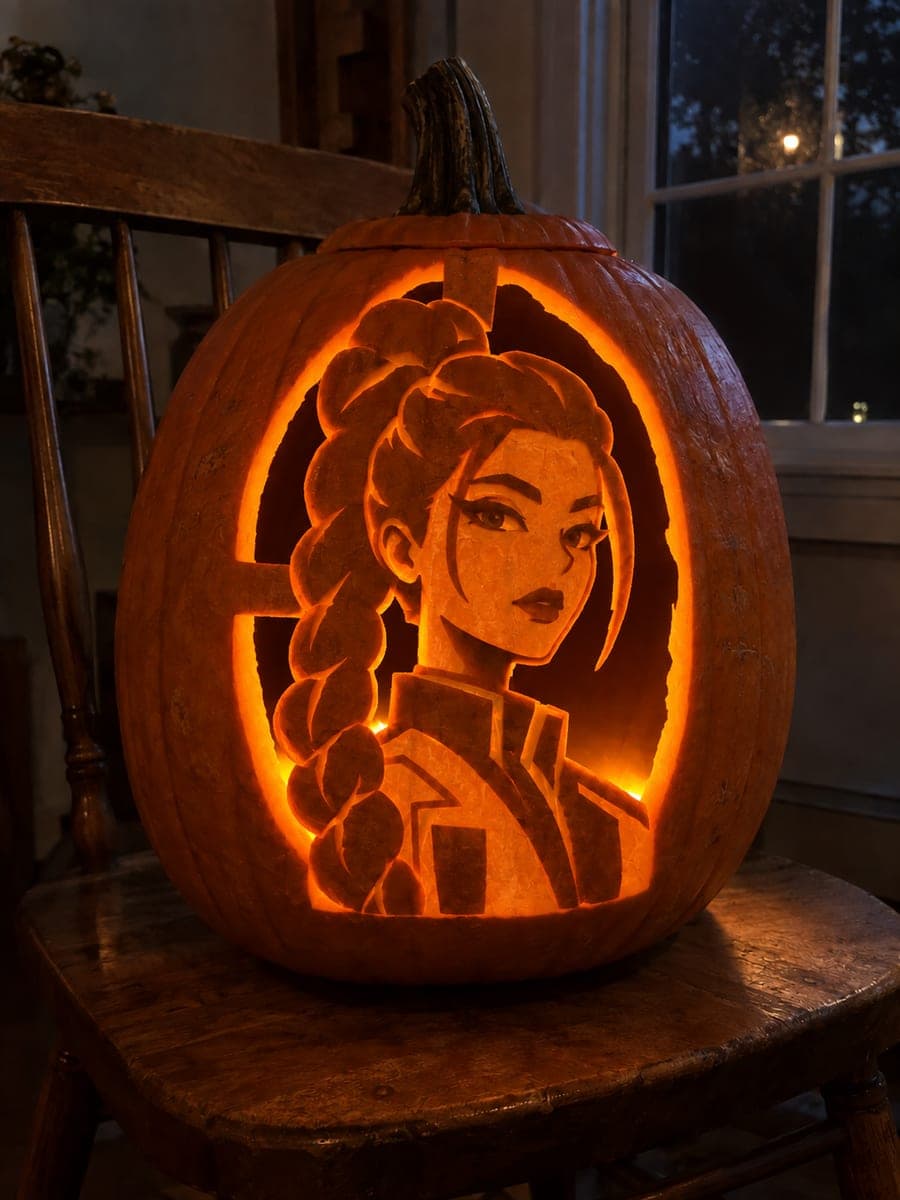
An open arch surrounds Rumi's full portrait bust in this expert rumi pumpkin carving idea, with the chest rooted to the bottom, a crown bridge at the top, a braid connecting at the lower right, and a sword joined at the hand and upper rim for maximum structural support. Face and fine costume details are shallow-backed engravings, while the sword and primary arch windows cut fully through. Establish all connection points on paper before cutting, then remove the arch sections first and work the engraved detail last. This is the showpiece design for any serious KPop Demon Hunters fan display.

No ratings yet · Sign in to rate
Comments (0)

  • No comments yet — be the first.

Save without an account. Sign in to like or comment.

Our tips for carving a similar design

The expert Rumi design places a fully open arch opening around a detailed retained portrait bust, with structural connections at the chest root, crown bridge, braid root at the lower right, and sword joining at the hand and upper rim. Face and costume details are shallow-backed engravings, while the arch windows and sword shape cut fully through. Planning every connection point on paper before picking up a saw is the single most important step in a design with this many structural dependencies.

From pumpkin to porch

  1. Hollow and map all connections

    Cut a back opening and hollow to a consistent 1 inch throughout. Before transferring, sketch the arch outline, all five connection points, and the sword path on the front face in chalk. Confirm every connection is at least 1.5 cm wide and the sword's connection at the hand is thick enough to support its own weight. This pre-planning step can prevent a structural collapse mid-carve.

  2. Full expert transfer

    Transfer the complete design with a stylus, marking the arch cutout boundaries, retained bust and sword outlines, all five structural connections, and every engraving zone separately. Use three perforation patterns: solid outline for cutouts, dashes for scoring, dots for fine texture.

  3. Cut the arch openings

    Remove the arch window sections in small pieces, working from the sections furthest from the structural connections first. Stop well short of each connection, cut everything else, then return to the connection zones last using very short, slow strokes. The arch is complete when all window sections are removed and all five connections are intact.

  4. Cut the sword

    Carve the sword as a fully open cutout, cutting along its long edges with a thin detail saw. The sword connects to the bust at the hand grip and to the upper rim at the blade tip, so both connection points must remain intact as the sword body is removed. Cut from the center of the sword outward toward both connections.

  5. Engrave the portrait face and costume

    Using a Dremel ball-tip bit, score the face features at mid-depth: eyes, brows, nose, and mouth as defined channels. Add facial texture in shallow passes. Switch to a V-gouge for the costume collar, neckline, and any accessory detail lines. The braid scoring runs from the shoulder downward with diagonal crossing lines suggesting woven strands.

  6. Light and display as showpiece

    Place a warm diffuse LED inside and evaluate from six feet away. All arch windows should glow at full brightness while the portrait glows softly through its engraving. Display at eye level with no competing light sources nearby so the full complexity of the design is visible. This is a showpiece carving, so choose the display location carefully.

Written with AI to match this design

Gather your supplies

Check things off as you get ready.

Work on a stable surface, keep your free hand out of the cutting path, and have an adult handle sharp tools.

Three levels of light

  • Leave intact

    Retained dark portrait bust body, hair surface before engraving, and all five structural connection strips

  • Peel & shade

    Face feature channels, braid strand scoring, and costume detail lines, glowing at warm mid-level

  • Cut through

    All open arch window sections surrounding the bust and the fully open sword shape, both blazing at full brightness

Learn the carving basics

Before you start cutting

What order should I cut the five structural connections?

Never cut any structural connection deliberately. Each connection is a protected zone that you carve up to but never through. The chest root, crown bridge, braid root, and sword connections at both ends all survive intact as the openings around them are removed. Mark them in a contrasting color before you start and check each one after every removal step.

How long is the sword opening and how does it stay stable?

The sword is a long thin cutout that is stable only because it connects to the bust at one end and the pumpkin rim at the other. A sword that floats free in the middle of a large opening with no rim connection would be very fragile. If your template places the sword tip away from the rim, consider extending the tip until it touches the rim to add that second connection point.

How do I keep the engraving readable inside the retained bust when the arch makes it so thin?

Work from the outer edges of the retained bust inward, leaving the most delicate face detail for last. The bust is thickest at the chest root, so start the engraving there and work upward. Keep all engraving passes to one-third depth initially and deepen selectively in a second pass only where the glow is insufficient.

Your take belongs here, too.

Changed a detail? Made it simpler? Share a photo of your version and tell the community what worked.

Share your pumpkin

More pumpkins like this

You've reached the end · 8 pumpkins
The Patch Report

Fresh pumpkins, in your inbox.

The best new carvings, ideas worth stealing, and how-tos for carving season. Short, seasonal, and gone by November.

A short email during carving season. Unsubscribe anytime. See our privacy policy.