Halloween Pumpkin Carving Contest · Starts October 1st · $500 in prizes
← Back to ideas
@ai_concepts
Sep 25, 2026
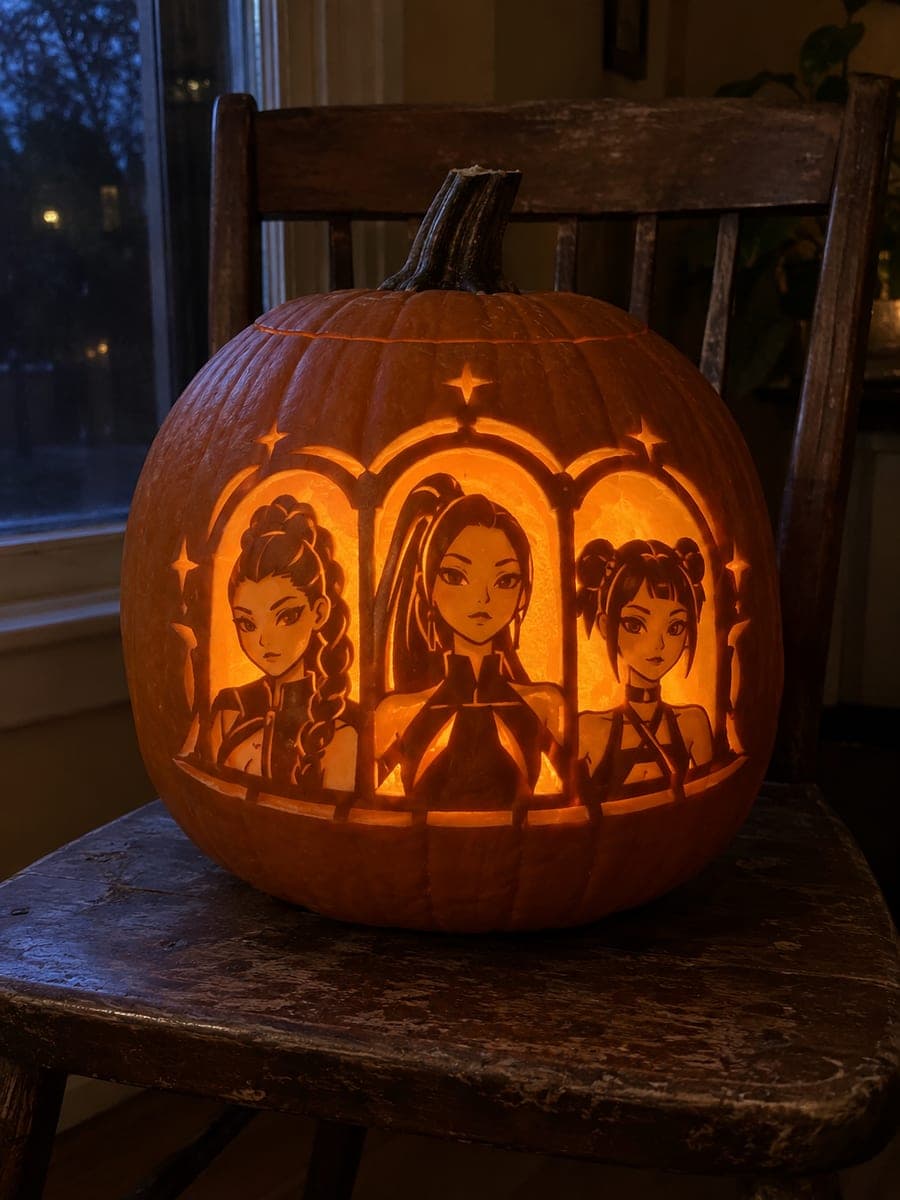
Expert KPop Demon Hunters Arched Pumpkin CarvingAI
0

Report this carving

Tell us what is wrong. Reports are private.

Expert KPop Demon Hunters Arched Pumpkin Carving

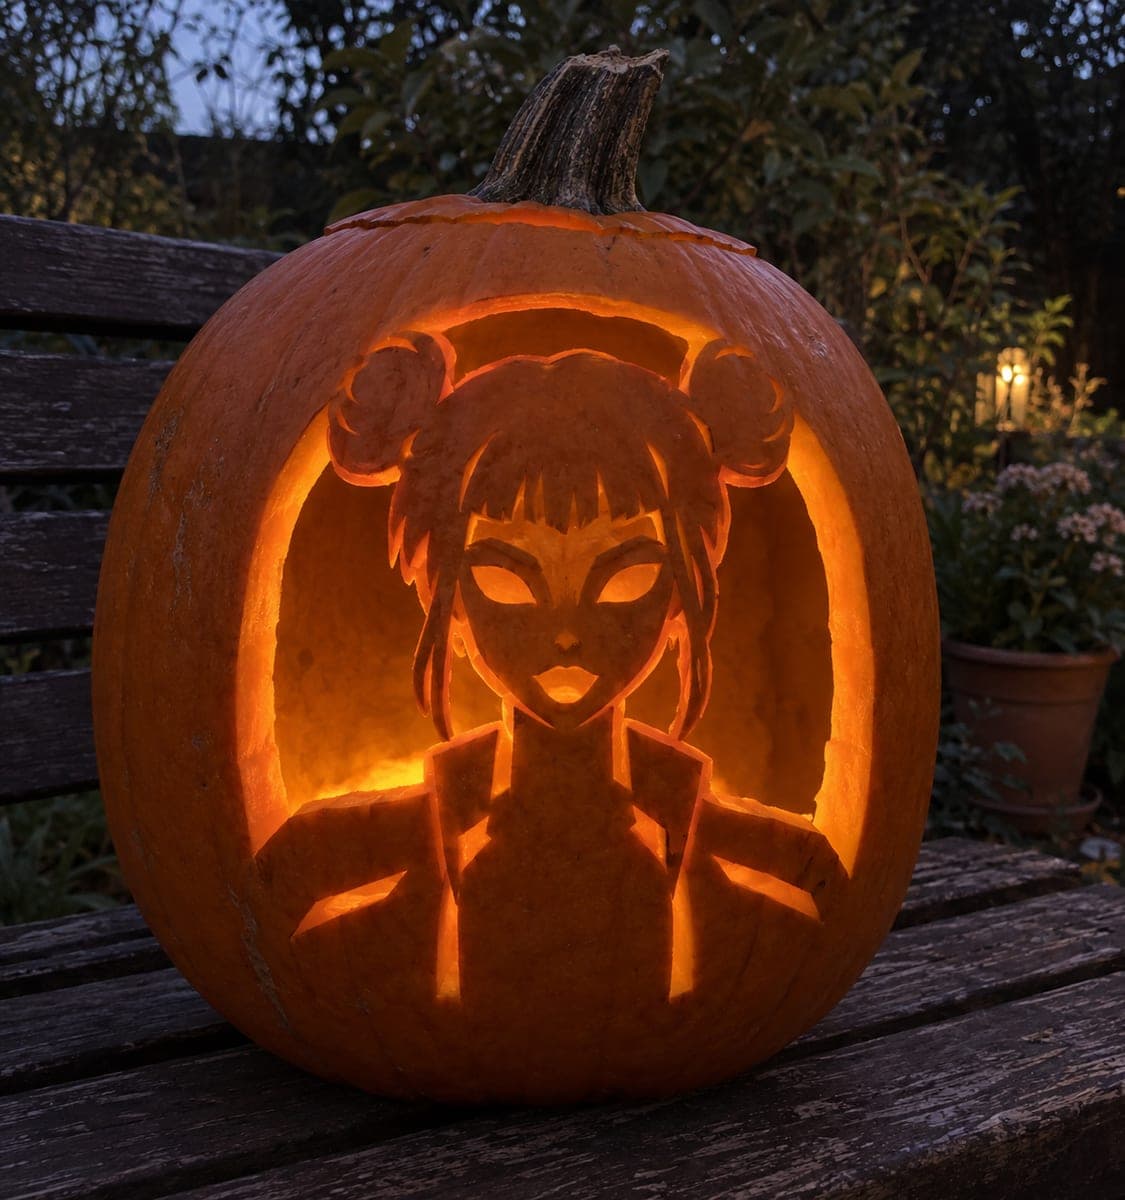
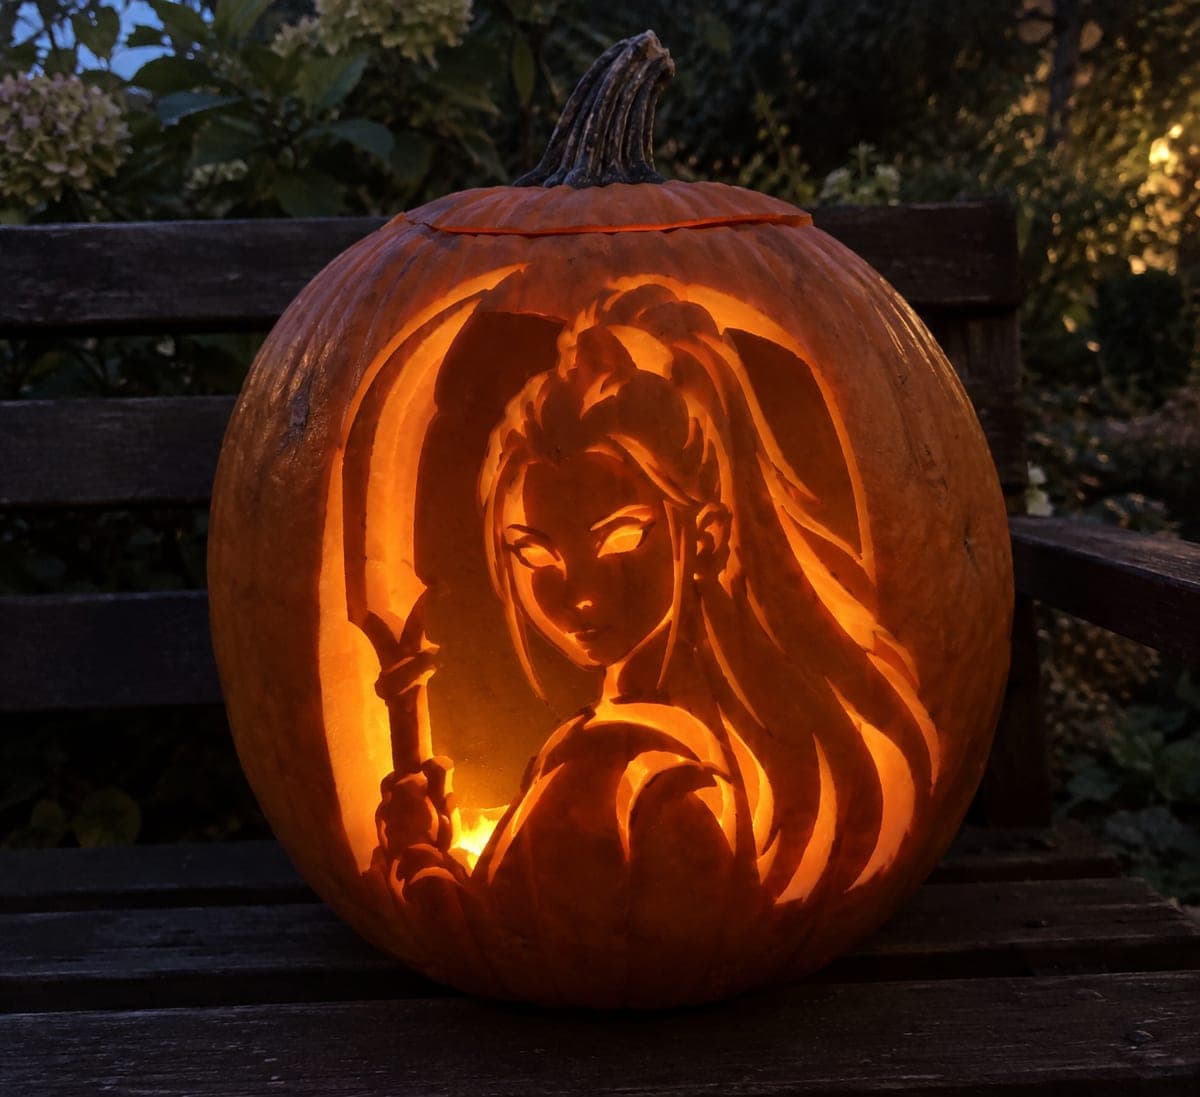
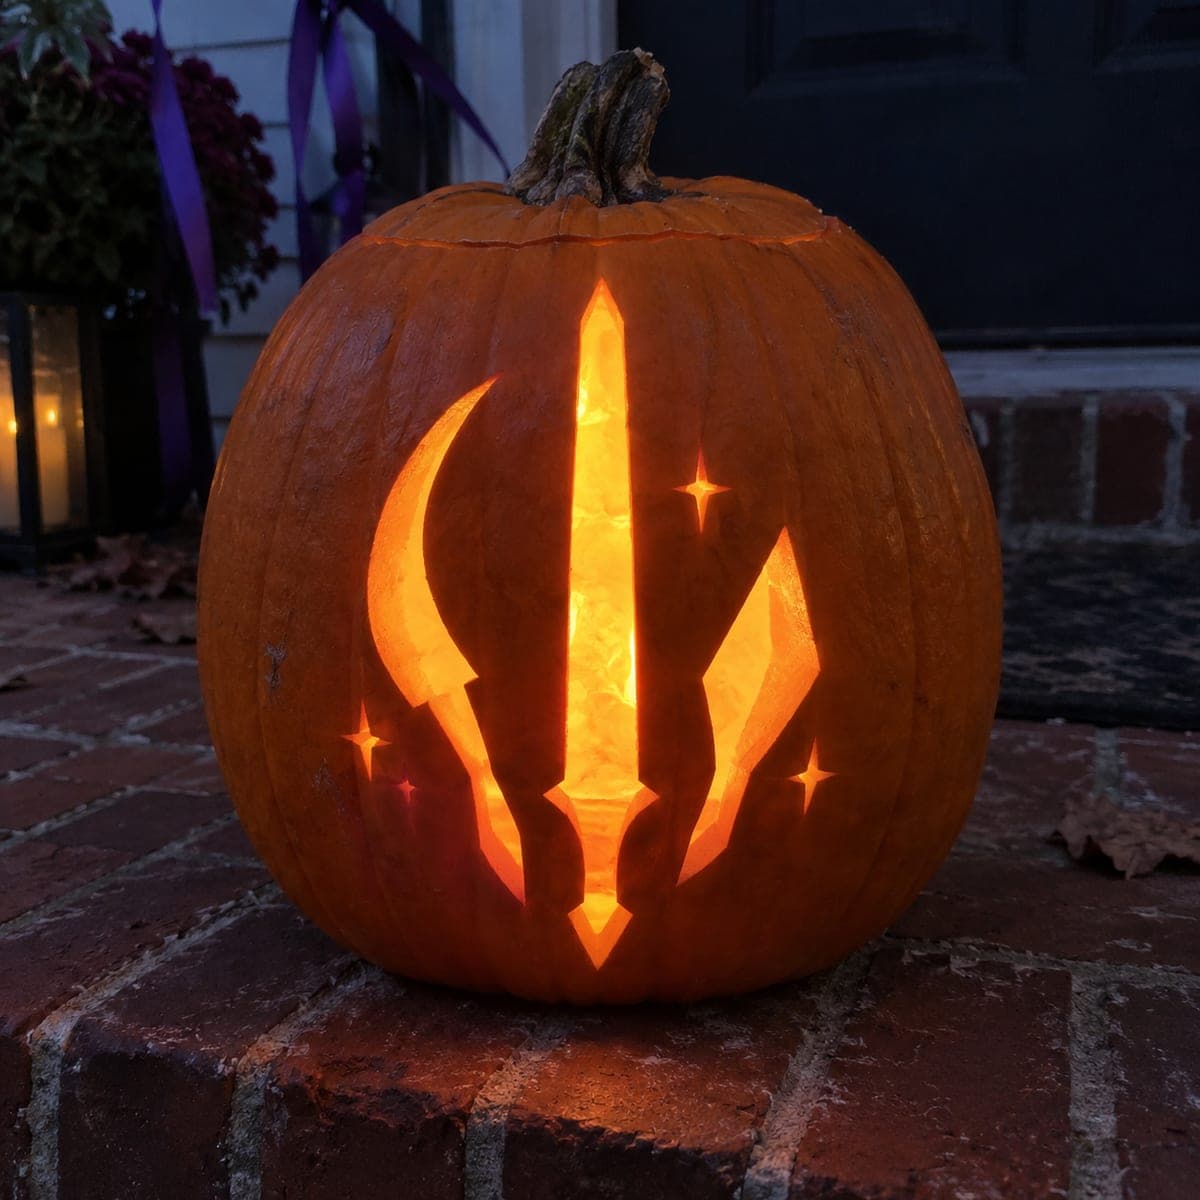
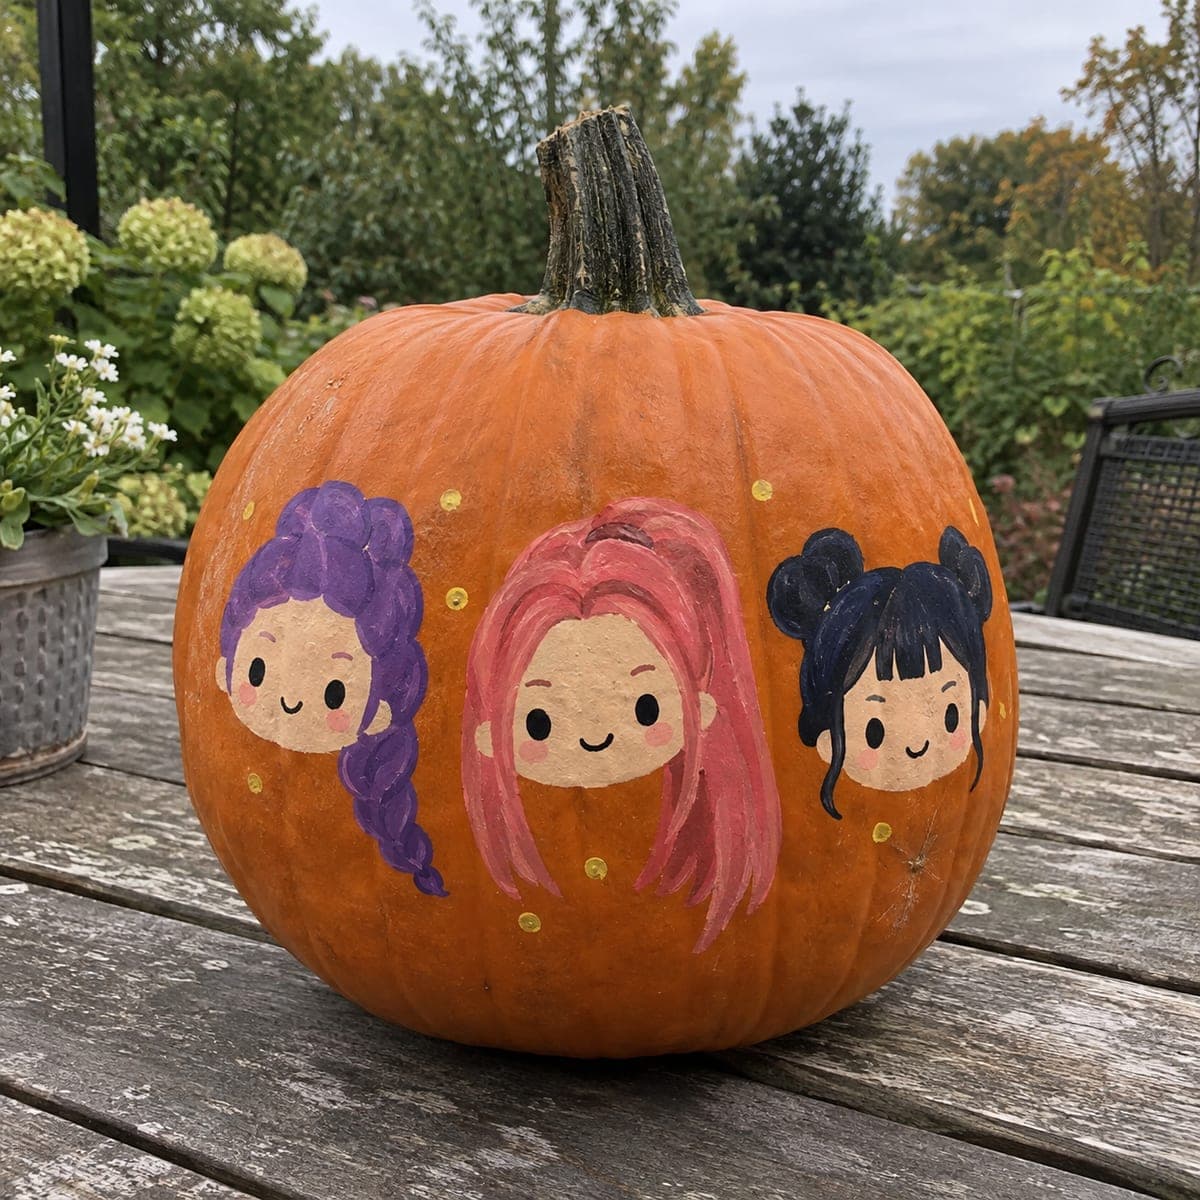
Three open arches frame retained portrait busts in this expert kpop demon hunters pumpkin carving idea, with the torsos and shoulders sharing a common base and side posts while portrait faces and costume details are rendered in shallow-backed rind engraving throughout. The primary surrounding windows are cut fully through, creating a dramatic light effect around each figure. Carve the arch cutouts first to establish the overall form, then work the engraved portrait detail inside each arch from the outer edges inward. A warm diffuse LED inside makes the three portraits glow evenly at gallery quality.

No ratings yet · Sign in to rate
Comments (0)

  • No comments yet — be the first.

Save without an account. Sign in to like or comment.

Our tips for carving a similar design

The expert KPop Demon Hunters design frames three retained portrait busts inside open arch-shaped windows, with the torsos and shoulders sharing a common base and side posts that connect everything structurally. The arch cutouts are fully open, creating dramatic light around each figure, while portrait faces and costume details inside each arch are rendered in shallow-backed rind engraving. Carving the arch cutouts first establishes the overall structural frame before any detail work begins.

From pumpkin to porch

  1. Hollow precisely and plan bridges

    Cut a back opening and hollow to a consistent 1 inch throughout. Before transferring the template, sketch the three arch positions with chalk and confirm the shared base, side posts between arches, and top crown connections are all at least 1.5 cm wide. These connections are the only structural elements once the arch cutouts are removed.

  2. Full expert design transfer

    Transfer the complete template with a stylus, marking the arch cutout boundaries, the retained bust outlines inside each arch, and all engraving zones within the busts separately. At expert level the engraving covers the face, hair, costume neckline, and any accessory detail, so a thorough zone marking pass prevents confusion.

  3. Cut the arch openings

    Cut all three arch openings in sections, working from the outer arch panels inward toward the retained busts. Preserve the shared base strip, the inter-arch side posts, and the top crown bridges at every step. Remove arch material in small pieces to avoid dislodging a retained figure.

  4. Engrave the portrait faces

    Using a Dremel ball-tip bit, work the face detail inside each retained bust from the outer edges of the face inward. Score eyes, nose, and mouth as defined channels at mid-depth, and add fine facial texture in shallow passes around them. Keep all engraving tool strokes moving inward, away from the open arch edges.

  5. Engrave hair and costume detail

    Use a V-gouge for the fine hair lines, following the direction of each character's specific hairstyle. For costume neckline and accessory details, use a fine flat-profile bit for clean edge lines. Work each figure to completion before moving to the next so you can evaluate the full portrait as a unit.

  6. Light with a diffuse warm source

    Place a warm diffuse LED or multiple LEDs across the cavity floor so all three arches receive even illumination. Evaluate from six feet away to confirm all three portraits glow at equal brightness. Adjust LED positions until the display reads coherently as a three-portrait gallery.

Written with AI to match this design

Gather your supplies

Check things off as you get ready.

Work on a stable surface, keep your free hand out of the cutting path, and have an adult handle sharp tools.

Three levels of light

  • Leave intact

    Retained dark bust bodies, inter-arch posts, shared base, and crown connections, all remaining completely dark

  • Peel & shade

    Portrait face engravings, hair line scoring, and costume detail channels across all three figures, glowing at warm mid-level

  • Cut through

    All three open arch windows surrounding each bust, blazing at full brightness and framing the portraits in warm light

Learn the carving basics

Before you start cutting

How do I keep the inter-arch side posts from cracking under the saw?

Cut each arch from two directions, starting at the top of the arch curve and working downward to the base, meeting at the side post boundary rather than cutting straight through it. Confirm the post width is at least 1.5 cm before each cut. Slow, short saw strokes near the post boundaries prevent lateral pressure that causes cracks.

The three portrait faces are very small within each arch. How detailed can I realistically get?

At expert level, eyes, nose, and mouth as defined scored channels are achievable and read clearly once lit. Fine eyebrow lines and hair detail close to the face are possible with a fine ball-tip bit. Avoid attempting eyelashes or text at this scale as they will not be visible once the pumpkin is displayed.

What is the best way to evaluate the three-portrait composition before cutting?

Print the full template at actual size and tape it to the front of the pumpkin. Stand back six feet and assess whether the three arches feel balanced and the figures are evenly spaced. Make any proportion adjustments to the template before perforating, because it is much easier to resize on paper than to correct on the rind.

Your take belongs here, too.

Changed a detail? Made it simpler? Share a photo of your version and tell the community what worked.

Share your pumpkin

More pumpkins like this

You've reached the end · 8 pumpkins
The Patch Report

Fresh pumpkins, in your inbox.

The best new carvings, ideas worth stealing, and how-tos for carving season. Short, seasonal, and gone by November.

A short email during carving season. Unsubscribe anytime. See our privacy policy.