The 2026 contest winners are inGrand Prize, People's Choice and Most Creative, all crowned.
@ai_concepts
Sep 25, 2026
KPop Demon Hunters Trio PumpkinAI
0

Report this carving

Tell us what is wrong. Reports are private.

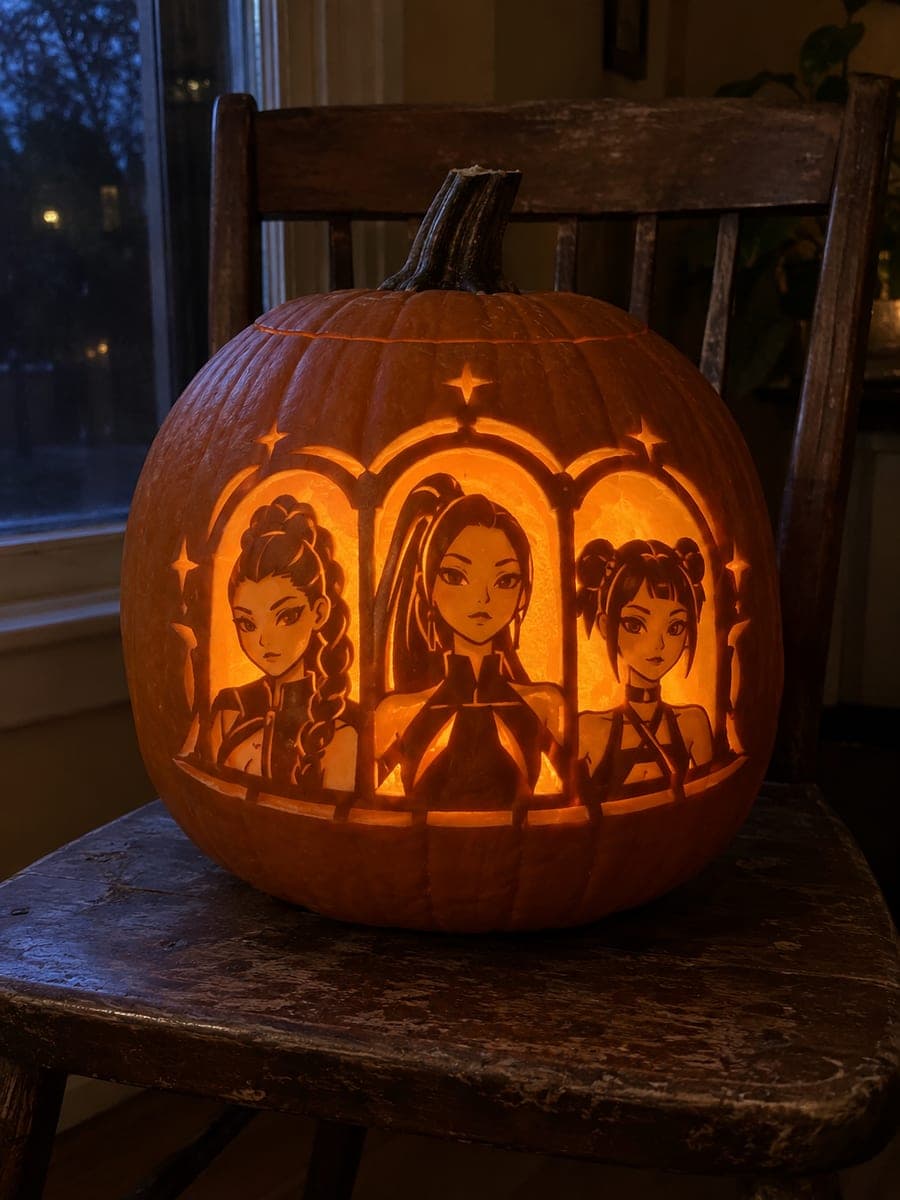
KPop Demon Hunters Trio Pumpkin

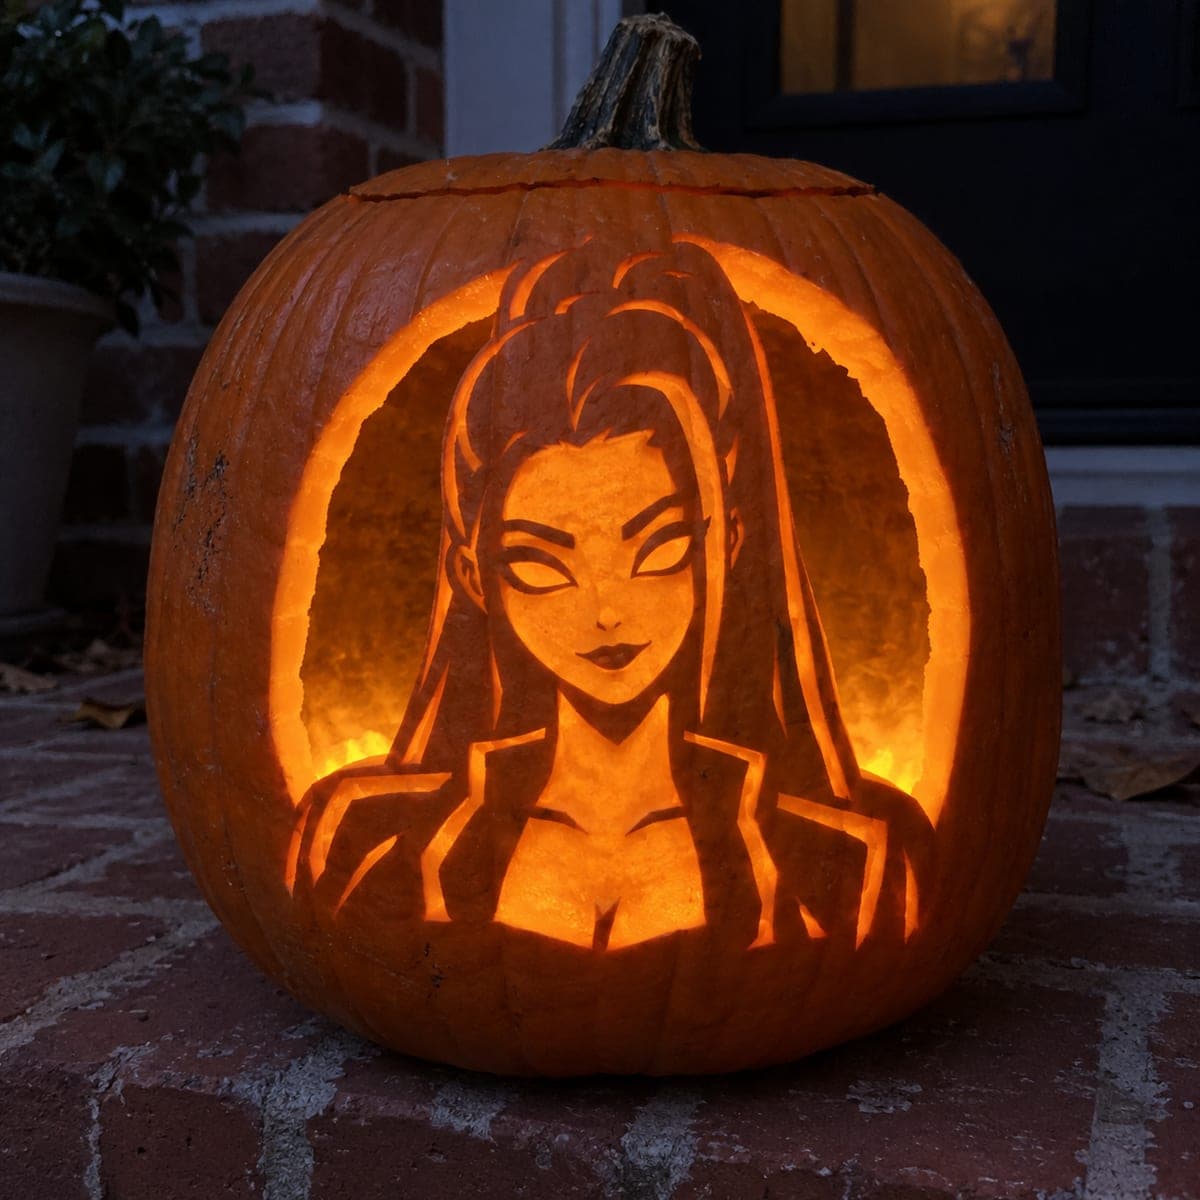
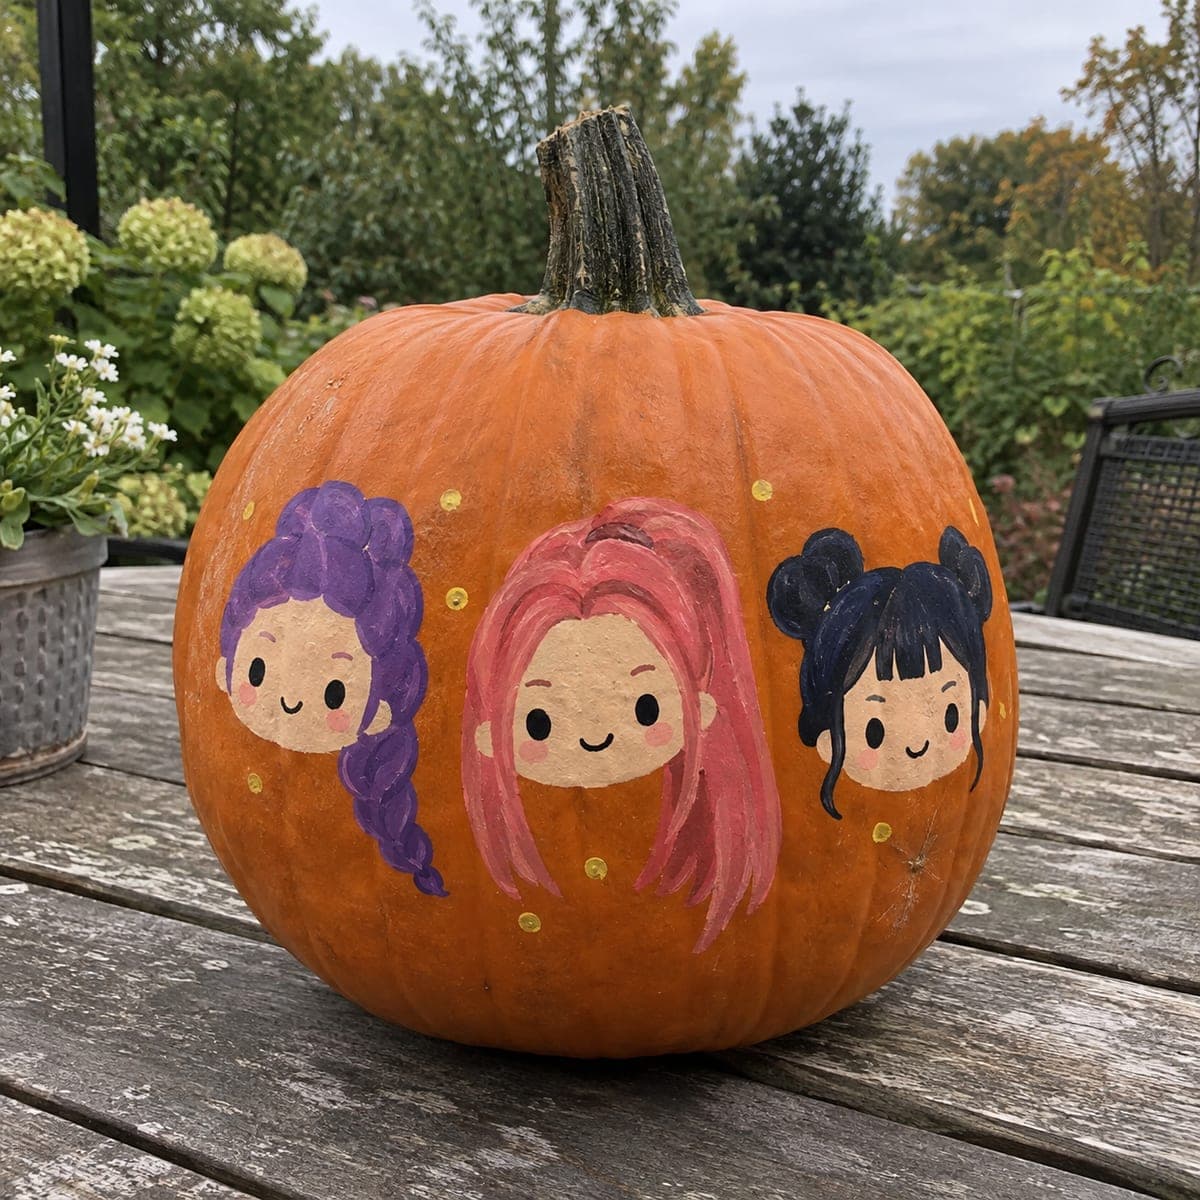
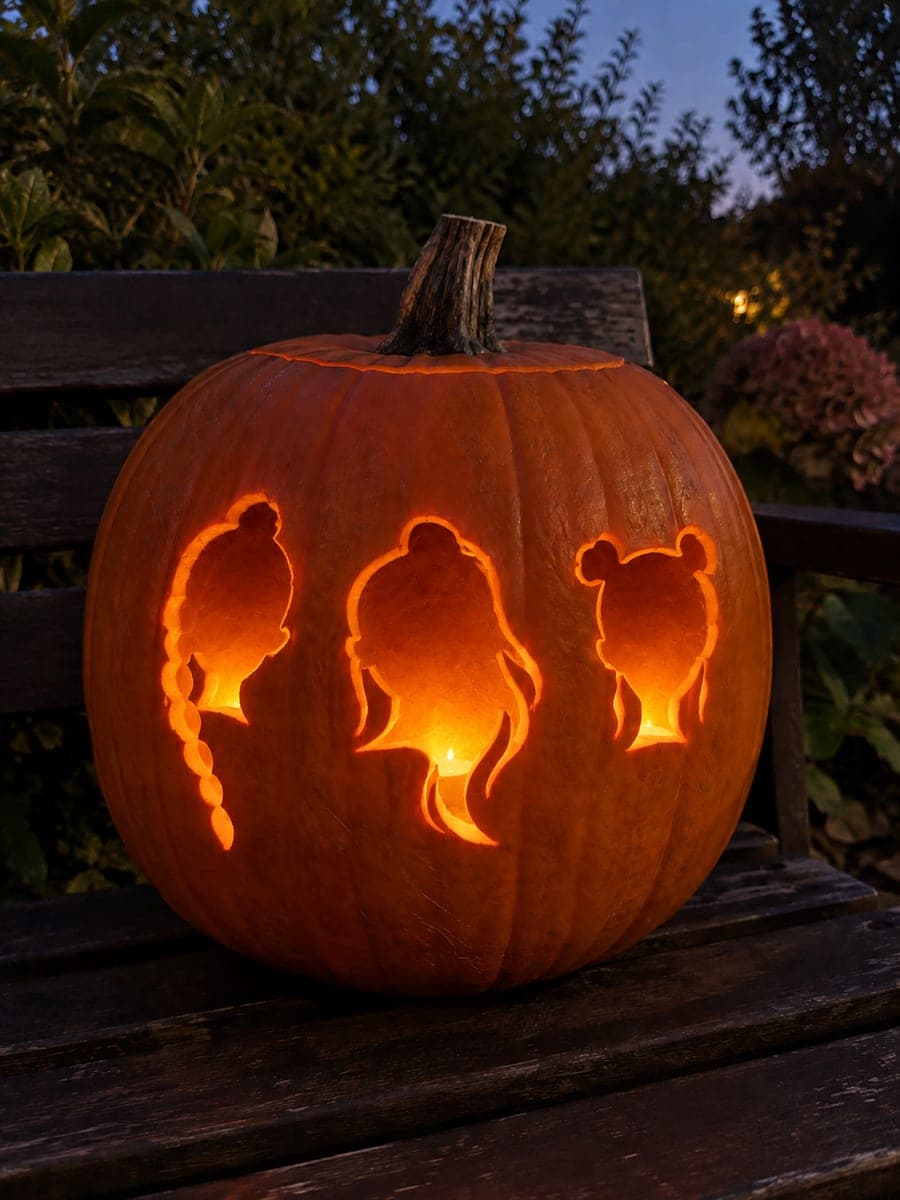
Three retained character busts emerge from a fully open glowing background in this hard kpop demon hunters pumpkin carving idea, with each figure rooted broadly to the lower frame and hair or bun shapes bridging upward to the top edge for support. Separate eye openings are cut through each bust, and fine hair texture is added as shallow-backed engraving across the retained figures. Carve the open background sections first to establish the frame, then hollow the eye openings, and finish with the hair texture scoring last. Cool LED lighting inside makes the trio of glowing portraits a striking night display.

No ratings yet · Sign in to rate
HardFantasyArtisticClassic Cutout
kpop-demon-huntersfantasymovieanimemusicartisticbustopen-background

Save this design for carving night, then share a photo of your own jack-o'-lantern once it's glowing.

KPop Demon Hunters and all related characters, names, logos, and trademarks are the property of their respective owners. This is an unofficial fan carving shared by our community for inspiration only. PumpkinCarvingIdeas.com is not affiliated with, sponsored by, or endorsed by any rights holder or person depicted, and no such connection is implied.
Comments (0)

  • No comments yet. Be the first.

Our tips for carving a similar design

The trick here is reversing the usual logic: the background gets cut away and the three character busts stay as dark rind, glowing around their edges. Each bust roots broadly to the lower frame while hair and bun shapes bridge up to the top edge, so the figures hang securely inside the open panel. Plan those connection points before any cutting.

From pumpkin to porch

  1. Prep the pumpkin

    Pick a large, smooth-faced pumpkin with room for three side-by-side busts. Cut the lid or a bottom opening and scrape the inner wall down to about an inch where you will carve. A thinner wall makes the fine work later much easier.

  2. Transfer the trio

    Print the three busts at size and tape the sheet to the pumpkin. Poke the outlines through with a pin tool, marking the lower roots and the top hair bridges clearly. These bridges are structural, so mark them wider than they look in the sketch.

  3. Open the background

    Cut away the background sections around the figures first, working in small pieces rather than one big slab. Leave every marked bridge intact as you go. Check after each removal that the busts still feel firm.

  4. Cut the eye openings

    With the frame established, open the separate eye holes in each bust with a fine saw. Go slowly, the surrounding rind is now doing all the supporting work. Widen from inside if a cut feels tight rather than forcing the blade.

  5. Score the hair texture

    Add the fine hair lines last as shallow engraving, removing only the skin so light glows dimly through the strands. A linoleum cutter or V-gouge works well. Follow the flow of each hairstyle outward from the face.

  6. Light and photograph

    Set a cool white LED puck inside so the open background blazes and the engraved hair reads as soft lines. Shoot at dusk from straight on so all three faces stay in frame.

Written with AI to match this design

Gather your supplies

Check things off as you get ready.

Work on a stable surface, keep your free hand out of the cutting path, and have an adult handle sharp tools.

Three levels of light

  • Leave intact

    The three character busts stay untouched dark rind so they read as silhouetted portraits.

  • Peel & shade

    Hair strands and bun details are shallow engraved so they glow as dim lines inside the dark busts.

  • Cut through

    The entire background panel and each figure's eye openings are cut through for full glow.

Learn the carving basics

Before you start cutting

How do I keep three separate figures from breaking loose?

Every bust needs at least two connections: a broad root at the lower frame and a hair or bun bridge to the top edge. Keep those joins at least an inch wide and remove background in small pieces so you can stop if anything flexes.

Should I carve the eyes or the background first?

Background first. Establishing the open frame shows you exactly how much support each bust has before you weaken it further with eye openings. Eyes come second and hair scoring last.

What lighting works best for this design?

A cool white LED matches the concert-poster mood and keeps the engraved hair legible. Avoid candles; the wide open background vents so much air that a flame flickers constantly and the heat is unnecessary risk.

Your take belongs here, too.

Changed a detail? Made it simpler? Share a photo of your version and tell the community what worked.

Share your pumpkin

Want more designs like this? Browse our full library of pumpkin carving ideas, or pick a free printable stencil. Every pattern and template in our own collection is free to print at home.

More pumpkins like this

You've reached the end · 8 pumpkins
The Patch Report

Fresh pumpkins, in your inbox.

The best new carvings, ideas worth stealing, and how-tos for carving season. Short, seasonal, and gone by November.

A short email during carving season. Unsubscribe anytime. See our privacy policy.