Halloween Pumpkin Carving Contest · Starts October 1st · $500 in prizes
← Back to ideas
@ai_concepts
Sep 25, 2026
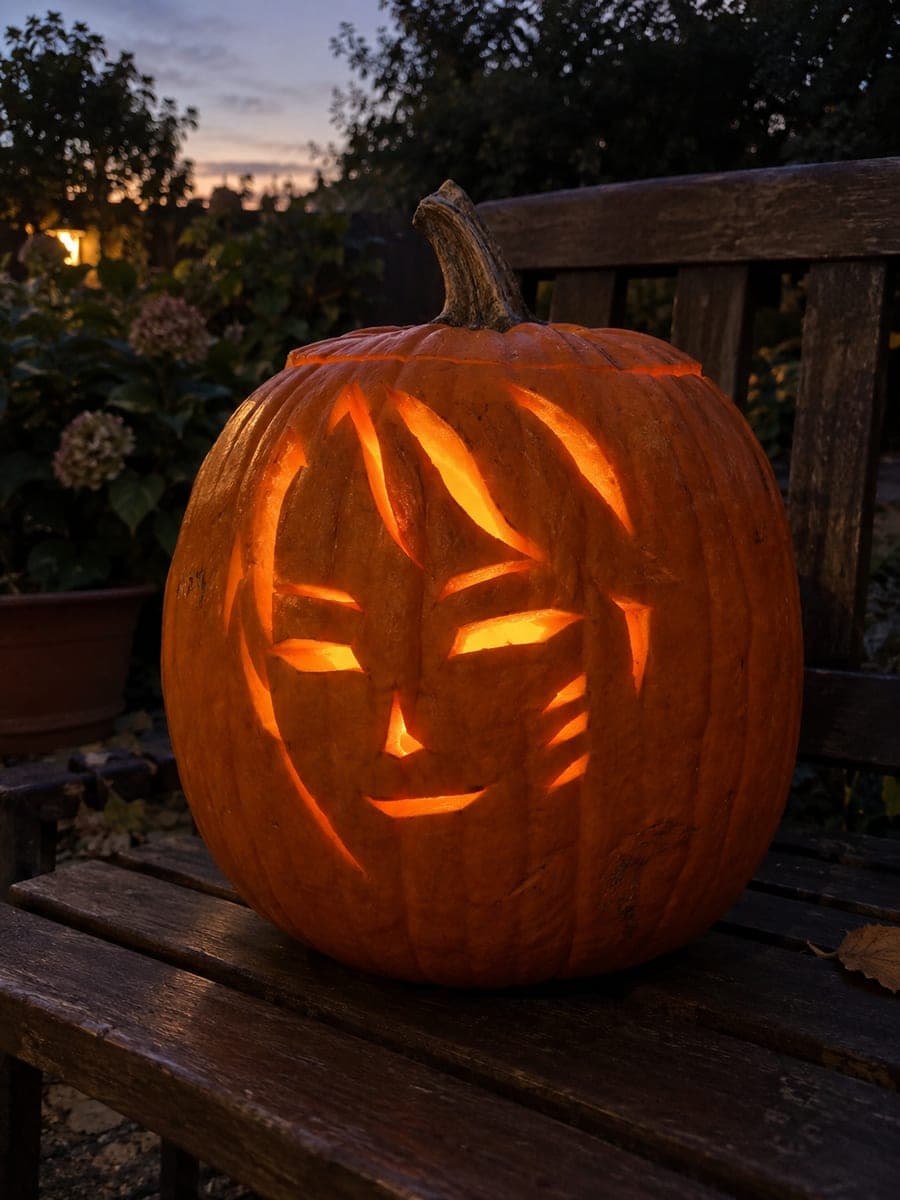
Idol Face Jinu Jack-O-Lantern With Cheek MarksAI
0

Report this carving

Tell us what is wrong. Reports are private.

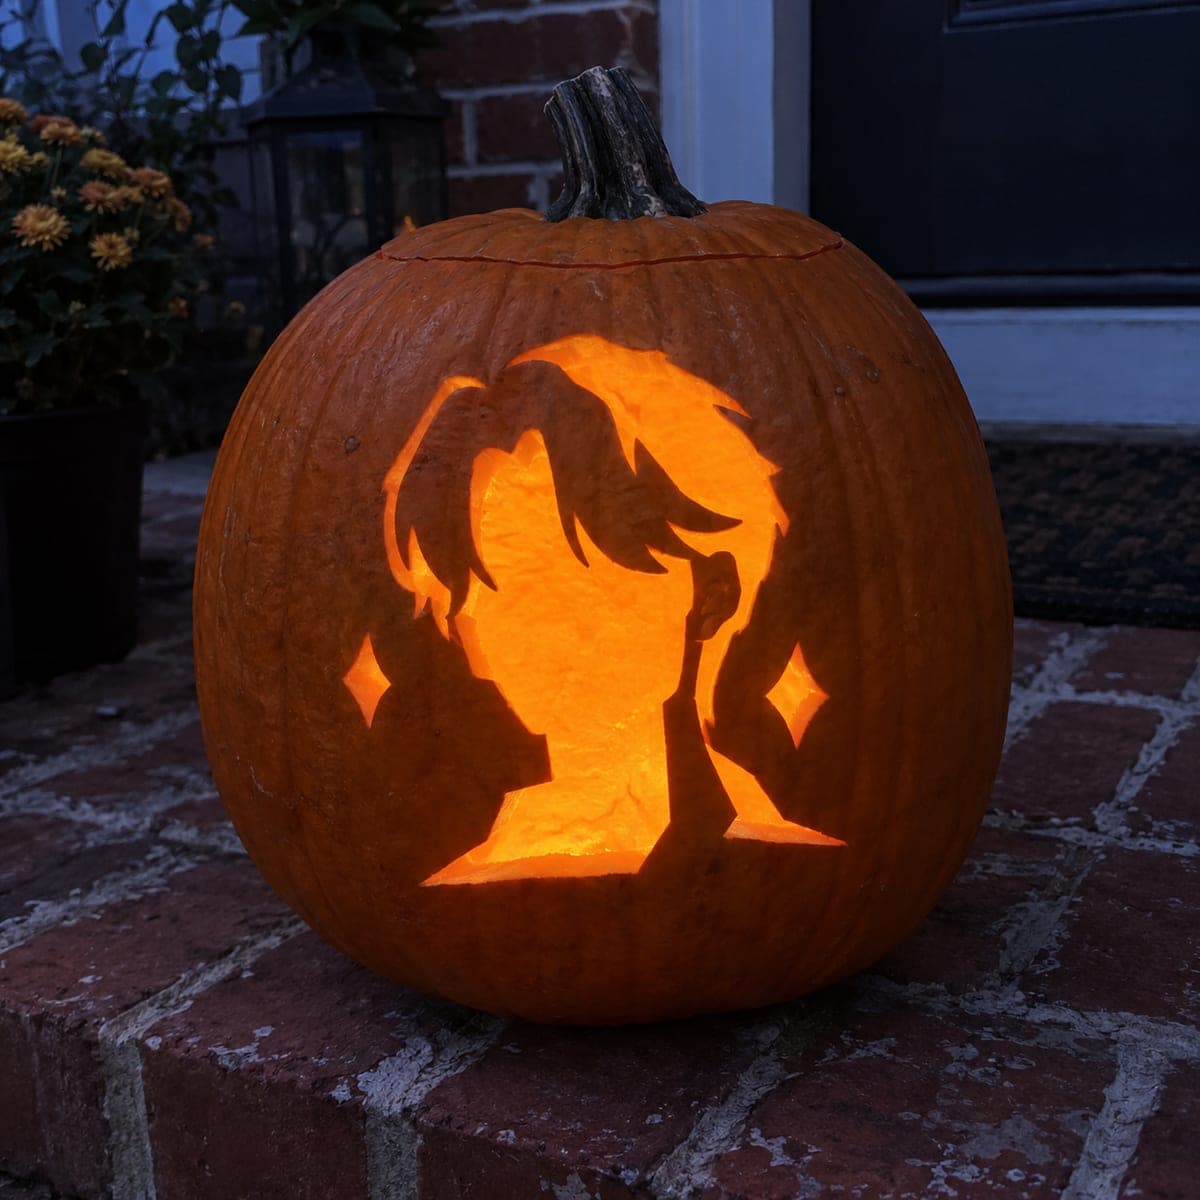
Idol Face Jinu Jack-O-Lantern With Cheek Marks

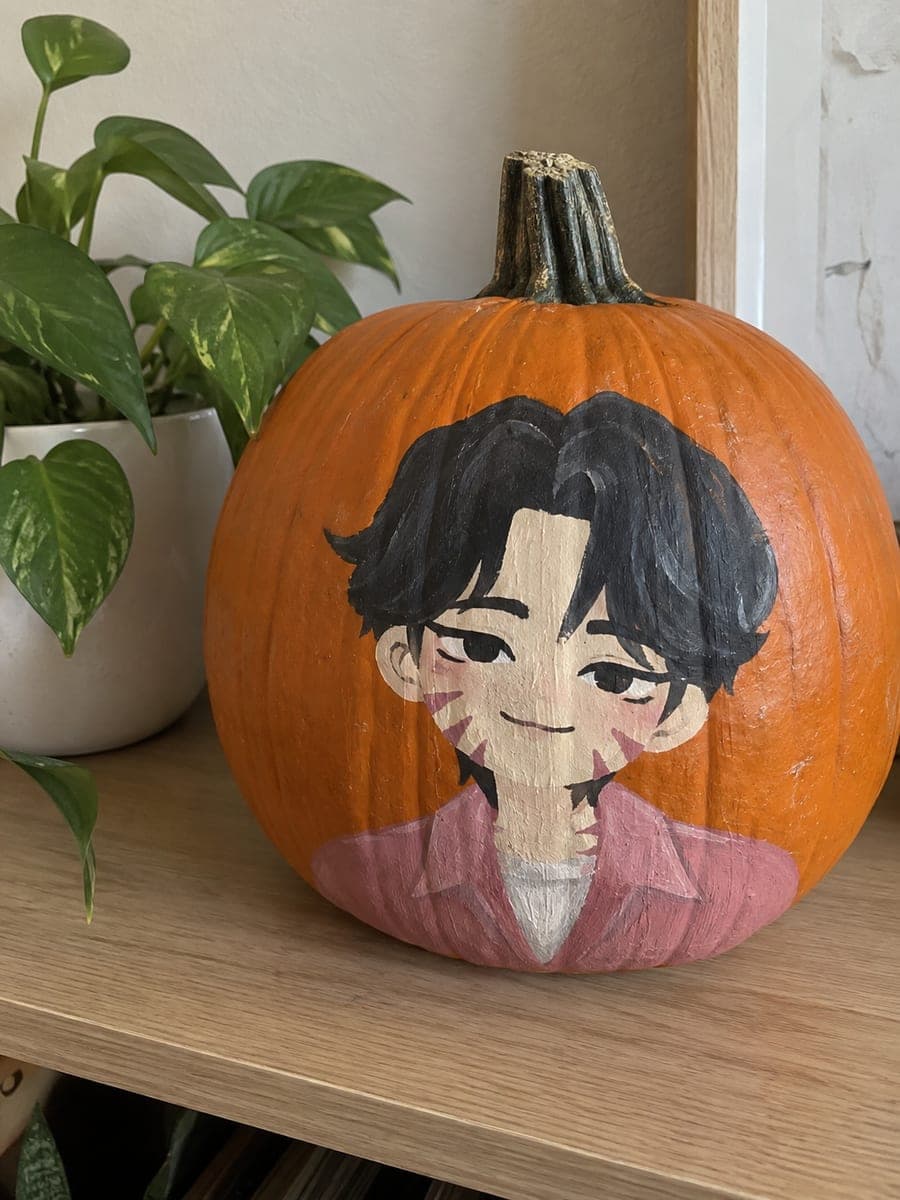
This intermediate jinu pumpkin carving features almond-shaped eye holes, a tiny nose triangle, a relaxed smile, and five short diagonal cheek-mark slots that give the design its signature look. Transfer the stencil with a pin tool and cut the wider face openings before moving to the smaller cheek slots. Keep generous rind between every aperture so the face stays sturdy.

No ratings yet · Sign in to rate
Comments (0)

  • No comments yet — be the first.

Save without an account. Sign in to like or comment.

Our tips for carving a similar design

Five short diagonal cheek-mark slots are the design's defining detail, and keeping generous rind between every opening is what stops the face from cracking under its own weight. The wider face openings go in first to set the proportions, then the smaller cheek slots are added once the structure is proven sound. A precise stencil transfer with a pin tool ensures all five marks line up with the eyes and mouth correctly.

From pumpkin to porch

  1. Prep the pumpkin

    Clean and dry the pumpkin, then cut and remove a lid from the back to allow light placement without disrupting the face. Scrape the interior to a consistent 2 cm wall thickness around the face area so every cut takes the same amount of effort.

  2. Transfer the stencil precisely

    Tape the stencil flat against the pumpkin and punch every outline with a pin tool, paying close attention to the angle of each cheek-mark slot. Remove the stencil and darken the dots with a marker so the cut lines are easy to follow. Check that the five cheek marks are evenly spaced on both sides.

  3. Cut the eye openings

    Use a thin-blade saw to cut the two almond eye holes first. Almond shapes have pointed ends that require a short back-and-forth motion at each tip rather than a continuous curve. Keep the saw blade vertical so the cut edges are clean from front to back.

  4. Add the nose triangle and smile

    The nose is a small triangle, so mark it carefully and use a narrow detail blade. Cut the relaxed-smile line next, keeping the blade moving in one fluid arc. These smaller openings are easier to control after the larger eyes have established the face proportions.

  5. Cut the hairline openings and cheek slots

    Add the three swept-hairline openings at the top of the face, then cut the five diagonal cheek-mark slots last. Use a detail saw for the slots and keep each cut at the angle shown on the stencil. Verify at least 5 mm of rind separates each slot from its neighbors.

  6. Light and review

    Place an LED inside and view the face in a darkened room. If any slot appears too close to another, gently widen the rind between them by removing a thin layer rather than cutting through. Photograph the finished design before displaying outdoors.

Written with AI to match this design

Gather your supplies

Check things off as you get ready.

Work on a stable surface, keep your free hand out of the cutting path, and have an adult handle sharp tools.

Three levels of light

  • Leave intact

    Solid rind between every aperture, forehead, and cheek rind around the mark slots

  • Peel & shade

    None specified for this intermediate design

  • Cut through

    Almond eye holes, nose triangle, relaxed-smile opening, hairline openings, and five diagonal cheek-mark slots all cut fully through

Learn the carving basics

Before you start cutting

How do I keep the diagonal cheek marks from cracking the rind around them?

Cut each slot in a single smooth pass rather than sawing back and forth excessively, which fatigues the rind. Ensure at least 5 mm of intact rind remains between each slot and between the slots and the nearby smile opening. If the rind feels soft, refrigerate the pumpkin overnight to firm it up before the detail work.

The almond eye shape has sharp pointed tips that are hard to cut cleanly. Any tips?

Start the cut from the center of the almond and work toward each pointed tip rather than trying to start at a tip. At the tip itself, make tiny back-and-forth strokes and let the saw teeth do the work rather than forcing the blade. A sharp blade makes the biggest difference here.

Do I need to paint anything on this design?

The construction notes do not call for paint, so the carved version relies entirely on the glow from inside. If you want to suggest the character's dark hair, you can paint that area of the rind black after carving, being careful not to get paint inside the cut openings.

Your take belongs here, too.

Changed a detail? Made it simpler? Share a photo of your version and tell the community what worked.

Share your pumpkin

More pumpkins like this

You've reached the end · 8 pumpkins
The Patch Report

Fresh pumpkins, in your inbox.

The best new carvings, ideas worth stealing, and how-tos for carving season. Short, seasonal, and gone by November.

A short email during carving season. Unsubscribe anytime. See our privacy policy.