Halloween Pumpkin Carving Contest · Starts October 1st · $500 in prizes
← Back to ideas
@ai_concepts
Sep 14, 2026
I Love Kansas Heart Lettering PumpkinAI
0

I Love Kansas Heart Lettering Pumpkin

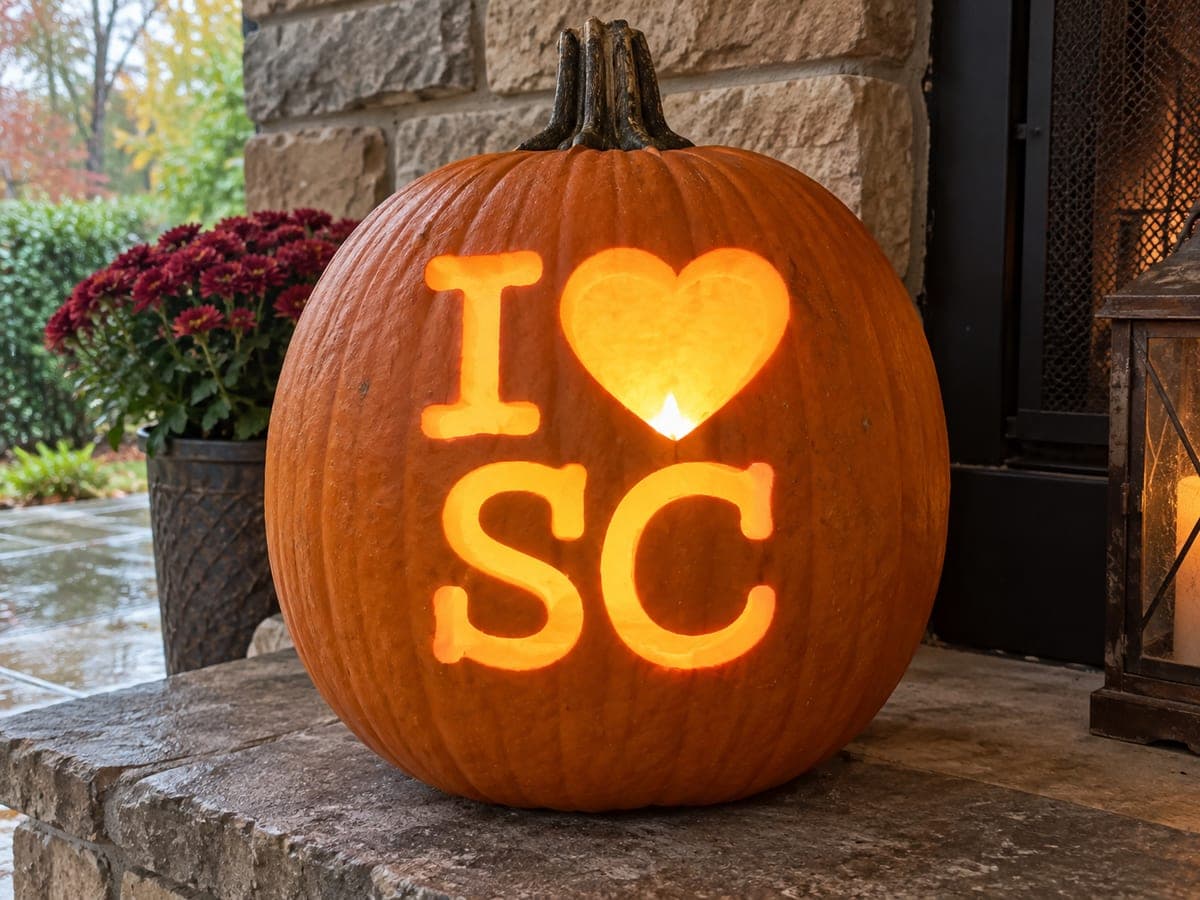
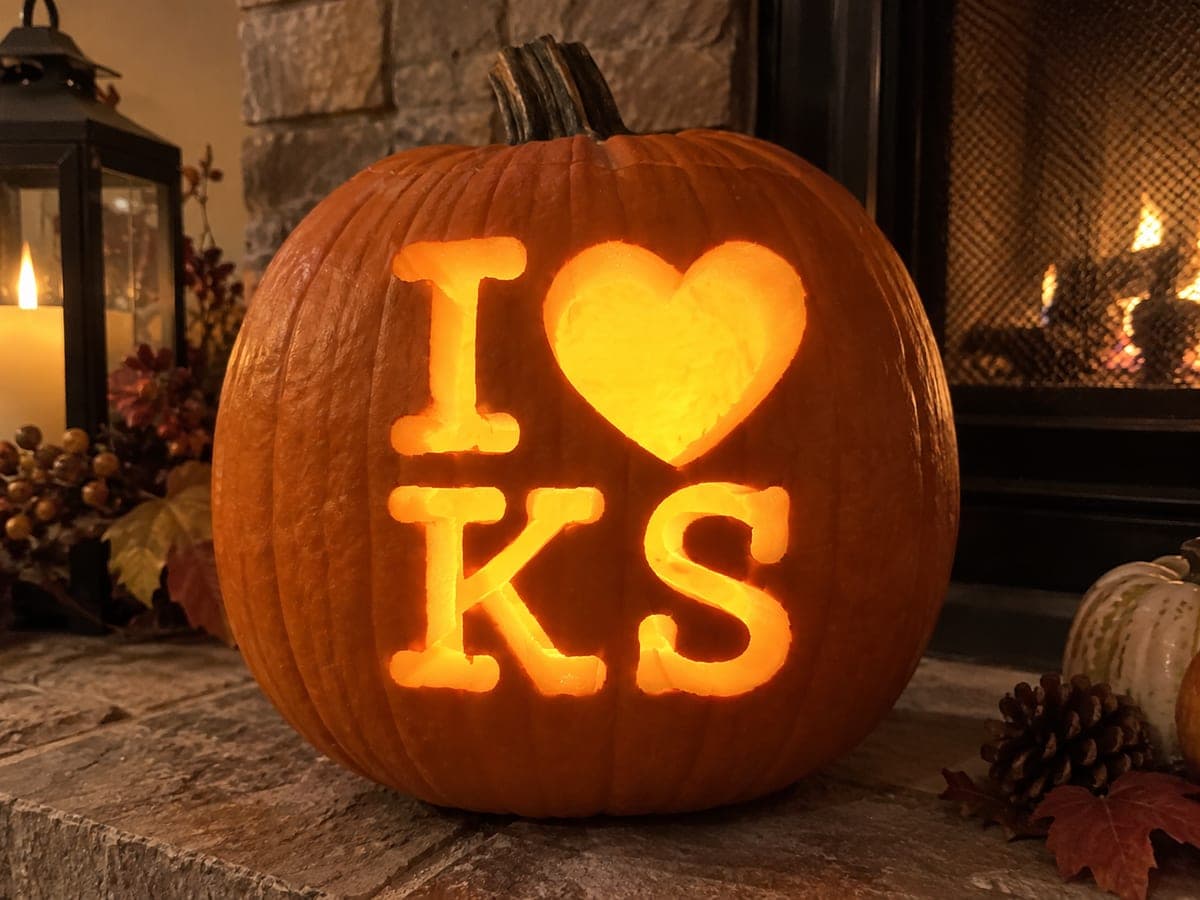
Carved beside a glowing fireplace and a black lantern, this Kansas pumpkin carving idea shows I, a heart, and KS in rounded block letters, all pierced through and lit from within. The K has two diagonal strokes that angle inward from a vertical bar, and keeping those diagonals at least three-eighths of an inch wide prevents the tips from crumbling once the cut is complete. The fireside setting makes the amber glow of the carving especially rich; indoors near a hearth or a cluster of candles will produce the same cozy effect. Score the outline of each letter with a linoleum cutter before opening the full depth to stay on track.

This is an AI-generated concept image: a realistic, carvable design idea rather than a photo of a finished carve. AI concepts are always labeled and sit out the leaderboard and the contest.


No ratings yet · Sign in to rate

Comments (0)

  • No comments yet — be the first.

Save without an account. Sign in to like or comment.

Our tips for carving a similar design

This design leans on four clean shapes cut all the way through: the letter I, a plump heart, and the letters K and S. The core trick is keeping every stroke wide enough to stay strong, since narrow letter tips and the K's diagonals are the first things to crumble. Plan the layout on a flat panel of the pumpkin, score every outline first, then open the cutouts so the whole message glows evenly.

Written by PumpkinCarvingIdeas.com, inspired by the image above. These are our suggestions, not instructions from the uploader. This approach to the AI concept has not been tested on a real pumpkin.

From pumpkin to porch

  1. Pick a flat face and open the base

    Choose the smoothest, flattest section of the pumpkin so your letters sit on one plane and read clearly. Cut a hole in the bottom rather than the top so you can set the pumpkin down over an LED light later. Scoop the pulp and scrape the inside wall on the carving side down to about one inch thick. A thinner wall makes the letters easier to cut and lets more light pass through.

  2. Transfer and space the letters

    Print or draw the layout with I and the heart on the top row and K and S on the bottom row. Tape the pattern down snugly and poke the outlines with a pin or transfer tool, spacing dots close together on tight curves. Keep even gaps between letters so nothing crowds. Step back and check the spacing before you cut anything, because letters are hard to fix once opened.

  3. Score every outline first

    Before cutting through, trace each letter and the heart with a linoleum cutter or the tip of a poking tool to score a shallow guide line. This keeps your saw on track and prevents wandering into a neighboring stroke. Work slowly around the inside corners of the K where the diagonals meet the vertical bar. Scoring first is what keeps block lettering crisp.

  4. Cut the simple shapes before the tricky ones

    Start with the I and the heart, since they are the most forgiving. Use a small saw and let the blade do the work with gentle strokes, keeping the tool moving in and out rather than forcing it. Save the K and S for last, cutting their strokes as separate pieces and easing out each chunk cleanly. Keep the K's diagonals at least three-eighths of an inch wide so the tips do not snap off.

  5. Clean the edges and bevel for glow

    Once every letter is open, run your knife around each edge to smooth ragged cuts. Angle the cut slightly wider toward the inside so more light spills out and the letters look brighter. Test-fit an LED light and check that all four shapes glow at similar strength. Widen any stroke that looks dim or muddy.

  6. Light it and stage the photo

    Drop a battery LED puck or a string of warm LEDs inside and settle the pumpkin over the base opening. Skip real candles, since the enclosed letters trap heat and open flames are a fire risk. Photograph it near a hearth, a lantern, or a cluster of flameless candles for that warm amber setting. A little petroleum jelly on the cut edges slows drying and keeps the letters sharp for a few extra days.

Gather your supplies

Check things off as you get ready.

Work on a stable surface, keep your free hand out of the cutting path, and have an adult handle sharp tools.

Three levels of light

  • Leave intact

    The full orange face around and between the letters stays untouched and dark, framing the message.

  • Peel & shade

    Optional thin shaved borders just outside each letter give a soft halo if you want the shapes to pop.

  • Cut through

    The I, the heart, and the K and S are cut clean through for the brightest amber glow.

Learn the carving basics

Before you start cutting

How do I keep the K's diagonals from breaking?

Draw and cut them at least three-eighths of an inch wide, and treat the vertical bar and each diagonal as connected strokes rather than thin slivers. Cut slowly through the inside corners where they join, since that is the weakest point. A slightly thicker wall on that letter also adds support.

Should the heart be one big opening or broken up?

Cut it as one clean opening so it reads instantly as a heart and glows strongly. Keep the top notch between the two humps smooth and symmetrical, since that curve is what sells the shape. Score the full outline before opening it so the two lobes stay even.

How do I keep all four shapes glowing evenly?

Thin the interior wall behind the letters to about one inch so light passes through uniformly, and bevel each cut edge outward. Use a single bright LED centered inside, or add a second light if one row looks dimmer. Test the glow in a dark room and widen any stroke that reads muddy.

Your take belongs here, too.

Changed a detail? Made it simpler? Share a photo of your version and tell the community what worked.

Share your pumpkin

More pumpkins like this

You've reached the end · 8 pumpkins
The Patch Report

Fresh pumpkins, in your inbox.

The best new carvings, ideas worth stealing, and how-tos for carving season. Short, seasonal, and gone by November.

A short email during carving season. Unsubscribe anytime. See our privacy policy.