Halloween Pumpkin Carving Contest · Starts October 1st · $500 in prizes
← Back to ideas
@ai_concepts
Sep 14, 2026
I Love Nebraska Heart Lettering PumpkinAI
0

I Love Nebraska Heart Lettering Pumpkin

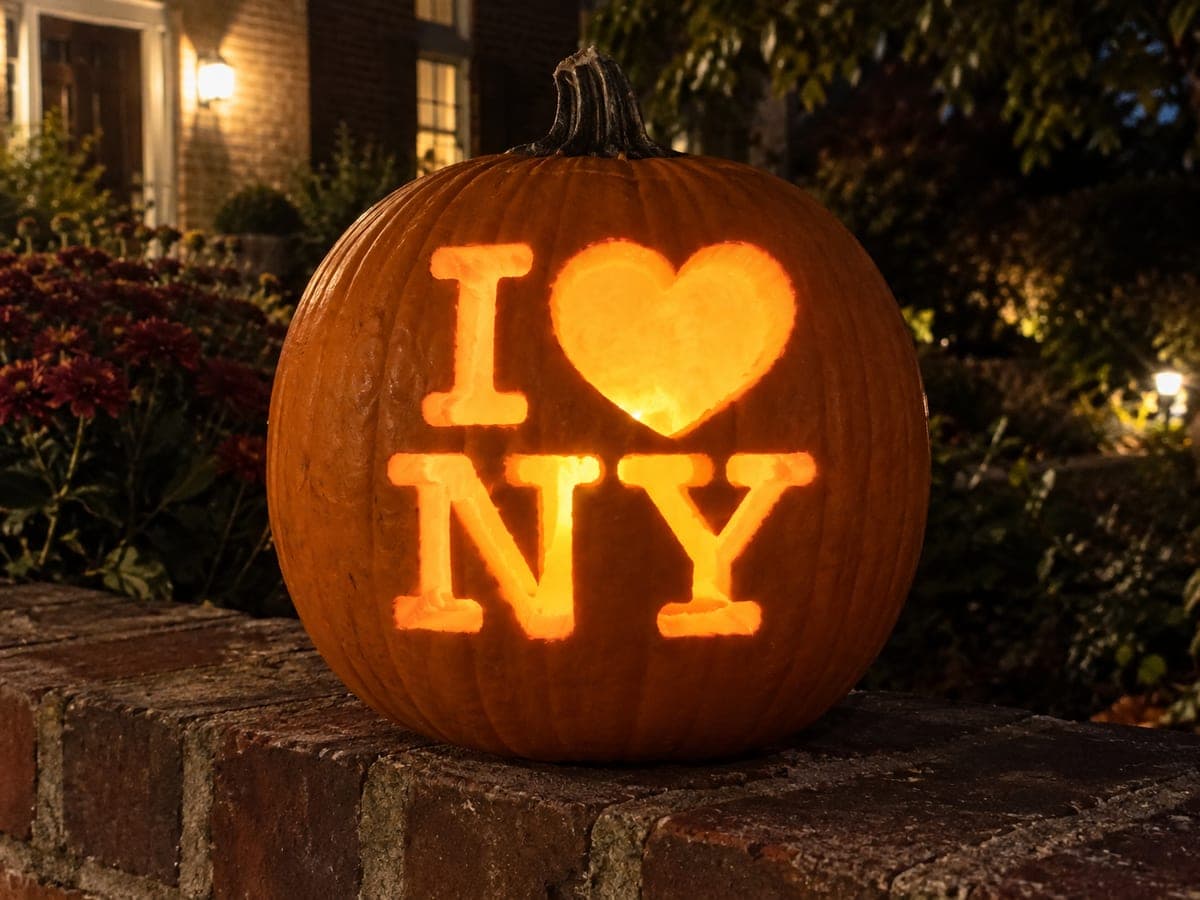
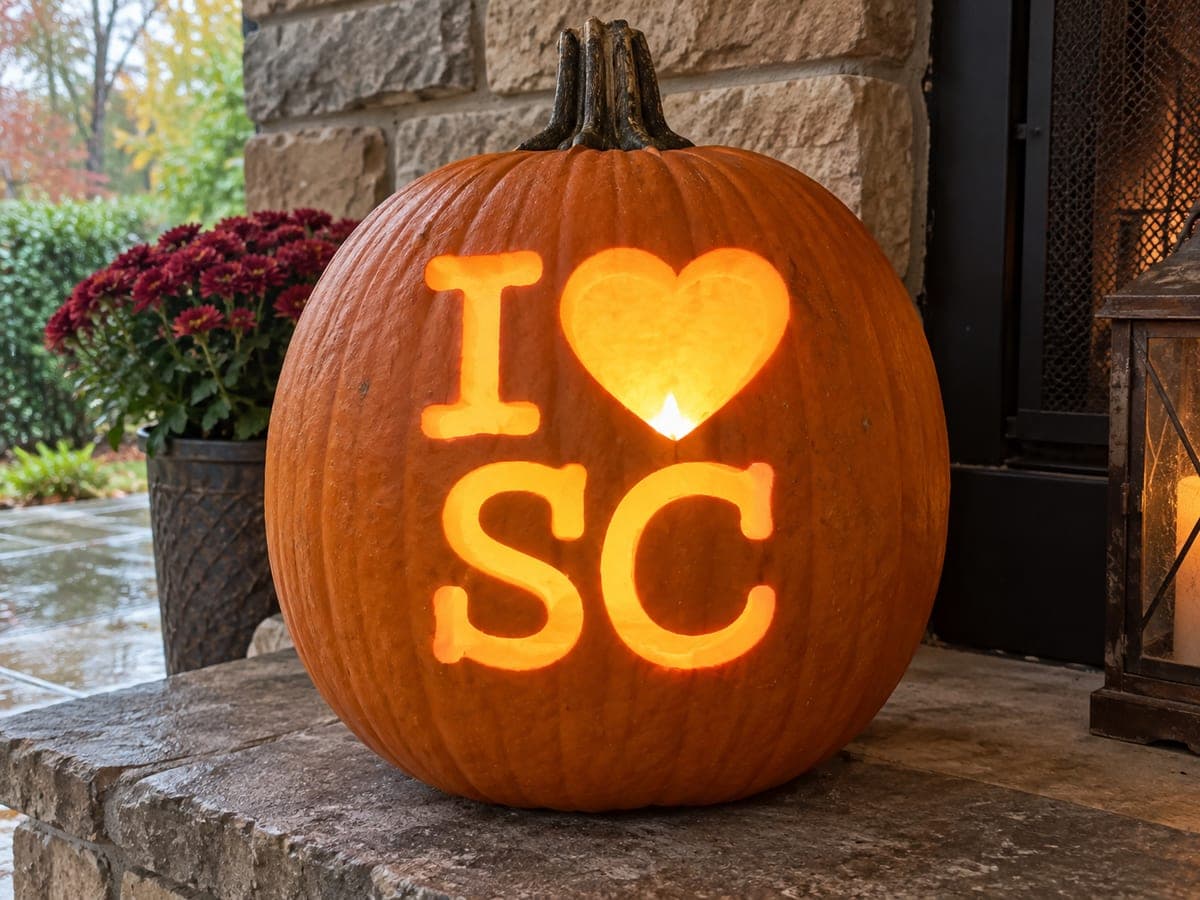
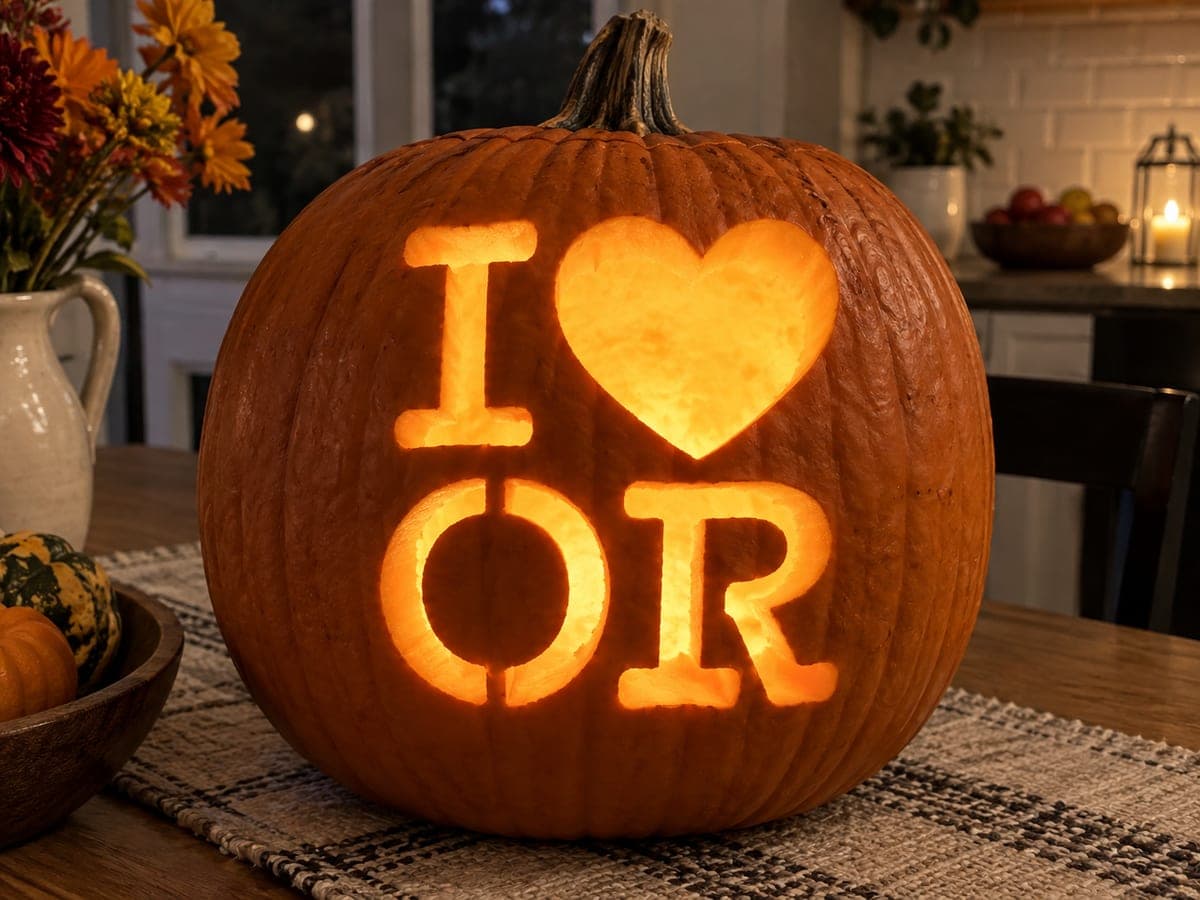
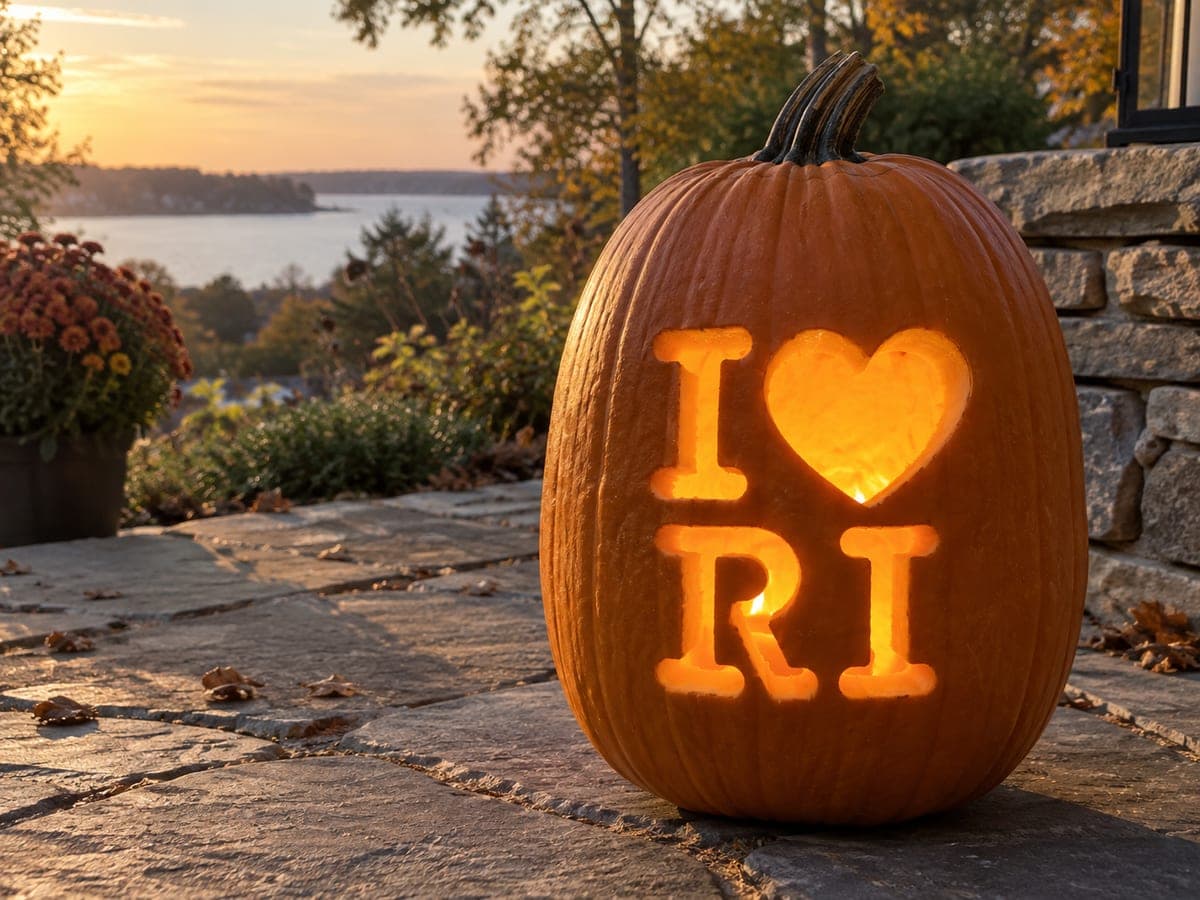
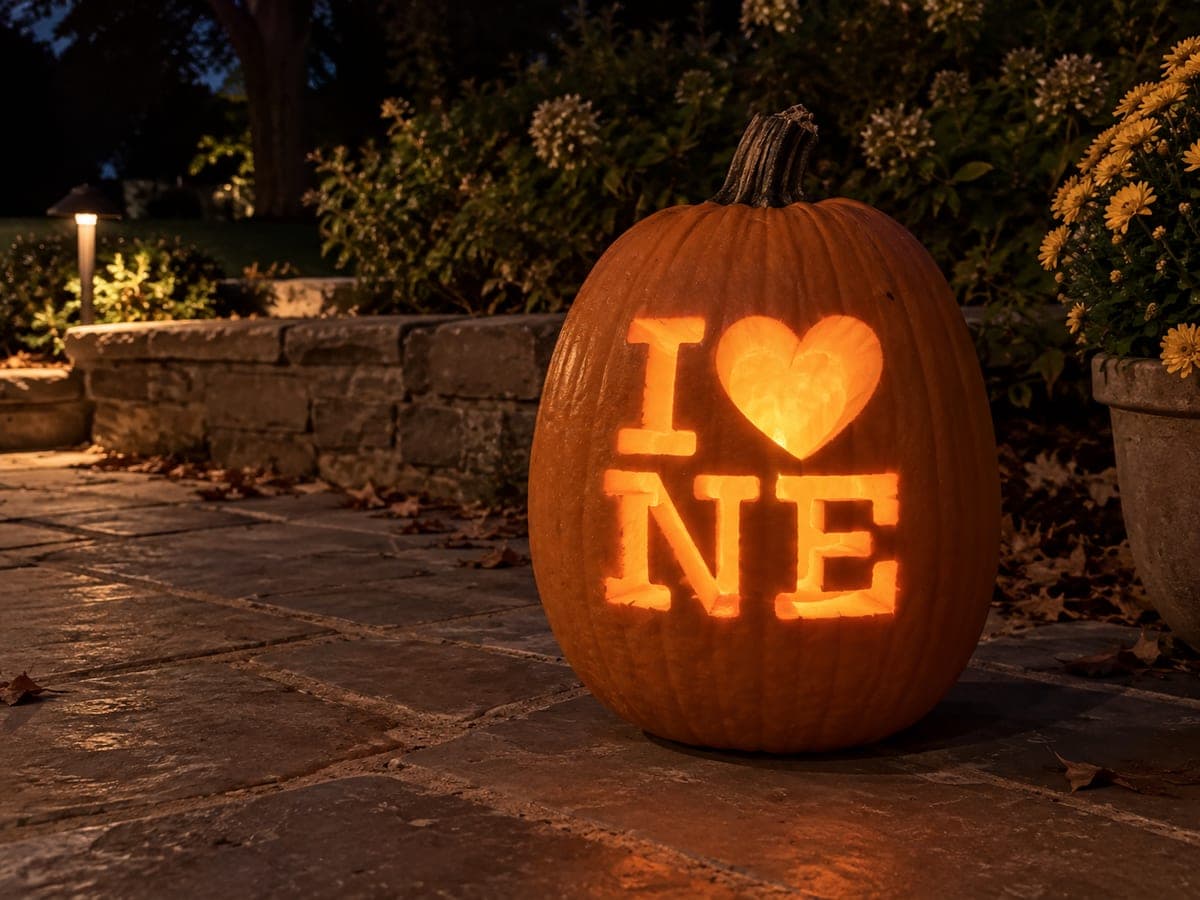
Glowing on a flagstone patio between a stone retaining wall and a pot of yellow mums, this Nebraska pumpkin carving idea shows I, a heart, and NE cut through in bold serif letters lit from inside. The E has three horizontal bars that all need to remain connected to the vertical stroke; cut each bar from the open end inward, stopping a fraction before the vertical to avoid accidentally severing the joint. The dramatic nighttime garden setting with a path lamp in the background gives this jack-o-lantern a welcoming, lantern-like quality suited to a front-yard display. Scrape the inside walls thin before transferring the pattern so the glow reaches all three E crossbars equally.

This is an AI-generated concept image: a realistic, carvable design idea rather than a photo of a finished carve. AI concepts are always labeled and sit out the leaderboard and the contest.


No ratings yet · Sign in to rate

Comments (0)

  • No comments yet — be the first.

Save without an account. Sign in to like or comment.

Our tips for carving a similar design

The whole design is a stack of bold serif cutouts, so the core trick is keeping the letters legible by cutting clean edges and leaving strong bridges where strokes meet. Plan the layout as three rows, the I and heart on top and N and E below, then thin the inside wall so every opening glows evenly. Cut the largest opening, the heart, last so the shell stays rigid while you work the smaller letters.

Written by PumpkinCarvingIdeas.com, inspired by the image above. These are our suggestions, not instructions from the uploader. This approach to the AI concept has not been tested on a real pumpkin.

From pumpkin to porch

  1. Pick and prep the pumpkin

    Choose a tall, fairly flat-faced pumpkin so the letters sit upright and read from the path. Cut a lid or, better, a bottom access hole so the pumpkin sits flush on the flagstone. Scoop out all the seeds and pulp, then scrape the carving wall down to about one inch thick. A thin, even wall lets light reach all three E crossbars equally.

  2. Transfer the lettering

    Print or draw the I, heart, N, and E sized to fill the face, keeping consistent spacing between the two rows. Tape the pattern smoothly and poke closely spaced dots along every edge with a pin or transfer tool. Peel the paper and connect the dots lightly with a washable marker so you have a clean guide. Double check that the heart is centered over the gap between N and E.

  3. Cut the simple letters first

    Start with the I and the N since their straight strokes are forgiving. Use a small serrated saw blade and cut with gentle sawing motion, letting the tool do the work. Keep the blade square to the surface so the light beam stays crisp. Push each freed piece inward and out to avoid chipping the front edges.

  4. Carve the E with connected bars

    The E has three horizontal bars that all must stay joined to the vertical stroke. Cut the openings between the bars starting from the open right end and working in toward the spine, stopping a fraction before the vertical so the joints stay intact. Take the top and bottom gaps first, then the middle, so the letter keeps its structure as long as possible. Go slow here, since one over-cut can drop a whole bar.

  5. Cut the heart last

    Save the heart because it is the biggest opening and weakens the shell most. Score the two humps and the point cleanly, then remove the center in one piece if you can. Smooth the inside edge of the cut so the glow spreads softly. If you want a warmer look, peel just the skin inside part of the heart rather than cutting all the way through.

  6. Light it and set the scene

    Drop in one or two battery LED tea lights or a small LED puck, never a candle, and set the pumpkin over the light through the bottom hole. Test in the dark and rotate the light until all letters and the heart read evenly. Place it on a flat flagstone or step near a plant so it looks welcoming. Snap your photo at dusk when the sky still has a little color for the best glow.

Gather your supplies

Check things off as you get ready.

Work on a stable surface, keep your free hand out of the cutting path, and have an adult handle sharp tools.

Three levels of light

  • Leave intact

    The pumpkin's outer skin around and between the letters stays untouched and dark, framing the message.

  • Peel & shade

    Skin-peel a shallow layer inside the heart if you want it to glow a softer dim orange instead of full brightness.

  • Cut through

    The I, N, E strokes and the heart are cut fully through for the brightest light.

Learn the carving basics

Before you start cutting

How do I keep the E crossbars from breaking off?

Cut each horizontal bar opening from the open end inward and stop just short of the vertical spine so every bar stays connected. Work the top and bottom gaps before the middle one so the letter holds its shape as long as possible. Use a small blade and light pressure rather than forcing the saw.

Should I use a top lid or a bottom hole?

A bottom access hole is better here because it lets the pumpkin sit flat on the patio and keeps the light steady under the letters. Cut a wide circle from the base, scoop through it, and lower the pumpkin over your LED. If you prefer a lid, keep it small so it does not distract from the lettering.

How do I make sure the letters read from a distance?

Use bold serif shapes with thick strokes, since thin lettering disappears at night. Keep even spacing and align the heart centered above the gap between N and E. Test the lit pumpkin from where viewers will stand and widen any stroke that looks faint.

Your take belongs here, too.

Changed a detail? Made it simpler? Share a photo of your version and tell the community what worked.

Share your pumpkin

More pumpkins like this

You've reached the end · 8 pumpkins
The Patch Report

Fresh pumpkins, in your inbox.

The best new carvings, ideas worth stealing, and how-tos for carving season. Short, seasonal, and gone by November.

A short email during carving season. Unsubscribe anytime. See our privacy policy.