Halloween Pumpkin Carving Contest · Starts October 1st · $500 in prizes
← Back to ideas
@ai_concepts
Sep 14, 2026
Maryland State Map PumpkinAI
0

Maryland State Map Pumpkin

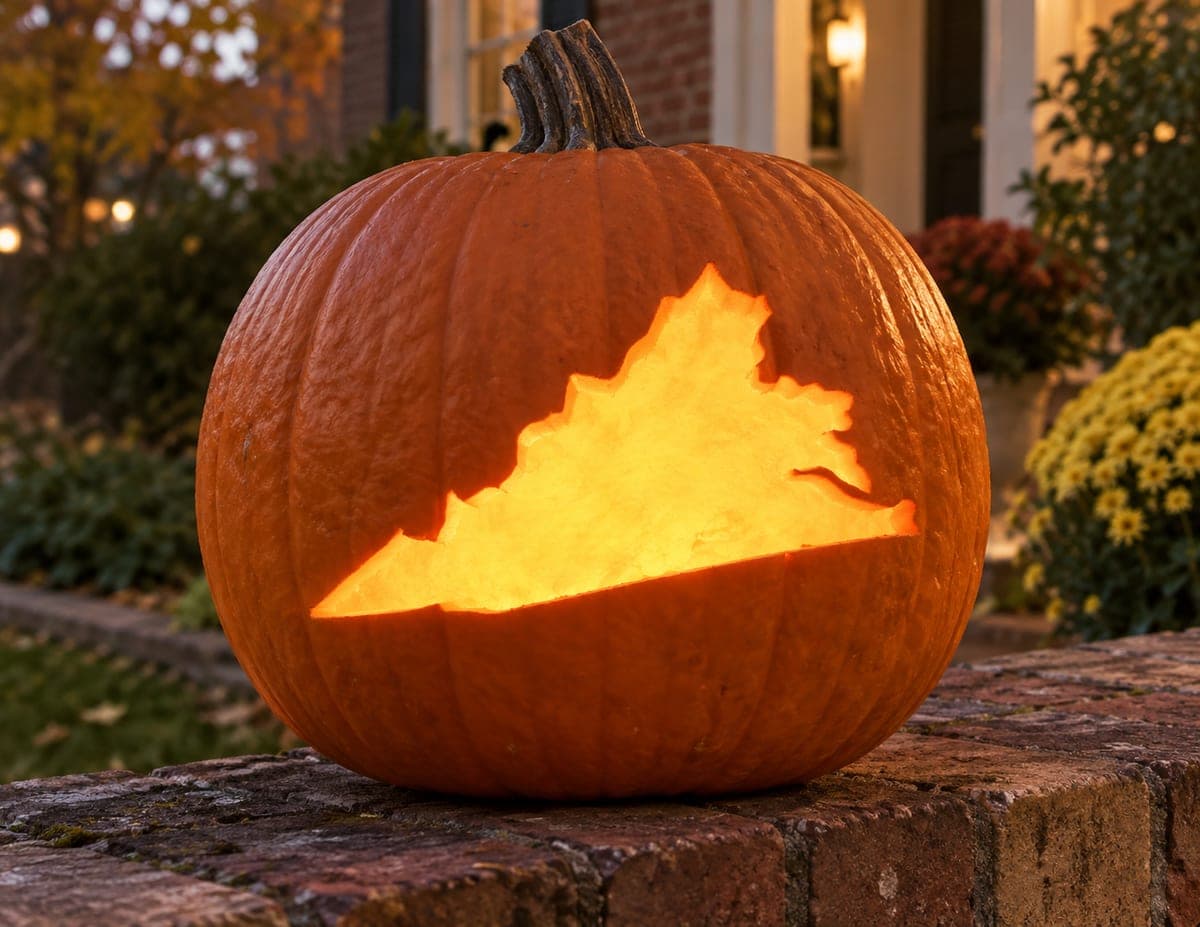
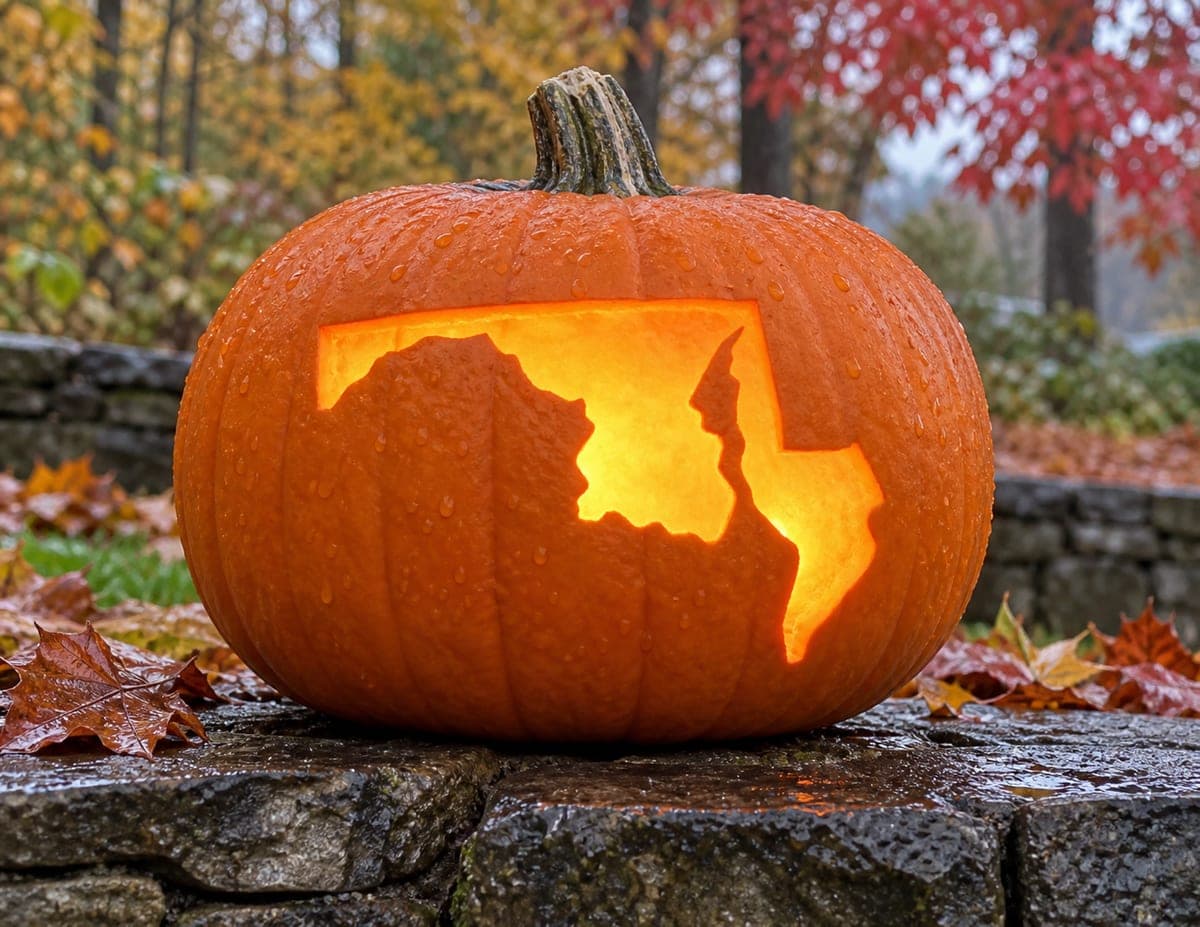
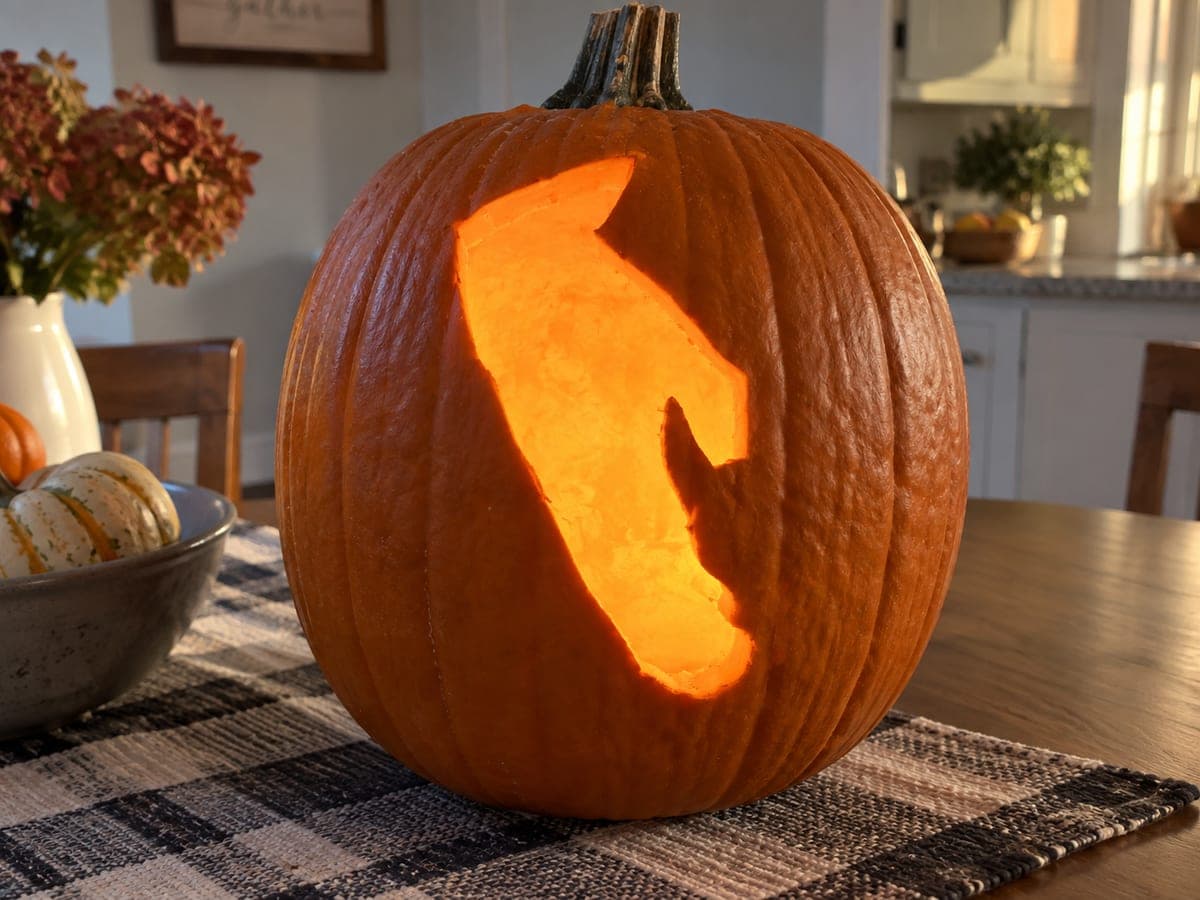
Maryland's complex outline splits into two distinct lit sections: a wide upper portion representing the Western Shore and a long, narrow peninsula extending to the right for the Eastern Shore, with the Chesapeake Bay creating the dark gap of uncut skin between them. The two-piece cutout design is what makes this the most challenging state map jack-o-lantern in the series. Carve the larger Western Shore section first and fully complete it before starting the narrow Eastern Shore strip, since the connecting land bridge at the Bay Bridge area must be left intact until both pieces are finished.

This is an AI-generated concept image: a realistic, carvable design idea rather than a photo of a finished carve. AI concepts are always labeled and sit out the leaderboard and the contest.
No ratings yet · Sign in to rate

Comments (0)

  • No comments yet — be the first.

Save without an account. Sign in to like or comment.

Our tips for carving a similar design

The trick here is treating Maryland as two separate lit shapes with a strip of untouched skin between them for the Chesapeake Bay. You cut the wide Western Shore section fully, then the long, narrow Eastern Shore peninsula, while leaving the thin land bridge near the Bay Bridge area intact so both openings stay stable. Since this is a concept image, plan it as a design you could carve, keeping the narrow neck wide enough to hold together.

Written by PumpkinCarvingIdeas.com, inspired by the image above. These are our suggestions, not instructions from the uploader. This approach to the AI concept has not been tested on a real pumpkin.

From pumpkin to porch

  1. Pick a sturdy pumpkin and open it

    Choose a large, round pumpkin with a smooth, flat front face for the map. Cut a wide lid from the bottom or the back rather than the top so the front stays uninterrupted. Scoop the inside clean and thin the front wall to about one inch with a scraping tool. A thinner wall makes the outline easier to cut and lets more light through.

  2. Transfer the two-part outline

    Print a Maryland map stencil sized to fit the front and tape it flat, snipping the edges so it hugs the curve. Use a poking tool or pin to dot along both the Western Shore and Eastern Shore edges. Mark the dark Chesapeake Bay strip clearly so you know which band of skin to leave uncut. Double check that the land bridge near the Bay Bridge area is drawn wide enough to stay attached.

  3. Carve the Western Shore section first

    Start with the larger left-hand shape using a fine saw blade and slow, steady strokes. Cut the whole Western Shore opening and gently push the piece out from the inside. Finish and clean up this section completely before touching the other side. Completing the big piece first keeps the pumpkin strong while you work the tricky part.

  4. Cut the narrow Eastern Shore strip

    Now saw the long, thin Eastern Shore peninsula on the right. Work in short segments and support the skin with your free hand so the slender strip does not snap. Keep the connecting land bridge between the two shapes uncut until both openings are fully carved. This intact skin is what holds the design together, so save it for last.

  5. Refine the Bay gap and edges

    Leave the Chesapeake Bay band as untouched skin so it reads as a dark divider between the two glowing shapes. If you want a soft hint of water there, lightly peel just the outer skin instead of cutting through. Trim any rough inner edges at an angle so light spreads through the openings. Wipe away pulp bits that could block the glow.

  6. Light it and photograph

    Set a battery LED or two inside, one behind each shore section, for even brightness across both cutouts. Test in the dark and nudge the lights until the Bay strip stays clearly dark between the two lit areas. Photograph outdoors at dusk against fall leaves for the warmest look. Rub the cut edges with petroleum jelly to slow drying if you want it to last.

Gather your supplies

Check things off as you get ready.

Work on a stable surface, keep your free hand out of the cutting path, and have an adult handle sharp tools.

Three levels of light

  • Leave intact

    The Chesapeake Bay strip and the surrounding pumpkin face stay as untouched skin, reading dark.

  • Peel & shade

    Optionally shave just the surface of the Bay band for a faint watery glow between the two shores.

  • Cut through

    The Western Shore and Eastern Shore shapes are cut fully through for the brightest light.

Learn the carving basics

Before you start cutting

How do I keep the narrow Eastern Shore strip from breaking?

Carve it in short segments and keep your free hand pressed gently behind the skin for support. Use a sharp fine blade so you are slicing, not forcing. Leave the connecting land bridge intact until both sections are done so the strip has an anchor while you work.

Should the Chesapeake Bay really stay uncut?

Yes, the dark Bay gap is what separates the two glowing shores and makes the map readable. Leave that band as untouched skin. If you want a subtle hint of water, peel only the outer layer rather than cutting all the way through.

Which section do I carve first and why?

Start with the larger Western Shore shape and finish it completely. The big pumpkin wall stays stronger while it is mostly intact, so tackling the sturdy part first protects the fragile peninsula. Save the thin Eastern Shore strip and the land bridge for last.

Your take belongs here, too.

Changed a detail? Made it simpler? Share a photo of your version and tell the community what worked.

Share your pumpkin

More pumpkins like this

You've reached the end · 8 pumpkins
The Patch Report

Fresh pumpkins, in your inbox.

The best new carvings, ideas worth stealing, and how-tos for carving season. Short, seasonal, and gone by November.

A short email during carving season. Unsubscribe anytime. See our privacy policy.