Halloween Pumpkin Carving Contest · Starts October 1st · $500 in prizes
← Back to ideas
@ai_concepts
Sep 25, 2026
No-Carve Painted Owl Pumpkin on Natural RindAI
0

Report this carving

Tell us what is wrong. Reports are private.

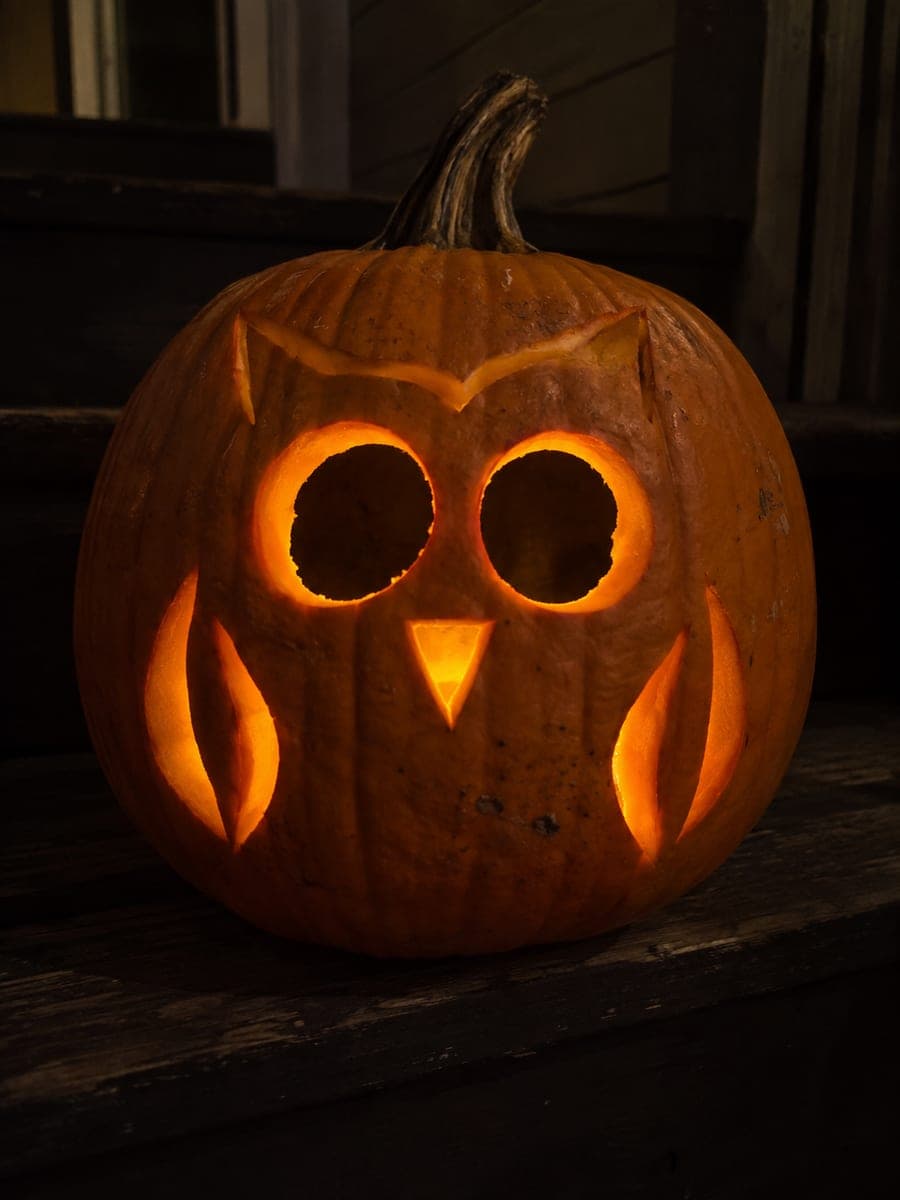
No-Carve Painted Owl Pumpkin on Natural Rind

Flat acrylic shapes on an undamaged pumpkin rind create a charming no-carve owl pumpkin carving idea that requires no tools beyond a brush. Paint a wide rounded head in dark brown or charcoal, then add large white eye circles with golden irises and a small curved beak. Use a fan brush with burnt sienna to stipple feather texture across the chest and wings. A coat of clear acrylic spray once the paint is dry keeps this display piece looking sharp through the season.

No ratings yet · Sign in to rate

Comments (0)

  • No comments yet — be the first.

Save without an account. Sign in to like or comment.

Our tips for carving a similar design

A dark base coat sets the owl's overall silhouette, large eye circles in white and gold provide the focal point, and fan-brush stippling across the chest and wings suggests feather texture without any fine detail work. The intact rind keeps the pumpkin fresh and outdoor-ready throughout the season.

From pumpkin to porch

  1. Clean and dry the pumpkin

    Wipe the surface thoroughly and let it dry before sketching. An owl design relies on a dark background color, which shows uneven adhesion very clearly. Starting with a completely clean, dry surface ensures the dark base coat covers smoothly.

  2. Sketch the owl layout

    Lightly sketch the rounded owl head, the large round eye circles, the beak position, and the approximate wing boundaries with a soft pencil. The eye circles should be the largest facial elements and sit in the upper-center of the design. Keep pencil marks light.

  3. Apply the dark base coat

    Fill the head and wing areas with a dark brown or charcoal gray acrylic using a flat brush. Apply two thin coats for smooth coverage. Let the first coat dry fully before the second. The dark base creates the visual contrast that makes the lighter eye circles pop.

  4. Paint the eye circles and beak

    Paint large white eye circles over the dry base coat using a round brush. Once the white dries, add golden yellow irises inside each circle and small black pupils at the center. Paint the short curved beak in a mid-brown or tan between the eyes. Add a tiny white shine dot in each pupil for life.

  5. Stipple feather texture

    Load a fan brush with a burnt sienna or lighter brown and stipple across the chest area between and below the eyes. Pounce the brush in irregular overlapping clusters rather than sweeping strokes to suggest layered feathers. Add a second stipple pass in a slightly darker tone on the upper wings and head crown.

  6. Seal and display

    Let all paint layers cure for at least an hour, then apply a matte acrylic sealant from 12 inches away in a smooth sweeping pass. Display under a warm porch light or soft spotlight angled from the front. The stippled texture catches the light beautifully when illuminated from a low angle.

Written with AI to match this design

Gather your supplies

Check things off as you get ready.

Work on a stable surface, keep your free hand out of the cutting path, and have an adult handle sharp tools.

Three levels of light

  • Leave intact

    The orange rind outside the painted owl design area

  • Peel & shade

    None, the shell stays completely intact

  • Cut through

    None. Illuminate from the front with a warm porch light or spotlight for the best display effect.

Learn the carving basics

Before you start cutting

The dark base coat is showing brush strokes. How do I get a smooth finish?

Apply the base coat with a wide flat brush in parallel strokes, then immediately cross-brush in the perpendicular direction while still wet. This cross-hatching levels the paint and minimizes visible strokes. Alternatively, use a small foam roller for the base coat application on larger flat areas.

The white eye circles look gray over the dark base. How do I get them bright white?

Apply three coats of white rather than two, letting each dry fully. A titanium white has the best opacity over dark backgrounds. If they still look gray, very lightly sand the dry base coat in the eye area with fine-grit sandpaper to create tooth before reapplying the white.

Can I add more than two feather colors to the stippling?

Yes, adding a third lighter or darker stipple tone in a third pass builds up realistic depth. Keep each stipple color concentrated in different zones (lighter on the chest center, darker on the wings and crown) rather than mixing them uniformly across the whole surface.

Your take belongs here, too.

Changed a detail? Made it simpler? Share a photo of your version and tell the community what worked.

Share your pumpkin

More pumpkins like this

You've reached the end · 8 pumpkins
The Patch Report

Fresh pumpkins, in your inbox.

The best new carvings, ideas worth stealing, and how-tos for carving season. Short, seasonal, and gone by November.

A short email during carving season. Unsubscribe anytime. See our privacy policy.