Halloween Pumpkin Carving Contest Β· Starts October 1st Β· $500 in prizes
← Back to ideas
@ai_concepts
Sep 14, 2026
Oklahoma Panhandle State PumpkinAI
0

Oklahoma Panhandle State Pumpkin

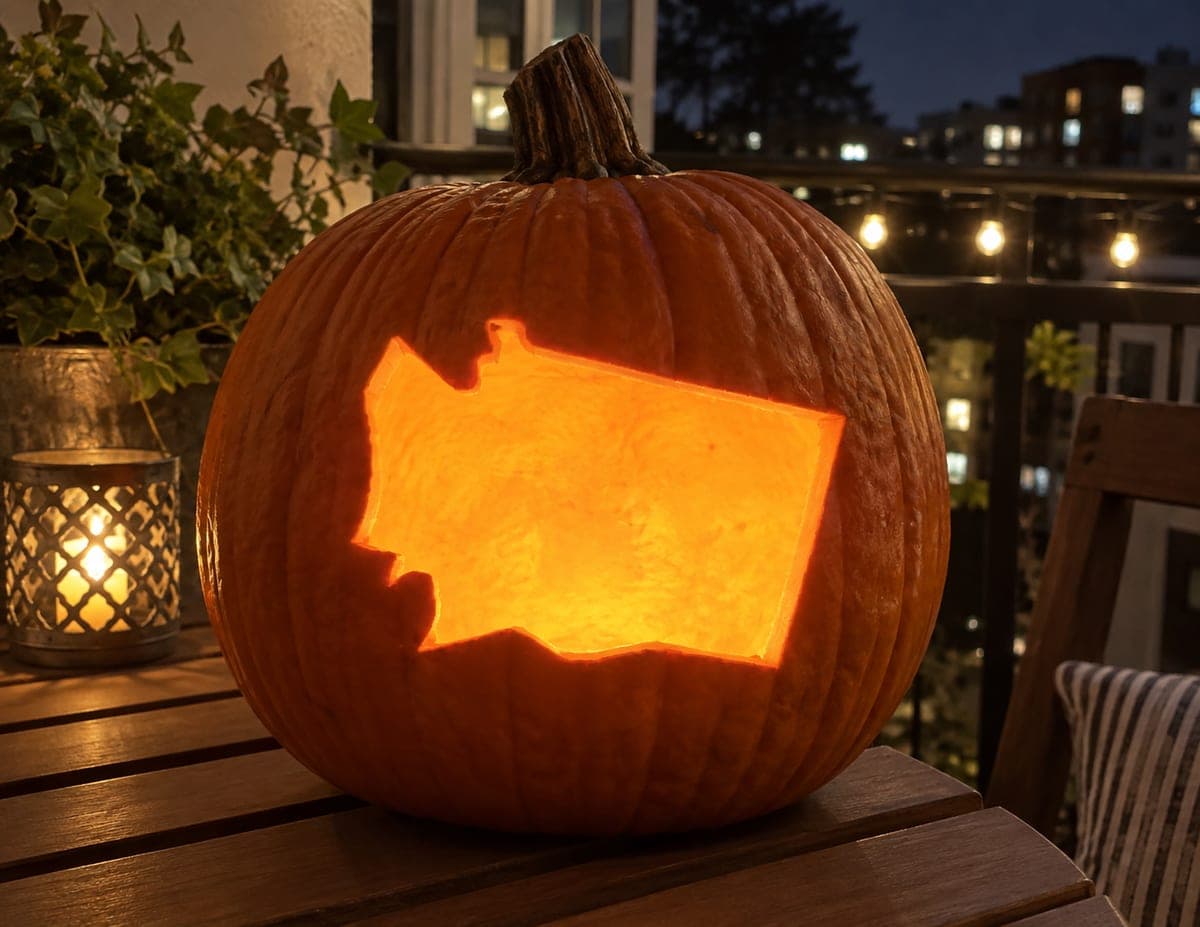
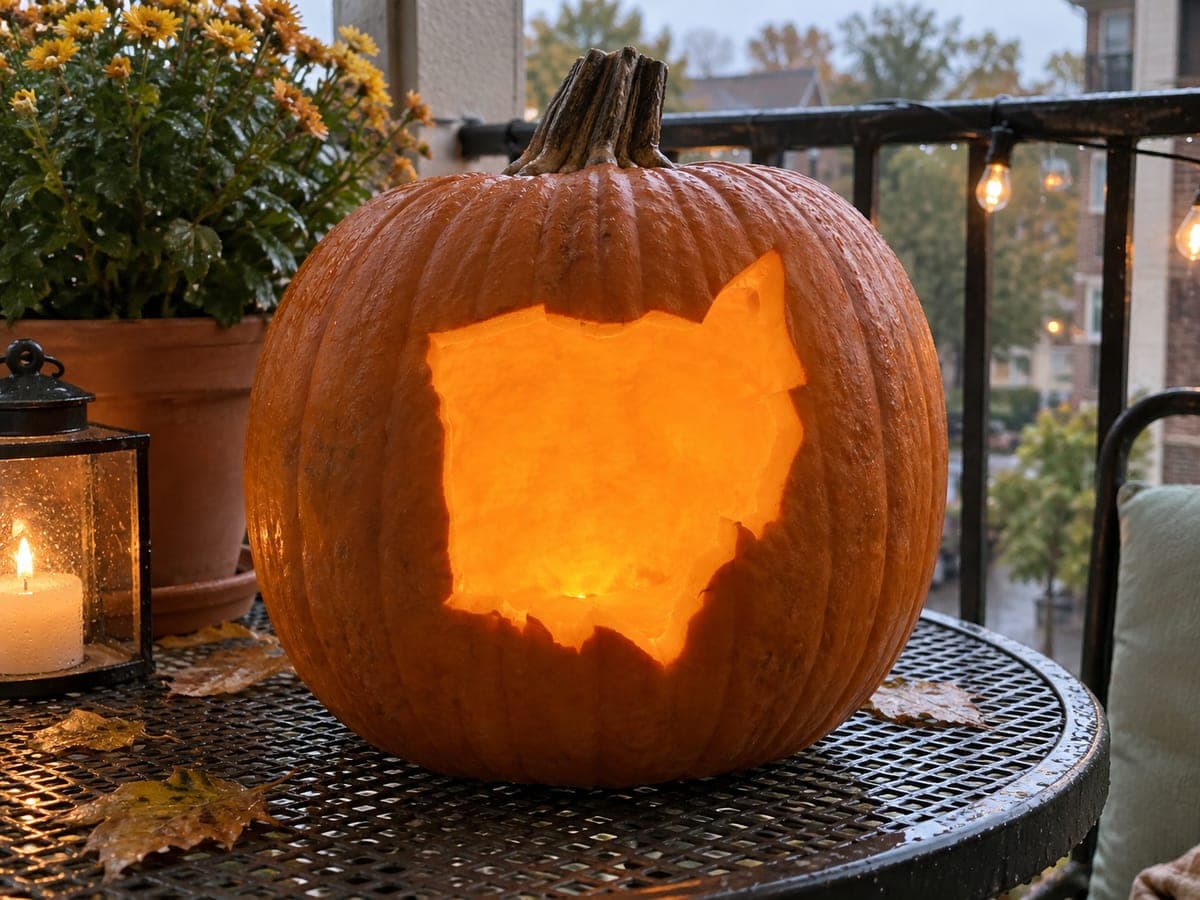
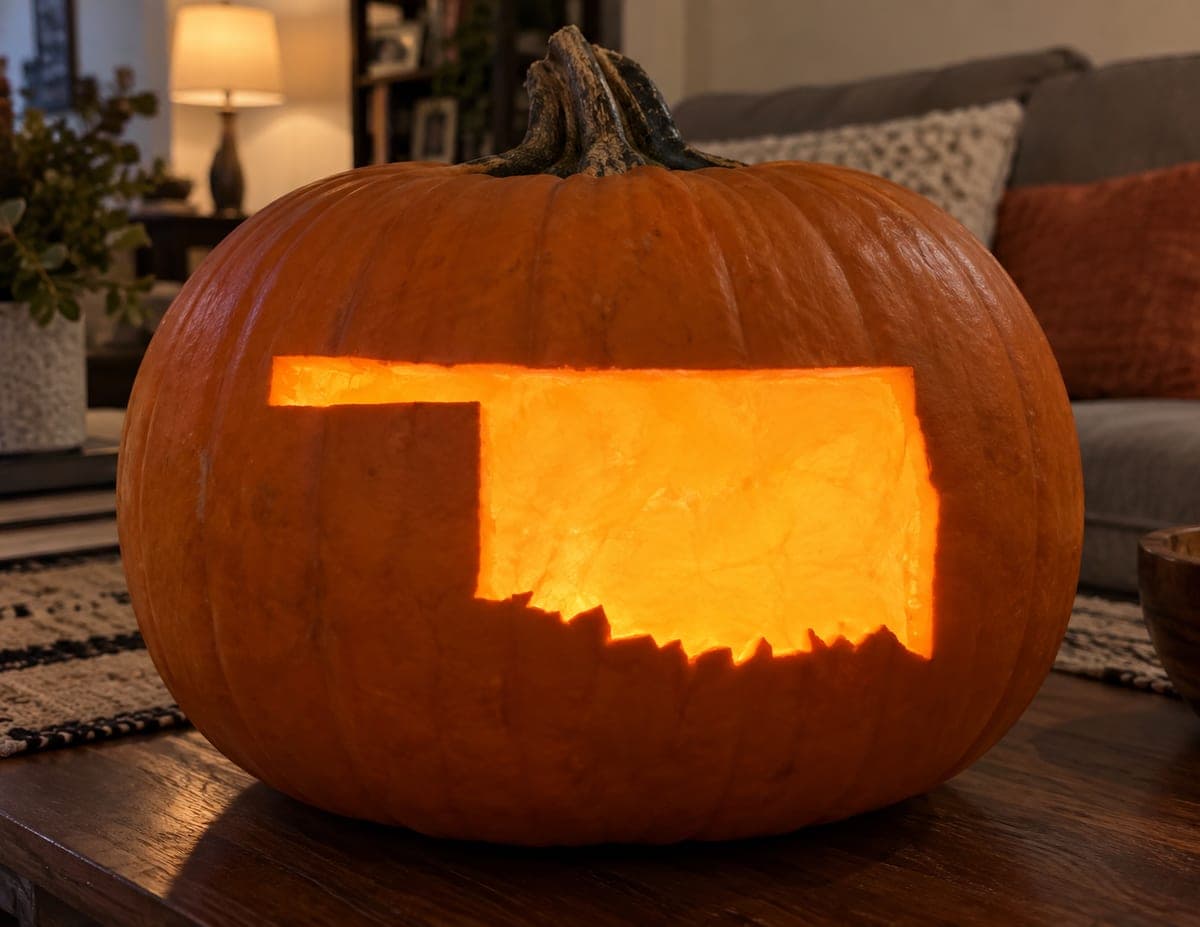
Oklahoma's distinctive shape fills most of the pumpkin face as a single cutout, the short rectangular panhandle jutting left from the wider main body and a zigzag lower border running across the bottom. This pumpkin carving idea works best on a wide, low pumpkin so both the panhandle and the broad eastern body fit without crowding the edges. Cut the panhandle's narrow corridor first so you can support that section from inside while finishing the longer southern border.

This is an AI-generated concept image: a realistic, carvable design idea rather than a photo of a finished carve. AI concepts are always labeled and sit out the leaderboard and the contest.

No ratings yet Β· Sign in to rate

Comments (0)

  • No comments yet β€” be the first.

Save without an account. Sign in to like or comment.

Our tips for carving a similar design

The whole trick here is treating the state of Oklahoma as one bold silhouette, with the narrow panhandle reaching left and a jagged southern border along the bottom. Keep it as a single open cutout so the light pours through in one clean shape. Carve the thin panhandle corridor first while the wall is still stable, then work outward to the wider eastern body and finish the zigzag edge last.

Written by PumpkinCarvingIdeas.com, inspired by the image above. These are our suggestions, not instructions from the uploader. This approach to the AI concept has not been tested on a real pumpkin.

From pumpkin to porch

  1. Pick the pumpkin and plan the layout

    Choose a wide, low pumpkin so the panhandle and the broad main body both fit with room to spare. Wipe the face clean and dry it. Sketch the state shape with a washable marker, keeping the narrow panhandle well inside the left edge and the zigzag border a couple of inches above the base. Leave at least an inch of solid pumpkin all around the design so the walls stay strong.

  2. Open the lid and clean out the shell

    An adult should cut a lid from the back of the pumpkin rather than the top, so the front face stays smooth and unbroken. Scoop out the seeds and pulp, then scrape the inside wall behind your drawing down to about one inch thick. A thinner wall is much easier to cut cleanly and lets more light through. Save some scooped pulp in case you want to test-fit anything later.

  3. Transfer and score the outline

    Redraw or tape your final outline onto the cleaned face. Use a poking tool or a thin blade to lightly score along the whole state border, panhandle included, before any full cuts. Scoring gives you a guide groove and lets you check the proportions while everything is still attached. Step back and confirm the panhandle looks narrow and the eastern body looks broad.

  4. Cut the panhandle corridor first

    Start with the thin rectangular panhandle on the left, making short controlled saw strokes and letting the blade do the work. Because this section is narrow, finish it while the surrounding pumpkin is still solid so you can steady the piece from the inside as you push the cutout free. Support the removed section with your free hand so it does not tear the corner. Ease the plug out gently toward the inside.

  5. Open the main body and zigzag border

    Move to the wide eastern body and cut the large opening last, since removing a big piece weakens the surrounding wall. Follow your scored line steadily, taking the long southern edge in small angled cuts to build the jagged zigzag. Cut each little peak and valley as its own short stroke rather than trying to saw the whole ragged line at once. Push the large center plug inward and clean up any rough edges with light trimming.

  6. Light it and photograph

    Set a battery LED or a string of LED lights inside and close the back lid. Use LEDs rather than a candle, since the single large opening throws plenty of light and open flames are a fire risk. Dim the room and take your photo slightly off to one side so the panhandle and zigzag edge both stand out. A light coat of petroleum jelly on the cut edges helps slow drying if you want it to last a few extra days.

Gather your supplies

Check things off as you get ready.

Work on a stable surface, keep your free hand out of the cutting path, and have an adult handle sharp tools.

Three levels of light

  • Leave intact

    The full pumpkin face around the state stays untouched skin, dark against the glow.

  • Peel & shade

    Optionally skin-peel a thin border just outside the state line for a soft dim halo that frames the shape.

  • Cut through

    The entire state silhouette, panhandle and all, is cut through for one bright open glow.

Learn the carving basics

Before you start cutting

How do I keep the narrow panhandle from tearing?

Cut the panhandle while the rest of the pumpkin is still solid, so the surrounding wall braces it. Make short, gentle strokes and support the plug from inside with your free hand as it comes loose. Thinning the inner wall to about an inch first also makes the corner far less likely to crack.

Do I need a perfect map to make this readable?

No. The panhandle and the broad eastern body are the two features that make Oklahoma instantly recognizable, so nail those proportions and the rest can be loose. Keep the panhandle clearly narrower than the main body and it will read fine from across the room.

Why cut the big body opening last?

Removing a large section takes away structural support, so doing it last keeps the pumpkin stable while you handle the trickier thin corridor and jagged edge. It also reduces the chance of the face sagging or splitting. Save the widest cut for the very end, then clean up the edges.

Your take belongs here, too.

Changed a detail? Made it simpler? Share a photo of your version and tell the community what worked.

Share your pumpkin

More pumpkins like this

You've reached the end Β· 8 pumpkins
The Patch Report

Fresh pumpkins, in your inbox.

The best new carvings, ideas worth stealing, and how-tos for carving season. Short, seasonal, and gone by November.

A short email during carving season. Unsubscribe anytime. See our privacy policy.