Halloween Pumpkin Carving Contest · Starts October 1st · $500 in prizes
← Back to ideas
@ai_concepts
Sep 14, 2026
Pennsylvania State Map Pumpkin
1/2
AI
0

Pennsylvania State Map Pumpkin

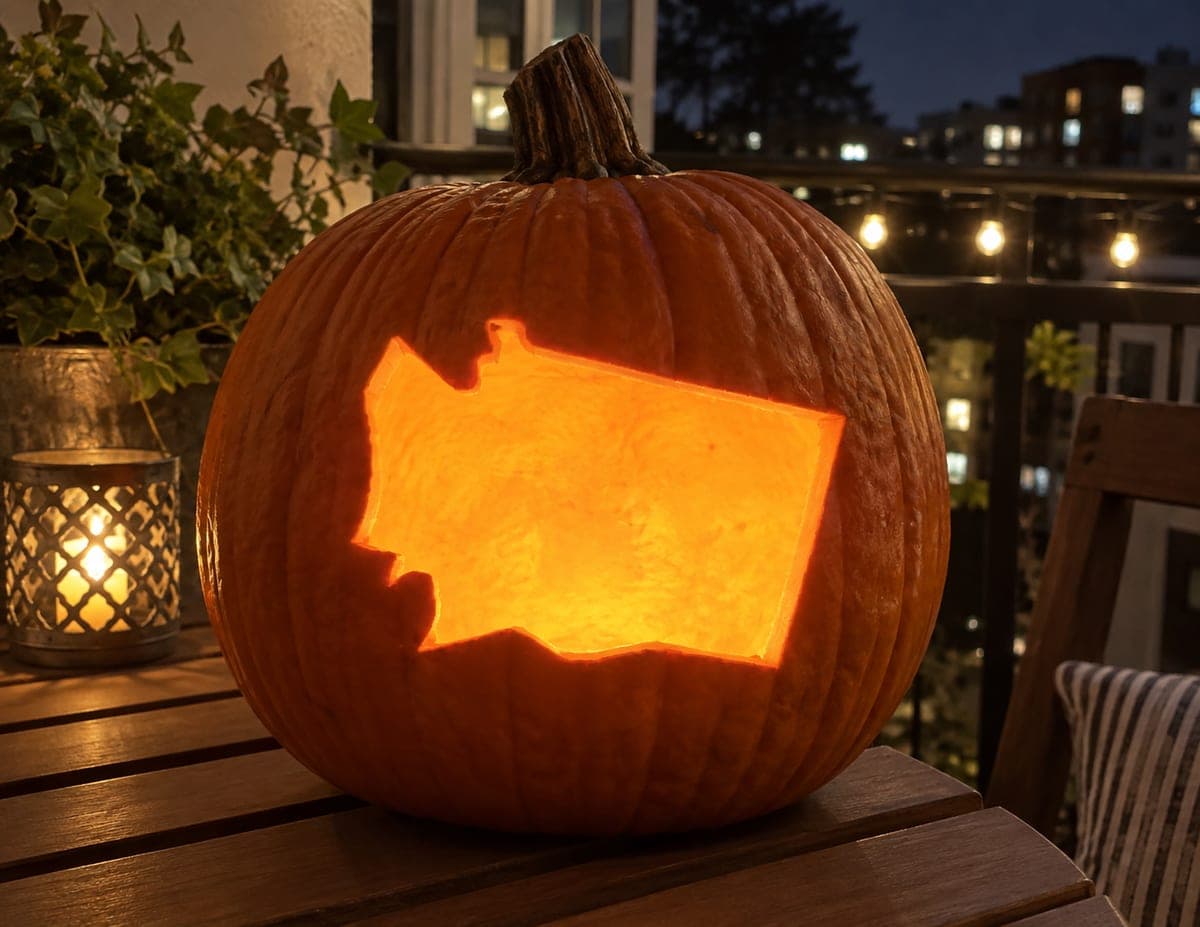
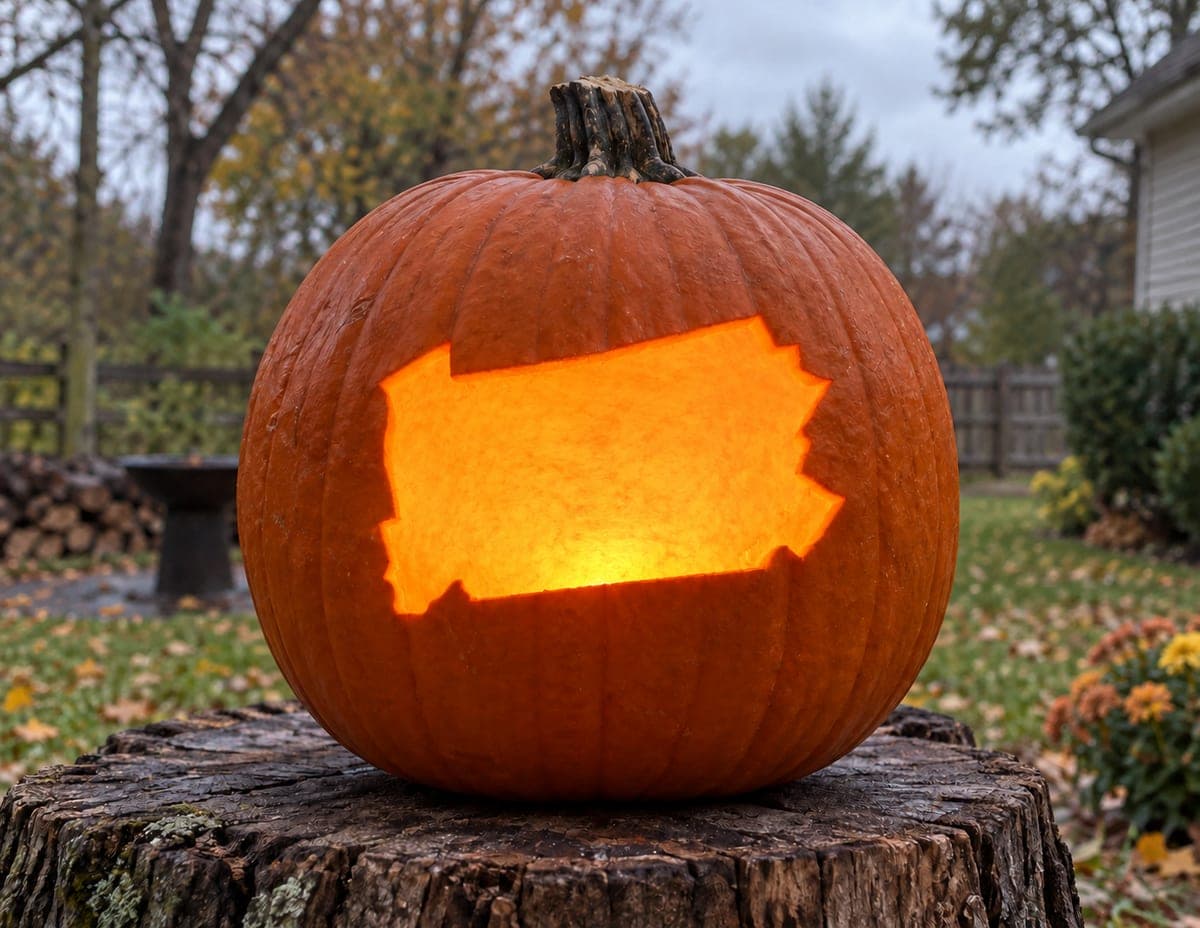
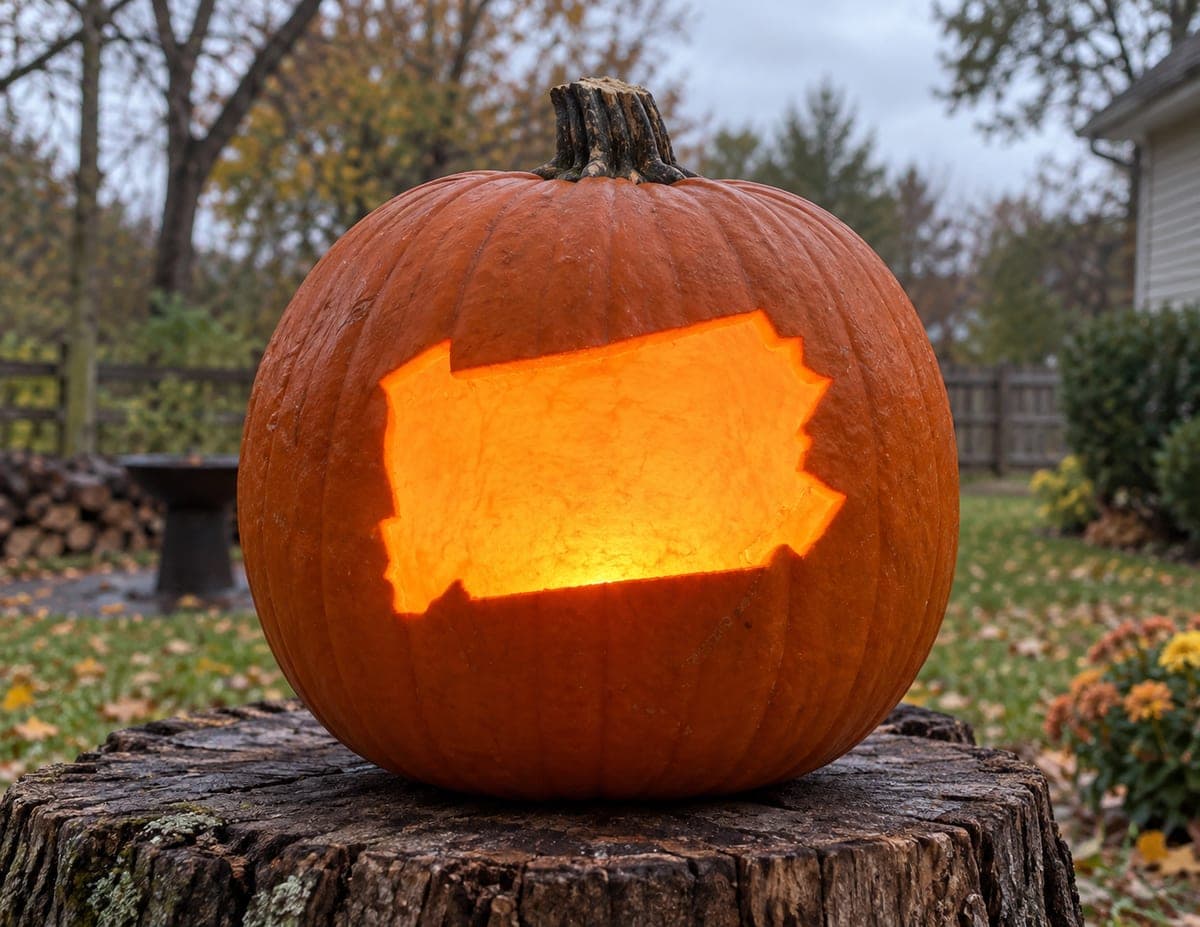
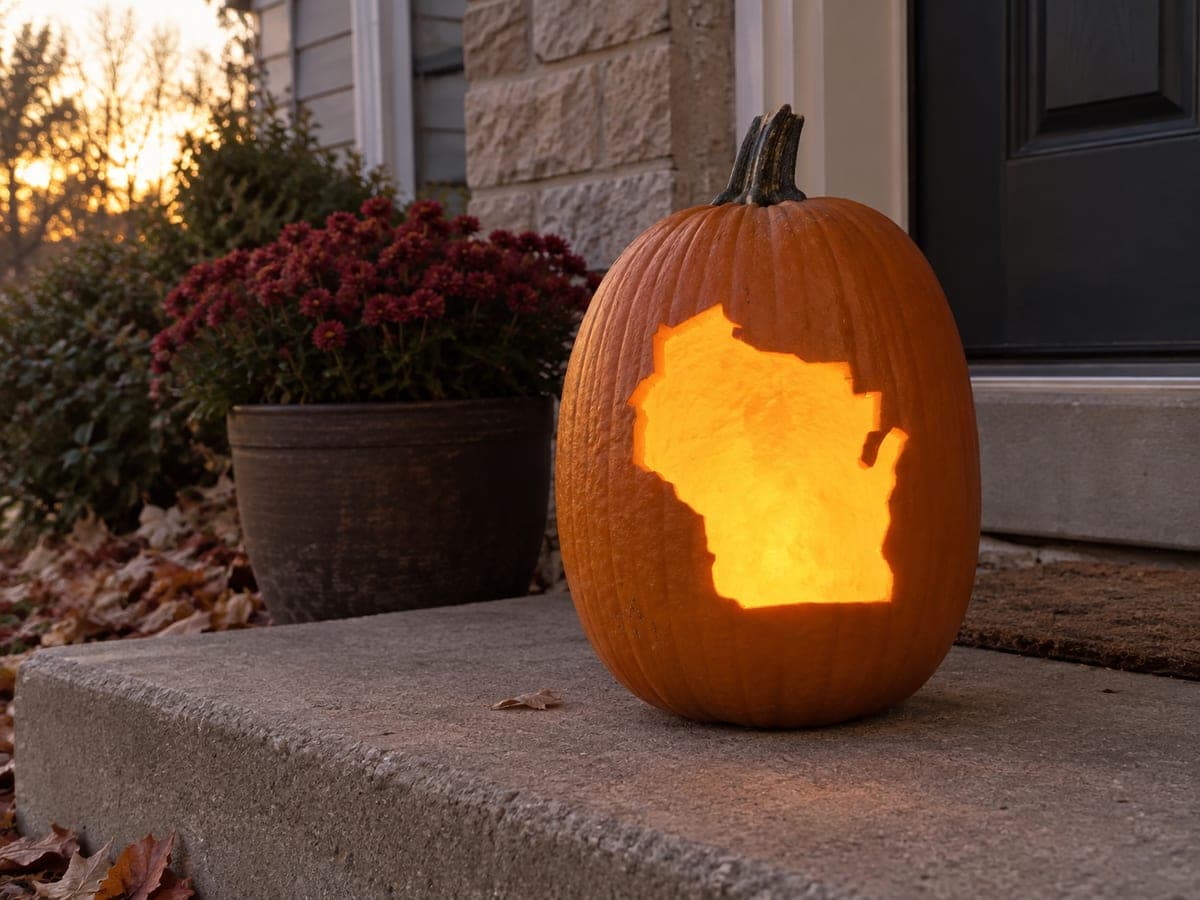
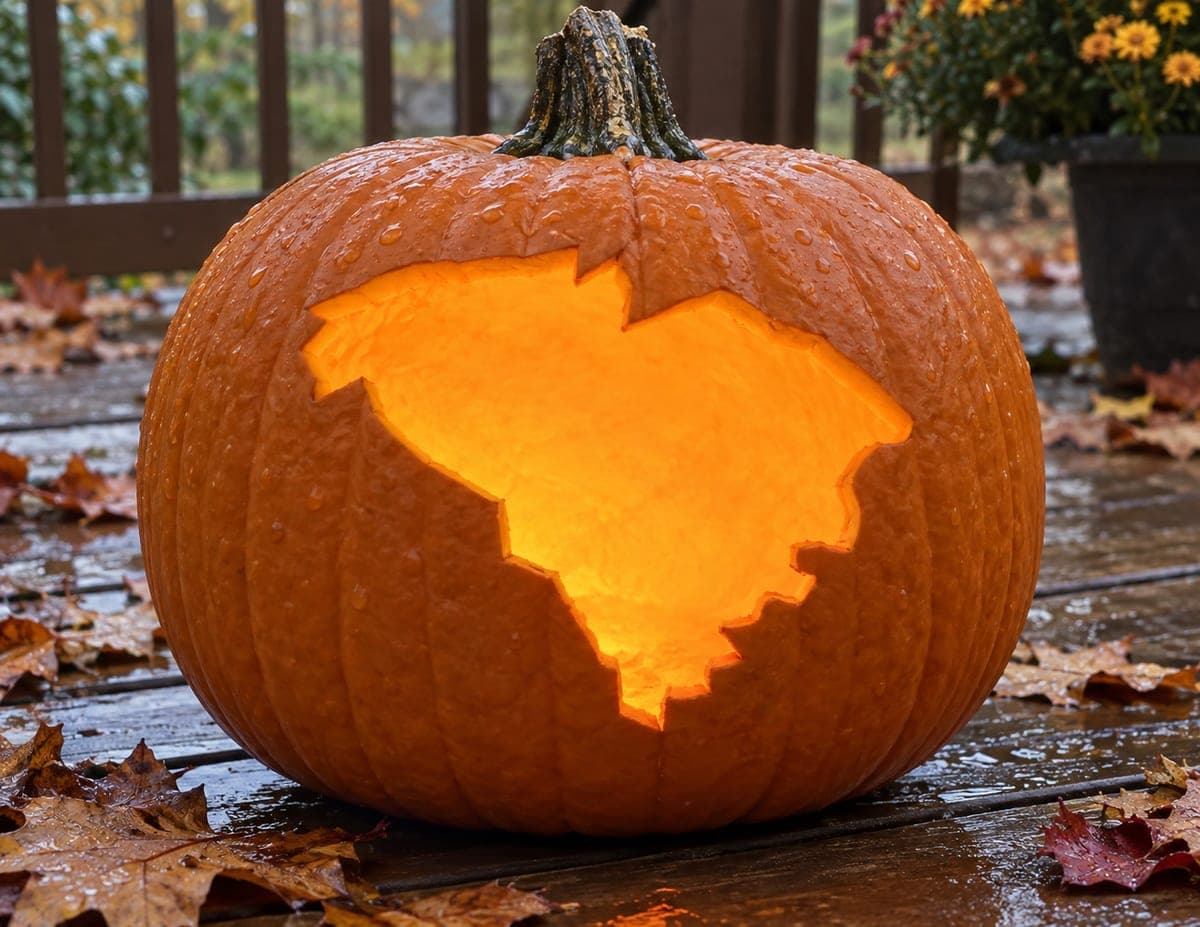
Pennsylvania's broad, almost-rectangular silhouette is cut entirely through this large pumpkin, the top edge nearly level, the small northwestern notch clearly visible at upper left, and the right side carrying a slight diagonal taper toward a pointed southeastern corner. The large open area makes this pumpkin carving idea beginner-friendly because there are no narrow bridges to snap, but the notch at the upper-left is where most saws want to skip -- work into that corner from both sides with short strokes. Backlight with a warm LED rather than a candle so the entire state glows an even orange instead of flickering near the base.

This is an AI-generated concept image: a realistic, carvable design idea rather than a photo of a finished carve. AI concepts are always labeled and sit out the leaderboard and the contest.
No ratings yet · Sign in to rate

Comments (0)

  • No comments yet — be the first.

Save without an account. Sign in to like or comment.

Our tips for carving a similar design

The whole trick here is one big single-piece cutout in the shape of Pennsylvania, so the state reads as a solid glowing silhouette with no interior detail to fuss over. Because the opening is broad and there are no thin bridges to protect, the main challenge is keeping the outline crisp, especially the small notch at the upper left and the tapered point at the lower right. Plan to trace, gut, then cut the outline last so the shell stays firm while you work.

Written by PumpkinCarvingIdeas.com, inspired by the image above. These are our suggestions, not instructions from the uploader. This approach to the AI concept has not been tested on a real pumpkin.

From pumpkin to porch

  1. Pick a big, flat-faced pumpkin

    Choose a large pumpkin with one broad, relatively flat side so the wide state shape fits without wrapping around the curve. A smooth section without deep ribs makes the straight top edge easier to keep clean. Wipe the surface dry and set it on a towel so it does not roll while you carve.

  2. Transfer the state outline

    Print the Pennsylvania shape sized to fill most of the flat face, then tape it flat and poke the outline with a pin or a transfer tool spaced close together. Pay extra attention to marking the northwestern notch at the upper left and the pointed southeastern corner so those details do not get lost. Peel the paper and connect the dots lightly with a washable marker if the holes are hard to read.

  3. Open the lid and gut it out

    Cut a lid around the stem at an angle so it rests back in place later, or open a hole in the bottom instead for easier lighting. Scoop the pulp and scrape the inside wall behind the design down to about one inch thick. A thinner wall lets light pass through evenly and makes the outline easier to saw.

  4. Saw the outline, saving the corners for care

    Use a small serrated carving saw and cut along your traced line with steady, gentle strokes, keeping the blade straight into the wall. When you reach the upper-left notch, work into that corner from both directions with short strokes rather than forcing one long cut, which is where blades tend to skip. Do the same at the pointed lower-right corner so the tip stays sharp instead of rounding off.

  5. Push out the piece and clean the edges

    Once the entire outline is cut, gently push the state-shaped piece inward and lift it free. Run your saw back around any ragged spots to smooth the border and true up the straight top edge. Scrape the inner cut edge slightly if you want a touch more glow around the perimeter.

  6. Light it and photograph

    Set a warm white LED puck or a battery tea light cluster inside so the whole state glows an even orange, and skip real candles since the large opening would make a flame flicker. Place the pumpkin at eye level against a dark background for the photo. Shoot at dusk so the glow reads strong without the sky washing it out.

Gather your supplies

Check things off as you get ready.

Work on a stable surface, keep your free hand out of the cutting path, and have an adult handle sharp tools.

Three levels of light

  • Leave intact

    The entire orange pumpkin skin around the state stays untouched and dark.

  • Peel & shade

    Optional: shave a thin border just inside the cut edge for a soft halo around the state.

  • Cut through

    The full Pennsylvania shape is cut through so it glows brightest.

Learn the carving basics

Before you start cutting

How do I keep the northwestern notch from tearing?

That little corner is where saws want to skip and overshoot. Slow down and cut into the notch from both sides with short strokes, meeting in the middle instead of forcing one long pass. Let the blade do the work rather than pushing hard.

Do I need an interior detail to show it is Pennsylvania?

No, the outline alone carries the design. A solid single-piece cutout reads clearly as the state, which is exactly why this is beginner-friendly. Keep the border crisp and the recognizable shape does the work.

Should I light it from the bottom or through a lid?

Either works, but a bottom opening lets you set the pumpkin right over an LED and keeps the top intact. If you cut a lid, angle the cut so it rests securely. Use a warm white LED for an even glow across the whole opening.

Your take belongs here, too.

Changed a detail? Made it simpler? Share a photo of your version and tell the community what worked.

Share your pumpkin

More pumpkins like this

You've reached the end · 8 pumpkins
The Patch Report

Fresh pumpkins, in your inbox.

The best new carvings, ideas worth stealing, and how-tos for carving season. Short, seasonal, and gone by November.

A short email during carving season. Unsubscribe anytime. See our privacy policy.