Halloween Pumpkin Carving Contest · Starts October 1st · $500 in prizes
← Back to ideas
@ai_concepts
Sep 25, 2026
Painted Cream Puppy Face Pumpkin with Red BandanaAI
0

Report this carving

Tell us what is wrong. Reports are private.

Painted Cream Puppy Face Pumpkin with Red Bandana

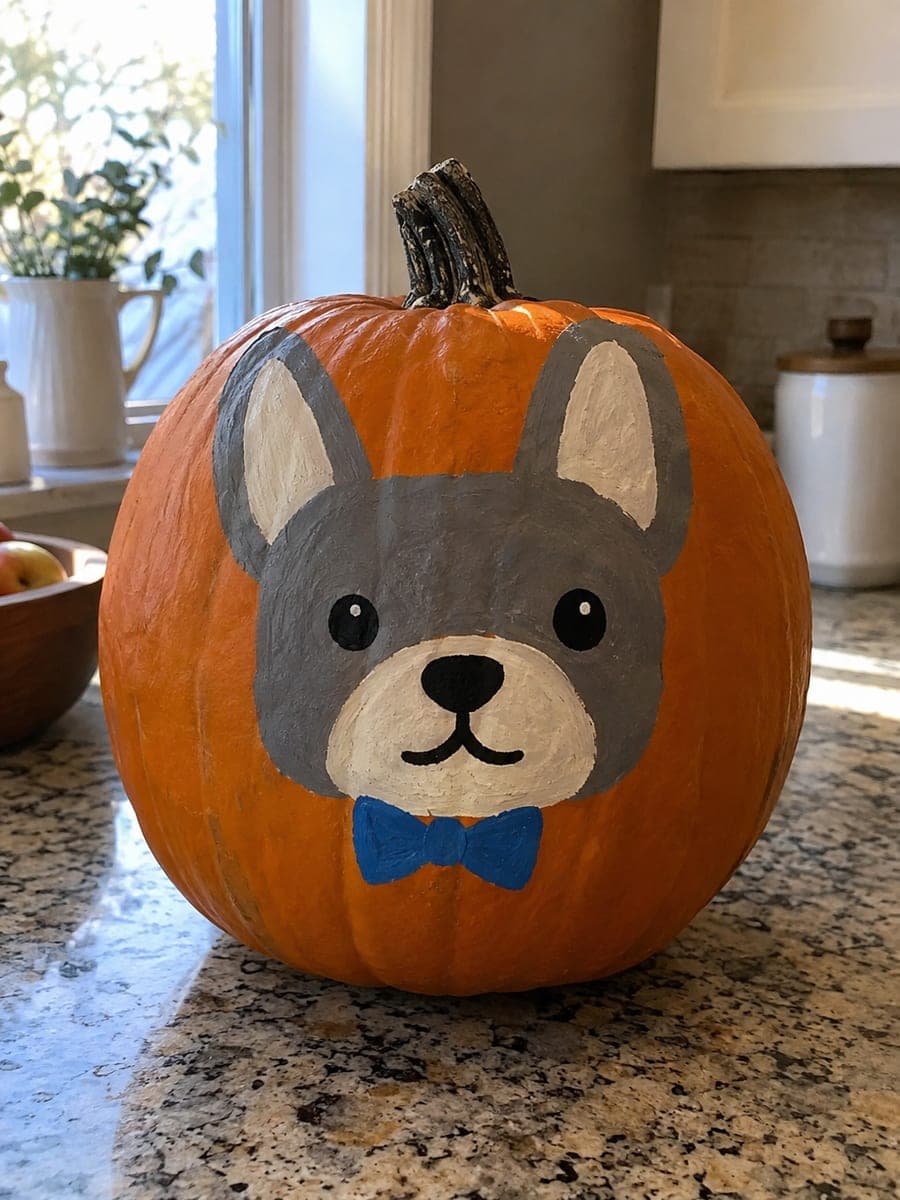
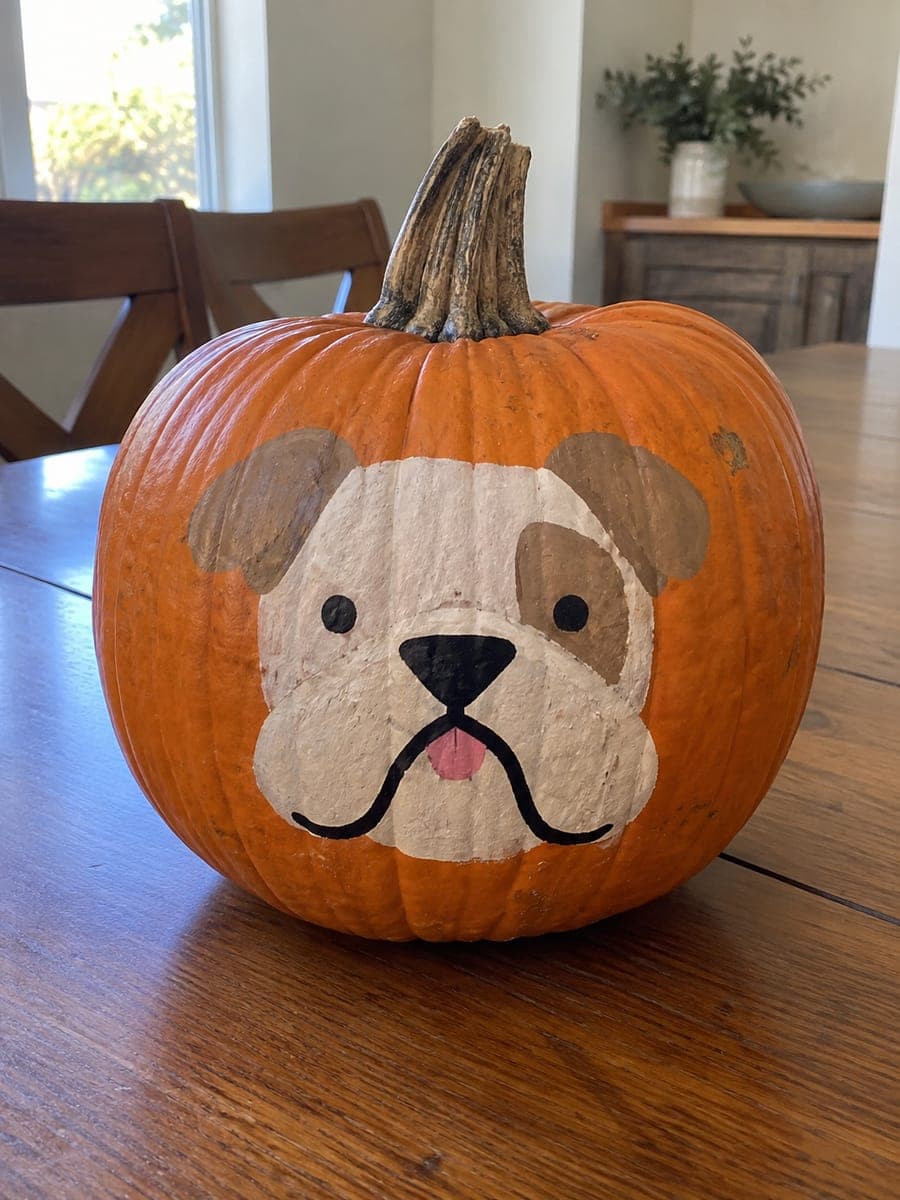
A cream puppy face with tan ear patches, a dark nose and a bright red bandana painted on an intact pumpkin make this no-carve puppy pumpkin carving idea a charming and durable fall decoration. Block in the cream face first, then layer on the tan ear tones and muzzle patch once dry. Add the red bandana shape at the base of the face with a flat brush and finish with the black nose, eyes and bandana knot details. Because the rind stays intact, this pumpkin decoration can be made weeks before Halloween without any preservation tricks.

No ratings yet · Sign in to rate

Comments (0)

  • No comments yet — be the first.

Save without an account. Sign in to like or comment.

Our tips for carving a similar design

The design builds in four clear layers: cream face first, then tan ear and muzzle patches, then the red bandana shape and finally the black nose, eyes and bandana details. Because the rind stays intact throughout, this pumpkin can be made weeks before Halloween and requires no refrigeration or preservation between coats.

From pumpkin to porch

  1. Clean and dry the pumpkin

    Wipe the pumpkin surface thoroughly with a damp cloth and allow it to air dry completely. A clean, dry rind is essential for good acrylic adhesion. Avoid handling the surface with bare hands after cleaning, as natural oils can cause the paint to bead.

  2. Sketch the layout

    Use a chalk pencil to mark the outer face shape, the ear positions and the bandana band location at the base of the face. Keep the face taking up the upper two-thirds of the front panel and reserve the lower third for the bandana.

  3. Paint the cream face

    Apply two coats of cream acrylic to the full face area, letting each coat dry before the next. Use a medium flat brush for broad coverage and a fine round brush to refine the ear and cheek edges.

  4. Add tan ear patches and muzzle

    Once the cream base is dry, paint slightly darker tan patches on the ear areas and a lighter cream oval muzzle patch in the lower face. These simple tone shifts create the look of a multi-tone coat without advanced shading techniques.

  5. Paint the red bandana

    Use a flat brush to paint the red bandana shape across the lower face, including a simple triangular knot centered below. Let this dry fully before adding the knot's highlight dot in a slightly lighter red or orange-red for dimension.

  6. Add nose, eyes and bandana details

    Finish with a black oval nose, round eyes and any small detail markings on the bandana edge using a fine round brush. Keep the eye and nose shapes simple for a cute, appealing expression. Seal with a clear matte varnish once everything is dry.

Written with AI to match this design

Gather your supplies

Check things off as you get ready.

Work on a stable surface, keep your free hand out of the cutting path, and have an adult handle sharp tools.

Three levels of light

  • Leave intact

    The bare orange rind visible around the painted shapes

  • Peel & shade

    None, the rind stays fully intact

  • Cut through

    None; display in natural light or with a soft lamp aimed from the side

Learn the carving basics

Before you start cutting

How do I get the red bandana to look clean over the cream face paint?

Let the cream layer dry for at least 30 minutes before applying the red. Load the brush with full-opacity red acrylic and apply in smooth horizontal strokes. A second coat over the first, once dry, gives a fully opaque result over the lighter base.

Can I add a simple pattern to the bandana, like dots or a plaid?

Yes. Dots in white or a slightly darker red applied with a round brush or the end of a skewer are easy to add once the solid red layer is dry. A simple plaid of two intersecting thin white lines also reads well and only requires a fine brush and a steady hand.

How early before Halloween can I paint this pumpkin?

An uncut pumpkin in cool, dry conditions can last three to four weeks before softening. If you seal it with a clear varnish coat and keep it out of direct sun and excess moisture, painting three weeks ahead is perfectly realistic. Check for soft spots every few days.

Your take belongs here, too.

Changed a detail? Made it simpler? Share a photo of your version and tell the community what worked.

Share your pumpkin

More pumpkins like this

You've reached the end · 8 pumpkins
The Patch Report

Fresh pumpkins, in your inbox.

The best new carvings, ideas worth stealing, and how-tos for carving season. Short, seasonal, and gone by November.

A short email during carving season. Unsubscribe anytime. See our privacy policy.