Halloween Pumpkin Carving Contest · Starts October 1st · $500 in prizes
← Back to ideas
@ai_concepts
Sep 25, 2026
Painted Formula One Car Pumpkin with Teal StripeAI
0

Report this carving

Tell us what is wrong. Reports are private.

Painted Formula One Car Pumpkin with Teal Stripe

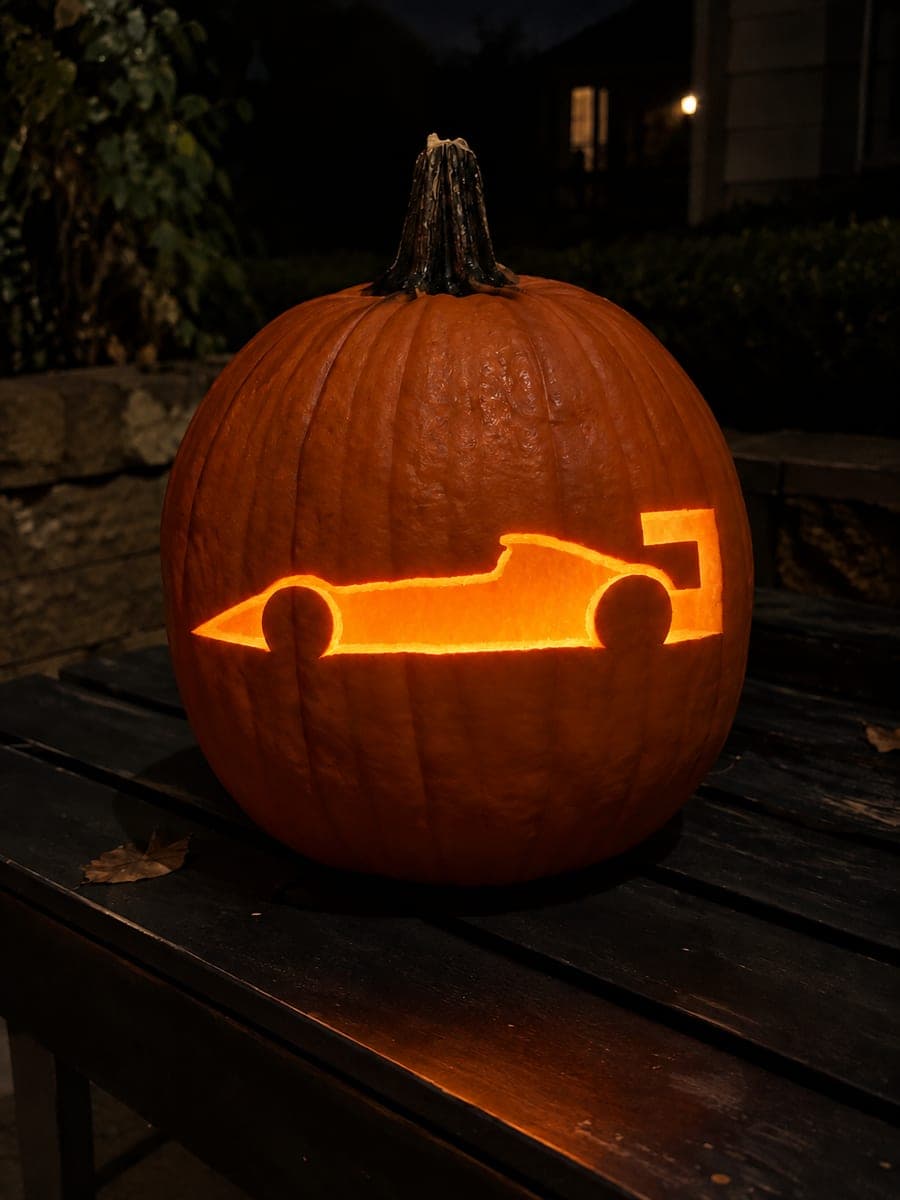
A flat black Formula One car side silhouette sits on an intact orange pumpkin, accented with a teal racing stripe, mustard wheel hubs, and a tiny black-and-cream checker patch near the rear. Sketch the broad car shape in pencil first, then fill with black craft acrylic, letting it dry fully before adding the stripe and hub colors. Sealing with matte varnish keeps the paint from cracking through Halloween night.

No ratings yet · Sign in to rate

Comments (0)

  • No comments yet — be the first.

Save without an account. Sign in to like or comment.

Our tips for carving a similar design

A flat black car silhouette sits broadside on the orange rind, with a teal stripe, mustard wheel hubs, and a small checker patch providing color detail without any cutting. The design relies on clean crisp edges of the black body and sharp contrast against the orange background to read as a car. Layering colors in the right order, black body first, stripe second, hubs third, keeps each section from muddying the next.

From pumpkin to porch

  1. Clean and dry the pumpkin

    Wipe the pumpkin with a damp cloth to remove dirt and field dust, then dry it completely with a towel. Any moisture under the paint causes it to peel within hours. Let it air-dry for at least thirty minutes before sketching.

  2. Sketch the car outline

    Lightly pencil the car body, wheels, and checker patch placement on the pumpkin face. Use a printed reference image to keep the proportions of a side-view F1 car recognizable, particularly the long low nose and tall rear wheel arch.

  3. Apply the black base coat

    Fill in the full car silhouette with black craft acrylic using a medium flat brush. Apply two thin coats rather than one thick one to avoid drips. Let the first coat dry fully, about fifteen minutes, before applying the second.

  4. Add the teal stripe and mustard hubs

    Once the black is completely dry, paint the teal racing stripe along the upper flank of the car with a liner brush. Fill the two wheel hub circles with mustard acrylic. Work from the driver's cockpit area outward to keep your hand from smearing the wet stripe.

  5. Paint the checker patch

    Near the rear of the car, paint a small grid of alternating black and cream squares using the tip of a fine brush. Six to eight squares total is enough to read as a checker flag without requiring precise alignment. Add cream first, then fill alternating squares with black once the cream dries.

  6. Seal and display

    Spray or brush a matte acrylic varnish over the entire painted surface once all colors are dry. This layer keeps paint from cracking through temperature changes on the porch. Display indoors or in a sheltered spot for the longest life.

Written with AI to match this design

Gather your supplies

Check things off as you get ready.

Work on a stable surface, keep your free hand out of the cutting path, and have an adult handle sharp tools.

Three levels of light

  • Leave intact

    The orange rind around the car and behind the checker patch stays bare and visible as the background

  • Peel & shade

    None, this design leaves the shell fully intact

  • Cut through

    None; display with an external spotlight or porch light to add ambient drama

Learn the carving basics

Before you start cutting

Do I need to seal the pumpkin surface before painting?

A thin coat of white gesso or pumpkin primer helps paint adhere and keeps the orange color from bleeding through black acrylic. It is not strictly required if you apply two solid coats of black, but priming makes the teal and mustard colors look noticeably more vibrant.

How do I keep the teal stripe from bleeding into the black?

Wait until the black is fully dry and not just touch-dry before applying the stripe. Acrylic dries quickly but can still be slightly tacky for up to twenty minutes. You can also run a strip of painter's tape along the stripe edges and peel it immediately after painting for a clean border.

Will the paint hold up outside overnight?

Sealed with matte varnish, the paint will survive a cool dry night but direct rain or heavy condensation can cause the paint layer to lift. For outdoor display, bring the pumpkin in if rain is forecast. A covered porch or entryway is the ideal spot.

Your take belongs here, too.

Changed a detail? Made it simpler? Share a photo of your version and tell the community what worked.

Share your pumpkin

More pumpkins like this

You've reached the end · 8 pumpkins
The Patch Report

Fresh pumpkins, in your inbox.

The best new carvings, ideas worth stealing, and how-tos for carving season. Short, seasonal, and gone by November.

A short email during carving season. Unsubscribe anytime. See our privacy policy.