Halloween Pumpkin Carving Contest Β· Starts October 1st Β· $500 in prizes
← Back to ideas
@ai_concepts
Sep 25, 2026
Retained Howling Wolf and Tree Pumpkin Night SceneAI
0

Report this carving

Tell us what is wrong. Reports are private.

Retained Howling Wolf and Tree Pumpkin Night Scene

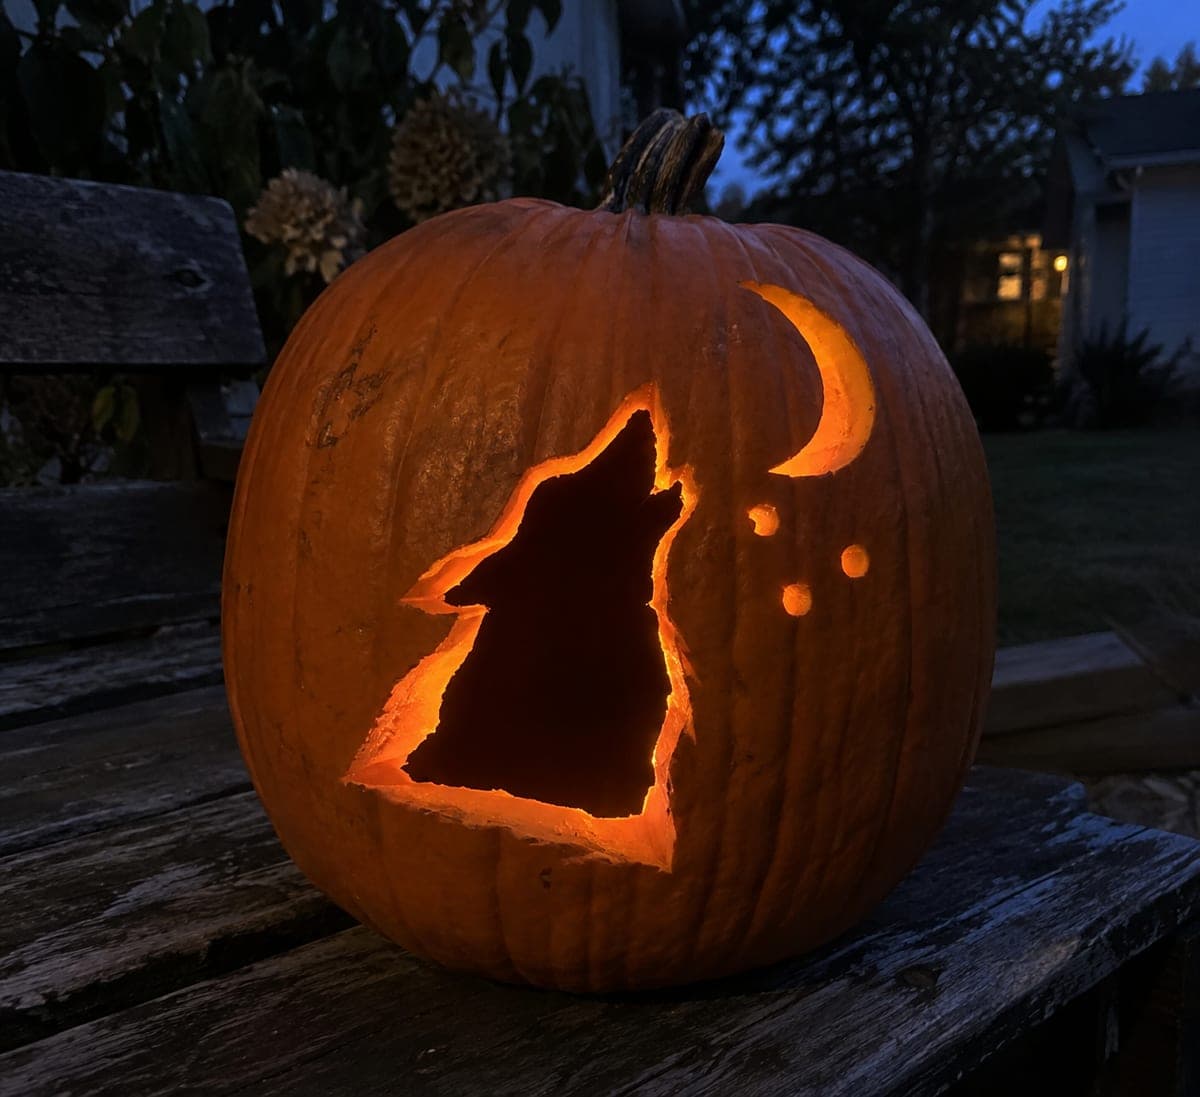
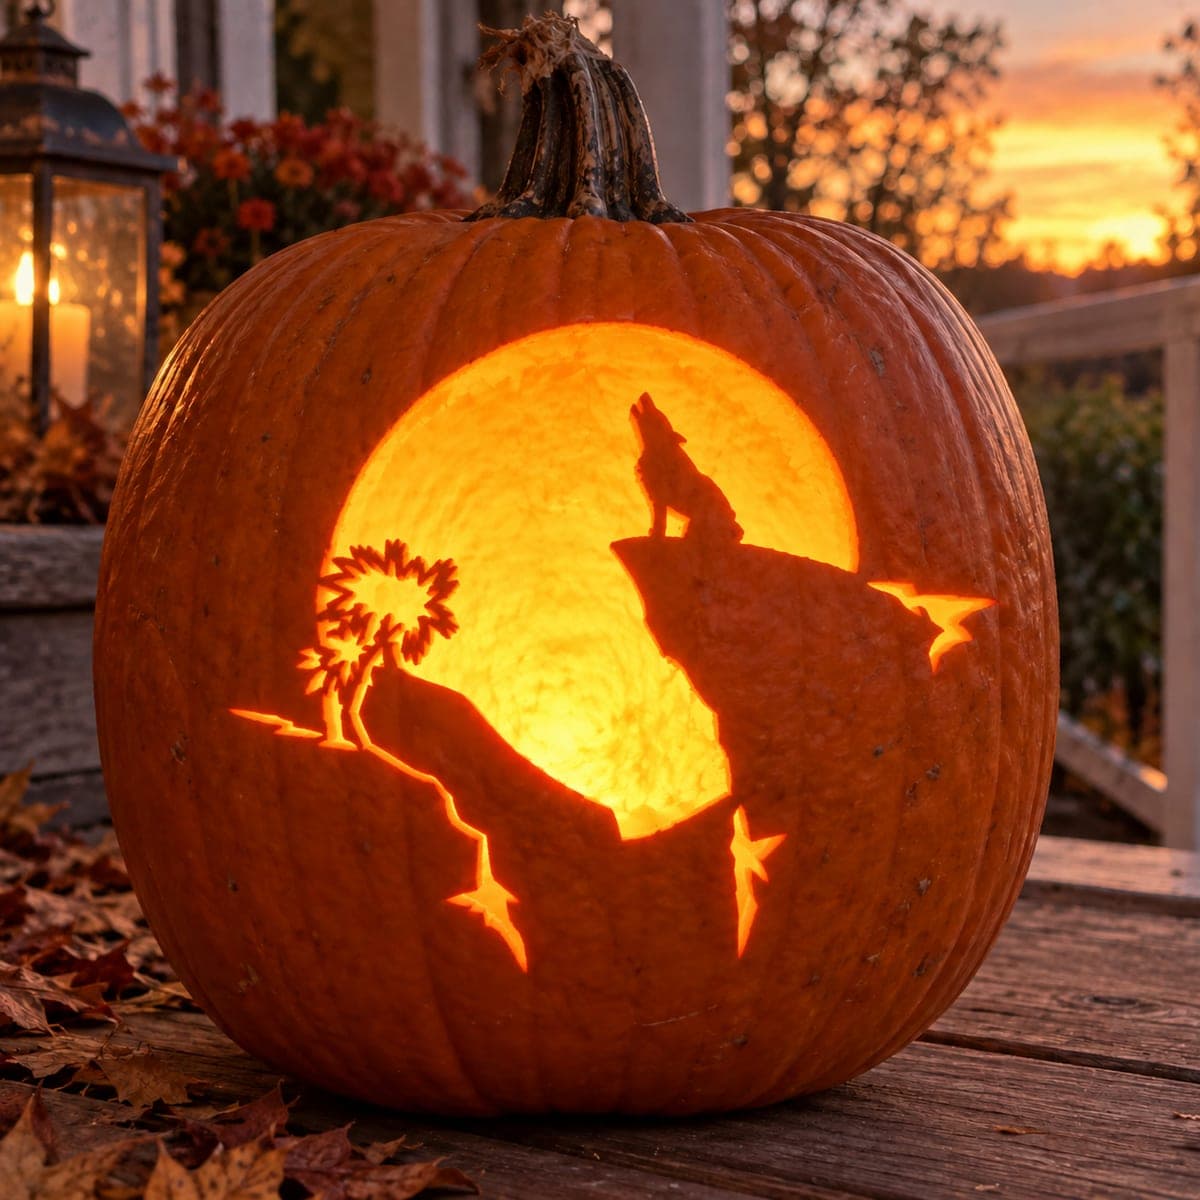
A retained howling wolf stands rooted through its feet and tail into a hillside base, with a tree design connected to both the top and bottom shell and open sky windows glowing on each side, in this hard wolf pumpkin carving. A crescent is carved within the solid upper-right rind panel rather than as a floating piece. Cut the sky windows first to establish the negative space, then define the wolf and tree contours carefully, preserving the wide base connection. Backlit by a bright LED, this scene looks like a moonlit illustration.

No ratings yet Β· Sign in to rate

Comments (0)

  • No comments yet β€” be the first.

Save without an account. Sign in to like or comment.

Our tips for carving a similar design

The retained howling wolf and tree are structural elements anchored to the shell through the base hillside and the tree's top and bottom connections, with open sky windows glowing around them as the light source. A crescent carved within the solid upper-right rind panel adds celestial atmosphere without floating pieces. Cutting the sky windows first and refining the silhouette edges second is the only safe sequence.

From pumpkin to porch

  1. Choose a large pumpkin and hollow carefully

    A larger pumpkin gives the wolf silhouette and sky windows room to coexist at a readable scale. Hollow to half an inch throughout and identify the hillside base connection and the tree's top and bottom shell connections in your marked design before cutting anything. These are the anchor points the whole design depends on.

  2. Transfer the full composition

    Pin-transfer all elements: sky window boundaries, wolf outline, tree outline, hillside base, and crescent position. Mark the sky windows as through-cuts and the crescent and tail curl as backed marks. Double-check that the tree connects to both the top and bottom shell edges in your transfer.

  3. Cut the sky windows

    Open the two sky window apertures by cutting from the outer edges inward toward the retained wolf and tree silhouettes. Stop precisely at the silhouette edges without nicking the retained profiles. The sky windows define the composition, so take your time on the silhouette boundary.

  4. Refine the silhouette edges

    Use a detail knife to clean and refine the wolf and tree profile where the sky windows meet them. Ensure the wolf's feet and tail have clean contact with the hillside base, and the tree trunk connects firmly at top and bottom. Back-carve the tail curl as a shallow groove.

  5. Cut the crescent moon

    With the sky windows complete, find the upper-right solid rind panel and cut the crescent moon entirely within that area. The crescent must be bordered by solid rind on all sides and must not connect to either sky window aperture. Cut slowly and confirm placement before starting.

  6. Light and position near a wall

    Insert a bright LED candle and place the pumpkin about six inches in front of a light-colored wall. The retained silhouette will project a reverse shadow on the wall while the sky windows and crescent glow directly. Tilting the pumpkin slightly toward the wall can intensify the shadow effect.

Written with AI to match this design

Gather your supplies

Check things off as you get ready.

Work on a stable surface, keep your free hand out of the cutting path, and have an adult handle sharp tools.

Three levels of light

  • Leave intact

    Retained howling wolf, tree, and hillside base rind

  • Peel & shade

    Backed tail curl groove on the retained wolf

  • Cut through

    Both large sky windows and the crescent moon in the upper-right solid panel

Learn the carving basics

Before you start cutting

What happens if the tree's connection to the top shell is too narrow?

A narrow top connection will break under the weight of the rind above it, causing the tree crown to sag into the pumpkin. Ensure the tree's top connection spans at least an inch of rind at the shell edge. If your stencil design is too narrow, widen the tree crown slightly before transferring.

How do I place the crescent so it looks natural in the composition?

The crescent typically reads best in the upper third of the solid panel, oriented with the open arc facing inward toward the silhouette. Visualize where a moon would appear in a moonlit landscape illustration and position accordingly. Confirm the placement in your transfer before cutting.

The two sky windows are different sizes because of the pumpkin's shape. Is that a problem?

Slight size differences between the windows are normal on an imperfectly round pumpkin and rarely read as a design flaw once lit. If the difference is large, scale both windows proportionally to the silhouette rather than trying to make them identical, and the composition will still look intentional.

Your take belongs here, too.

Changed a detail? Made it simpler? Share a photo of your version and tell the community what worked.

Share your pumpkin

More pumpkins like this

You've reached the end Β· 8 pumpkins
The Patch Report

Fresh pumpkins, in your inbox.

The best new carvings, ideas worth stealing, and how-tos for carving season. Short, seasonal, and gone by November.

A short email during carving season. Unsubscribe anytime. See our privacy policy.