Halloween Pumpkin Carving Contest · Starts October 1st · $500 in prizes
← Back to ideas
@ai_concepts
Aug 15, 2026
Ring-Tailed Lemur Shaded Portrait PumpkinAI
0

Ring-Tailed Lemur Shaded Portrait Pumpkin

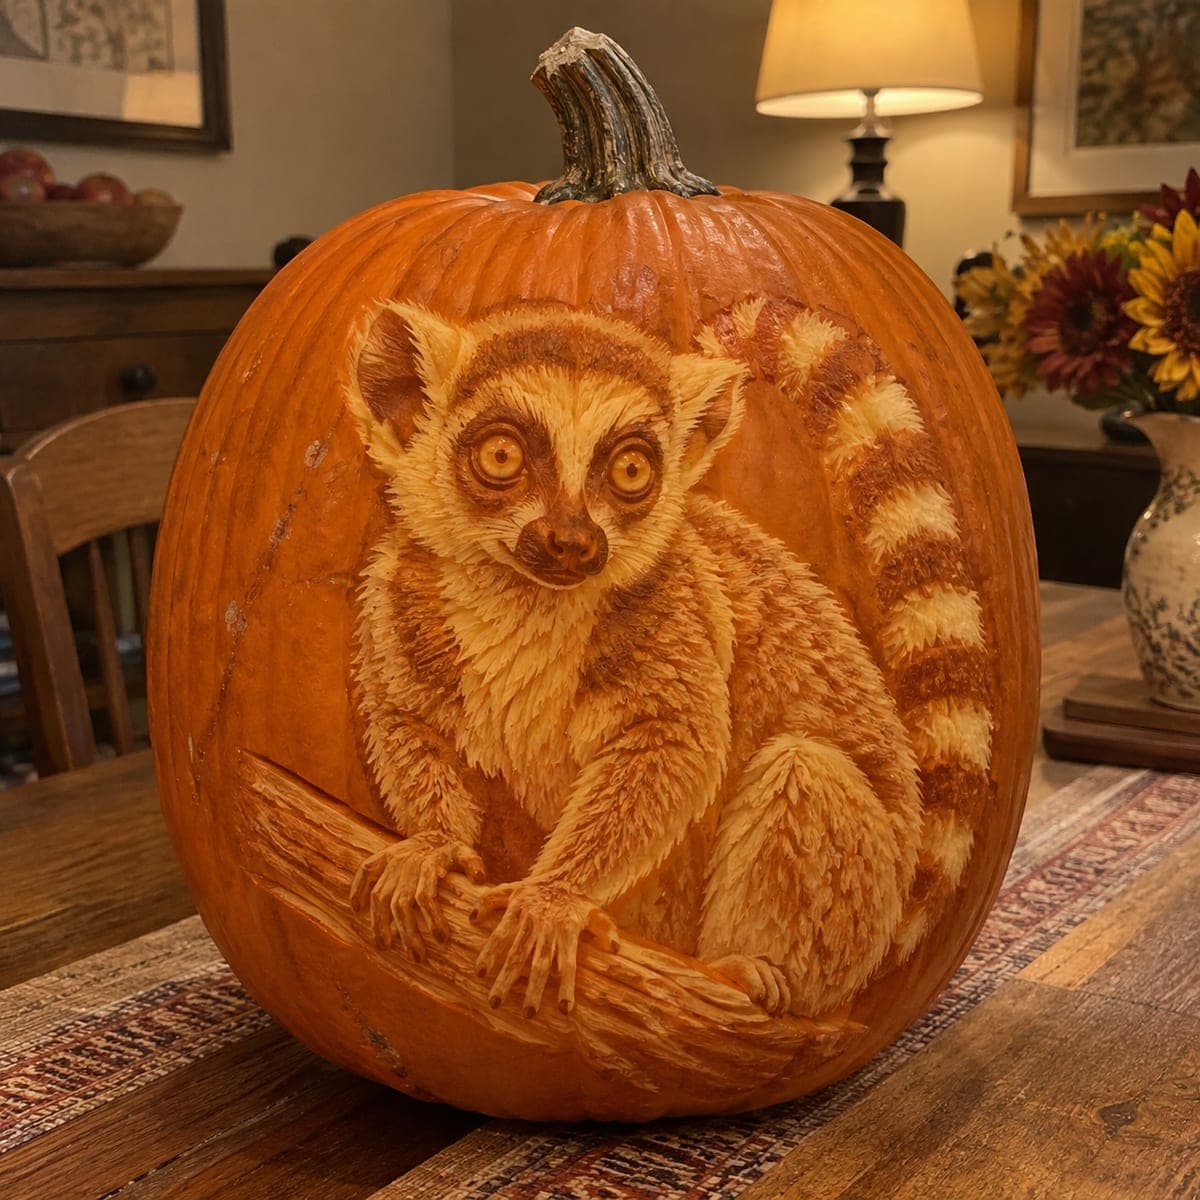
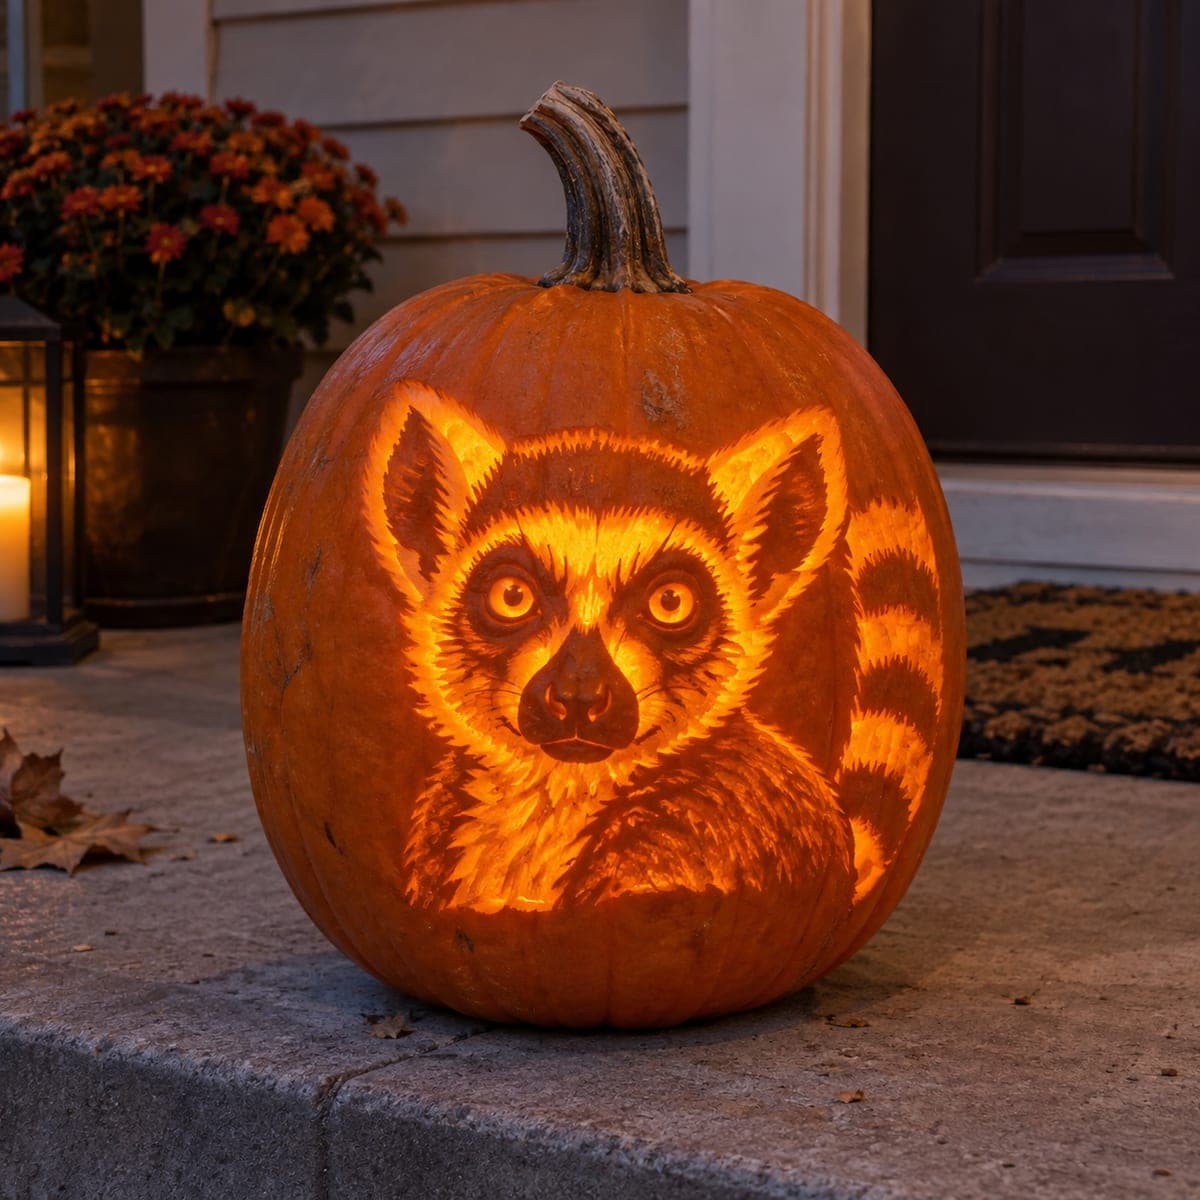
A ring-tailed lemur perched on a branch fills the face of a large pumpkin with remarkable detail, its wide amber eyes, striped tail, and fine fur texture all achieved through expert-level surface shading. The realism of this pumpkin carving idea rivals gallery-quality portraiture and demands patience with loop tools and gouges. Place it indoors under warm side-lighting to make the fur texture stand out without washing out the detail. Print a reference photo at pumpkin scale, transfer the outline with graphite paper, and work from dark areas outward to preserve the natural skin color in the highlights.

This is an AI-generated concept image: a realistic, carvable design idea rather than a photo of a finished carve. AI concepts are always labeled and sit out the leaderboard and the contest.
No ratings yet · Sign in to rate

Comments (0)

  • No comments yet — be the first.

Save without an account. Sign in to like or comment.

Our tips for carving a similar design

The whole effect here is relief shading, not cutting through the shell. You leave the darkest fur and stripes as untouched skin, scrape shallow layers for the soft body and face, and thin the shell almost through only for the glowing amber eyes. Since this is an AI concept, treat it as a target to recreate: plan your depth map before any tool touches the pumpkin.

Written by PumpkinCarvingIdeas.com, inspired by the image above. These are our suggestions, not instructions from the uploader. This approach to the AI concept has not been tested on a real pumpkin.

From pumpkin to porch

  1. Pick a thick-walled canvas and prep it

    Choose a large pumpkin with a broad, flat front face and few ribs so the portrait sits evenly. Instead of a top lid, cut a wide access hole in the back so the front stays intact for shading. Scoop the back wall down to an even thickness, aiming for roughly one inch on the carving side. A consistent wall makes your shading depths predictable later.

  2. Transfer the reference at full scale

    Print the lemur photo sized to your pumpkin and tape it in place. Slip graphite paper underneath and trace the main outlines: the face, ears, eyes, body mass, front paws, branch, and the striped tail. Keep the transfer to major shapes only, since the fur detail will be freehanded. Step back and check the drawing is centered and reads clearly before you start removing skin.

  3. Map your three depths and start with the darks

    Decide what stays fully dark, what gets a light scrape, and what glows brightest, then work from dark to light. Leave the deep tail stripes, the dark ear edges, and shadow lines under the chin as untouched skin. Use a fine detail knife to score the boundaries of the darkest fur clumps. This locks in your contrast before any wide scraping.

  4. Scrape the fur in the flesh direction

    With a small loop tool, peel shallow layers across the body, face, and tail rings to expose the dim orange flesh. Pull each stroke in the direction the fur grows so the ridges catch the light. Go shallow first and deepen gradually, because you can remove more but cannot add it back. Vary your pressure to build the soft gradient from bright cheeks to shadowed flanks.

  5. Thin the eyes and sharpen final highlights

    For the wide amber eyes, thin the shell the most so light glows through brightest, but stop before you break all the way through to keep them glassy and structural. Add the finest whisker and paw-line details last with a detail knife. Keep the branch and paw tips bridged to the surrounding flesh so nothing pops loose. Clean up stray flakes with a dry brush.

  6. Light it and photograph it

    Set a warm LED puck or a short string of LEDs inside, never a candle, since low heat protects your delicate shading. Position a warm lamp off to one side so the fur ridges cast tiny shadows and read as texture. Display it indoors away from drafts and rub the cut edges with a little petroleum jelly to slow drying. Shoot photos the first night while the contrast is at its sharpest.

Gather your supplies

Check things off as you get ready.

Work on a stable surface, keep your free hand out of the cutting path, and have an adult handle sharp tools.

Three levels of light

  • Leave intact

    The deep tail stripes, dark ear rims, and the shadow under the chin and body stay as untouched skin.

  • Peel & shade

    The face, chest, limbs, and pale tail bands get shallow loop-tool scraping for a soft dim orange glow.

  • Cut through

    Only the wide amber eyes are thinned nearly through for the brightest points of light.

Learn the carving basics

Before you start cutting

Do I ever cut all the way through on this design?

Almost never. This is a shaded relief portrait, so nearly everything is surface scraping at different depths. The eyes are the only spots you thin close to breaking through, and even there you should leave a whisper of shell so they glow amber instead of blowing out to white.

How do I keep the fur from looking flat and smooth?

Work every stroke in the direction the fur grows and vary your depth clump by clump. Small ridges between your scrape lines are what catch side light and read as fur. Resist the urge to blend everything smooth, since a little texture is what sells the realism.

This is shown as a concept image, so will it really hold up?

The design is sound if you keep the wall about an inch thick and treat it as relief rather than deep cutouts. Since no real pumpkin exists here, plan your depth map first and test your loop-tool pressure on the back before the front. Keep the branch and paw tips attached to surrounding flesh so no thin piece breaks free.

Your take belongs here, too.

Changed a detail? Made it simpler? Share a photo of your version and tell the community what worked.

Share your pumpkin

More pumpkins like this

You've reached the end · 8 pumpkins
The Patch Report

Fresh pumpkins, in your inbox.

The best new carvings, ideas worth stealing, and how-tos for carving season. Short, seasonal, and gone by November.

A short email during carving season. Unsubscribe anytime. See our privacy policy.