Halloween Pumpkin Carving Contest · Starts October 1st · $500 in prizes
← Back to ideas
@ai_concepts
Aug 2, 2026
Sea Turtle Pumpkin Carving With Seaweed AccentsAI
0

Sea Turtle Pumpkin Carving With Seaweed Accents

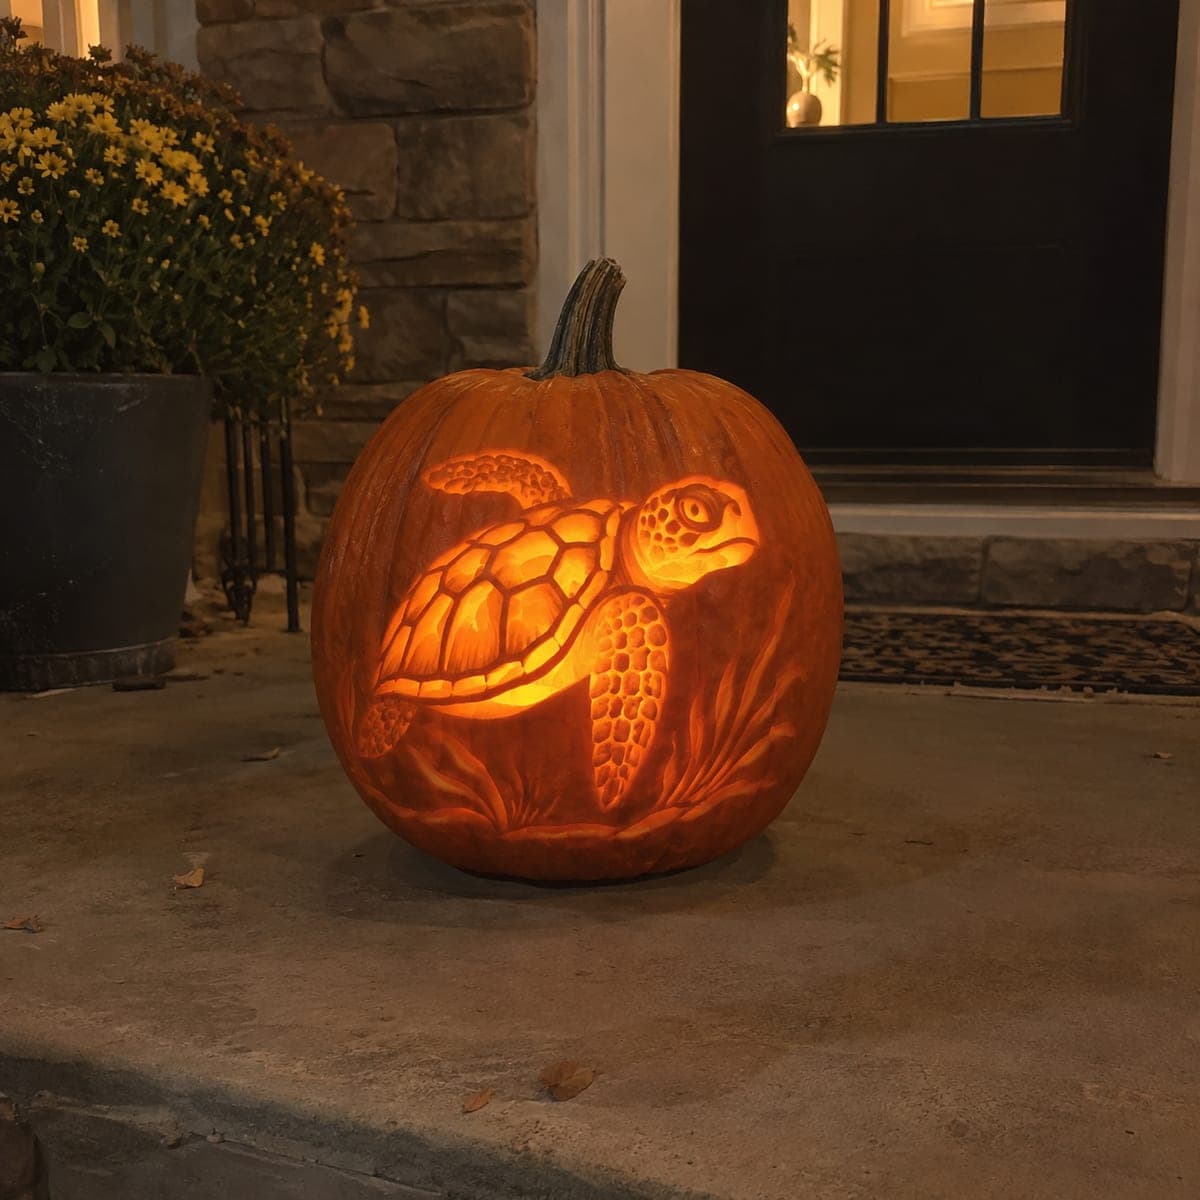
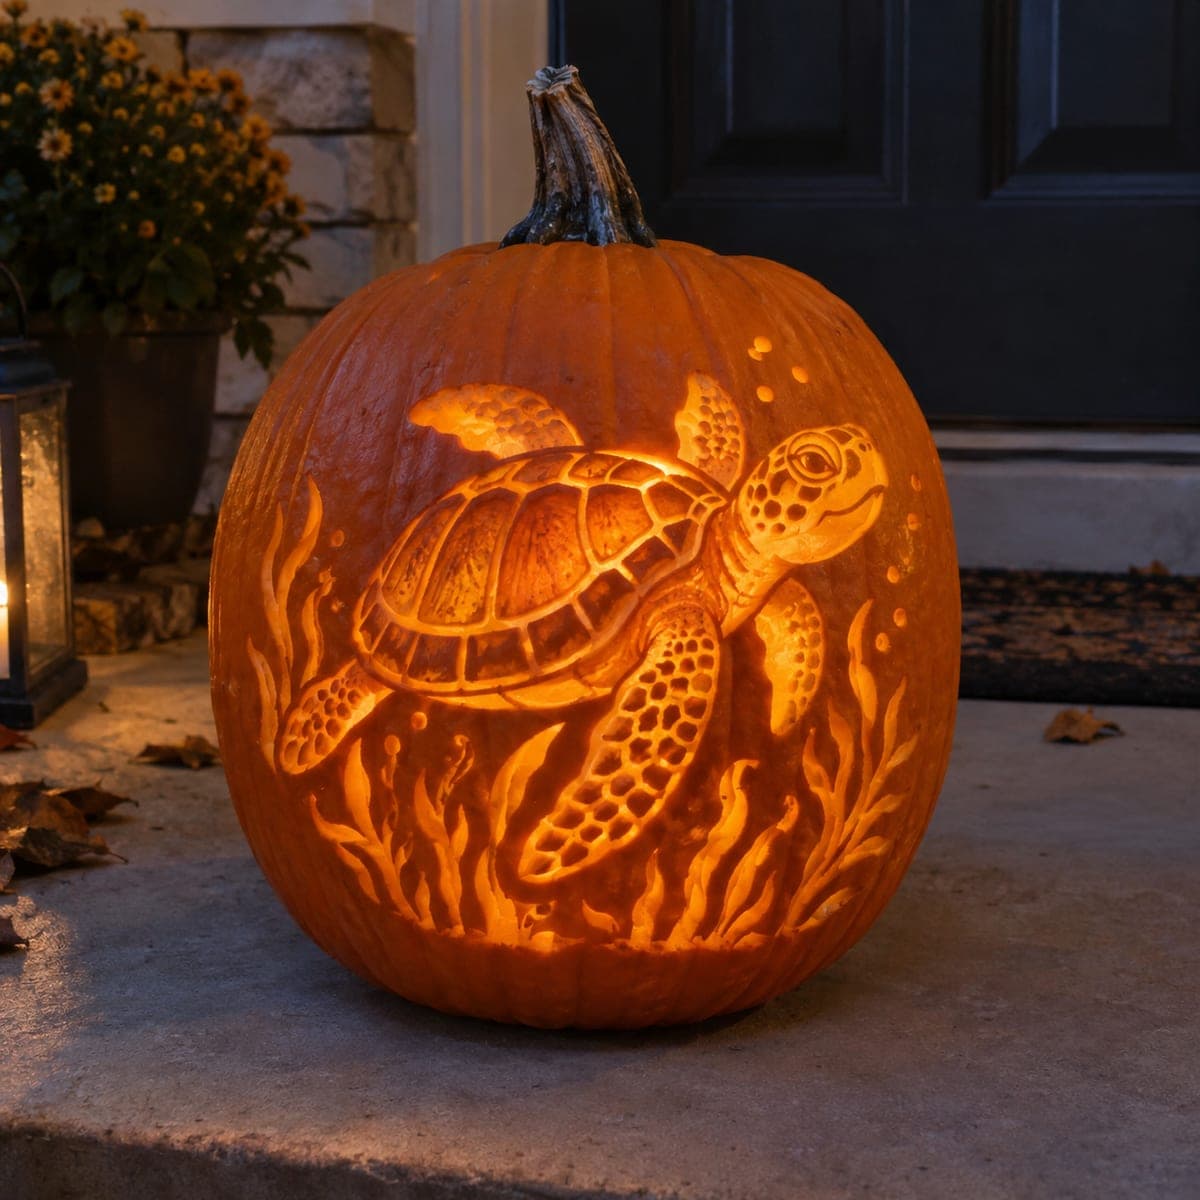
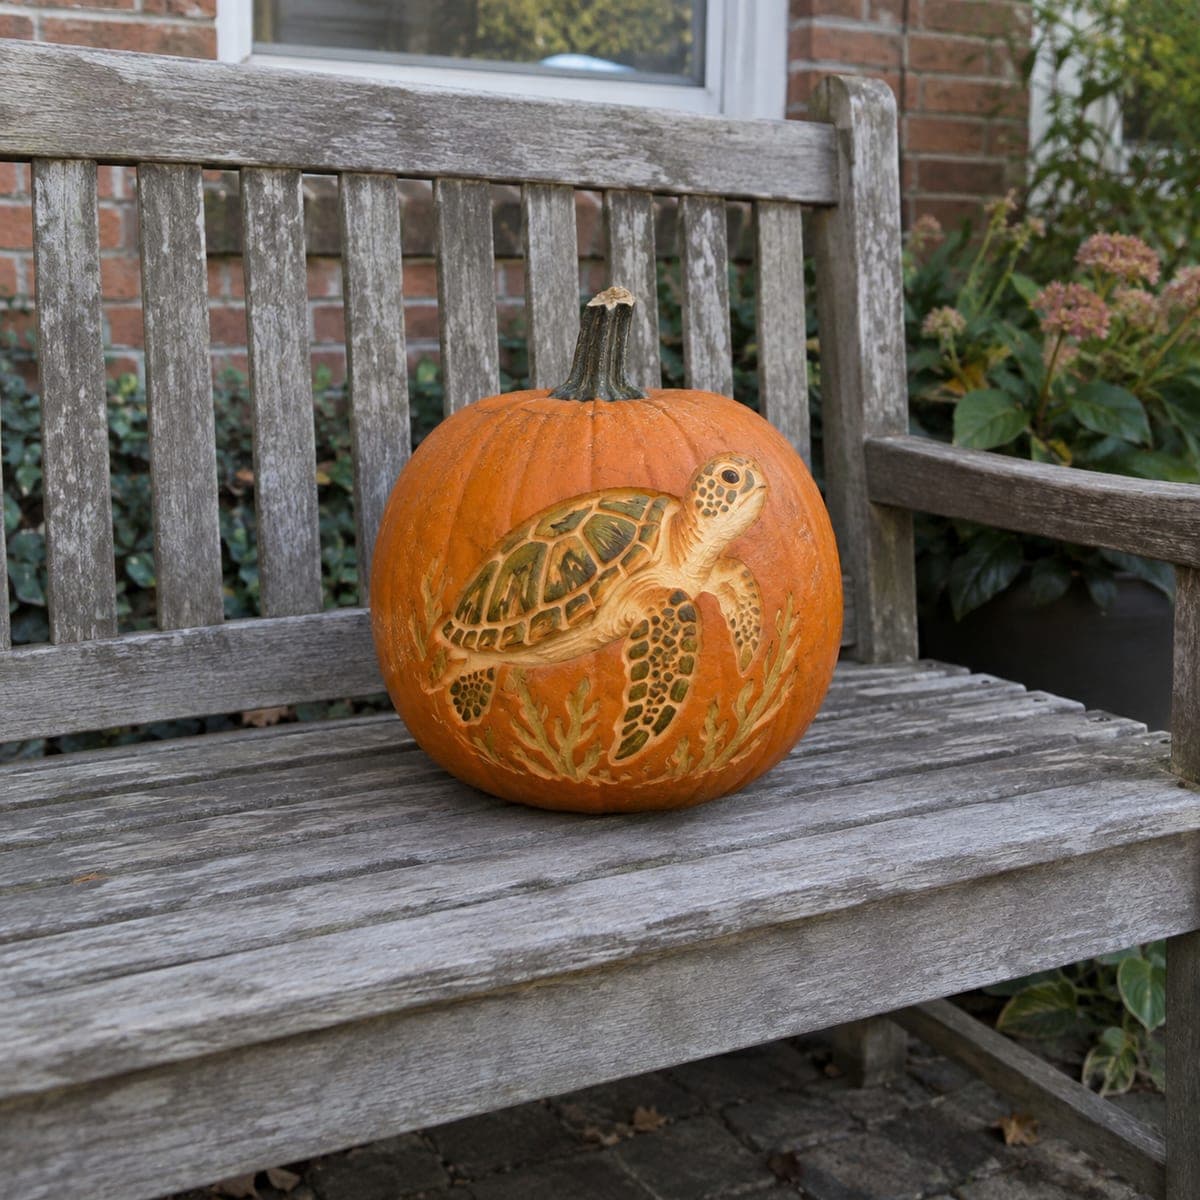
A green sea turtle glides across this pumpkin, its patterned shell and flippers etched into the surface and tinted with subtle green stain while carved seaweed drifts around it. The scales are scored with a fine V-gouge, then the background plants are peeled shallower so the turtle stays the star. Rub a little diluted acrylic into the etched areas to get the ocean coloring. It looks great unlit on a garden bench all through October.

This is an AI-generated concept image: a realistic, carvable design idea rather than a photo of a finished carve. AI concepts are always labeled and sit out the leaderboard and the contest.

No ratings yet · Sign in to rate
Comments (0)

  • No comments yet — be the first.

Save without an account. Sign in to like or comment.

Our tips for carving a similar design

This design is a surface relief, not a lantern, so the whole trick is depth rather than cut-through openings. You etch the turtle at full detail, then peel the seaweed and background more shallowly so the turtle stays the star. A little diluted green and amber acrylic rubbed into the scored lines gives it the underwater color.

Written by PumpkinCarvingIdeas.com, inspired by the image above. These are our suggestions, not instructions from the uploader. This approach to the AI concept has not been tested on a real pumpkin.

From pumpkin to porch

  1. Clean the pumpkin and plan the scene

    Wipe the pumpkin down and pick the smoothest, roundest face for your canvas. Since this is a shaded relief that looks great unlit, you can leave the top and guts intact for a firmer, longer-lasting surface, or hollow lightly through the bottom if you want the option of an LED later. Sketch or tape your turtle stencil roughly centered, with the shell high and the flippers reaching down toward the seaweed. Step back and check the turtle reads clearly before you commit.

  2. Transfer the outline

    Poke through the stencil lines with a pin or transfer tool to dot the turtle, flippers, eye, and the seaweed fronds onto the skin. Remove the paper and lightly connect the dots with a washable marker. Keep the shell segments and scale grid marked, because those small shapes are the heart of the design. Double check the flippers stay attached along their length so nothing wants to break away.

  3. Score the turtle detail

    With a fine V-gouge, trace the outline of the shell, head, and flippers to set your main lines. Then score the shell plates and the small scale pattern, keeping cuts shallow and even. Skin-peel the raised parts of each shell segment so they catch light while the grooves stay dark, which builds the layered look. Take your time here and let an adult handle the gouge, since the detail is dense and easy to overrun.

  4. Peel the seaweed shallower

    Now work the seaweed fronds around the flippers, but keep these cuts more shallow than the turtle. Peel just the top skin off the fronds so they glow a soft dim orange and sit behind the turtle visually. This depth difference is what keeps the turtle as the clear focal point. Leave plenty of untouched skin between plants so the composition does not get busy.

  5. Add the ocean color

    Mix a little green acrylic with water until it is a thin wash, and rub it gently into the etched shell and flippers with a rag or brush. Wipe the surface right away so color stays in the grooves and not on the raised skin. Use a touch of amber or brown in the shell plates for contrast, and keep the seaweed a lighter green. Let it dry fully before moving the pumpkin.

  6. Style and photograph

    Set the finished pumpkin on a weathered bench or step where the daylight rakes across the relief and shows off the depth. Because it is a surface carving, it shines best unlit during the day, so no candle is needed. If you want a nighttime glow, tuck a small battery LED behind or beside it rather than inside. Snap photos in soft morning or late afternoon light to catch the shading.

Gather your supplies

Check things off as you get ready.

Work on a stable surface, keep your free hand out of the cutting path, and have an adult handle sharp tools.

Three levels of light

  • Leave intact

    The background pumpkin skin and the gaps between seaweed stay untouched and dark for contrast.

  • Peel & shade

    The seaweed fronds and the flat areas of the flippers get a shallow skin-peel for a soft dim glow.

  • Cut through

    Nothing is cut fully through on this relief design, so there are no bright open cutouts.

Learn the carving basics

Before you start cutting

Do I need to hollow this pumpkin out?

Not for the look shown, since it is a surface relief meant to shine in daylight and unlit. Leaving the pumpkin solid keeps the thin scale detail firmer and helps it last longer on a bench. If you later want a gentle nighttime glow, hollow a little through the bottom and set a battery LED nearby instead of inside.

How do I keep the turtle from blending into the seaweed?

Depth is the key. Carve the turtle with crisp, slightly deeper scoring and skin-peeled shell plates, then keep the seaweed shallow so it recedes. The contrast in cut depth, plus a darker green wash on the shell, makes the turtle pop as the focal point.

Will the acrylic wash damage the pumpkin or run?

A thin, diluted wash rubbed into the grooves and wiped off the surface is fine and dries quickly. Work in light coats and blot excess so color does not pool or streak down the skin. Let each layer dry before adding another, and seal your hands and tools with a rinse afterward.

Your take belongs here, too.

Changed a detail? Made it simpler? Share a photo of your version and tell the community what worked.

Share your pumpkin

More pumpkins like this

You've reached the end · 8 pumpkins
The Patch Report

Fresh pumpkins, in your inbox.

The best new carvings, ideas worth stealing, and how-tos for carving season. Short, seasonal, and gone by November.

A short email during carving season. Unsubscribe anytime. See our privacy policy.