Halloween Pumpkin Carving Contest · Starts October 1st · $500 in prizes
← Back to ideas
@ai_concepts
Aug 17, 2026
Sea Turtle Swimming Jack-O-Lantern EtchingAI
0

Sea Turtle Swimming Jack-O-Lantern Etching

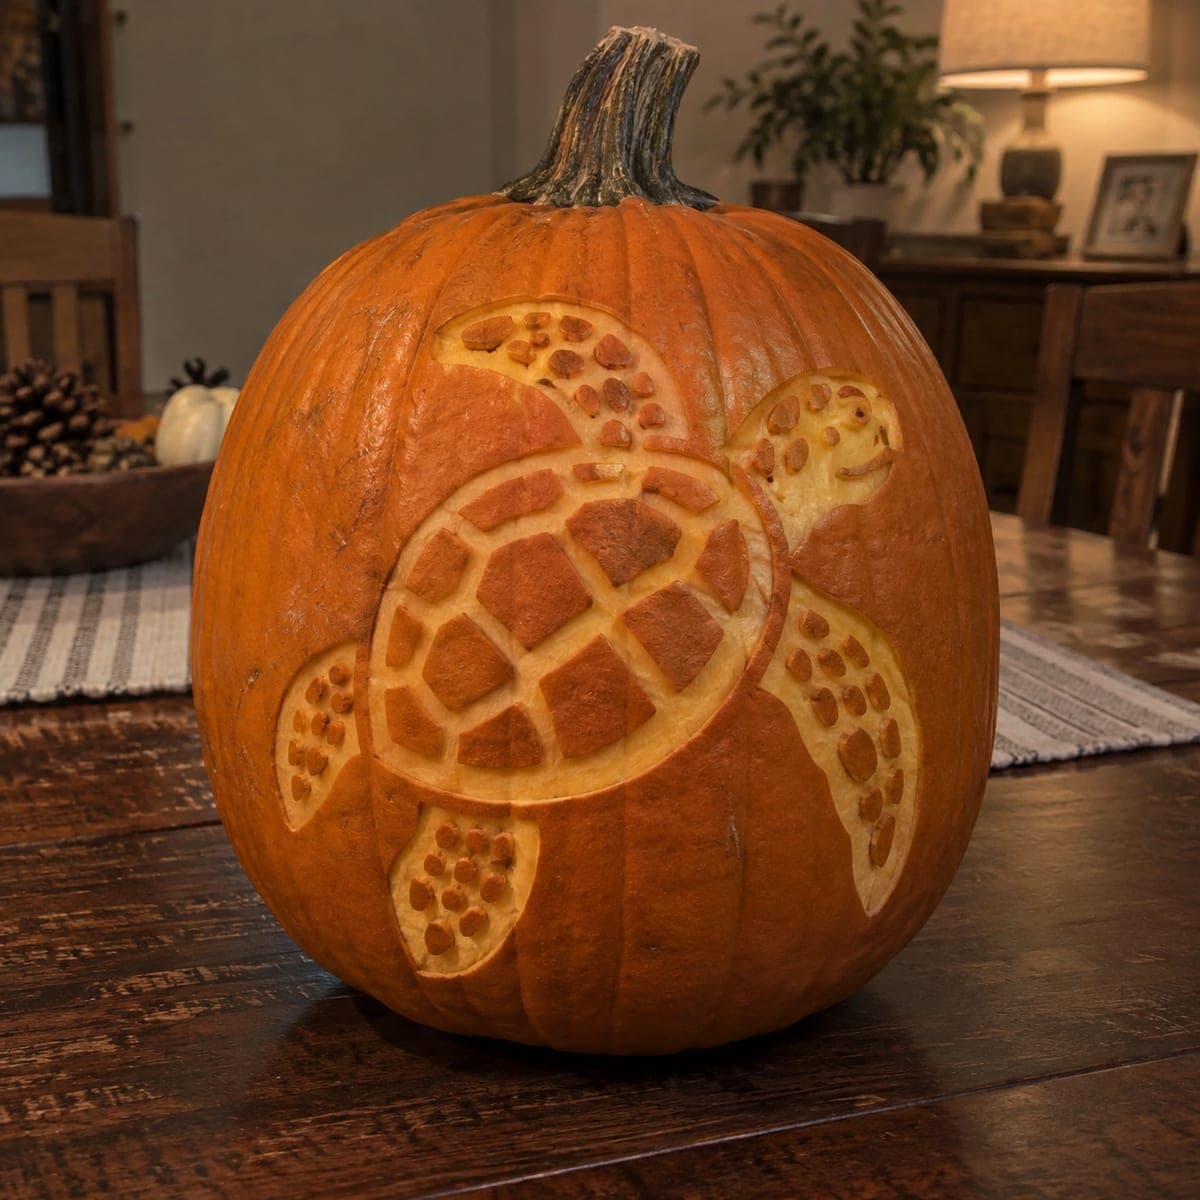
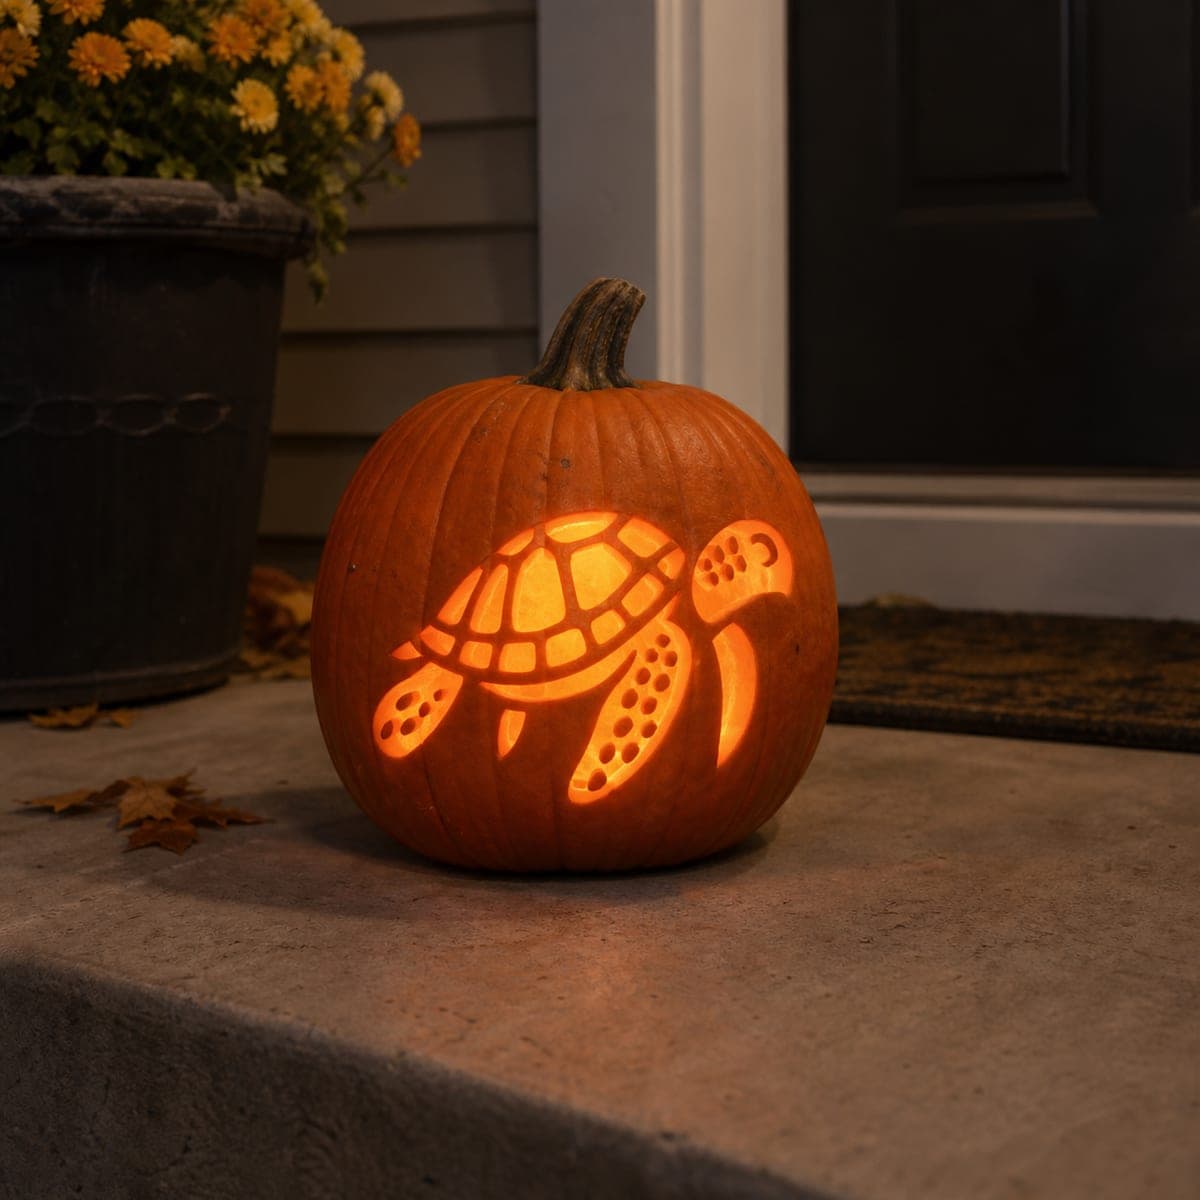
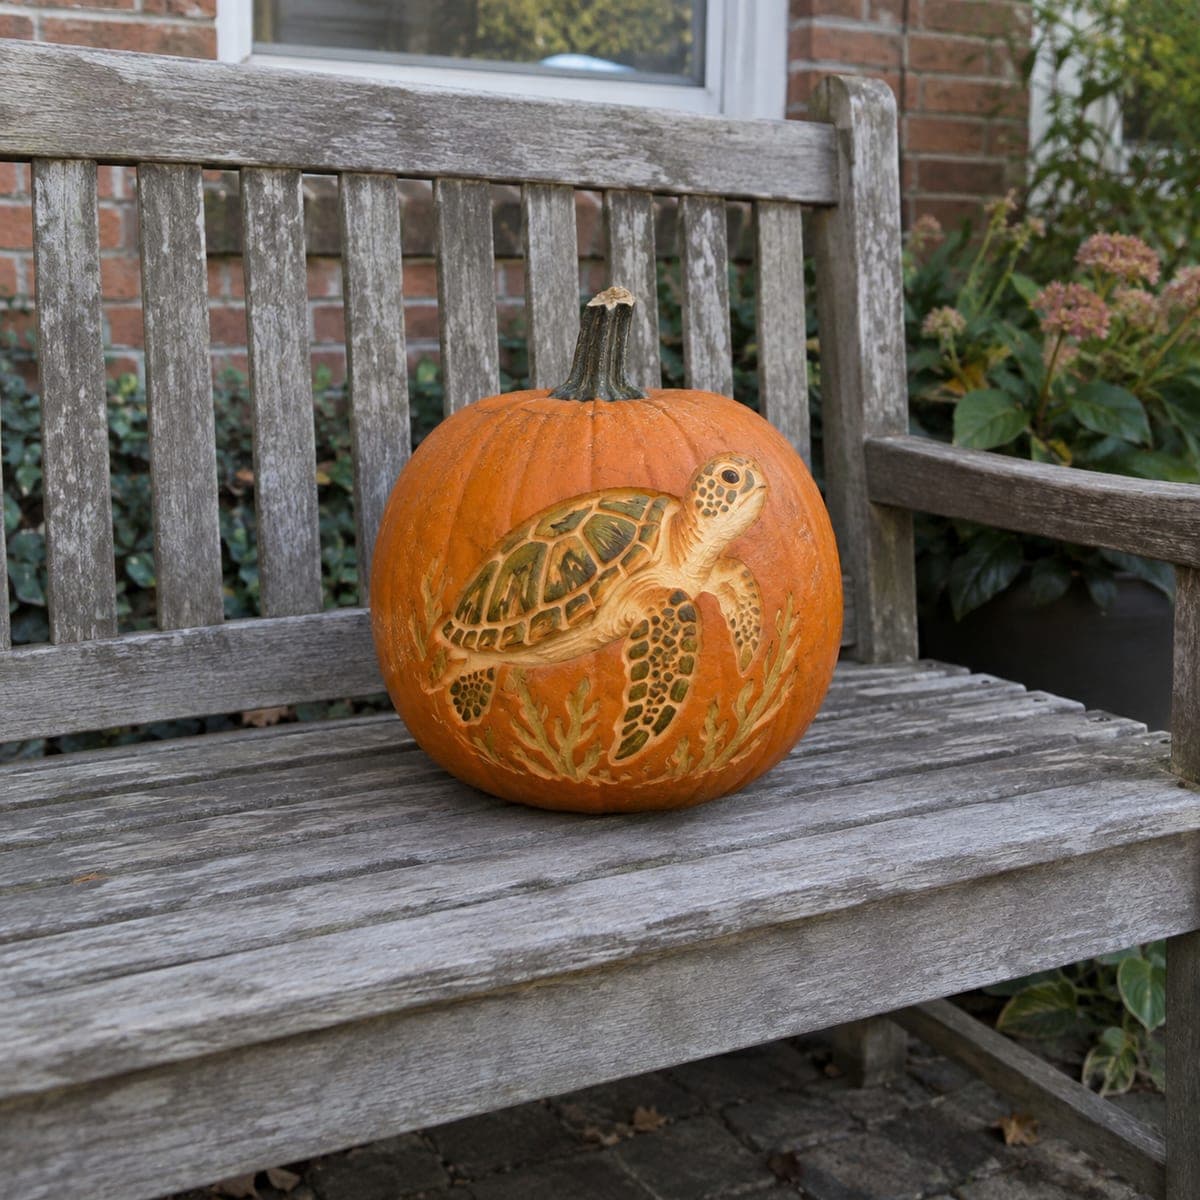
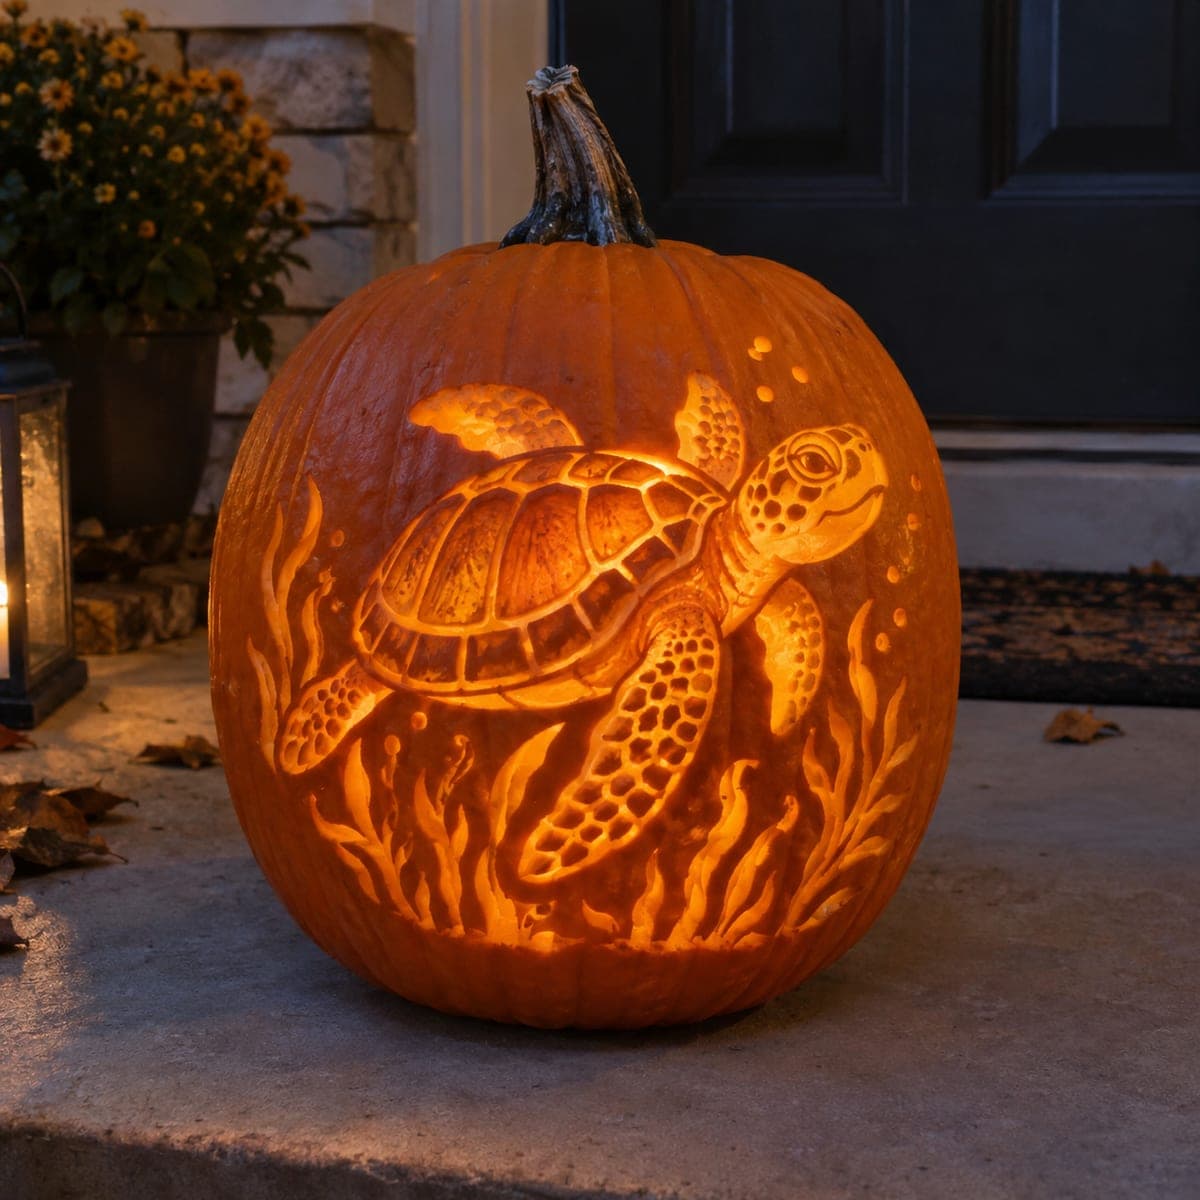
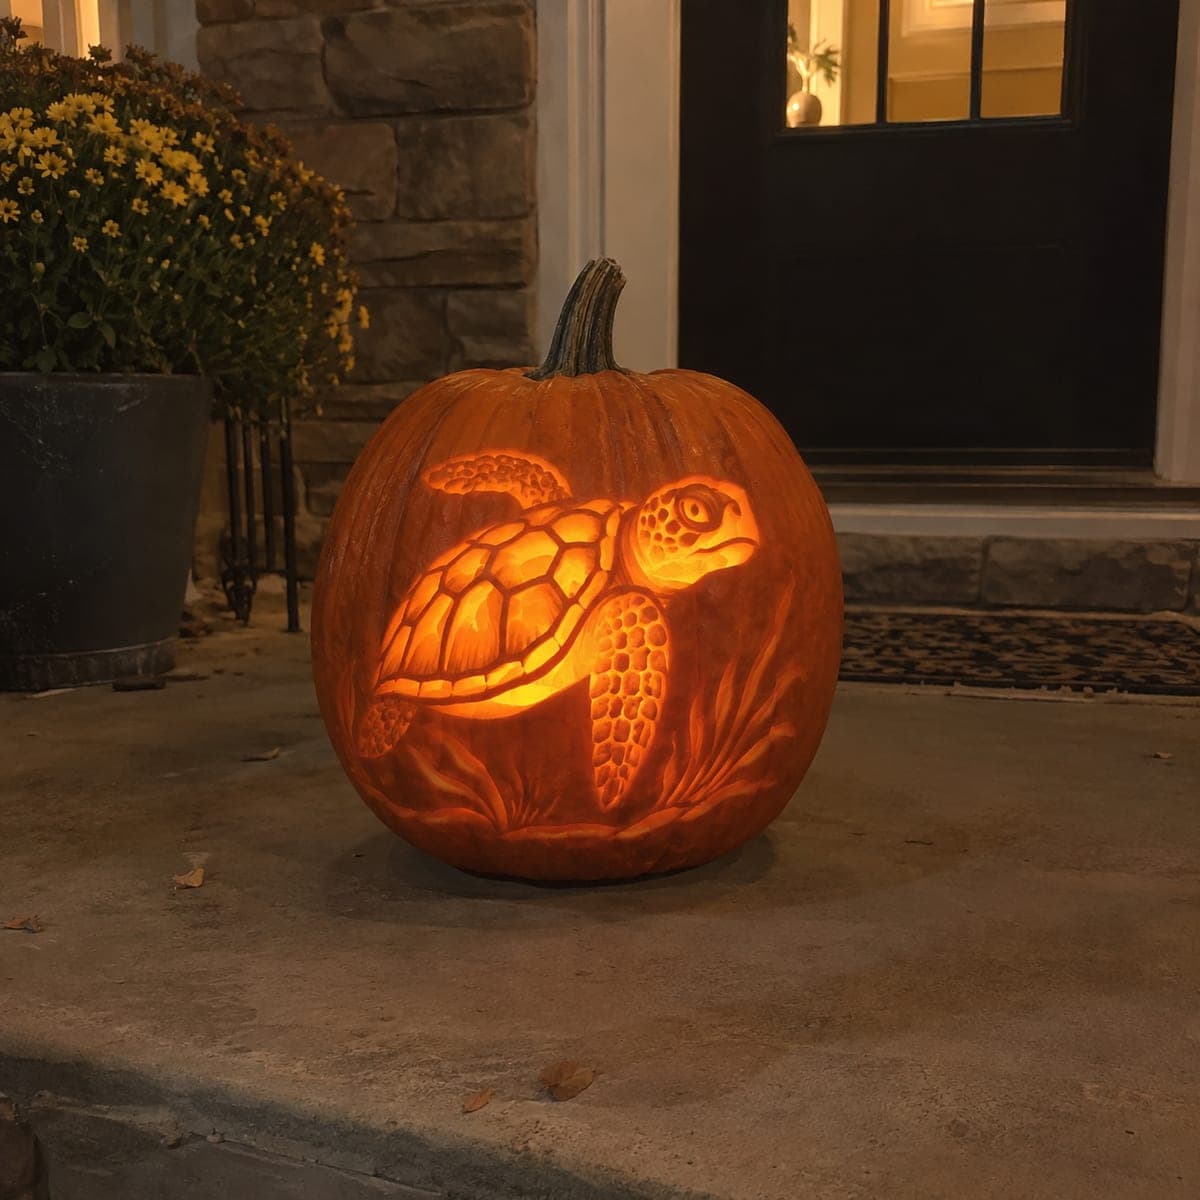
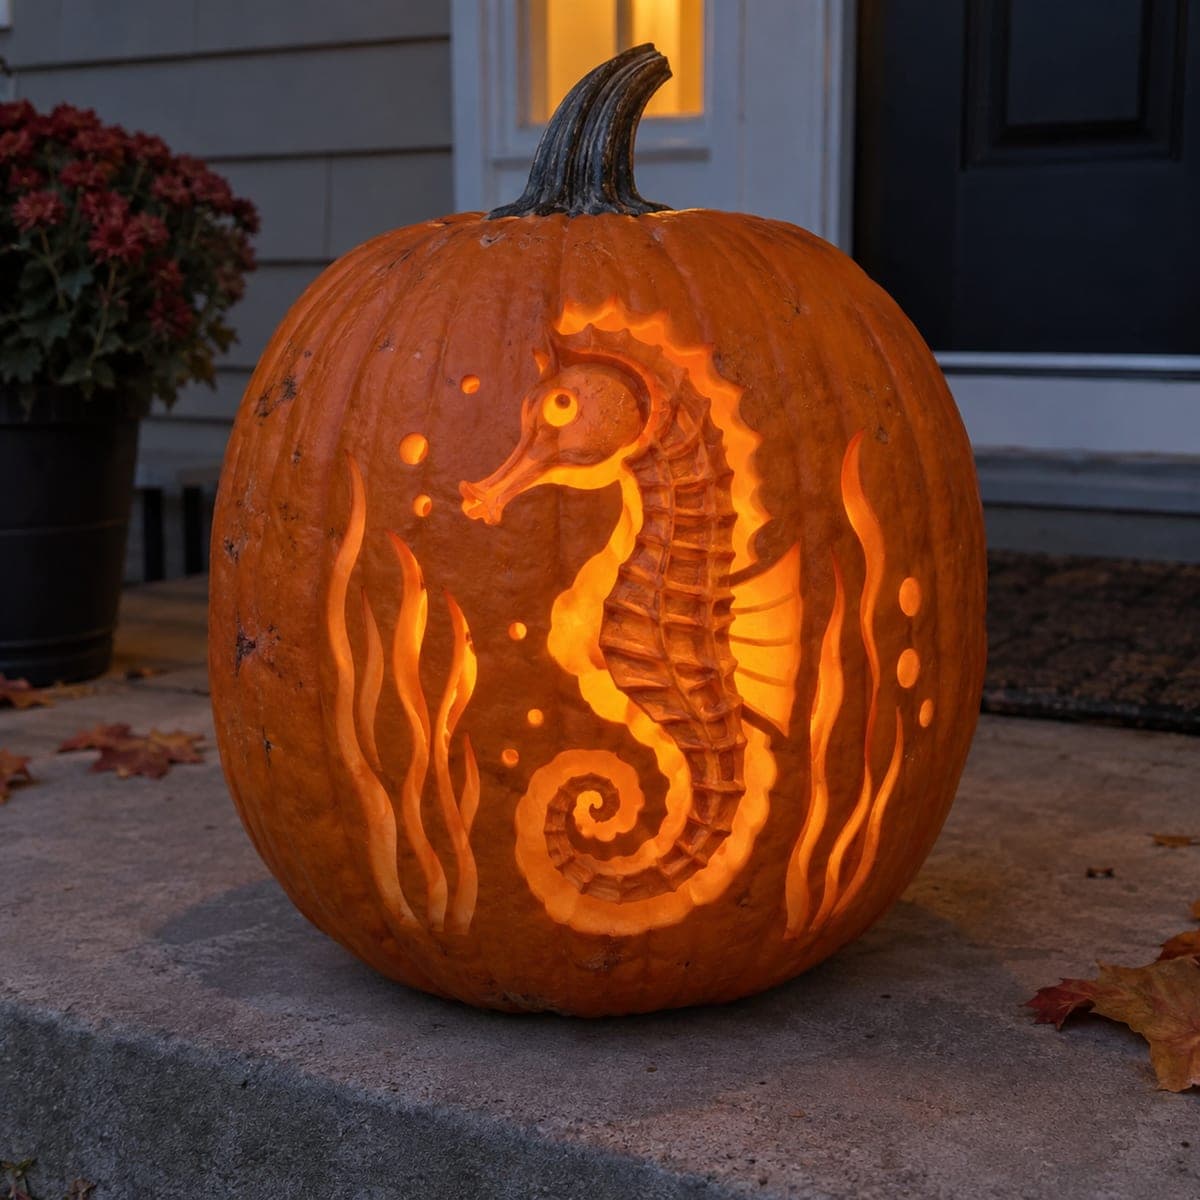
A sea turtle glides through etched seagrass on this glowing pumpkin, its shell plates outlined in dark uncut lines while the flippers and head shine at different brightnesses. Varying the shaving depth is what separates the patterned shell from the softer body, so keep a bright reference nearby as you work. Etch the shell segments first, then thin the flippers until light passes through evenly. Beautiful choice for beach houses and ocean lovers.

This is an AI-generated concept image: a realistic, carvable design idea rather than a photo of a finished carve. AI concepts are always labeled and sit out the leaderboard and the contest.

No ratings yet · Sign in to rate
Comments (0)

  • No comments yet — be the first.

Save without an account. Sign in to like or comment.

Our tips for carving a similar design

The core trick here is shaving the pumpkin skin to different depths so one image glows at several brightness levels without any big holes. The shell reads as a pattern because thin dark lines are left uncut between each plate, while the flippers and head are shaved thinner to shine. Think of it as sculpting light rather than punching windows, so almost everything stays as surface etching.

Written by PumpkinCarvingIdeas.com, inspired by the image above. These are our suggestions, not instructions from the uploader. This approach to the AI concept has not been tested on a real pumpkin.

From pumpkin to porch

  1. Prep the pumpkin and pick your window

    Choose a tall, smooth pumpkin with one broad, blemish-free side that faces your porch. Cut a lid or, better, a wide access hole in the back or bottom so the front stays intact for etching. Scrape the inside wall behind your design down to about one inch thick using a sturdy scoop. A thinner wall lets light pass through your shaved areas more evenly.

  2. Transfer the turtle and grass

    Tape your sea turtle stencil onto the front and poke the main outlines with a pin or dull tool so you have a dotted guide. Mark the shell plates, the head, both flippers, and a few sweeping blades of seagrass along the bottom. Keep a lit reference photo nearby so you know which zones should glow brightest. Step back and check the layout is centered before you cut anything.

  3. Etch the shell plates first

    Using a ribbon or lino-style shaving tool, remove only the top orange skin inside each shell plate, leaving thin uncut ridges between them as dark outlines. Work each plate to the same shallow depth so the grid pattern stays even and readable. These ridges are your bridges, so do not carve through them. Take your time here since the shell is the centerpiece.

  4. Shade the head, flippers, and body

    Shave the head and flippers a little deeper than the shell so they glow brighter, thinning them until light passes through softly and evenly. Add texture by scraping small scales on the flippers and a few dots on the head. Keep the deepest, thinnest spots away from edges so nothing tears. Compare brightness against your reference as you go and even out any dark patches.

  5. Etch the seagrass and background

    Lightly skin the sweeping seagrass blades at the bottom so they read as a dim glow behind the turtle. Leave the surrounding pumpkin skin untouched so the turtle floats against a dark backdrop. If you want one or two of the brightest highlights, such as a sliver in the eye or a flipper tip, you can cut fully through last. Save any full cuts for the very end so the surface stays strong.

  6. Light it and photograph

    Drop in an LED puck or string light rather than a candle, since the thin shaved walls can scorch and a battery light is safer overnight. Set it inside and check that the shell pattern, glowing flippers, and dim grass all show the brightness steps you planned. Touch up any spots that look flat by shaving a hair deeper. Snap your photo at dusk on a dark step so the glow pops.

Gather your supplies

Check things off as you get ready.

Work on a stable surface, keep your free hand out of the cutting path, and have an adult handle sharp tools.

Three levels of light

  • Leave intact

    The background around the turtle and the thin ridge lines between each shell plate stay as uncut skin for dark outlines.

  • Peel & shade

    The shell plates and the sweeping seagrass blades get a shallow skin shave for a soft mid glow.

  • Cut through

    Only tiny accents like an eye highlight or a flipper tip are cut through for the brightest points, if used at all.

Learn the carving basics

Before you start cutting

How do I keep the shell plates looking like a pattern and not a blob?

Leave a thin ridge of uncut skin between every plate and shave all the plates to the same shallow depth. Those dark ridges act as outlines and read as the turtle's shell grid. If you accidentally shave a ridge away, the plates will merge, so go slow and check often.

Since this is an etched design, do I need to cut any holes at all?

Mostly no, the whole effect comes from shaving skin to different depths, not from open cutouts. You can add one or two tiny full cuts for the brightest accents like the eye, but save those for last. Keeping it mostly etched is what gives the soft, painterly glow.

My wall feels too thick and the light looks dim. What do I do?

Scrape the inside wall behind the design down to about one inch so light reaches the shaved areas. If a spot still looks flat, shave a little more skin from the outside in that zone. Work in small passes and recheck with the light in until the brightness evens out.

Your take belongs here, too.

Changed a detail? Made it simpler? Share a photo of your version and tell the community what worked.

Share your pumpkin

More pumpkins like this

You've reached the end · 8 pumpkins
The Patch Report

Fresh pumpkins, in your inbox.

The best new carvings, ideas worth stealing, and how-tos for carving season. Short, seasonal, and gone by November.

A short email during carving season. Unsubscribe anytime. See our privacy policy.