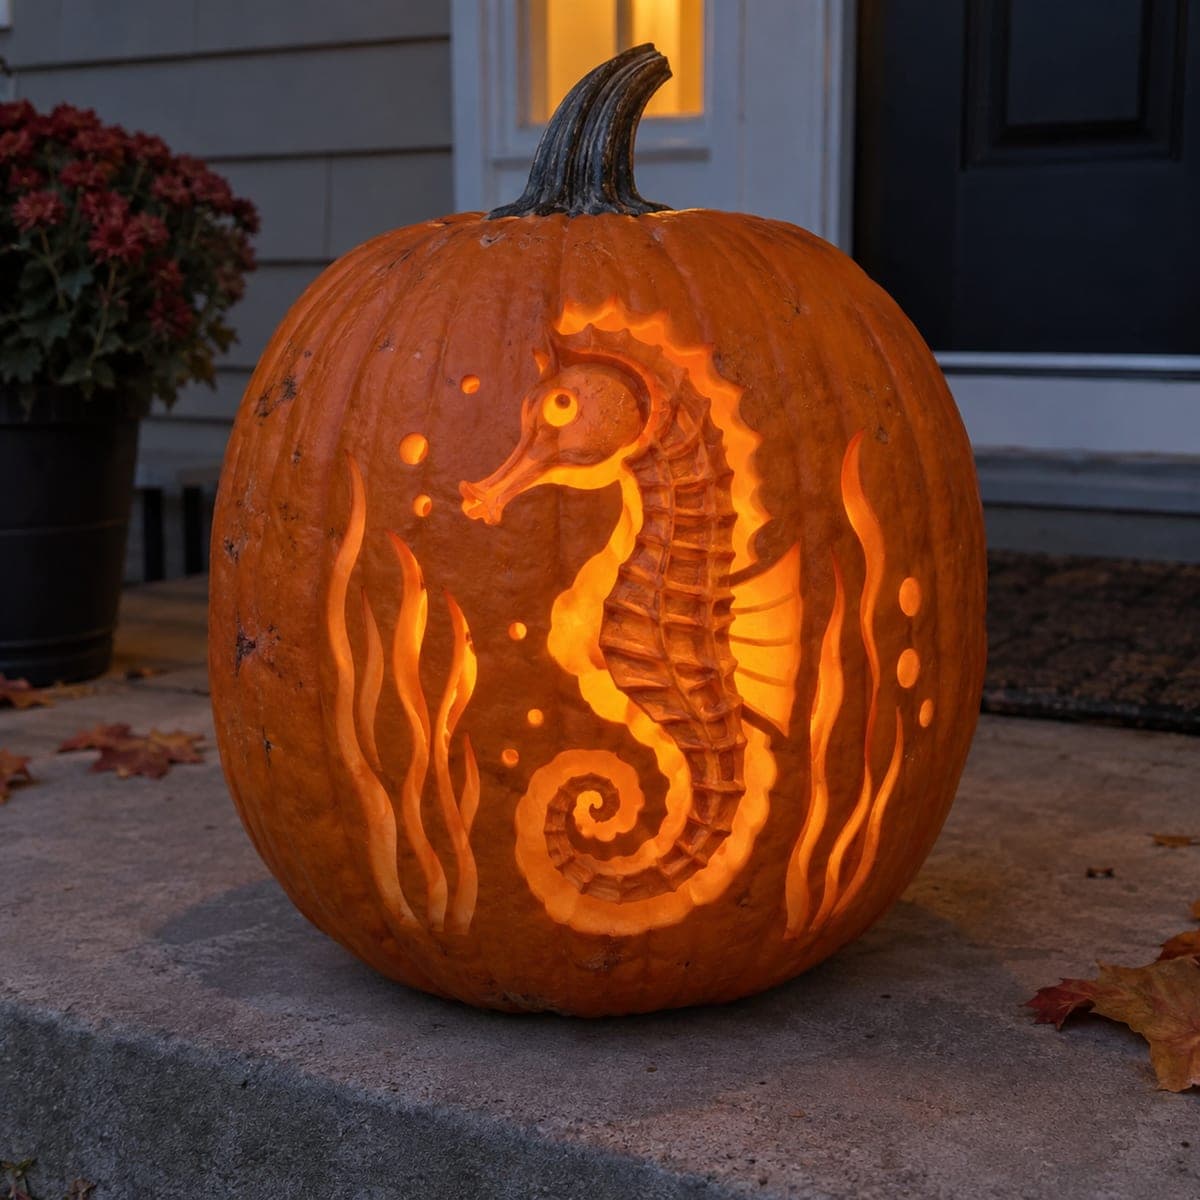
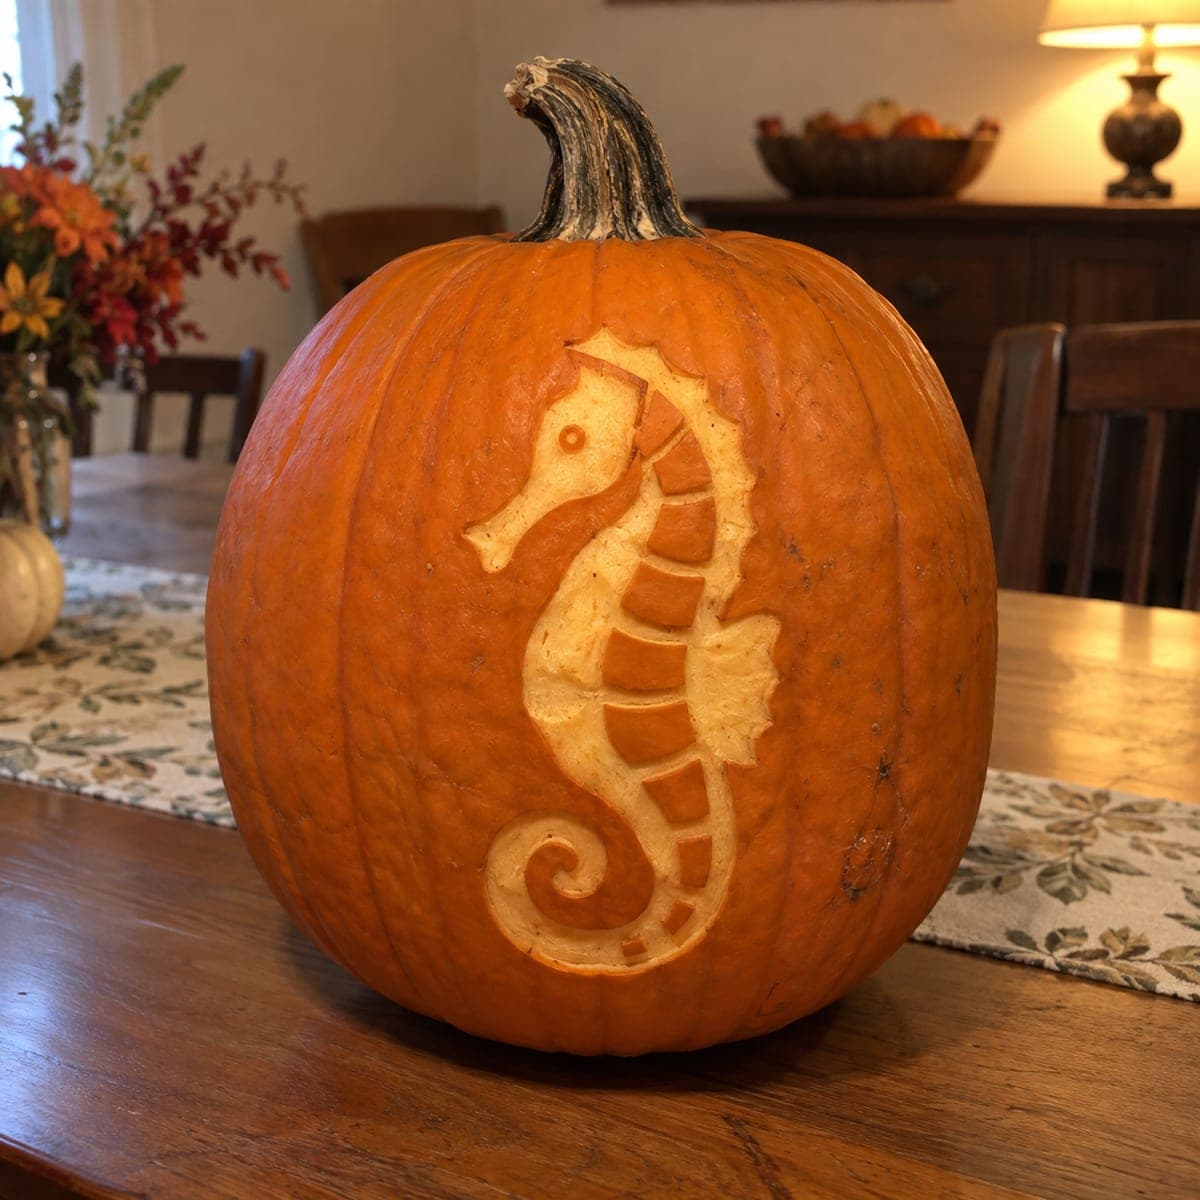
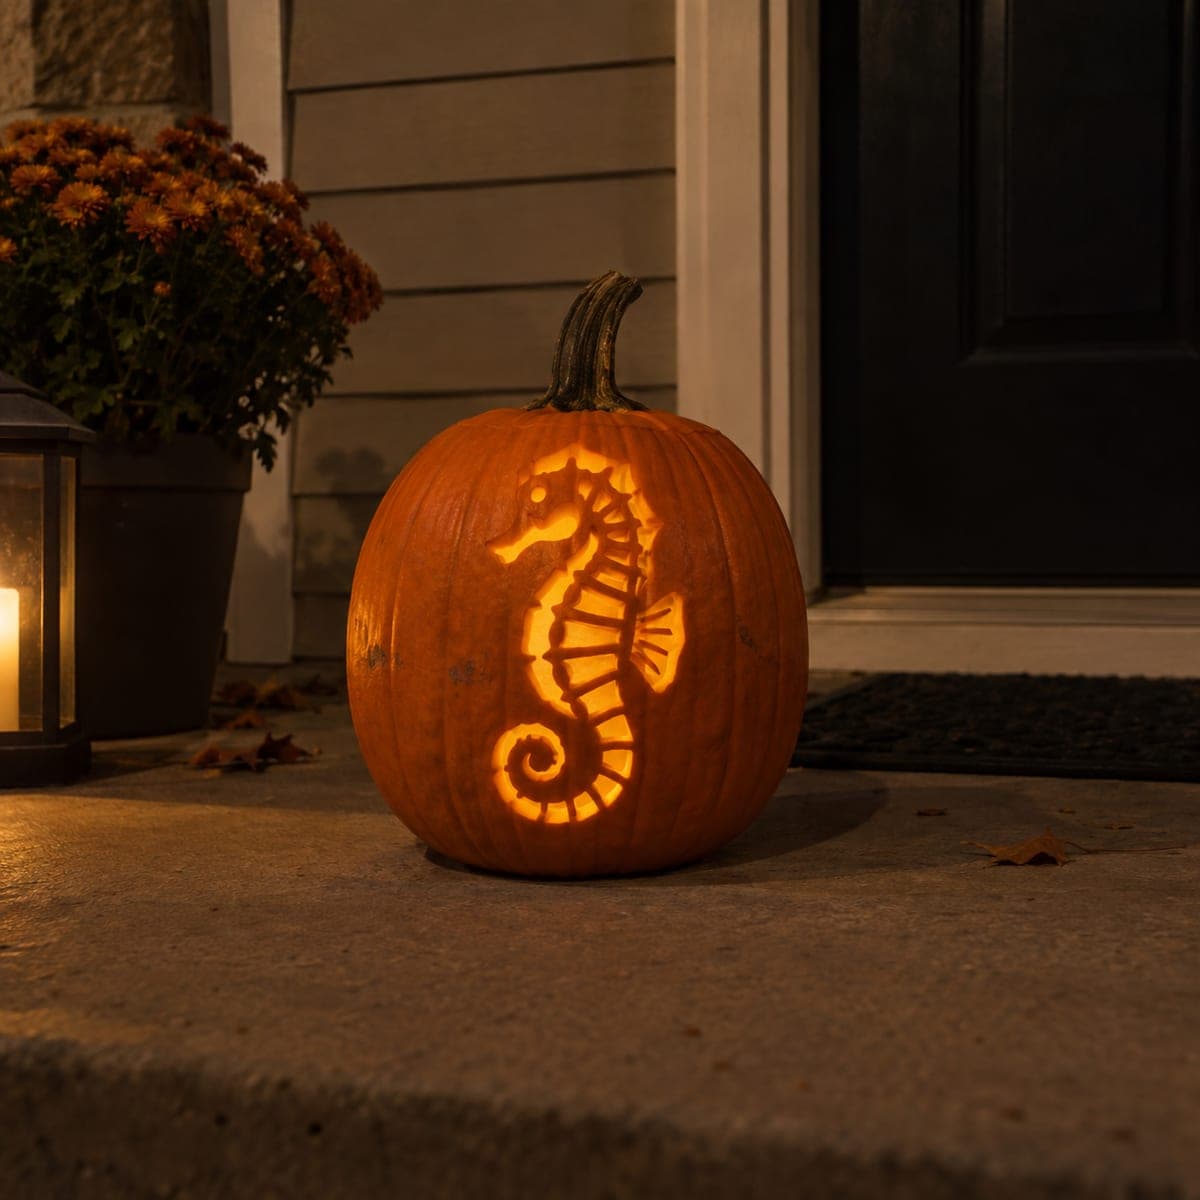
A curled seahorse glows amber between ribbons of swaying seaweed and drifting bubbles, like a little aquarium made of pumpkin. The body plates and dorsal fin are etched at varying depths while the brightest spots are carved nearly through. Start with the coiled tail to establish the spiral, keep the seaweed strands wide so they do not tear, and use a cool white light if you want a more underwater feel.
This is an AI-generated concept image: a realistic, carvable design idea rather than a photo of a finished carve. AI concepts are always labeled and sit out the leaderboard and the contest.
The core trick here is depth carving, also called shading, where you peel the skin to different depths so the seahorse reads as a raised, three-dimensional figure while the bubbles and seaweed cut fully through for bright accents. The plan is to establish the coiled tail first, then build up the body plates and dorsal fin at varying depths, and save the wide seaweed ribbons and round bubbles for last. Since this is a concept image, treat it as a design to aim for rather than a real pumpkin, and keep every strand wide enough to stay strong.
Written by PumpkinCarvingIdeas.com, inspired by the image above. These are our suggestions, not instructions from the uploader. This approach to the AI concept has not been tested on a real pumpkin.
From pumpkin to porch
1
Prep the pumpkin and transfer the design
Pick a tall pumpkin with one broad, smooth face so the seahorse has room to stand upright. Cut a wide access hole in the bottom rather than the top so the stem stays intact, then scrape the front wall down to about one inch thick for easier shading. Tape your stencil flat over the face and poke the outlines with a pin or transfer tool. Peel the paper and check that the coiled tail, body, fin, bubbles, and seaweed all read clearly.
2
Carve the coiled tail first
Start at the spiral tail to lock in that eye-catching curl before anything else. Use a small gouge or lino tool to trace the coil, keeping the groove lines even as they wind inward. Establishing the spiral early gives you a reference point for spacing the body plates above it. Work slowly on the tightest part of the curl so the ridges stay crisp and connected.
3
Shade the body plates and dorsal fin
Skin-peel the seahorse body, leaving thin ridges of deeper skin between each armored plate so they catch light differently. Vary your depth: press deeper where you want a warmer glow and stay shallow where the plate should stay dim. Etch the dorsal fin with fine parallel lines so it looks feathery without cutting through. This layered depth is what gives the whole figure its rounded, lifelike look.
4
Add the eye and snout details
Carve the round eye by peeling it nearly through so it glows as the brightest point on the face. Keep the long snout as a raised shaded shape rather than a cutout so it holds its form. Add a shallow groove along the top of the head to suggest the crown. Take your time here since small facial features set the personality of the piece.
5
Cut the seaweed and bubbles last
Save the full cutouts for the end so the pumpkin stays strong while you do the detailed shading. Cut the seaweed ribbons all the way through, but keep each strand fairly wide and gently curved so it will not tear or sag. Cut the round bubbles as clean circles of graduated sizes. Working these openings last keeps the face rigid during the delicate work.
6
Light it and take your photo
Drop in an LED puck or string light, never a candle, since the thin cutouts and shaded areas can scorch. Try a cool white bulb for a more underwater feel, or a warm amber for a cozier glow. Set the pumpkin at eye level in a dim spot and shoot at dusk so the seaweed and bubbles pop against the dark. A quick test light before your final photo lets you touch up any spots that stayed too dark.
Gather your supplies
Check things off as you get ready.
Work on a stable surface, keep your free hand out of the cutting path, and have an adult handle sharp tools.
Three levels of light
Leave intact
The plain pumpkin skin around the scene and the seahorse snout stay untouched and dark.
Peel & shade
The seahorse body plates, dorsal fin, and coiled tail get skin-peeled at varying depths for a soft amber glow.
Cut through
The seaweed ribbons, round bubbles, and the seahorse eye are cut nearly or fully through for the brightest light.
Keep each ribbon wide, at least a finger's width, and avoid long unsupported points. Gentle curves are stronger than sharp bends, so let the strands wave rather than zigzag. Cutting them last, after the shading is done, also keeps the pumpkin wall rigid while you work.
What is the difference between the shaded body and the cut seaweed?
The body uses shading, where you remove only the outer skin to different depths so light glows softly through the thinner areas. The seaweed and bubbles are true cutouts that go all the way through the wall for bright, sharp light. Mixing the two is what makes the seahorse look raised while the background details sparkle.
Warm or cool light for this design?
A warm amber LED gives the classic cozy jack-o-lantern glow and flatters the pumpkin's natural orange. A cool white bulb leans into the underwater theme and makes it feel more like an aquarium. Try both before your final photo and keep it an LED, since candles can scorch the thin cutouts.
Your take belongs here, too.
Changed a detail? Made it simpler? Share a photo of your version and tell the community what worked.
 AI
AI
Comments (0)