Halloween Pumpkin Carving Contest Β· Starts October 1st Β· $500 in prizes
← Back to ideas
@ai_concepts
Sep 25, 2026
Painted Striped Beach Umbrella Pumpkin With Turquoise WavesAI
0

Report this carving

Tell us what is wrong. Reports are private.

Painted Striped Beach Umbrella Pumpkin With Turquoise Waves

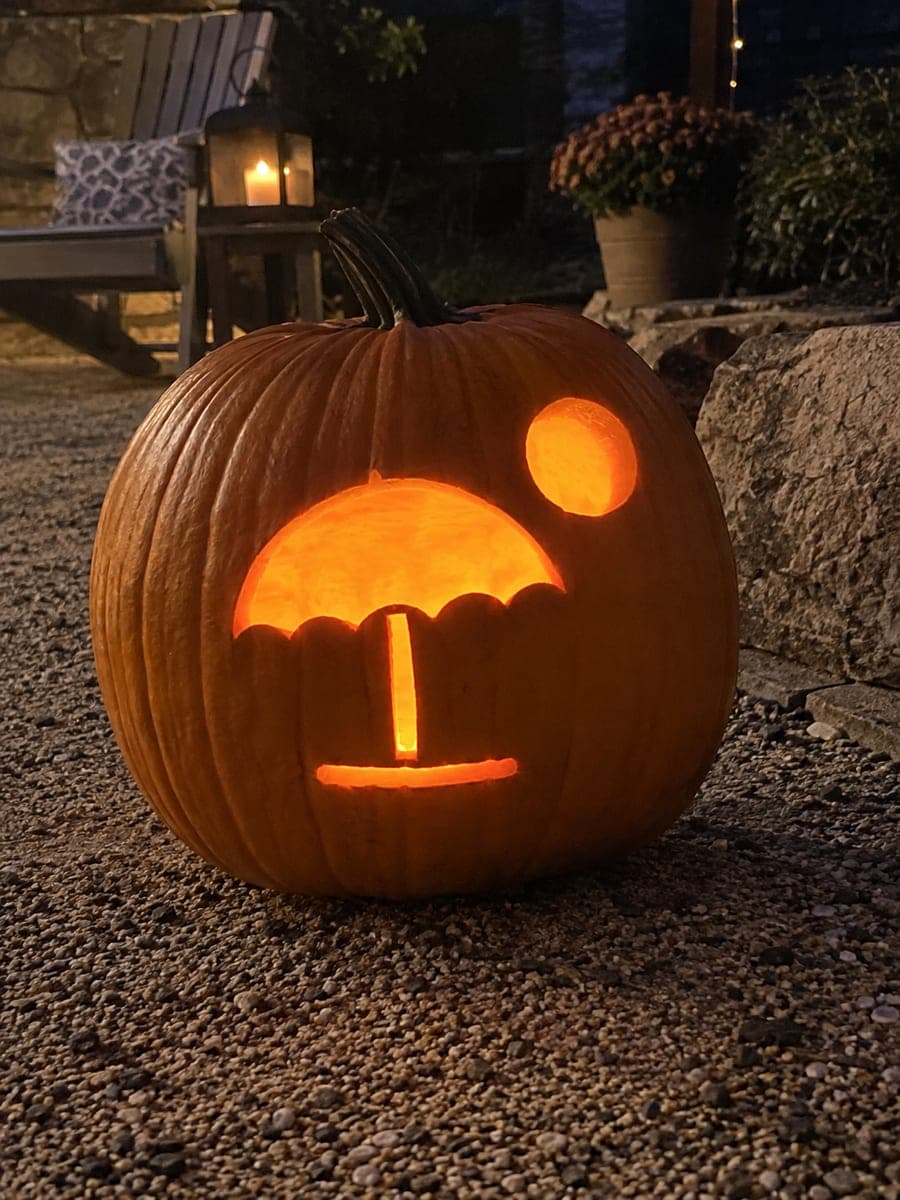
A striped beach umbrella, turquoise wave brushstrokes, and a cheerful yellow sun cover this no-carve beach pumpkin carving idea in flat, approachable painting. Start with the turquoise wave band across the lower third of the pumpkin, then paint the umbrella pole and canopy above it once the waves are dry. Use a flat brush with two colors loaded side by side to paint the umbrella stripes in one stroke per band. Seal with a clear matte spray when finished to protect the paint through weeks of outdoor display.

No ratings yet Β· Sign in to rate

Comments (0)

  • No comments yet β€” be the first.

Save without an account. Sign in to like or comment.

Our tips for carving a similar design

A turquoise wave band fills the lower third, the umbrella pole and canopy are painted above it, and a yellow sun anchors the upper composition. Painting the wave band first and letting it dry completely before the umbrella layer prevents color mixing at the horizon line. A dual-loaded flat brush technique paints the umbrella stripes in one stroke per band for crisp parallel color separations.

From pumpkin to porch

  1. Clean and dry the pumpkin

    Wipe the pumpkin surface with a damp cloth to remove dirt and waxy surface coating. Allow it to air dry for at least thirty minutes. Acrylic paint bonds poorly to a waxy or damp surface, so thorough drying is worth the wait.

  2. Paint the turquoise wave band

    Using a wide flat brush, paint a band of turquoise acrylic across the lower third of the pumpkin face. Keep the upper edge of the band slightly wavy to suggest the ocean horizon. Add a few loose upward brushstroke arcs within the band for implied waves. Allow the wave band to dry fully before painting the umbrella.

  3. Paint the umbrella pole

    With a medium flat brush loaded with white or light gray acrylic, paint a thin vertical pole rising from the top edge of the wave band upward toward the center of the face. Keep the pole straight and consistent in width.

  4. Paint the canopy stripes

    Load a flat brush with two acrylic colors side by side on the bristles, for example red and white, then make a single sweeping stroke across the canopy area to produce a two-tone stripe in one pass. Reload the brush and make parallel strokes working outward from the center. Alternate colors as needed to produce the full striped canopy shape.

  5. Add the yellow sun

    Paint a bright yellow circle in the upper portion of the face, slightly off-center from the umbrella canopy so it does not overlap awkwardly. Add short radiating strokes of slightly deeper orange-yellow around the edge for a simple sun burst effect.

  6. Seal and display outdoors

    Once all layers are fully dry, apply a clear matte sealer spray to protect the design from outdoor moisture. Display on a porch, step, or garden table. The bright palette holds up well in direct sunlight and makes this a strong daytime display piece.

Written with AI to match this design

Gather your supplies

Check things off as you get ready.

Work on a stable surface, keep your free hand out of the cutting path, and have an adult handle sharp tools.

Three levels of light

  • Leave intact

    The orange rind surrounding the painted design stays untouched

  • Peel & shade

    None, the shell remains fully intact

  • Cut through

    None; display in natural sunlight or under a porch light to illuminate the painted surface

Learn the carving basics

Before you start cutting

The dual-loaded brush stripe technique sounds tricky. Is there a simpler alternative?

Yes. Paint alternating stripes by blocking off every other stripe with masking tape before painting. Apply the first color, let it dry, then apply the second color over the taped-off sections. Remove the tape carefully while the second color is still slightly wet for cleaner edges. This takes longer but requires no special brush loading technique.

How do I keep the turquoise wave band from smearing when I paint the umbrella pole over it?

Let the wave band dry for at least fifteen to twenty minutes before painting anything on top of it. Acrylic paint dries faster in warm or dry conditions and slower in cool or humid ones. Test a small corner of the wave band by touching it lightly before applying the pole over the full band.

Can I add a painted lounge chair or small figure below the umbrella for a more complete beach scene?

Yes, and it works well in the lower wave band area. Paint a simple silhouette of a lounge chair in a slightly darker blue or navy so it reads against the turquoise wave background. Keep the figure minimal since fine details can look muddy at pumpkin scale without a very fine detail brush.

Your take belongs here, too.

Changed a detail? Made it simpler? Share a photo of your version and tell the community what worked.

Share your pumpkin

More pumpkins like this

You've reached the end Β· 8 pumpkins
The Patch Report

Fresh pumpkins, in your inbox.

The best new carvings, ideas worth stealing, and how-tos for carving season. Short, seasonal, and gone by November.

A short email during carving season. Unsubscribe anytime. See our privacy policy.