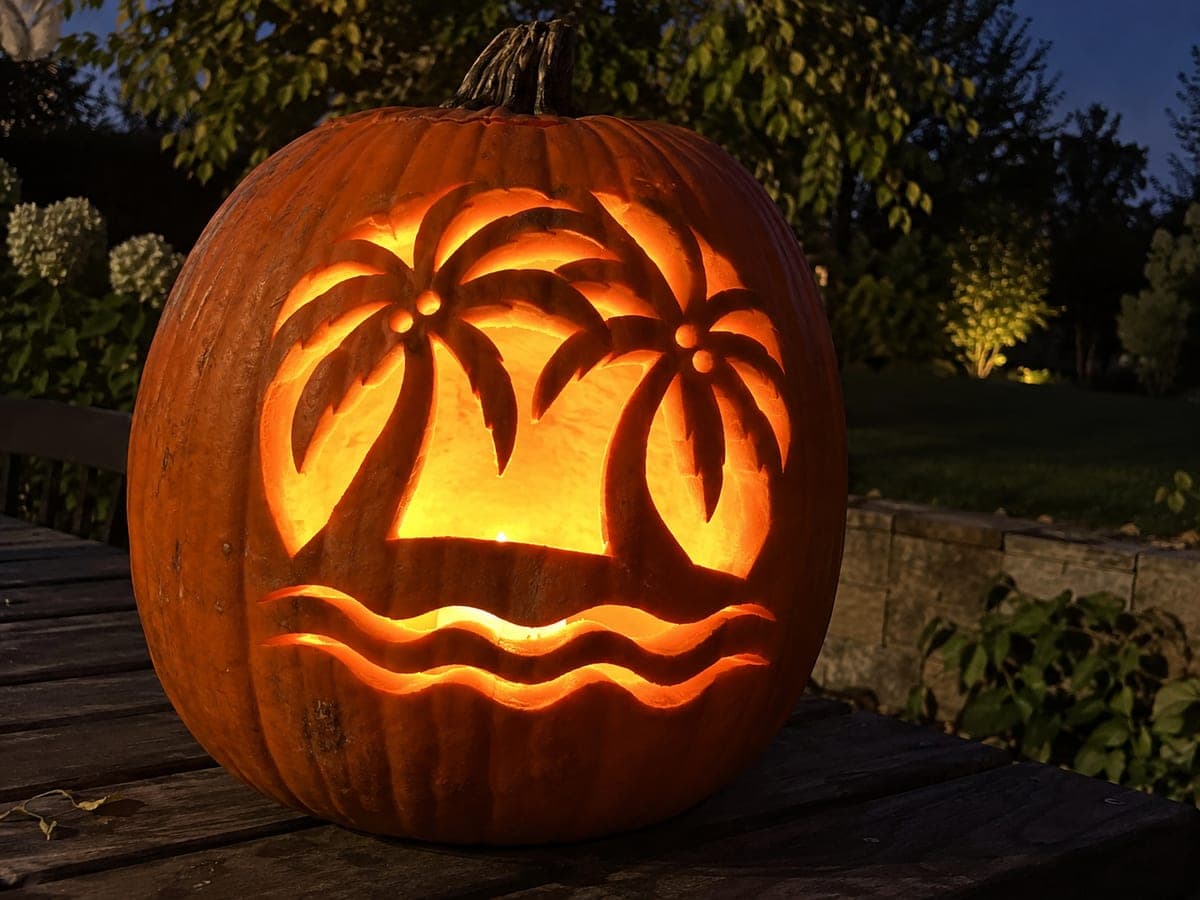
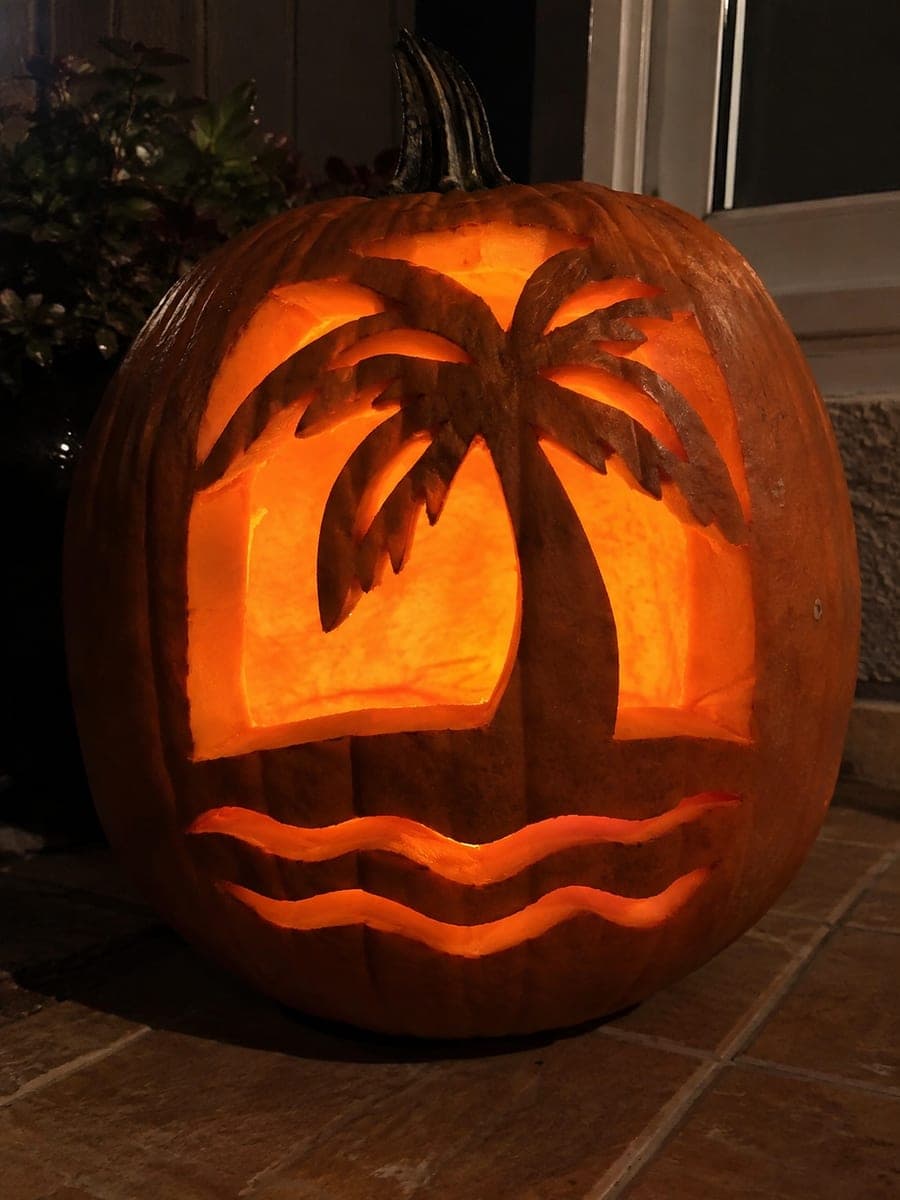
Halloween Pumpkin Carving Contest · Starts October 1st · $500 in prizes
← Back to ideas
@ai_concepts
Sep 25, 2026
Painted Green Palm and Turquoise Wave PumpkinAI
0

Report this carving

Tell us what is wrong. Reports are private.

Painted Green Palm and Turquoise Wave Pumpkin

A green palm with a brown trunk and turquoise wave brushstrokes cover this no-carve palm tree pumpkin carving idea in a loose, tropical style. Use broad flat brushstrokes for the palm fronds, working outward from the crown center, then add the brown trunk below in a single tapered stroke. Paint the turquoise waves last across the bottom third of the pumpkin with a wide brush, letting the strokes curve slightly to suggest motion. This easy design comes together in under 30 minutes and holds up well outdoors with a coat of clear acrylic sealer.

No ratings yet · Sign in to rate

Comments (0)

  • No comments yet — be the first.

Save without an account. Sign in to like or comment.

Our tips for carving a similar design

The whole scene builds in three layers: first the green fronds with flat brushstrokes, then the tapered brown trunk below, and finally a sweep of turquoise waves across the lower third. Working wet-into-wet on the fronds gives a slightly blended, natural edge, while letting the trunk dry before adding waves keeps the colors clean. A coat of clear acrylic sealer locks everything in place for outdoor display.

From pumpkin to porch

  1. Clean and dry the pumpkin

    Wipe the pumpkin with a damp cloth to remove dirt and let it dry completely. A clean, dry surface helps the acrylic paint adhere without beading or peeling. Choose the smoothest face of the pumpkin for the painted design.

  2. Sketch the composition lightly

    Use a soft pencil to sketch the palm crown at the top of the face, the trunk running down to about the midpoint, and a curved horizon line across the lower third for the wave zone. Keep the sketch lines light so they disappear under the paint.

  3. Paint the fronds

    Load a flat brush with green acrylic and lay in the fronds with broad sweeping strokes radiating outward from the crown center. Work while the paint is slightly wet so adjacent strokes blend softly where they meet. Add a little yellow to the green for a lighter frond tip on each stroke.

  4. Add the trunk

    While the fronds dry, mix brown acrylic and paint the trunk as a single tapered stroke from the crown base down to the midpoint. Keep it broad at the top and narrow at the base. Add a few short diagonal marks along the trunk for a bark texture suggestion.

  5. Paint the turquoise waves

    Mix turquoise acrylic and load a wide flat brush to sweep curved strokes across the lower third of the pumpkin. Let each stroke curve gently to suggest motion. Layer a lighter, slightly more blue-green mix over the first layer while it is still wet for a wave highlight.

  6. Seal and display

    Once all paint is fully dry, apply a coat of clear acrylic sealer spray or brush-on medium to protect the design from moisture and handling. Let the sealer cure for at least an hour before placing the pumpkin outdoors.

Written with AI to match this design

Gather your supplies

Check things off as you get ready.

Work on a stable surface, keep your free hand out of the cutting path, and have an adult handle sharp tools.

Three levels of light

  • Leave intact

    The natural orange pumpkin rind shows through any unpainted areas as the background.

  • Peel & shade

    None, the shell stays fully intact.

  • Cut through

    None, use an outside spotlight or porch light to illuminate the painted surface.

Learn the carving basics

Before you start cutting

What if the paint starts peeling after a day outdoors?

Peeling usually means the surface was not fully dry before painting or the pumpkin had a waxy bloom on the skin. Lightly sand the peeling area with fine-grit sandpaper, wipe away dust, and touch up with fresh paint once the surface is clean and dry. A second coat of sealer over the repair will help it last.

Can I use craft paint instead of artist acrylic?

Yes, basic craft acrylic from a hobby store works well on pumpkin rind. The coverage may be slightly less opaque than artist-grade paint, which actually suits a loose tropical style. Apply two thin coats rather than one thick one to avoid drips and cracking.

How can I make the turquoise waves look more realistic?

Add a thin white highlight along the top of each wave stroke with a liner brush while the turquoise is still damp. A small curl at the end of each stroke echoes a breaking wave tip. Keeping the strokes horizontal and slightly varied in length makes the wave band feel natural rather than mechanical.

Your take belongs here, too.

Changed a detail? Made it simpler? Share a photo of your version and tell the community what worked.

Share your pumpkin

More pumpkins like this

You've reached the end · 8 pumpkins
The Patch Report

Fresh pumpkins, in your inbox.

The best new carvings, ideas worth stealing, and how-tos for carving season. Short, seasonal, and gone by November.

A short email during carving season. Unsubscribe anytime. See our privacy policy.