Halloween Pumpkin Carving Contest · Starts October 1st · $500 in prizes
← Back to ideas
@ai_concepts
Sep 25, 2026
Simple Witch on Broom Silhouette Pumpkin StencilAI
0

Report this carving

Tell us what is wrong. Reports are private.

Simple Witch on Broom Silhouette Pumpkin Stencil

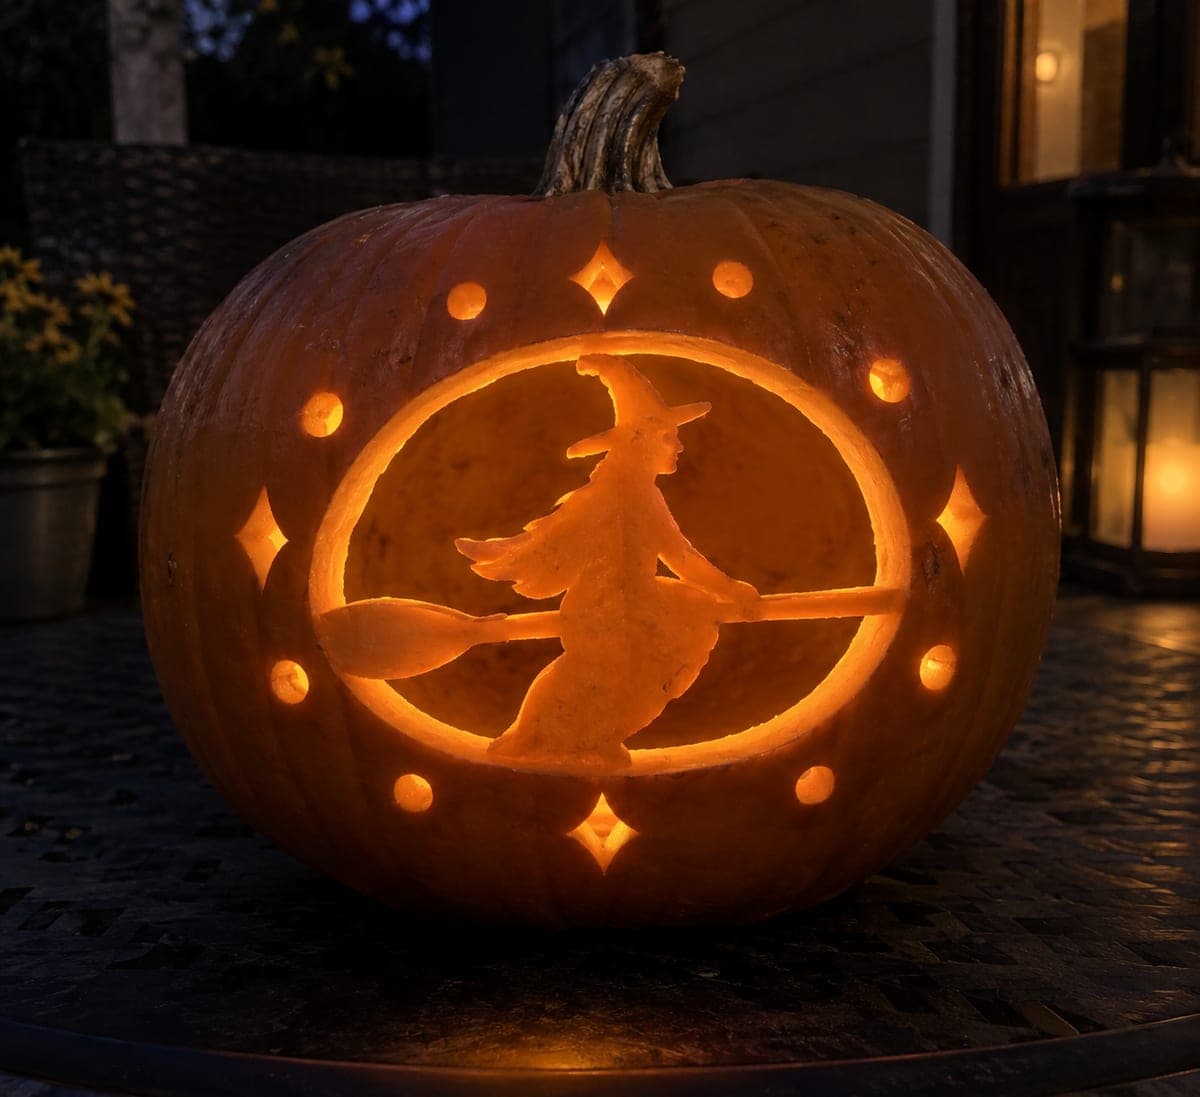
A single broad witch-and-broom aperture with no internal facial or arm islands is cut through an orange pumpkin on a gravel path at night, making this one of the most beginner-accessible witch on broom pumpkin stencil designs. One continuous outline means you only need to make one cut, so use a thin jab saw and follow the perimeter steadily without stopping, which produces the smoothest edge. The open silhouette glows as a bold, immediately recognizable Halloween shape.

No ratings yet · Sign in to rate
Comments (0)

  • No comments yet — be the first.

Save without an account. Sign in to like or comment.

Our tips for carving a similar design

Because the witch and broom are merged into a single aperture with no internal islands for eyes, fingers, or arms, the entire design is completed in one uninterrupted cut. The trick to a clean result is moving the jab saw at a steady unhurried pace along the perforation dots without stopping, which prevents jagged edges at the corners of the hat or broom bristles. The open silhouette glows as an iconic Halloween shape instantly readable from the street.

From pumpkin to porch

  1. Hollow and prep

    Cut the lid from the back to preserve the front profile, scoop to about an inch wall thickness, and wipe the surface dry. A solid footing is important, so place the pumpkin on a damp towel.

  2. Position the template

    Center the silhouette on the widest front panel so the broom extends roughly horizontally at mid-height. Tape firmly and perforate the entire outline with a poking tool before removing the paper.

  3. Start at the broom tip

    Enter the jab saw at the broom tip, which is the thickest part of the outline. Work along the broom handle, up through the cloak and hat, and back down the other broom side in one continuous pass. Do not lift the blade to restart at any corner; instead, slow down and pivot the pumpkin around the blade tip.

  4. Free the piece

    Push the silhouette piece gently inward once the outline is complete. If it catches, re-run the blade over that section. Remove all flesh scraps and smooth the interior edge with a small knife.

  5. Light and display

    Place an LED light inside and set the pumpkin on a gravel path or porch step at a low height where the glowing silhouette is at eye level for children approaching the door.

Written with AI to match this design

Gather your supplies

Check things off as you get ready.

Work on a stable surface, keep your free hand out of the cutting path, and have an adult handle sharp tools.

Three levels of light

  • Leave intact

    All surrounding orange rind

  • Peel & shade

    None

  • Cut through

    The entire merged witch-and-broom silhouette is cut through as one opening

Learn the carving basics

Before you start cutting

How do I carve smooth curves on the cloak without jagging the edge?

Use short back-and-forth strokes rather than pushing straight through the rind on curves. Let the blade do the cutting; pushing too hard causes the tip to veer off the perforation line. On wide cloak curves, pivot the pumpkin toward you so the blade stays pointed in the direction of travel.

Will the hat tip be too thin and fragile once cut free?

No, because the hat tip is not a retained element in this design. It is fully removed as part of the silhouette opening. The concern about thin tips only applies to retained designs where the tip stays as orange rind.

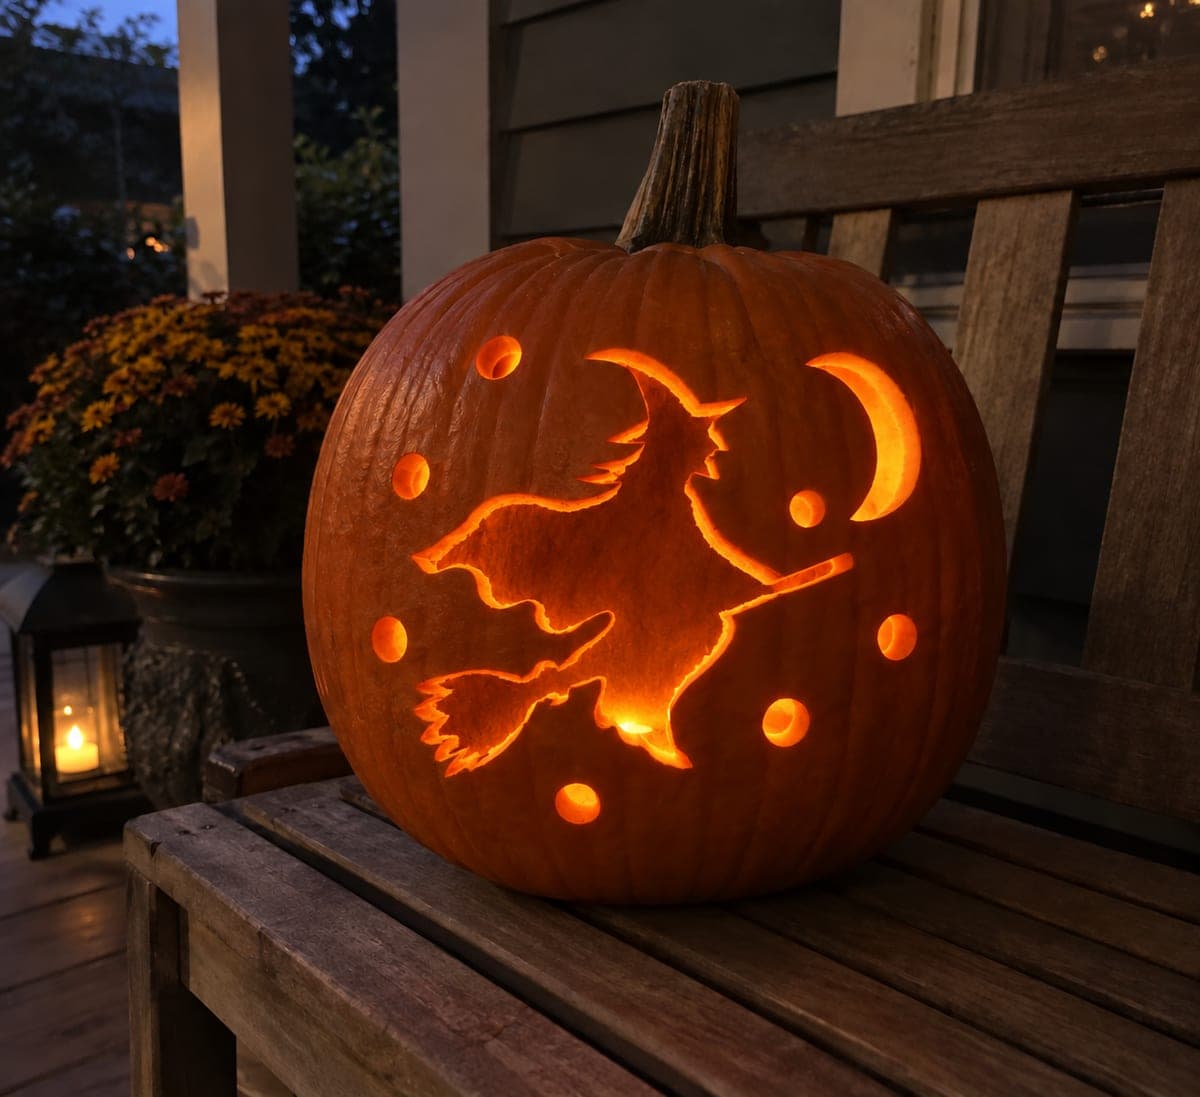
Can I add a moon or star holes nearby without weakening the shell?

Yes. Small separate round holes or a crescent moon aperture at least an inch away from the main silhouette edge are fine additions. The key is maintaining broad rind between any new holes and the witch-broom opening.

Your take belongs here, too.

Changed a detail? Made it simpler? Share a photo of your version and tell the community what worked.

Share your pumpkin

More pumpkins like this

You've reached the end · 8 pumpkins
The Patch Report

Fresh pumpkins, in your inbox.

The best new carvings, ideas worth stealing, and how-tos for carving season. Short, seasonal, and gone by November.

A short email during carving season. Unsubscribe anytime. See our privacy policy.