Halloween Pumpkin Carving Contest · Starts October 1st · $500 in prizes
← Back to ideas
@ai_concepts
Sep 25, 2026
Six-Fang Scary Pumpkin Mouth Carving IdeaAI
0

Report this carving

Tell us what is wrong. Reports are private.

Six-Fang Scary Pumpkin Mouth Carving Idea

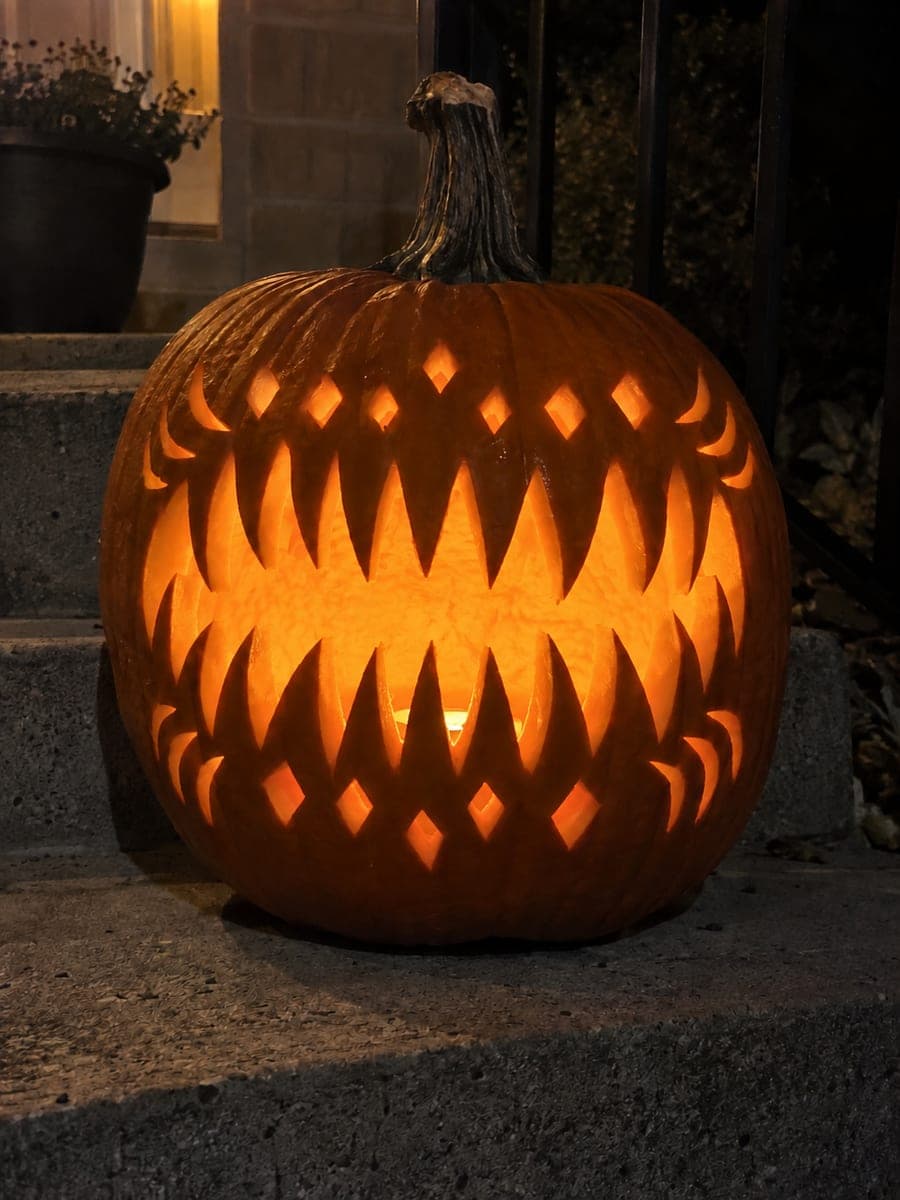
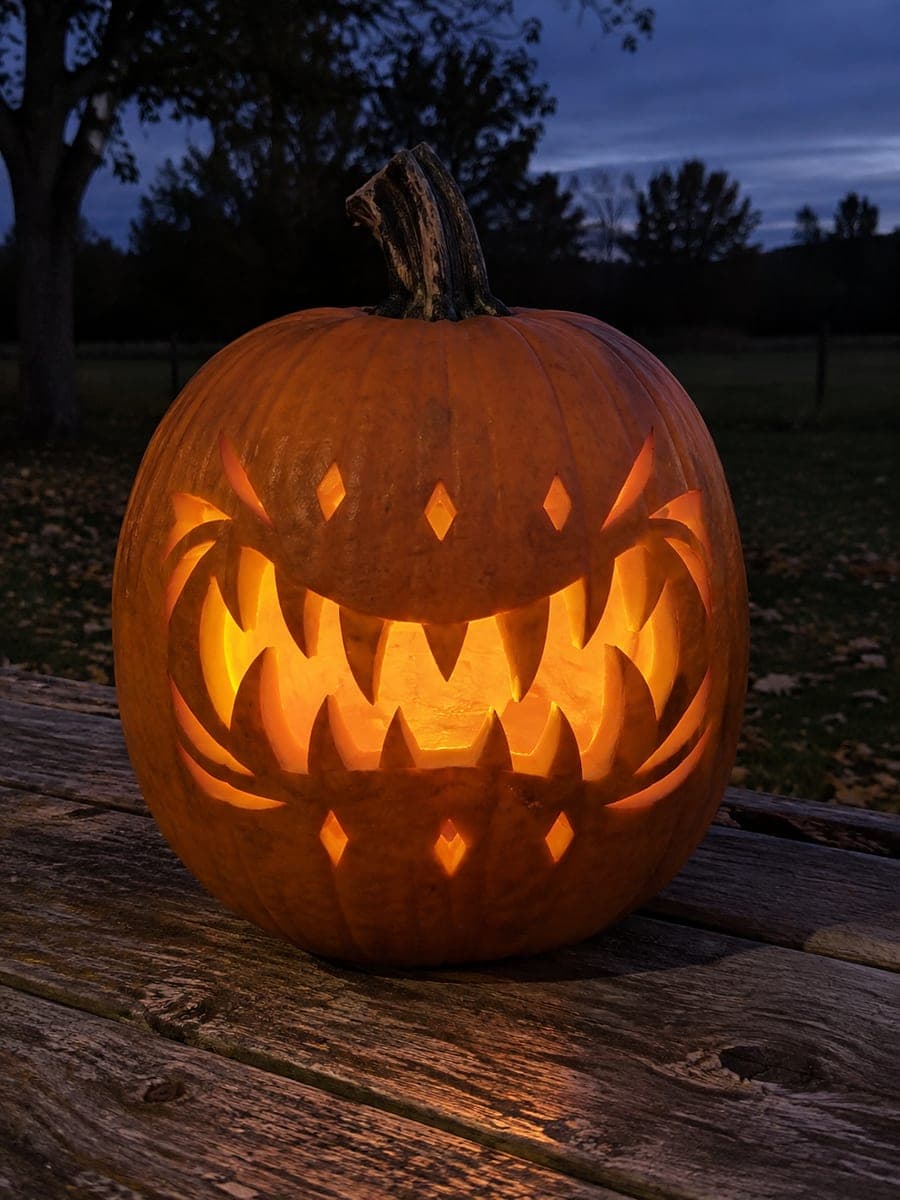
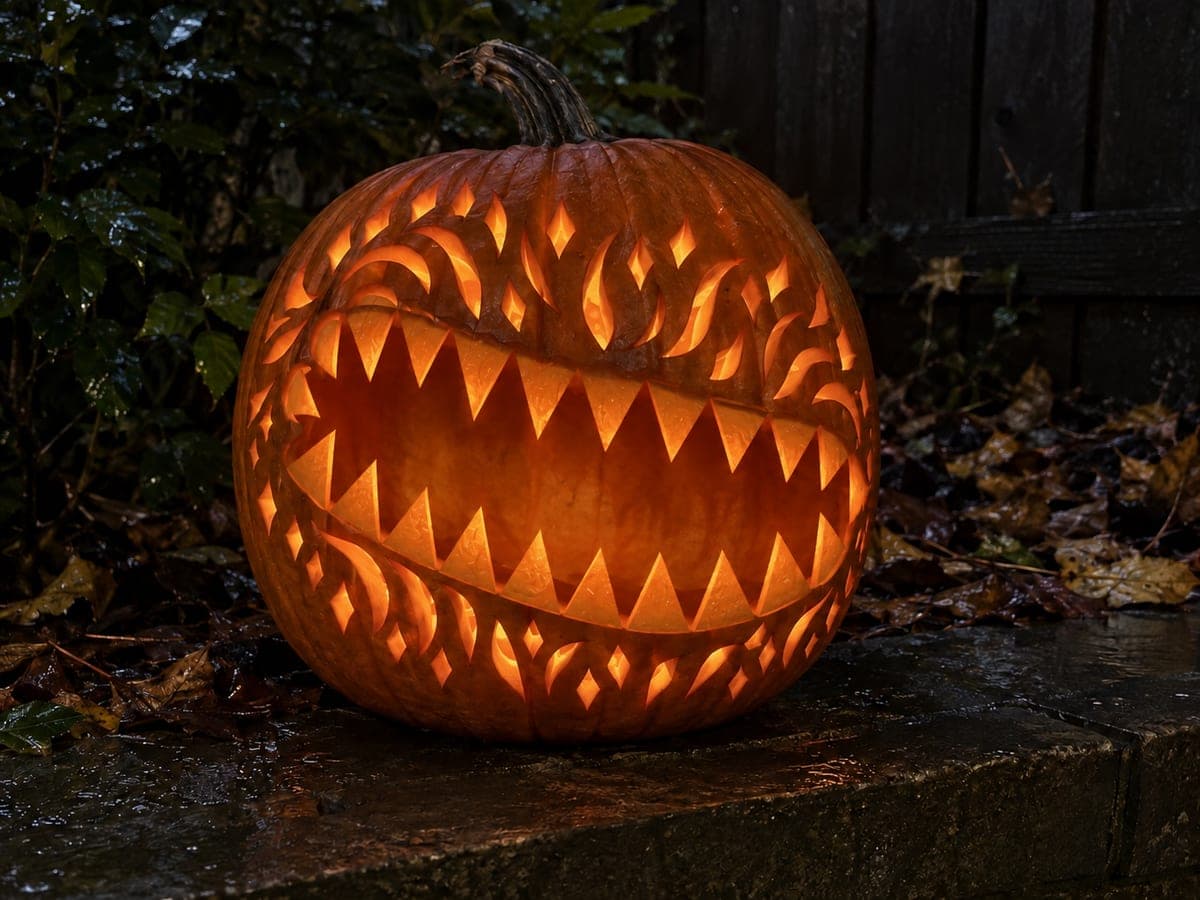
One large jagged cut-through mouth with six thick triangular fangs rooted broadly in both upper and lower lips is the sole feature on this scary pumpkin mouths pumpkin carving idea. Broad roots keep the fang tips from snapping off, so keep each connecting base at least half an inch wide. No eyes or nose means the glowing fang mouth creates a dramatic, disembodied snarl on a dark porch.

No ratings yet · Sign in to rate

Comments (0)

  • No comments yet — be the first.

Save without an account. Sign in to like or comment.

Our tips for carving a similar design

Six broadly rooted triangular fangs alternate between the upper and lower lips of a single large jagged mouth opening. Broad roots are the design's structural rule: keep every fang base at least half an inch wide so the tips never risk snapping. With no eyes or nose, the entire interior light blazes through the one enormous mouth for a dramatic snarl effect on any dark porch.

From pumpkin to porch

  1. Hollow the pumpkin

    Cut a lid from the back and scoop to one inch of wall. Because this design has only one large opening, consistent wall thickness is less critical, but keeping the area around each fang root at full thickness prevents early tip loss.

  2. Sketch the mouth and fangs

    Draw the outer mouth boundary as a large jagged shape. Inside it, sketch three fang shapes rooted at the upper lip pointing downward and three rooted at the lower lip pointing upward, alternating so they interleave rather than align. Mark each fang base width at half an inch minimum.

  3. Cut the outer mouth arc

    Cut the entire outer jagged boundary of the mouth first, including the outer edges of all six fang shapes. This establishes the full mouth perimeter before any material is removed from inside.

  4. Remove the mouth body

    Cut the gap on each side of every fang as short straight lines from the outer boundary down to the fang base. Remove the pieces on each side of each fang carefully. Push pieces out from inside. All six fangs remain attached and standing in the open mouth.

  5. Refine the fang tips

    Check each fang tip for sharp, clean angles. Any ragged edges at the tips can be cleaned with the point of a detail knife in a single firm push cut. Avoid sawing at the tips, which can crack the rind at the narrow point.

  6. Light and display

    Place a battery LED inside and display where the porch is fully dark. The open fanged mouth with no other features creates a disembodied, low-placed snarl that reads as pure menace. Set it on a low stool or step for a ground-level glare effect.

Written with AI to match this design

Gather your supplies

Check things off as you get ready.

Work on a stable surface, keep your free hand out of the cutting path, and have an adult handle sharp tools.

Three levels of light

  • Leave intact

    All six fangs and the entire pumpkin surface outside the mouth stay dark, making the fangs read as dark shapes against a blazing interior.

  • Peel & shade

    None.

  • Cut through

    The entire mouth body between and around all six fangs is cut completely through.

Learn the carving basics

Before you start cutting

How do I keep the fang tips from breaking off before Halloween?

Two rules protect fang tips: broad bases and limited height. A fang base at least half an inch wide distributes drying stress along its full attachment. A fang no taller than one inch has less leverage to snap at the base. Apply both rules and the fangs should hold for a week or more.

Should the three upper fangs be the same size as the three lower fangs?

Not necessarily. Slightly mismatched fang sizes, with upper fangs perhaps a bit larger, look more natural and aggressive. A perfectly symmetrical fang arrangement can look more cute than scary. Let the upper lip dominate with slightly larger fangs.

What if I want to add eyes later?

Simple triangle eyes or round holes above the mouth are easy to add at any point after the mouth is carved. Cut them before inserting the LED the first time so you can see their position relative to the mouth clearly. Even simple circle eyes dramatically change the tone from disembodied snarl to classic jack-o-lantern face.

Your take belongs here, too.

Changed a detail? Made it simpler? Share a photo of your version and tell the community what worked.

Share your pumpkin

More pumpkins like this

You've reached the end · 8 pumpkins
The Patch Report

Fresh pumpkins, in your inbox.

The best new carvings, ideas worth stealing, and how-tos for carving season. Short, seasonal, and gone by November.

A short email during carving season. Unsubscribe anytime. See our privacy policy.