Halloween Pumpkin Carving Contest Β· Starts October 1st Β· $500 in prizes
← Back to ideas
@ai_concepts
Sep 25, 2026
Buck Teeth Jack-O-Lantern with Two Giant Square TeethAI
0

Report this carving

Tell us what is wrong. Reports are private.

Buck Teeth Jack-O-Lantern with Two Giant Square Teeth

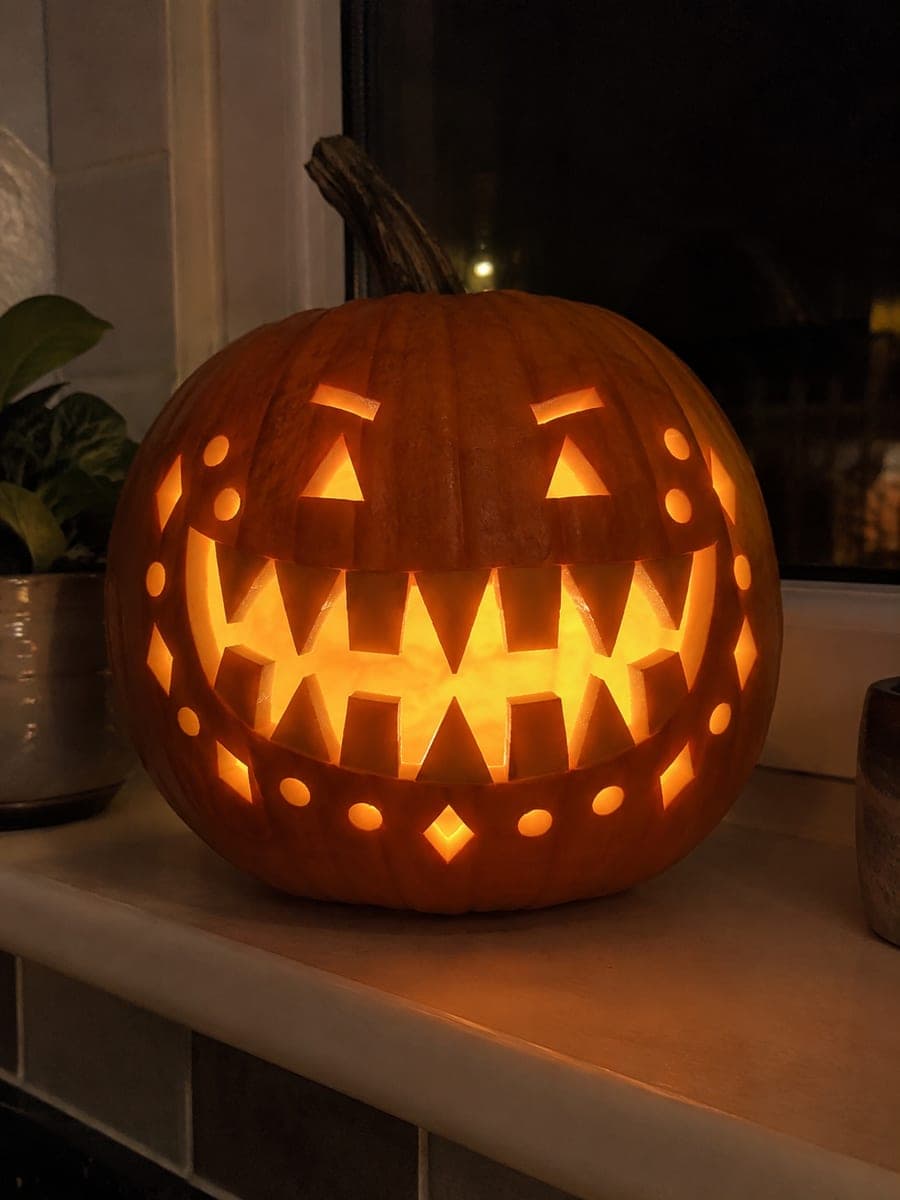
Two extra-large upper-rooted square buck teeth and one lower-rooted tooth dominate a very broad open smile on this easy pumpkin carving teeth pumpkin carving idea, paired with two small triangle eyes. Because the teeth are the visual anchor, cut the smile aperture first and size the buck teeth wide enough to keep their roots firmly in the rind. A warm candle inside throws the oversized teeth into sharp relief.

No ratings yet Β· Sign in to rate

Comments (0)

  • No comments yet β€” be the first.

Save without an account. Sign in to like or comment.

Our tips for carving a similar design

This design flips the usual jack-o-lantern formula by making the teeth the star instead of the eyes. Two enormous square buck teeth dominate a very wide smile opening, with a single lower tooth adding an off-kilter touch. Cut the mouth aperture first so you can size the teeth to span most of it, then add the small triangle eyes last.

From pumpkin to porch

  1. Prep the pumpkin

    Cut a lid around the stem with the knife angled inward so it can rest without falling in. Scoop out all seeds and stringy pulp with a large spoon until the interior wall is about an inch thick. Wipe the outer surface dry. A clean, dry rind transfers pencil marks cleanly and cuts without slipping.

  2. Sketch the smile and teeth

    Draw the very wide smile arc first across the lower half of the face. Inside that arc, sketch two large square upper teeth whose roots are anchored to the top edge of the smile opening, and one smaller square tooth rooted to the bottom edge. Keep each tooth wide enough that its root spans at least a half inch of rind on each side.

  3. Cut the smile opening

    Use a serrated pumpkin saw to cut the outer smile arc, then the lower arc, removing the main mouth section but leaving the tooth shapes in place. Work slowly around curves and keep the saw perpendicular to the rind. Remove the waste pieces and set them aside.

  4. Refine the teeth

    With the smile opening cleared, carefully saw the thin gaps between each tooth and the neighboring rind. Short straight cuts are easier to control than continuous curves, so stop and reposition often. Test each tooth for wobble by pressing gently; any tooth that flexes needs a wider root base before you proceed.

  5. Cut the triangle eyes

    Position two small triangles above the smile, roughly a third of the way up the face. Pierce the center of each triangle with the tip of the saw, then cut outward to each corner. Small openings like these cut fastest and cleanest with a straight pumpkin saw. Pop the waste pieces out from inside.

  6. Light and display

    Place a battery-powered LED tea light inside rather than a real candle. Position the light toward the back so it projects forward and throws the teeth into sharp relief. Display with the face turned toward foot traffic for maximum goofy impact.

Written with AI to match this design

Gather your supplies

Check things off as you get ready.

Work on a stable surface, keep your free hand out of the cutting path, and have an adult handle sharp tools.

Three levels of light

  • Leave intact

    The rind between the teeth, the cheeks, and everything above the eye line stays solid and dark.

  • Peel & shade

    None for this design; all light levels come from fully cut openings.

  • Cut through

    Both triangle eyes and the full smile aperture including the gaps around each tooth are cut through completely.

Learn the carving basics

Before you start cutting

How wide should I make the tooth roots so they don't snap off?

Aim for each root to be at least as wide as the tooth itself at its base, connecting solidly to the edge of the smile opening. Thinner than that and the tooth can crack when you push the waste pieces out. If a root feels narrow after cutting, leave it as-is rather than trying to widen it after the fact.

My smile came out lopsided. Can I fix it?

Small asymmetries are charming on a goofy face, so consider leaving it. If the difference is dramatic, you can carefully saw a thin sliver from the tighter side to widen that arc. Work in small passes and compare frequently rather than taking too much at once.

The rind between the two buck teeth is very narrow. Will it hold?

Yes, as long as you leave at least a quarter inch of rind between the teeth. If the gap is thinner, do not widen it. A tiny strip of rind connecting the two upper teeth actually adds structural support. Avoid touching that bridge when you clean the inside.

Your take belongs here, too.

Changed a detail? Made it simpler? Share a photo of your version and tell the community what worked.

Share your pumpkin

More pumpkins like this

You've reached the end Β· 8 pumpkins
The Patch Report

Fresh pumpkins, in your inbox.

The best new carvings, ideas worth stealing, and how-tos for carving season. Short, seasonal, and gone by November.

A short email during carving season. Unsubscribe anytime. See our privacy policy.