Halloween Pumpkin Carving Contest · Starts October 1st · $500 in prizes
← Back to ideas
@ai_concepts
Sep 10, 2026
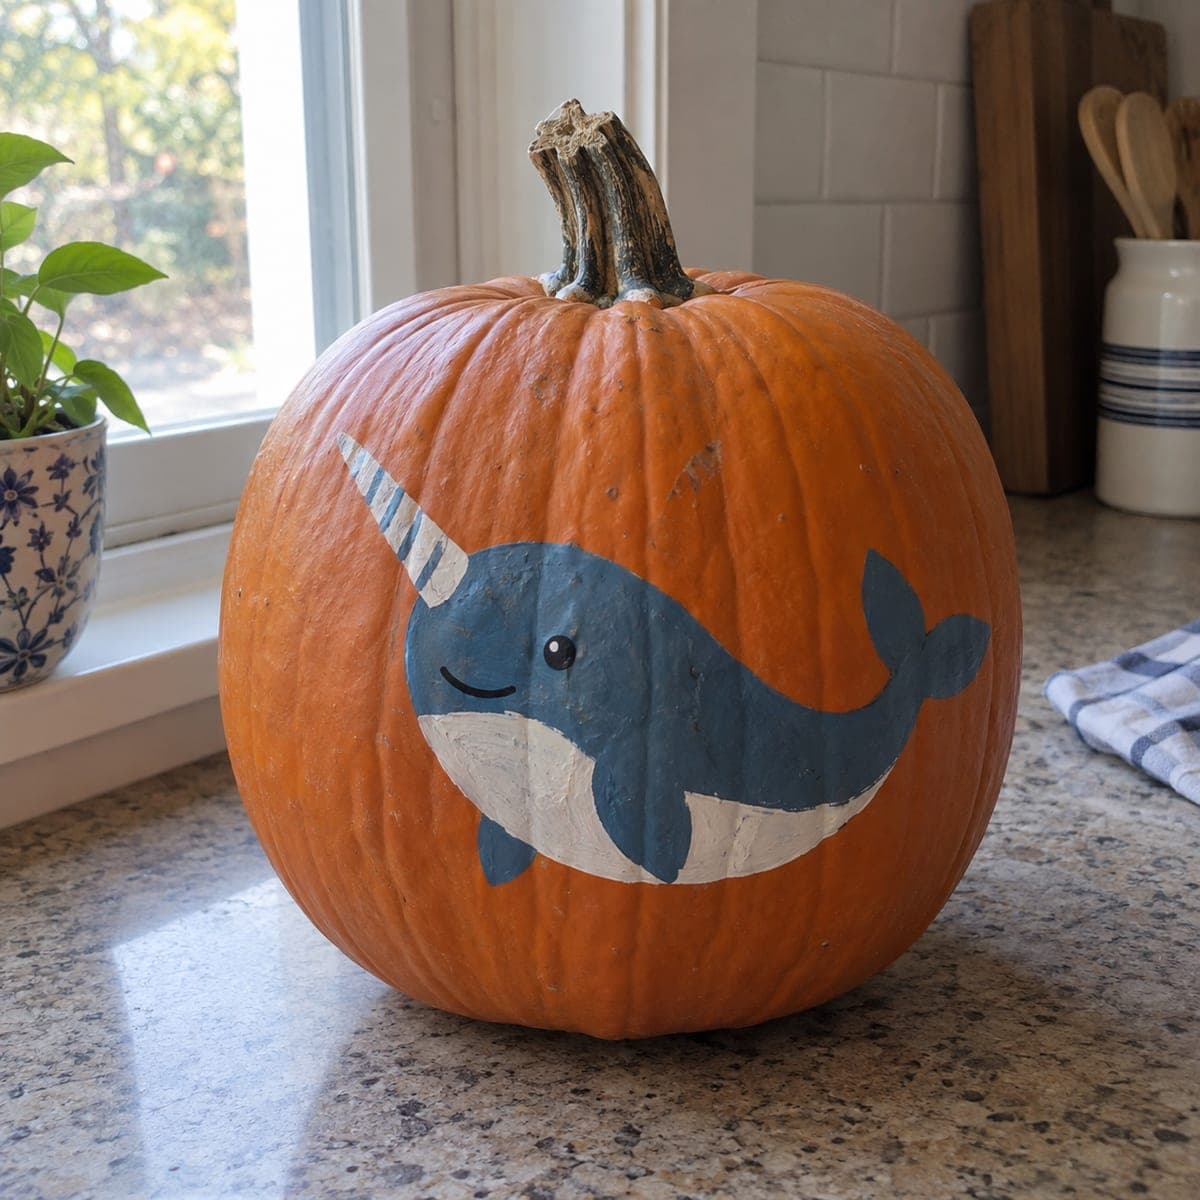
Smiling Narwhal Etched Pumpkin for Ocean FansAI
0

Smiling Narwhal Etched Pumpkin for Ocean Fans

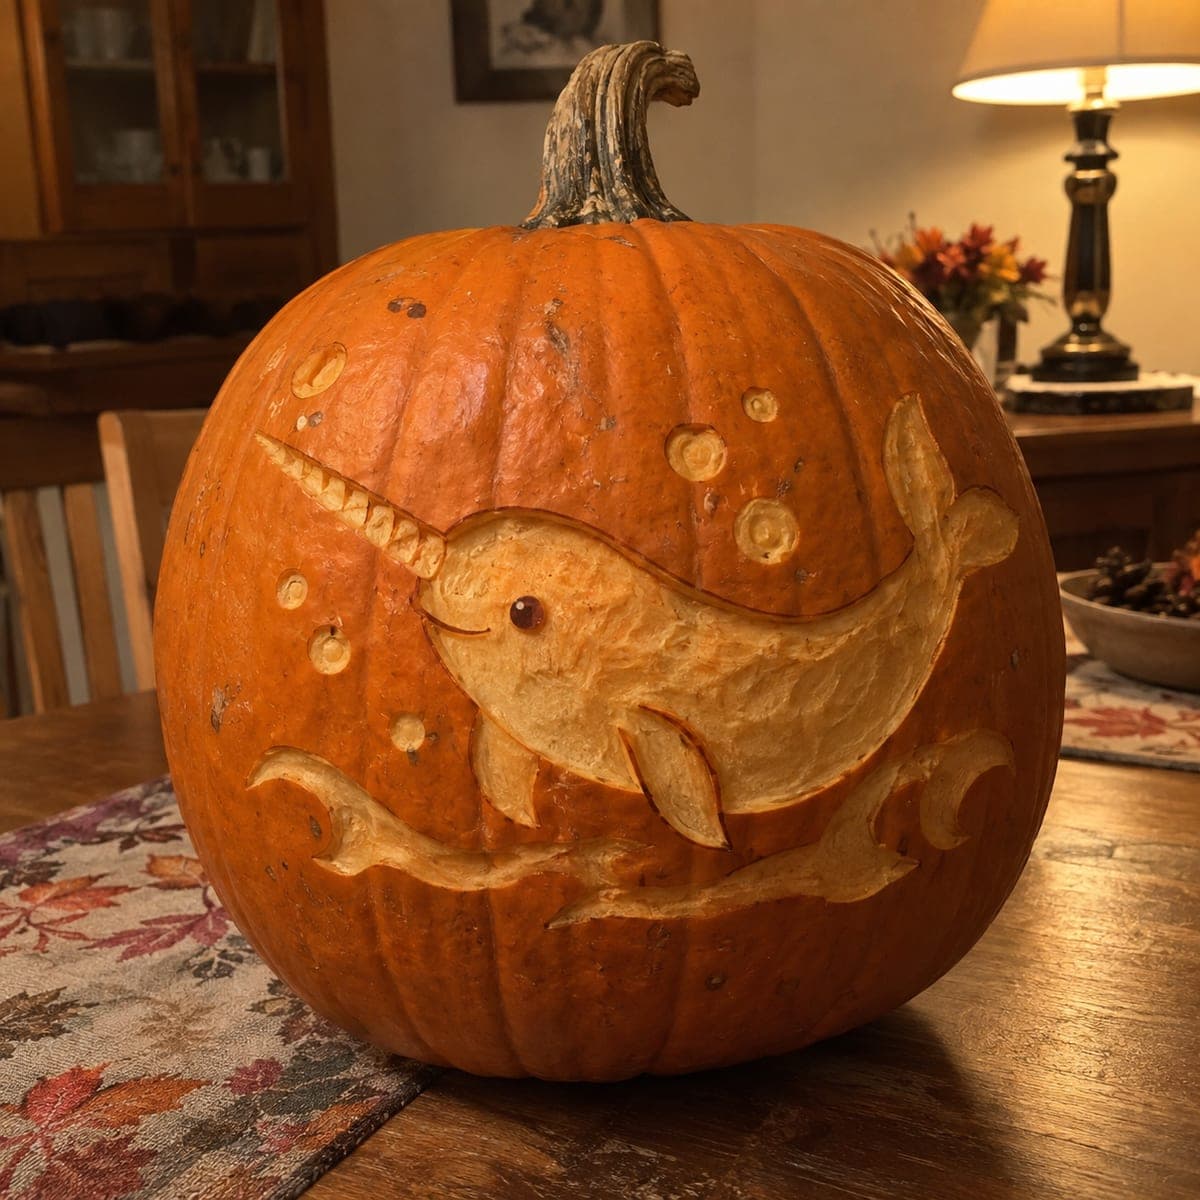
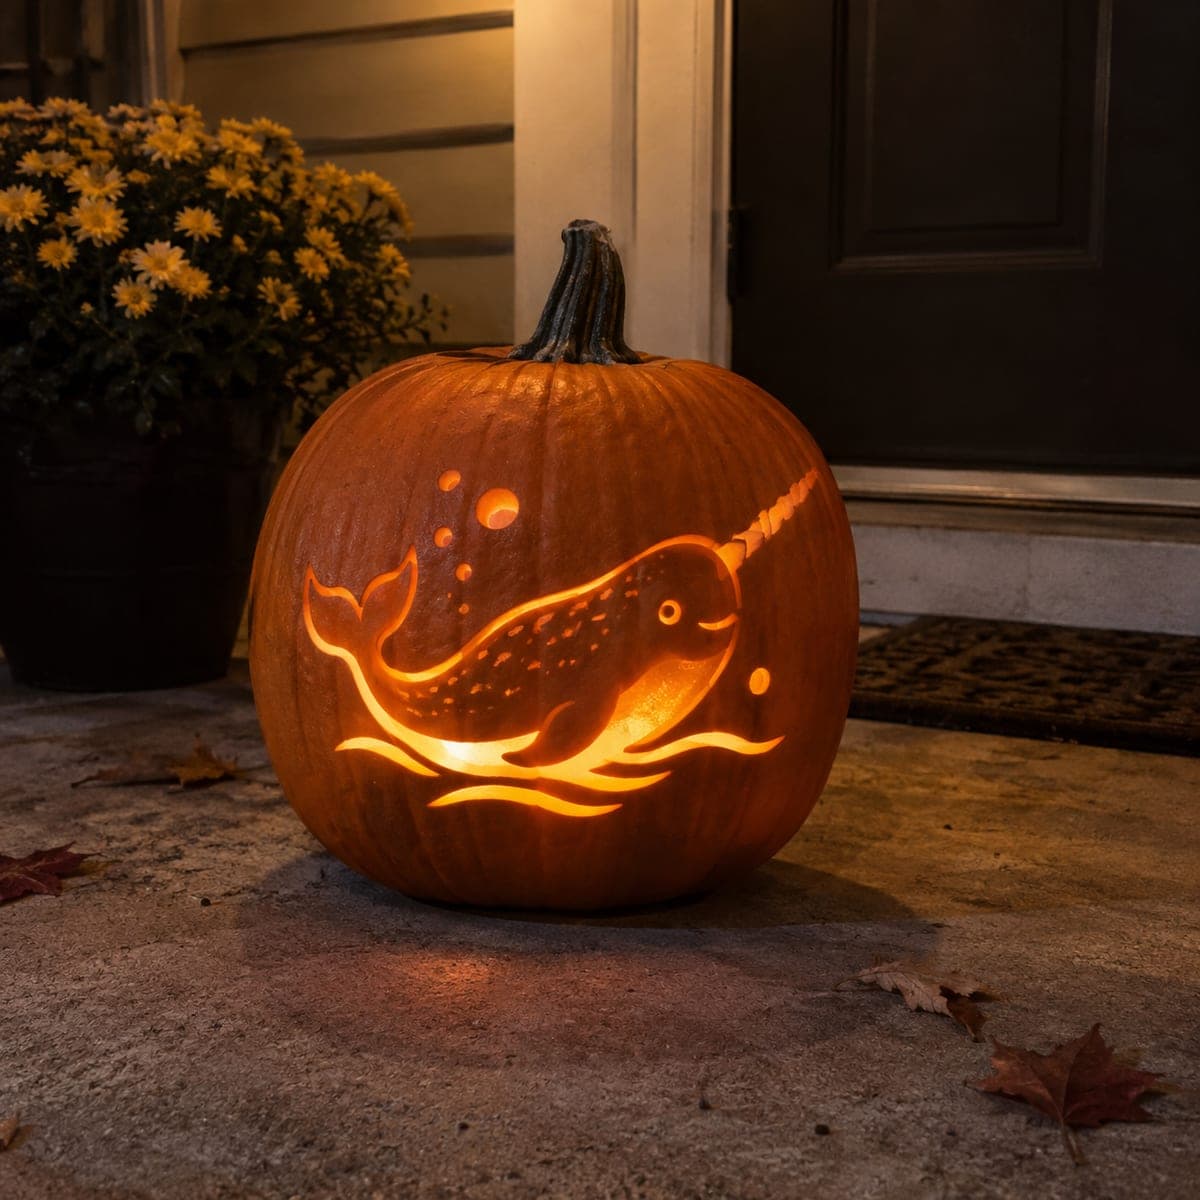
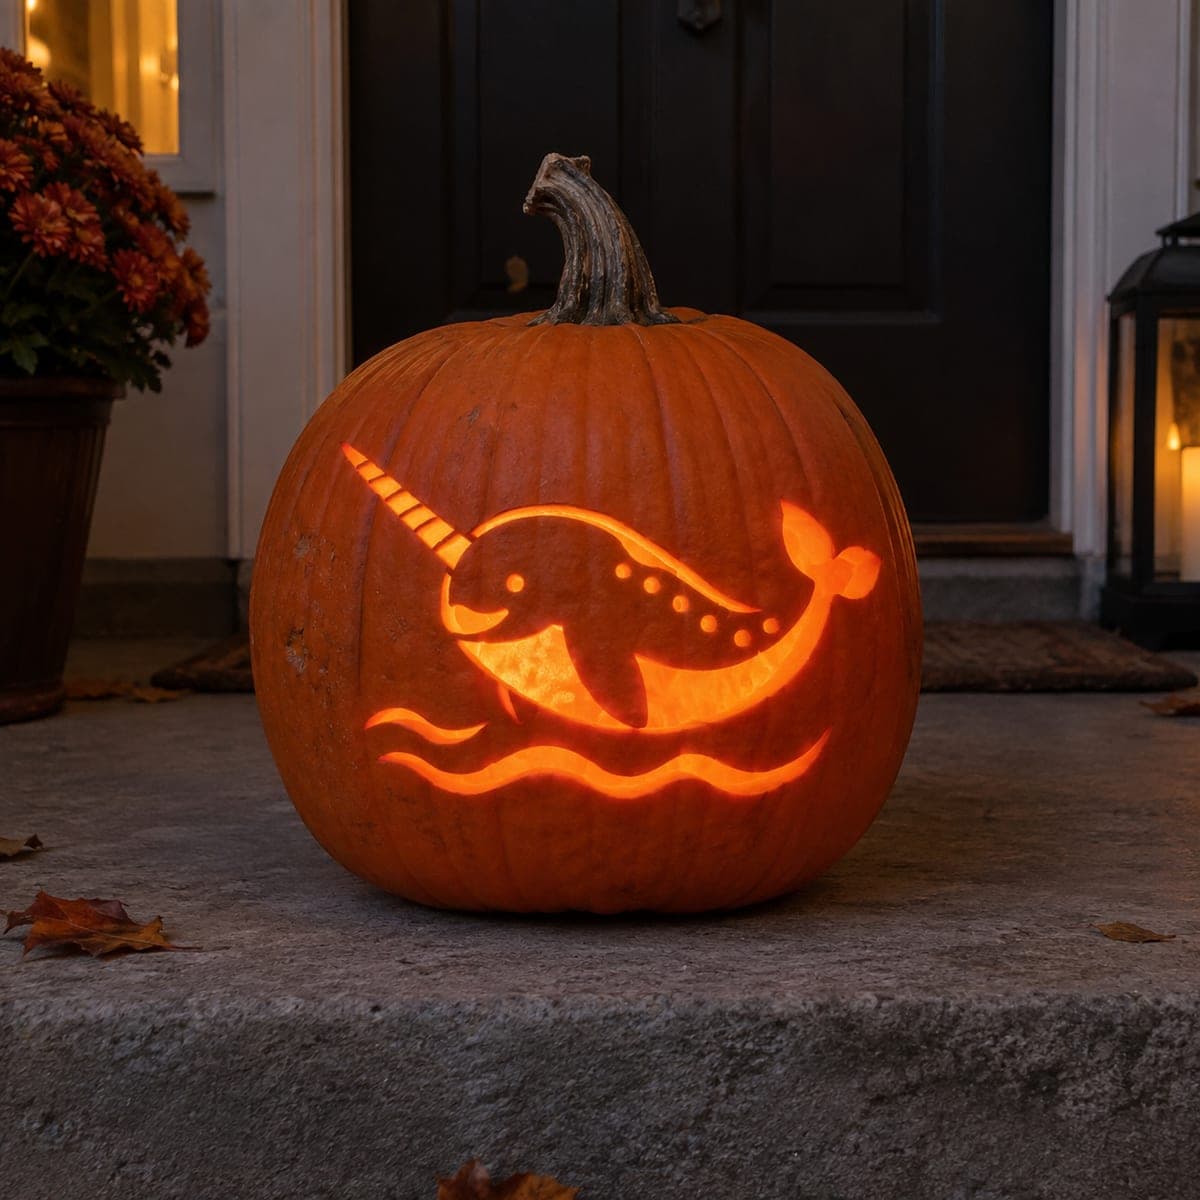
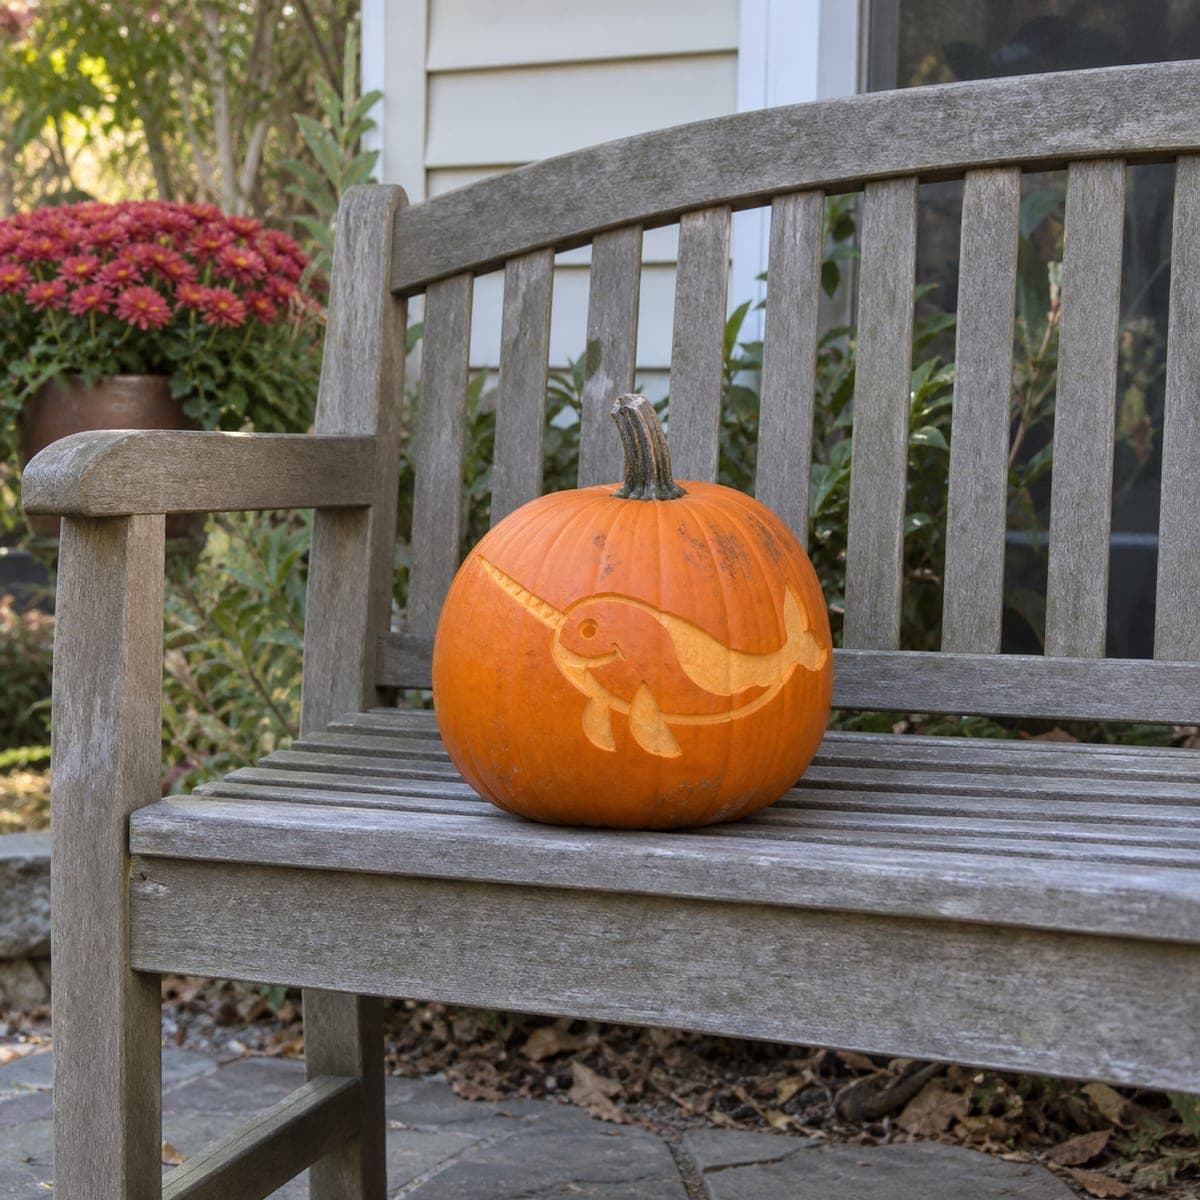
A smiling narwhal with a spiral tusk drifts across this pumpkin in a single shallow peel, proof that one clean shape can carry a whole design. The simple outline makes it a forgiving surface-carving project for older kids working with a scraping tool instead of a knife. Etch the body in one even layer, add the tusk with two straight cuts and a few cross hatches for the spiral, and dot the eye last.

This is an AI-generated concept image: a realistic, carvable design idea rather than a photo of a finished carve. AI concepts are always labeled and sit out the leaderboard and the contest.

No ratings yet · Sign in to rate
Comments (0)

  • No comments yet — be the first.

Save without an account. Sign in to like or comment.

Our tips for carving a similar design

The whole design leans on one trick: a single shallow peel that keeps the narwhal glowing dim orange against the darker skin around it. Instead of cutting all the way through, you scrape away just the outer skin to reveal the body, then add the tusk with two straight cuts and a few cross lines for the spiral. Because nothing is fully cut through, the pumpkin stays sturdy and forgiving for a first surface-carving project.

Written by PumpkinCarvingIdeas.com, inspired by the image above. These are our suggestions, not instructions from the uploader. This approach to the AI concept has not been tested on a real pumpkin.

From pumpkin to porch

  1. Prep the pumpkin and light source

    Pick a pumpkin with a smooth, mostly flat front panel so the narwhal reads clearly. Have an adult cut a lid or a rear access hole so you can drop in a battery LED later. Scoop the inside and thin the front wall a little from the inside, which makes the peeled areas glow more evenly. Wipe the surface dry before you transfer the design.

  2. Transfer the narwhal outline

    Print or draw a simple narwhal shape with a rounded body, a small dorsal fin, a tail, and a forward-pointing tusk. Tape the stencil flat and poke closely spaced dots along every line with a pin or awl. Remove the paper and connect the dots lightly with a washable marker so you can see the full shape. Keep the tusk as a single narrow triangle for now.

  3. Score the outlines

    With a small etching loop or a fine detail blade, trace along your marker lines to a shallow depth of about a quarter inch. Cut only the outline of the body, fin, tail, and tusk at this stage, not the insides. These score lines act as clean borders that stop your scraping tool from wandering. Take your time on the curves so the smile and the belly stay smooth.

  4. Peel the body for a soft glow

    Switch to a scraping or shading tool and remove just the top skin inside the narwhal shape, working in one even layer. Aim for a consistent depth so the whole body lights up the same warm tone rather than a patchy one. Peel the tusk area the same way, leaving a thin raised edge if you want it to stand out. This is the forgiving part, so go slow and even rather than deep.

  5. Add the tusk spiral and eye

    Make two straight scoring cuts to define the length of the tusk, then add a few short diagonal cross hatches along it to suggest the spiral twist. Keep these lines shallow and evenly spaced. For the eye, peel one small dot or make a tiny shallow cut so it reads as a friendly point. Leave the smile line as a thin unpeeled ridge so it shows as a darker curve against the glowing body.

  6. Light it and photograph

    Set a battery LED tea light or a small puck light inside and test in a dark room. If any part of the body looks dull, peel it a touch thinner from the front until the glow evens out. Wipe away leftover marker with a damp cloth. Photograph it at dusk on a porch or bench so the soft orange narwhal stands out against the twilight.

Gather your supplies

Check things off as you get ready.

Work on a stable surface, keep your free hand out of the cutting path, and have an adult handle sharp tools.

Three levels of light

  • Leave intact

    The background skin around the narwhal and the thin smile line stay untouched and dark, framing the shape.

  • Peel & shade

    The narwhal body, fin, tail, and tusk are skin-peeled to a single even layer for a soft dim orange glow.

  • Cut through

    Nothing needs a full cutout on this design, though you could pierce the tiny eye dot for one bright point if you want extra contrast.

Learn the carving basics

Before you start cutting

Do I need to cut all the way through the pumpkin?

No, and that is the whole point of this design. The narwhal is created by peeling only the outer skin so it glows softly rather than blazing through. Keeping everything shallow makes the pumpkin much sturdier and far more forgiving for beginners.

How do I make the spiral tusk look right without it breaking?

Treat the tusk as a shallow etched triangle, not a deep cutout, so there is no thin fragile piece to snap. Define it with two straight score lines, then add a few short diagonal cross hatches for the twist. Because it is only surface-deep, it stays fully supported by the pumpkin wall.

This is an AI concept image, so how do I get an even glow on a real pumpkin?

Since no real pumpkin exists here, you are recreating the look from scratch. The key is thinning the front wall from the inside and peeling the body to one consistent depth. Test with your LED in a dark room and shave any dull spots a little thinner until the light spreads evenly.

Your take belongs here, too.

Changed a detail? Made it simpler? Share a photo of your version and tell the community what worked.

Share your pumpkin

More pumpkins like this

You've reached the end · 8 pumpkins
The Patch Report

Fresh pumpkins, in your inbox.

The best new carvings, ideas worth stealing, and how-tos for carving season. Short, seasonal, and gone by November.

A short email during carving season. Unsubscribe anytime. See our privacy policy.