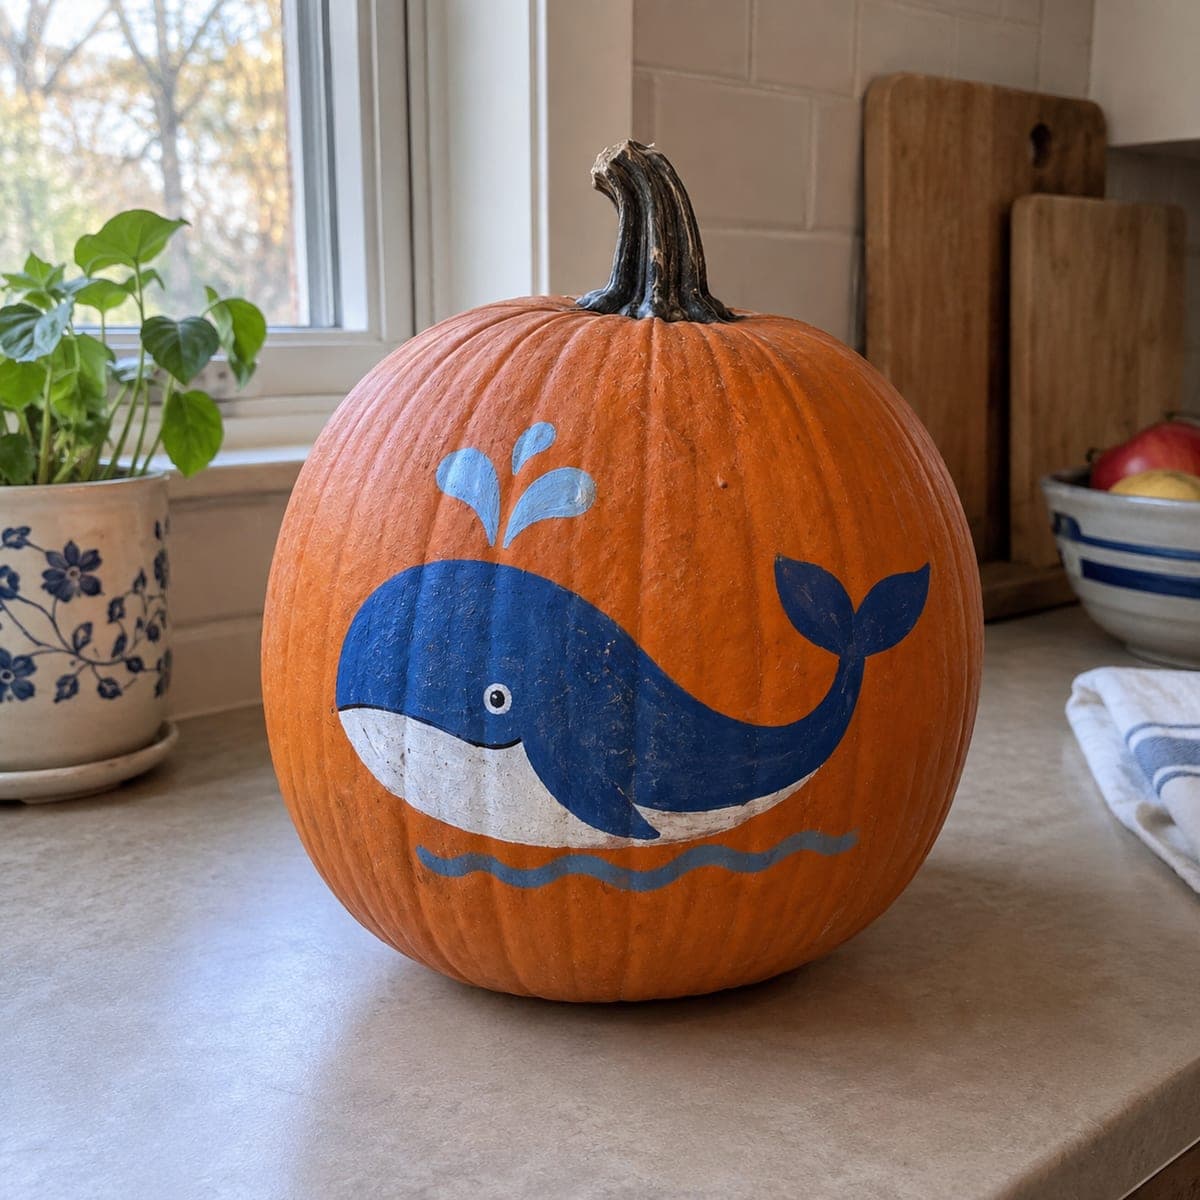
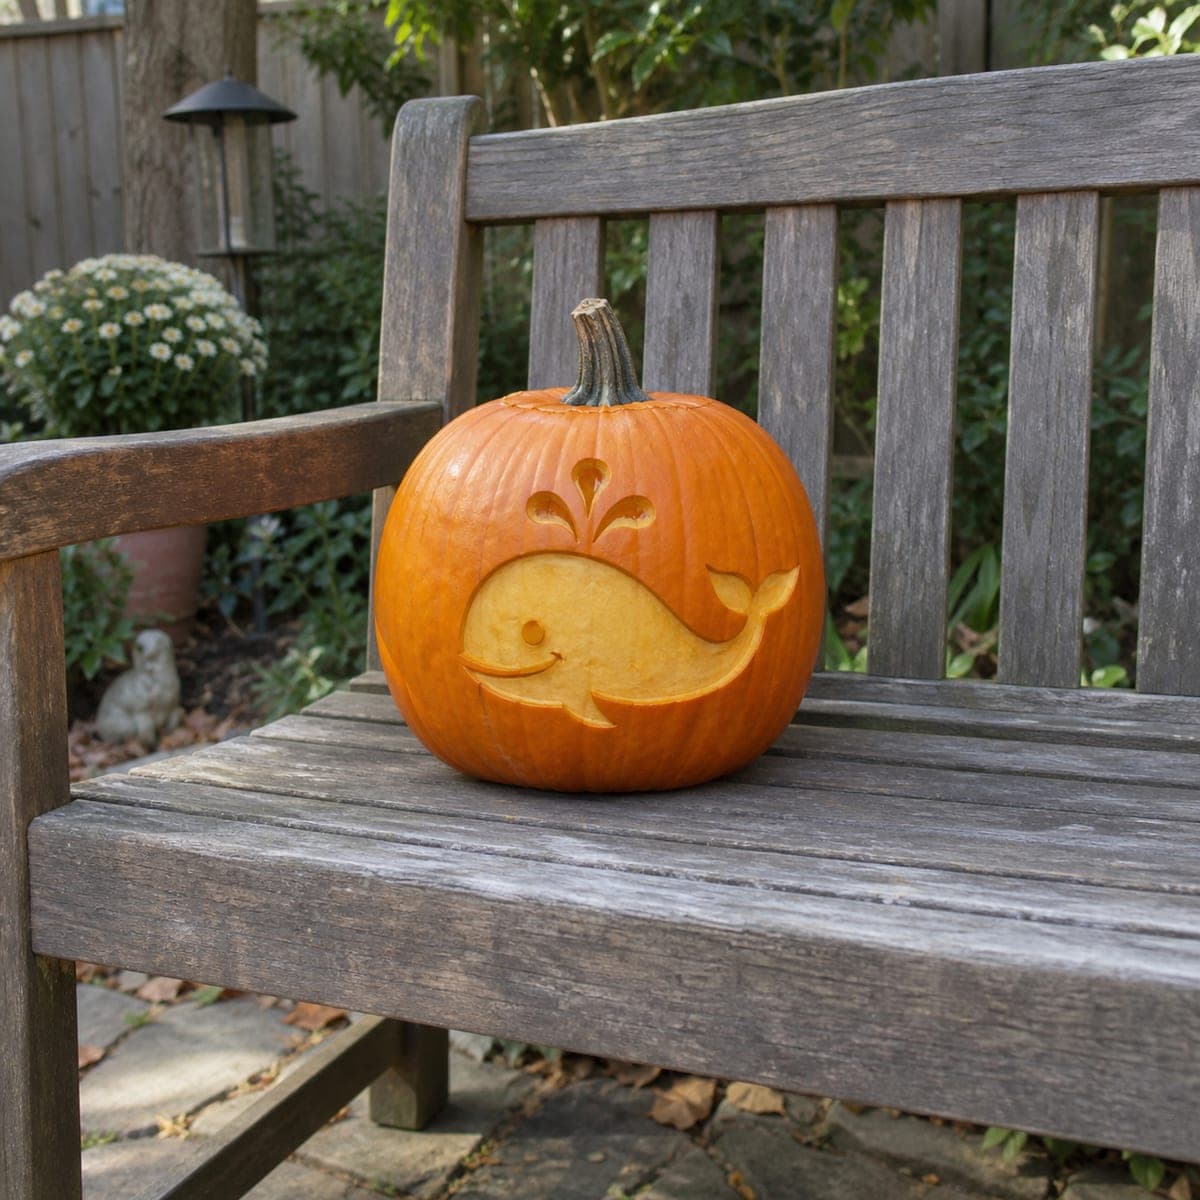
A smiling blue whale rides a wavy stripe of water across this no-carve pumpkin, complete with a two-drop spout above its head. The flat cartoon shapes make it a forgiving first paint project: base-coat the whale in one blue, let it dry, then add the white belly, tail shading, and wave line. It suits a nursery windowsill or kitchen counter long before Halloween.
This is an AI-generated concept image: a realistic, carvable design idea rather than a photo of a finished carve. AI concepts are always labeled and sit out the leaderboard and the contest.
The whole design rests on flat cartoon shapes, so the trick is layering paint from dark to light: one solid blue body first, then the white belly, tail shading, and a wavy water line on top. Since nothing is cut, plan your outline in pencil, block in the big blue shape, and save the tiny eye, smile, and two spout drops for last when your brush hand is steady. This is a no-carve project, so it stays safe and mess-free for a windowsill or counter.
Written by PumpkinCarvingIdeas.com, inspired by the image above. These are our suggestions, not instructions from the uploader. This approach to the AI concept has not been tested on a real pumpkin.
From pumpkin to porch
1
Clean and sketch the layout
Wipe the pumpkin with a damp cloth and let it dry so paint grips the skin. Lightly pencil the whale body low and centered, leaving room above the head for the two spout drops and a wavy water line below. Keep the shapes big and rounded like the picture. Step back and check the balance before you commit to paint.
2
Base-coat the whale body
Load a medium round or flat brush with your main blue and fill the whole whale shape, including the tail, in one even layer. Paint up to your pencil lines but do not worry about the belly yet. Let this coat dry fully, then add a second coat if the orange shows through. Patience here gives every later detail a clean surface.
3
Add the white belly and mouth
Once the blue is dry, paint the white belly as a smooth curve along the lower body and a small rounded chin under the smile. Keep the white edge crisp where it meets the blue. Add the white eye highlight dot too. Let it dry before touching those areas again.
4
Paint the details and shading
With a thin liner brush, add the dark curved smile, the small round eye, and a soft lighter-blue shading line on the tail flukes. Keep the eye tiny so it stays cheerful, not startled. A steady, slow stroke beats a fast one here. Rest your painting hand on your other hand to reduce shake.
5
Add the spout and wave
Paint the two light-blue spout drops above the head, one taller and one shorter, so it reads like water. Then run a loose wavy line under the whale in the same soft blue for the water. Vary the wave height a little so it looks natural. Let everything cure for a few hours.
6
Seal and stage your photo
Once fully dry, brush on a thin coat of matte sealer to protect the paint from scuffs and moisture. Set the pumpkin on a windowsill or counter in soft daylight. Angle the whale toward the light so the white belly pops. Snap your photo and share it with the community.
Gather your supplies
Check things off as you get ready.
Work on a stable surface, keep your free hand out of the cutting path, and have an adult handle sharp tools.
Three levels of light
Leave intact
The orange pumpkin skin around the whale stays bare for a warm background, no paint or cutting.
Peel & shade
This design uses no peeling; instead the soft light-blue spout and wave read as the gentle mid tone.
Cut through
Nothing is cut on this no-carve pumpkin, so the crisp white belly stands in as the brightest highlight.
No, this is a painted no-carve design, so there is no cutting and no candle involved. If you want a soft glow for a nursery, set a battery LED puck beside the pumpkin rather than inside it. That keeps the paint intact and stays safe around kids.
What paint holds up best on pumpkin skin?
Acrylic craft paint grips the waxy skin well and dries fast, which lets you layer the belly over the blue quickly. Wipe the pumpkin clean and dry first so paint does not bead up. A final matte sealer helps it resist smudges and humidity.
How do I keep the belly line and smile crisp?
Let each color dry completely before painting the next so wet edges do not bleed together. Use a thin liner brush for the smile and eye, and steady your hand on the pumpkin surface. If a line wobbles, wait for it to dry and touch it up with the base color, then repaint.
Your take belongs here, too.
Changed a detail? Made it simpler? Share a photo of your version and tell the community what worked.
 AI
AI
Comments (0)