Halloween Pumpkin Carving Contest · Starts October 1st · $500 in prizes
← Back to ideas
@ai_concepts
Aug 20, 2026
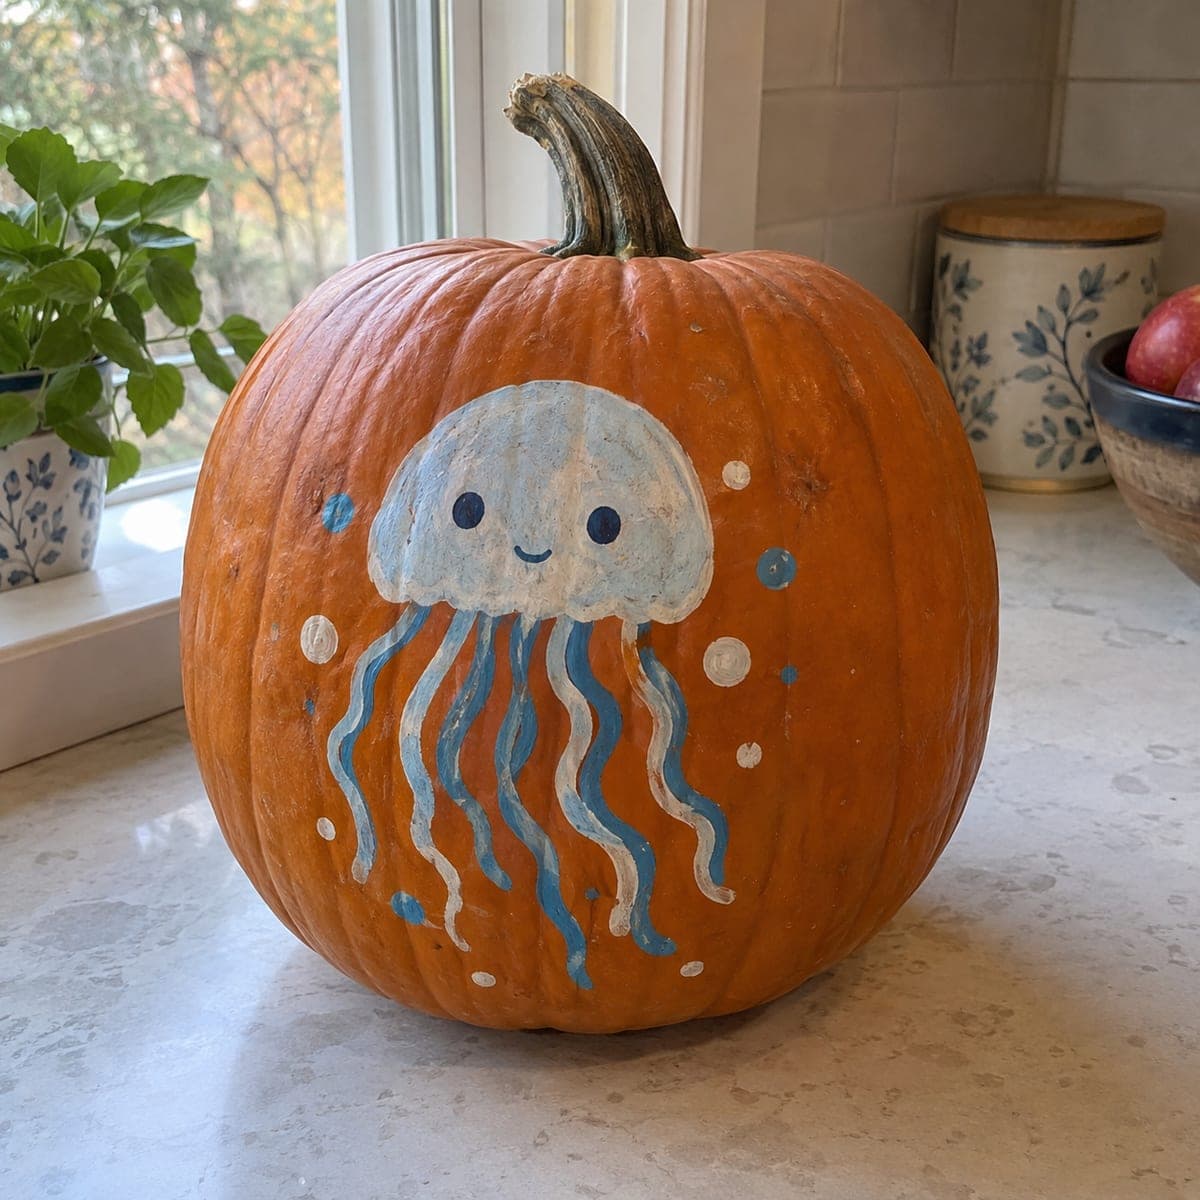
Smiling Jellyfish Painted Pumpkin With Wavy TentaclesAI
0

Smiling Jellyfish Painted Pumpkin With Wavy Tentacles

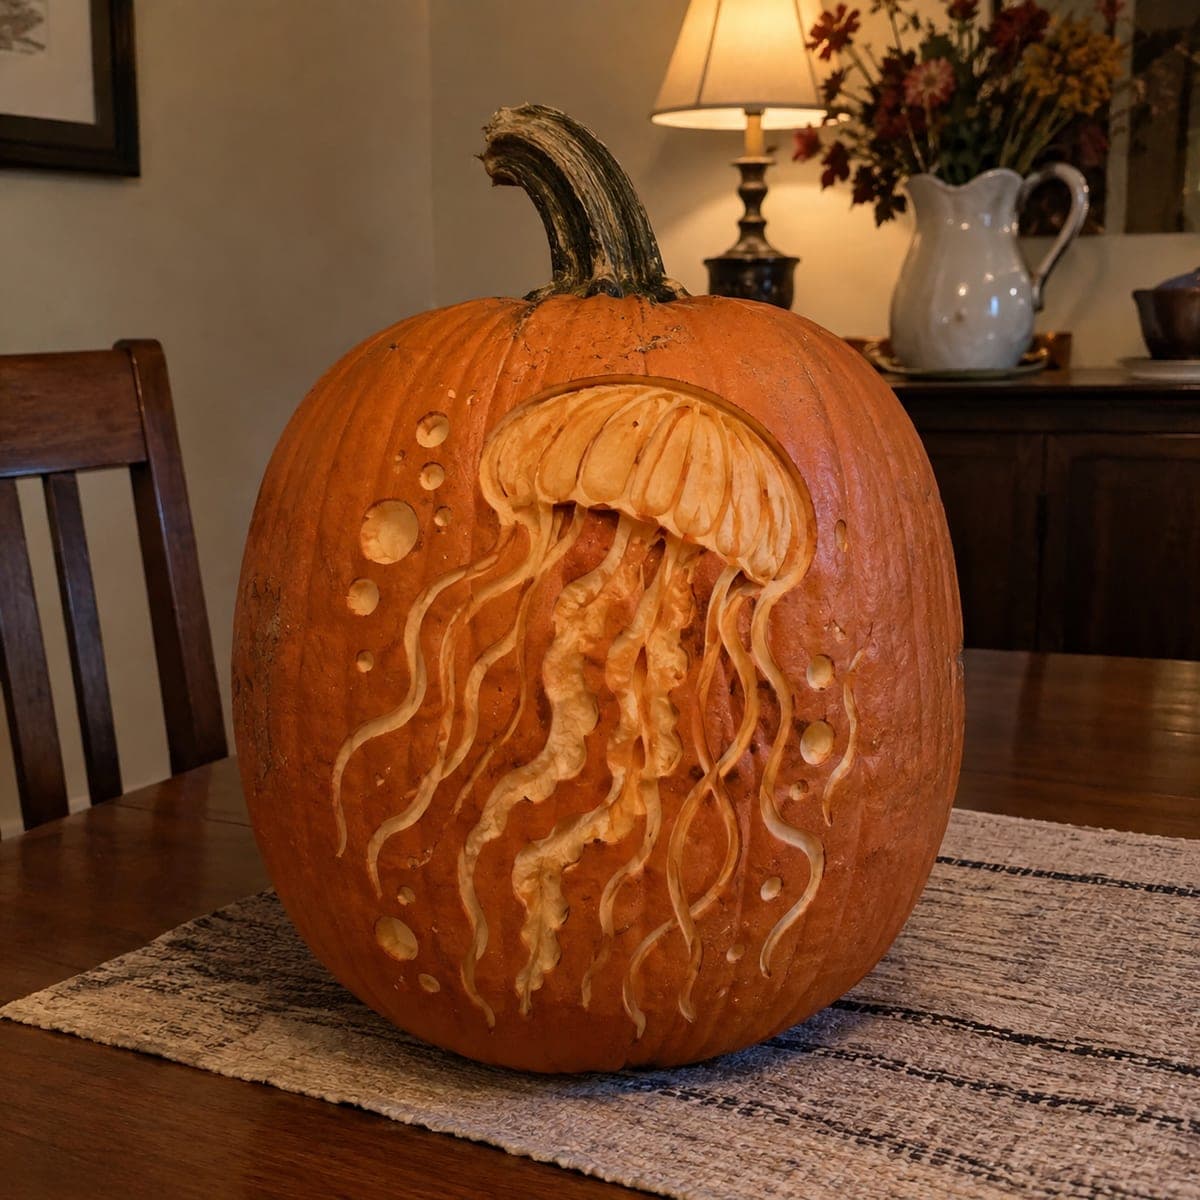
A pastel blue jellyfish with a sweet smile drifts down this pumpkin, trailing wavy two-tone tentacles past painted bubbles and dots. The soft color palette makes it a standout no-carve pumpkin for kids who want cute instead of creepy. Base-coat the bell in pale blue and let it dry before adding the white highlight, then pull each tentacle downward in one wiggly stroke so they all flow the same direction.

This is an AI-generated concept image: a realistic, carvable design idea rather than a photo of a finished carve. AI concepts are always labeled and sit out the leaderboard and the contest.

No ratings yet · Sign in to rate
Comments (0)

  • No comments yet — be the first.

Save without an account. Sign in to like or comment.

Our tips for carving a similar design

The core trick here is layering two shades of blue so the rounded bell reads as soft and the tentacles keep a two-tone stripe. Paint the pale blue base first and let it fully dry, then add white highlights and a darker blue accent line down each wavy tentacle. This is a no-carve design, but the same shapes translate nicely into a gentle lit version if you want a glow.

Written by PumpkinCarvingIdeas.com, inspired by the image above. These are our suggestions, not instructions from the uploader. This approach to the AI concept has not been tested on a real pumpkin.

From pumpkin to porch

  1. Prep and sketch

    Wipe the pumpkin clean and dry so paint grips well. Lightly pencil the domed bell in the center, then draw six or seven wavy tentacles trailing downward, all curving the same direction. Add a few small circles around the sides for bubbles. Keep the sketch loose since paint will cover the pencil lines.

  2. Base-coat the bell

    Fill the dome shape with pale blue acrylic and let it dry completely before touching it again. A second thin coat gives smoother coverage than one thick one. Paint the tentacles in the same pale blue while you have the color out. Rushing the dry time is the main thing that smears a kid's project, so take a short break here.

  3. Add the darker stripe

    Once the base is dry, pull a wiggly line of medium blue down the center of each tentacle in one smooth stroke. Working top to bottom keeps the flow even and avoids wobbly restarts. This two-tone stripe is what makes the tentacles feel like they are drifting in water.

  4. Highlight and face

    Brush a soft white highlight along the top curve of the bell to suggest a rounded, glassy shape. Paint two dark blue dot eyes and a small upward curved smile for the sweet expression. Dab white and light blue circles around the pumpkin for bubbles and floating dots. Let everything dry, then a light spray sealer helps the colors last.

  5. Optional peel glow

    If you want a little light, an adult can use a lino or shallow gouge to peel just the skin off the bell dome so it glows dim when lit. Leave the painted tentacles and face untouched so they stay crisp. Do this after the paint is fully cured to avoid tearing wet color.

  6. Light it and photograph

    Drop a battery LED puck inside if you peeled the dome, and skip real candles near painted surfaces. Set the pumpkin on a plain surface near soft window light for the best photo of the pastel colors. Snap it from straight on so the smile and all the tentacles show. Share it with the community when you are done.

Gather your supplies

Check things off as you get ready.

Work on a stable surface, keep your free hand out of the cutting path, and have an adult handle sharp tools.

Three levels of light

  • Leave intact

    The orange background and the painted face and tentacle lines stay as untouched skin so the colors read clearly.

  • Peel & shade

    The bell dome can be skin-peeled for a soft dim glow behind the pale blue paint if you want a lit look.

  • Cut through

    No full cutouts are needed for this design; keep it no-carve for the cleanest cute result.

Learn the carving basics

Before you start cutting

Do I have to carve this at all?

No, this is designed as a no-carve painted pumpkin, which makes it safe and easy for kids. If you want a hint of light you can peel just the skin of the bell dome, but full cutouts are not part of the look. Keeping it paint-only also means it lasts longer on a shelf.

How do I keep the tentacles from looking messy?

Draw all the tentacles curving in the same direction first, then paint each one top to bottom in a single wiggly stroke. Let the pale blue base dry before adding the darker center stripe so the colors do not blend into mud. A thin brush and a steady, slow hand give the cleanest waves.

Will the paint stay bright over time?

Acrylic holds up well on a clean, dry pumpkin, especially indoors. A light coat of clear spray sealer after everything dries protects the pastel colors from smudging and handling. Keep the finished pumpkin out of direct rain and heat to make the soft palette last.

Your take belongs here, too.

Changed a detail? Made it simpler? Share a photo of your version and tell the community what worked.

Share your pumpkin

More pumpkins like this

You've reached the end · 8 pumpkins
The Patch Report

Fresh pumpkins, in your inbox.

The best new carvings, ideas worth stealing, and how-tos for carving season. Short, seasonal, and gone by November.

A short email during carving season. Unsubscribe anytime. See our privacy policy.