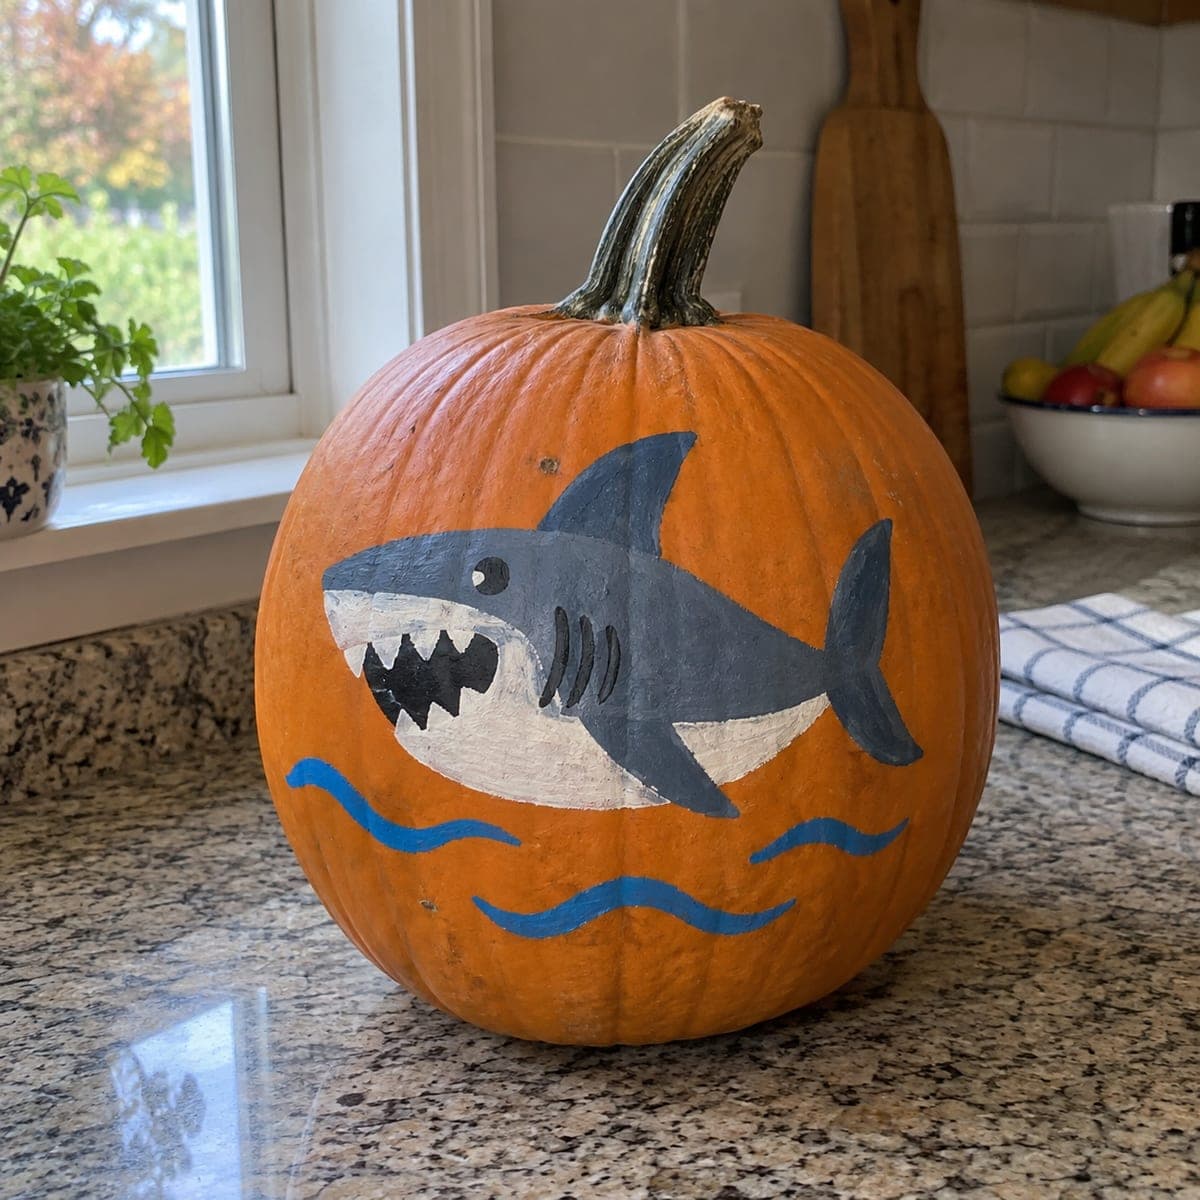
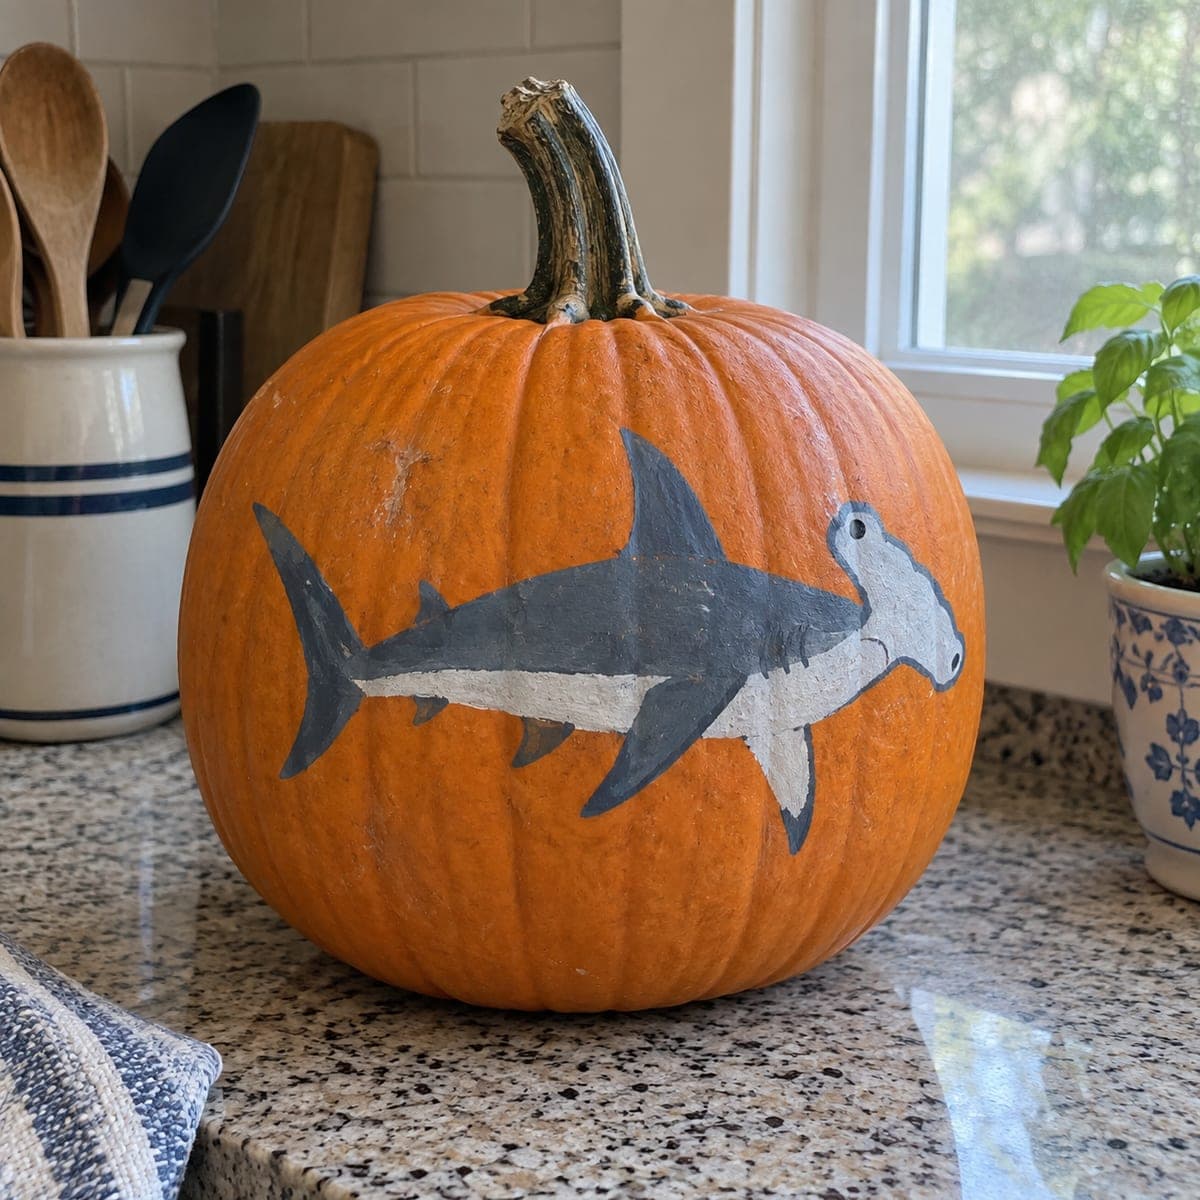
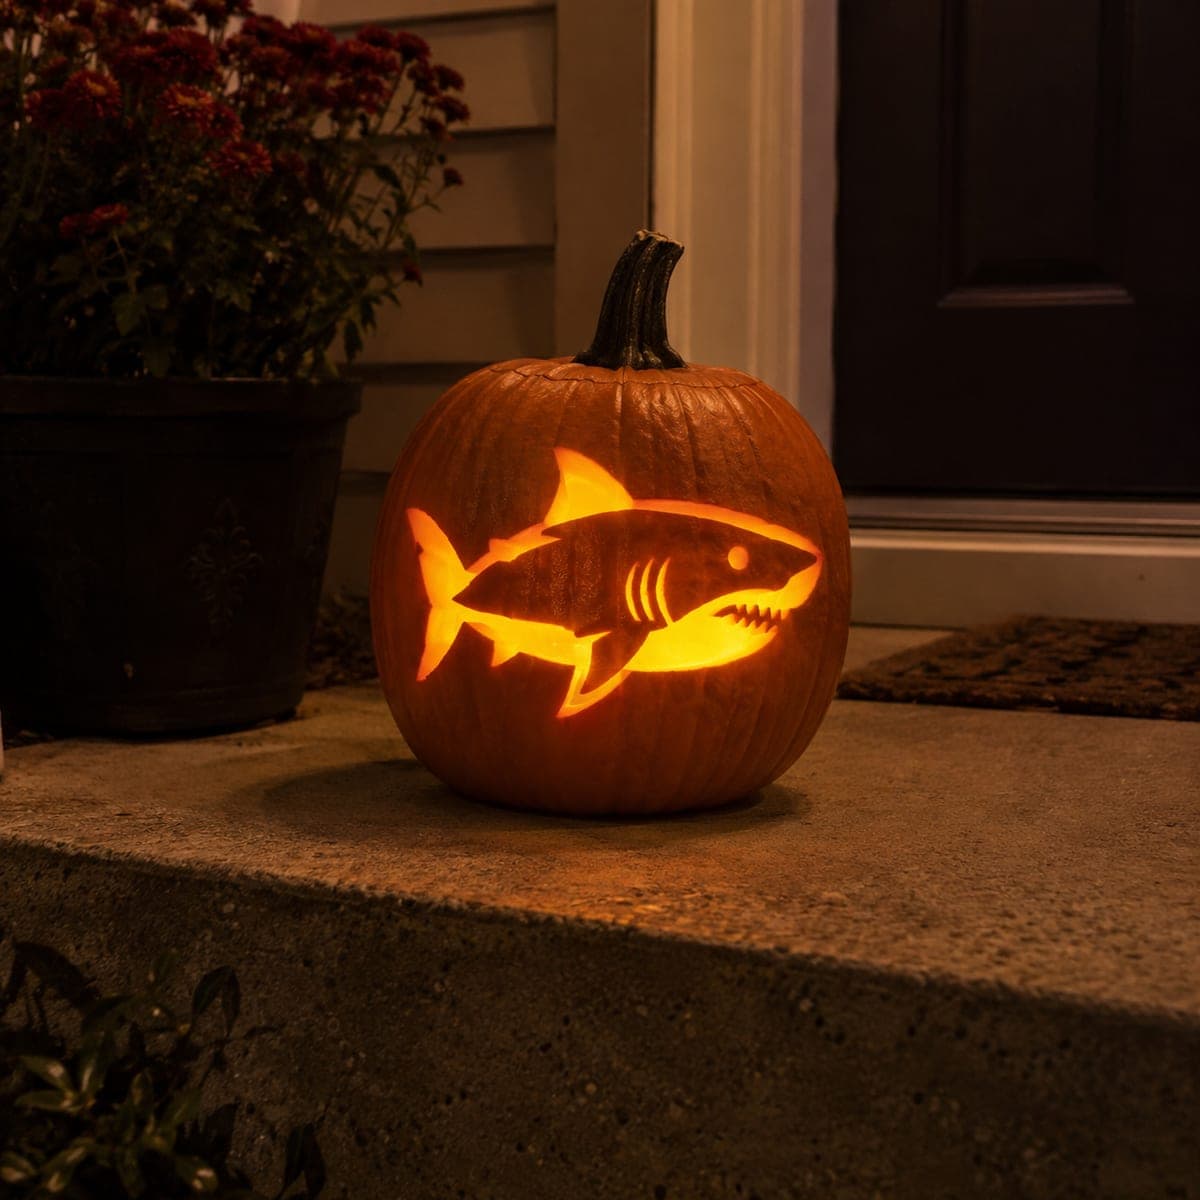
A friendly great white shark cruises over painted blue waves on this no-carve pumpkin, showing off a mouthful of cartoon teeth and slate-gray fins. Bold outlines and just four colors keep the project quick and toddler-safe. Chalk the shark first so the proportions feel right, paint the gray body and white belly, then add the black mouth, gills, and wavy water lines once everything underneath is dry.
This is an AI-generated concept image: a realistic, carvable design idea rather than a photo of a finished carve. AI concepts are always labeled and sit out the leaderboard and the contest.
The whole design leans on a simple layering trick: block in the big gray body and white belly first, let them dry, then add the black mouth, gills, and blue waves right on top so the dark lines pop against the lighter shapes. Because nothing is cut, you can chalk the shark, wipe it off, and reposition until the proportions feel right. Keep the palette to four colors so the cartoon look stays clean and quick.
Written by PumpkinCarvingIdeas.com, inspired by the image above. These are our suggestions, not instructions from the uploader. This approach to the AI concept has not been tested on a real pumpkin.
From pumpkin to porch
1
Clean and dry the pumpkin
Pick a smooth pumpkin with one broad, flat-ish face for the shark. Wipe it down with a damp cloth to remove dirt and the waxy film, then dry it fully. Acrylic paint grips a clean, dry surface far better and resists peeling. Set it on a towel so it will not roll while you work.
2
Chalk the shark first
Sketch the shark lightly in chalk or a washable pencil, starting with the long teardrop body, then the tall top fin, side fin, and tail. Place it so the belly sits above where your blue waves will go. Step back and check the proportions, since chalk wipes off easily if you want to redraw. This planning step is what keeps the cartoon shape from looking cramped.
3
Paint the gray body and white belly
Fill the top two thirds of the shark with slate gray acrylic and let it dry completely. Paint the lower belly and the front of the face in off-white, feathering a soft line where gray meets white. Two thin coats look smoother and cover better than one thick one. Wait until both colors are dry to the touch before adding any detail on top.
4
Add the black mouth, eye, and gills
Once the base is dry, paint the open mouth in black and leave small white triangles for the cartoon teeth, or dab them in afterward with a fine brush. Add the round eye and the short curved gill slits behind the face. Keep the outlines bold and simple, since crisp dark shapes read best from across the room. Let this layer dry before touching the area again.
5
Paint the blue waves last
Draw two or three wavy blue lines across the lower pumpkin so the shark looks like it is swimming. Use steady, relaxed strokes and keep the waves roughly parallel. Because these sit lowest on the design, painting them last means you never smear the shark while reaching past it. A quick coat of clear matte sealer over everything, once dry, helps the paint last through Halloween.
6
Style and photograph it
Set the finished pumpkin on a counter or porch step with soft, even light so the gray and white shapes stay sharp. A plain background lets the shark be the star. Snap your photo in daylight or under warm indoor light, and share it with the community. Since nothing is cut, this pumpkin stays sturdy and toddler-safe for display.
Gather your supplies
Check things off as you get ready.
Work on a stable surface, keep your free hand out of the cutting path, and have an adult handle sharp tools.
Three levels of light
Leave intact
The orange background and the entire painted shark stay untouched, so the pumpkin reads by daylight rather than by glow.
Peel & shade
If you want a soft evening effect, you could lightly shave the white belly area so it warms to a dim orange when lit from behind.
Cut through
For a lit version, you could carve a small hole in the back or cut tiny bubble dots near the waves and drop in an LED, keeping any openings small so the painted face stays intact.
No, this is a fully painted, no-carve pumpkin, which is why it works well for toddlers and busy afternoons. If you later want a glow, add one small LED opening in the back rather than cutting the front. Keeping it uncarved also means the pumpkin lasts longer on display.
What paint holds up best on a pumpkin?
Acrylic craft paint is the easiest choice because it dries fast, layers cleanly, and comes in every color you need. Apply two thin coats instead of one heavy one for smooth, even shapes. A light coat of clear matte sealer at the end protects the colors from smudging.
How do I keep the cartoon teeth looking crisp?
Paint the black mouth first and let it dry, then dab small white triangles on top with a fine brush for clean, even teeth. Working dark-then-light keeps the edges sharp and hides any wobbly lines underneath. If a tooth looks off, let it dry and touch it up rather than fixing it wet.
Your take belongs here, too.
Changed a detail? Made it simpler? Share a photo of your version and tell the community what worked.
 AI
AI
Comments (0)