Halloween Pumpkin Carving Contest · Starts October 1st · $500 in prizes
← Back to ideas
@ai_concepts
Jul 26, 2026
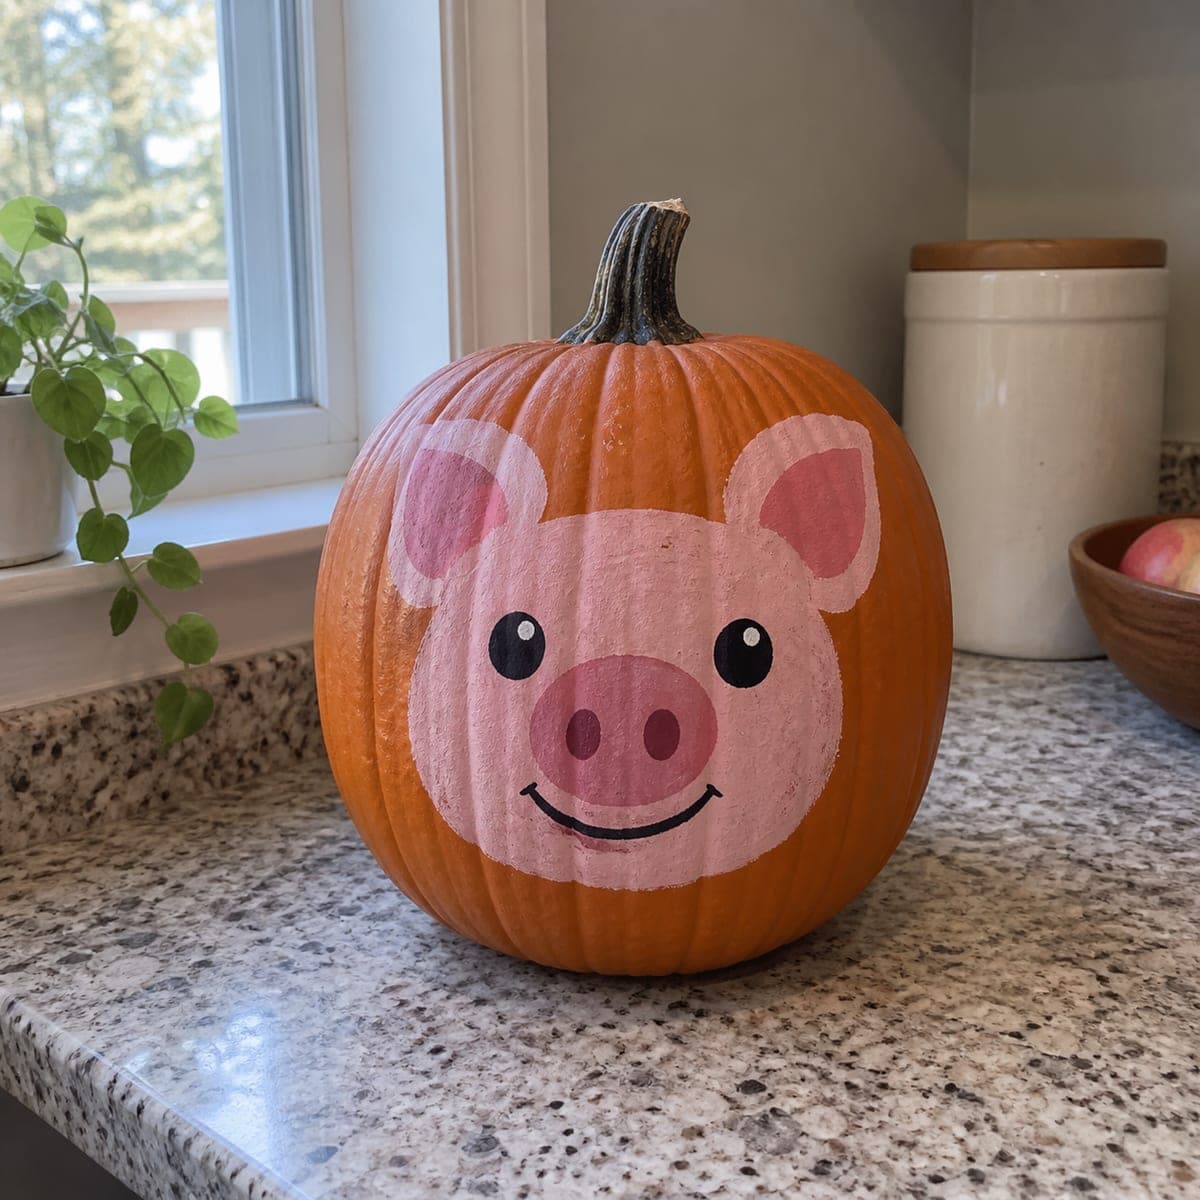
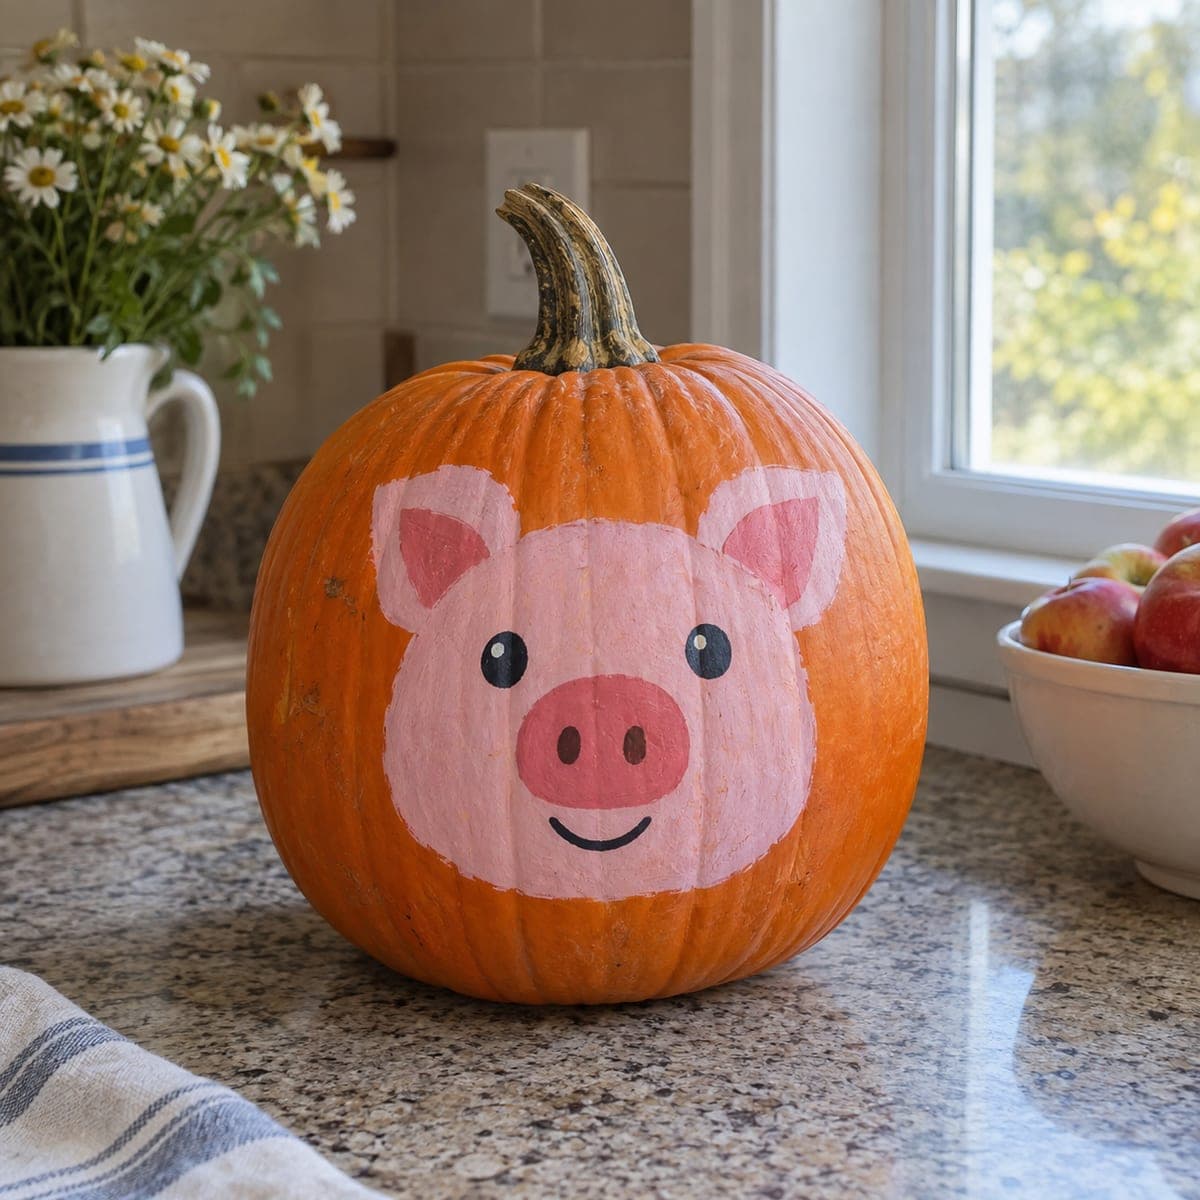
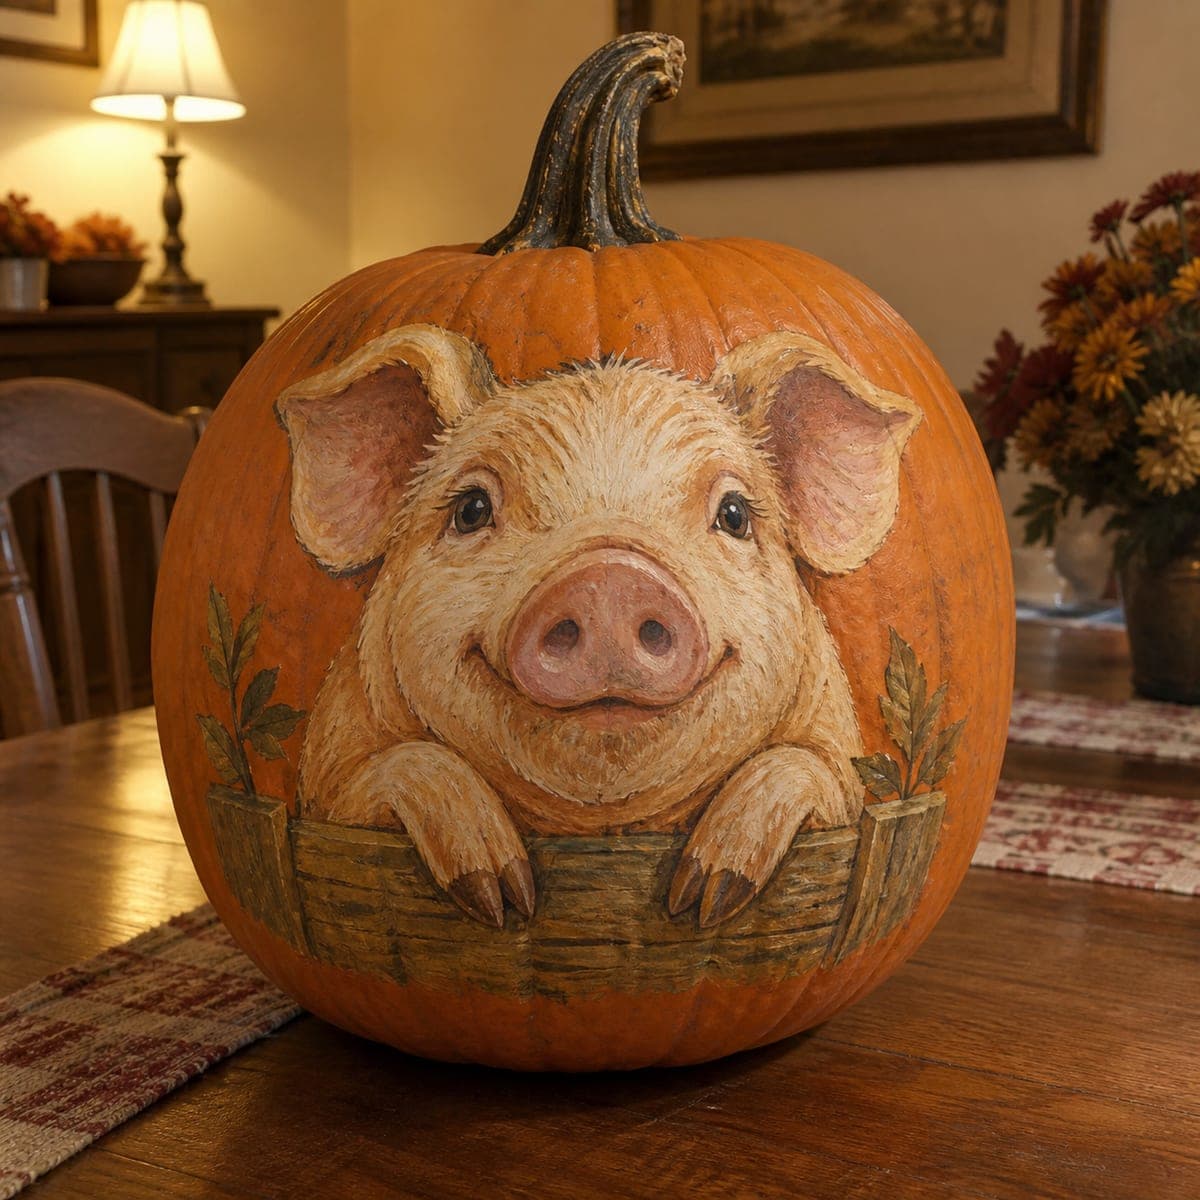
Smiling Pig Face Sculpted No-Carve PumpkinAI
0

Smiling Pig Face Sculpted No-Carve Pumpkin

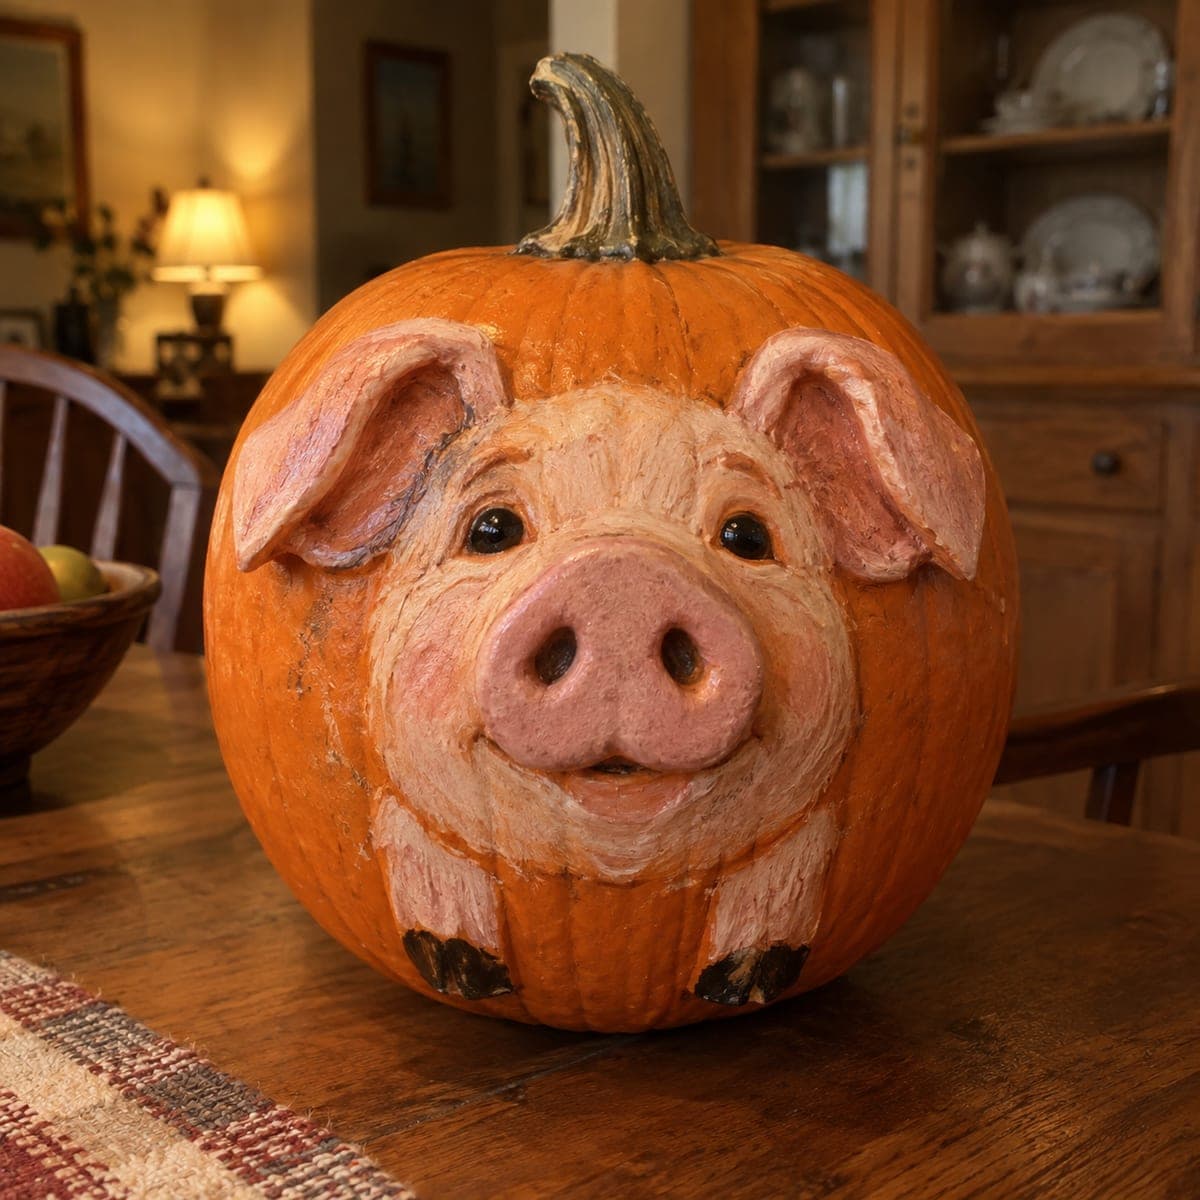
A pink pig face with rounded ears, a snout full of nostrils, and a wide grin is sculpted onto a pumpkin using applied clay and paint in a three-dimensional style that goes beyond flat painting. The ears are built up from the surface, and the pink tones are blended into the orange background with careful shading. This no-carve pumpkin idea is ideal for farm-themed fall displays or kids who love animal crafts. Air-dry clay or foam clay works well for the protruding ears and snout; let it cure fully before painting.

This is an AI-generated concept image: a realistic, carvable design idea rather than a photo of a finished carve. AI concepts are always labeled and sit out the leaderboard and the contest.

No ratings yet · Sign in to rate
Comments (0)

  • No comments yet — be the first.

Save without an account. Sign in to like or comment.

Our tips for carving a similar design

The core trick here is relief sculpting: instead of cutting into the pumpkin, you build the ears and snout up off the surface with air-dry or foam clay, then blend soft pink into the orange skin with paint. Keep the pumpkin whole so it lasts, and treat it like a little sculpture rather than a lantern. Plan the face low and centered so the round belly of the pumpkin becomes the pig's cheeks.

Written by PumpkinCarvingIdeas.com, inspired by the image above. These are our suggestions, not instructions from the uploader. This approach to the AI concept has not been tested on a real pumpkin.

From pumpkin to porch

  1. Clean and sketch the face

    Wipe the pumpkin down with a damp cloth and let it dry so paint and clay will stick. Lightly pencil the pig's face: two floppy ears near the top, big round cheeks, a wide snout in the center, and a grin below it. Keep the snout roughly at the middle of the pumpkin where the surface is flattest. Step back and check that both ears sit at the same height.

  2. Sculpt the raised snout and ears

    Roll and shape air-dry or foam clay into a rounded snout disk and two triangular ears with folded tips. Press each piece firmly onto the pumpkin and smooth the edges down so they blend into the skin instead of sitting on top like stickers. Keep the ears fairly thick at the base so they stay attached and do not snap off as the clay cures. Poke two nostril dents into the snout while the clay is still soft.

  3. Let the clay cure fully

    Set the pumpkin somewhere cool and dry and leave the clay to harden all the way through before you touch it again. Rushing this step is the most common way ears crack or slump, so give it the full time the clay package recommends. Air-dry clay can take a day or more depending on thickness. Do a gentle press test on a hidden spot to confirm it is solid.

  4. Base coat the pink areas

    Paint the snout, ears, cheeks, and a soft muzzle patch with a light pink acrylic. Feather the outer edges of the pink into the orange with a nearly dry brush so there is no hard line. Let this dry, then build up a second thin coat where you want the pig to look fullest, like the tip of the snout and the tops of the cheeks. Thin coats blend better than one thick one.

  5. Shade, highlight, and add eyes

    Dry-brush a deeper rose into the ear centers and under the snout for depth, then add white highlights on the snout tip and cheeks to make them look rounded. Paint two dark nostril holes and a curved grin, keeping the mouth line small and cheerful. Add two glossy black eyes with a tiny white dot in each to catch the light. Paint small dark hooves near the bottom if you want the little feet shown in the reference.

  6. Seal and stage the display

    Once everything is dry, brush on a clear matte or satin acrylic sealer to protect the paint and clay from moisture. Set the pig on a table or porch shelf with the stem as its little topknot. Because this is a no-carve, sculpted pumpkin, it is not lit from inside, so place a warm LED lamp or string lights nearby instead. Snap your photo in soft light to show off the shading.

Gather your supplies

Check things off as you get ready.

Work on a stable surface, keep your free hand out of the cutting path, and have an adult handle sharp tools.

Three levels of light

  • Leave intact

    The orange pumpkin skin stays bare around the outside as the background and the pig's surrounding color.

  • Peel & shade

    There is no peeling on this design, so the softly blended pink cheeks and muzzle stand in for the mid tone, feathered gently into the orange.

  • Cut through

    Nothing is cut through, since this is a whole no-carve pumpkin; the brightest accents come from white paint highlights on the snout and cheeks.

Learn the carving basics

Before you start cutting

How do I keep the sculpted ears from falling off?

Press the clay onto clean, dry pumpkin skin and smooth the base outward so it grips a wide area rather than balancing on a small point. Keep the ears thick where they meet the pumpkin and let the clay cure completely before painting or moving the pumpkin. Foam clay is lighter than heavy air-dry clay and puts less strain on the joint.

Can I light this pumpkin from the inside?

No, this is a no-carve sculpture with no opening, so an inside light would have nowhere to shine out. Display it with a nearby warm LED lamp or a ring of string lights instead. That keeps the pumpkin intact and lets the painted shading show up nicely.

What if I do not want to sculpt clay at all?

You can get a similar smiling pig with flat painting alone by shading the pink onto the surface and skipping the raised ears and snout. It reads a little flatter but is much faster and very kid friendly. If you still want some dimension, glue on felt or craft foam ears rather than clay.

Your take belongs here, too.

Changed a detail? Made it simpler? Share a photo of your version and tell the community what worked.

Share your pumpkin

More pumpkins like this

You've reached the end · 8 pumpkins
The Patch Report

Fresh pumpkins, in your inbox.

The best new carvings, ideas worth stealing, and how-tos for carving season. Short, seasonal, and gone by November.

A short email during carving season. Unsubscribe anytime. See our privacy policy.