Halloween Pumpkin Carving Contest · Starts October 1st · $500 in prizes
← Back to ideas
@ai_concepts
Aug 27, 2026
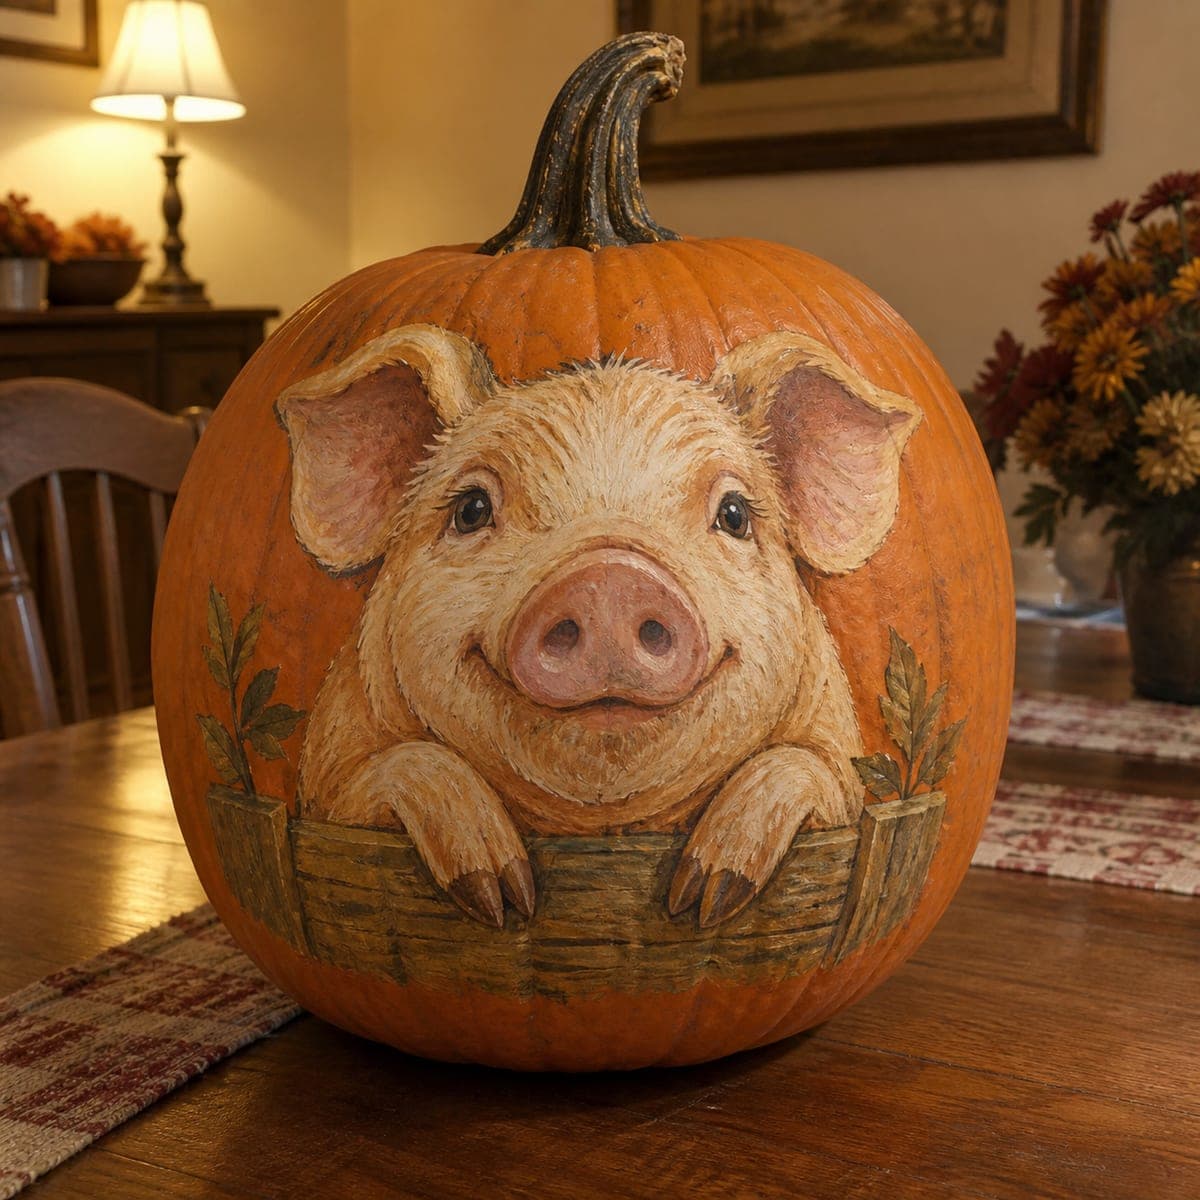
Pig Peeking Over a Fence No-Carve PumpkinAI
0

Pig Peeking Over a Fence No-Carve Pumpkin

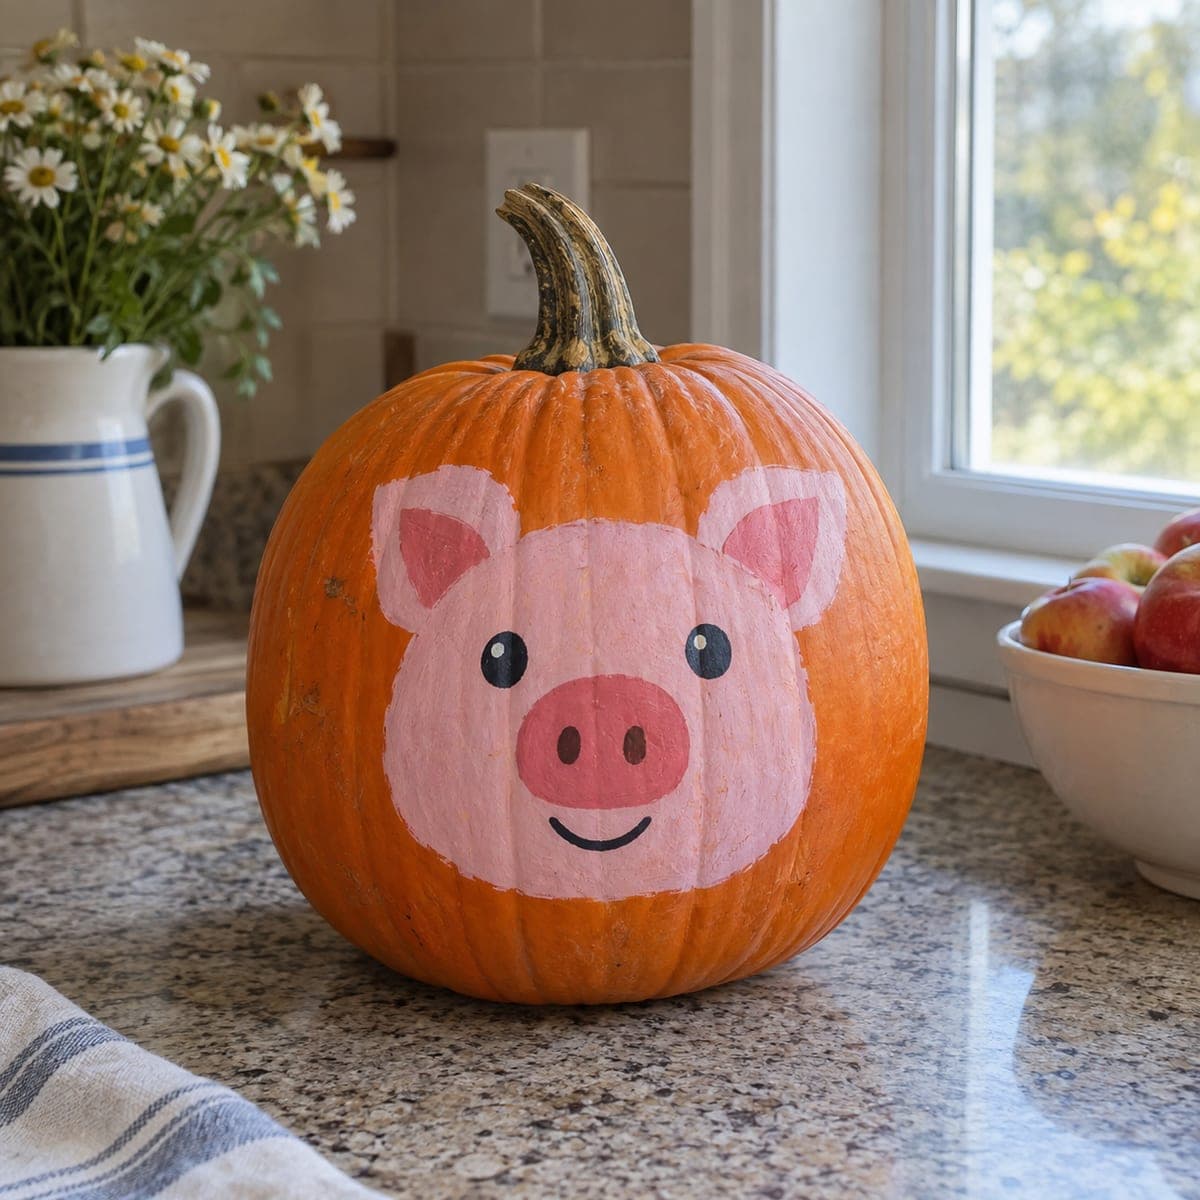
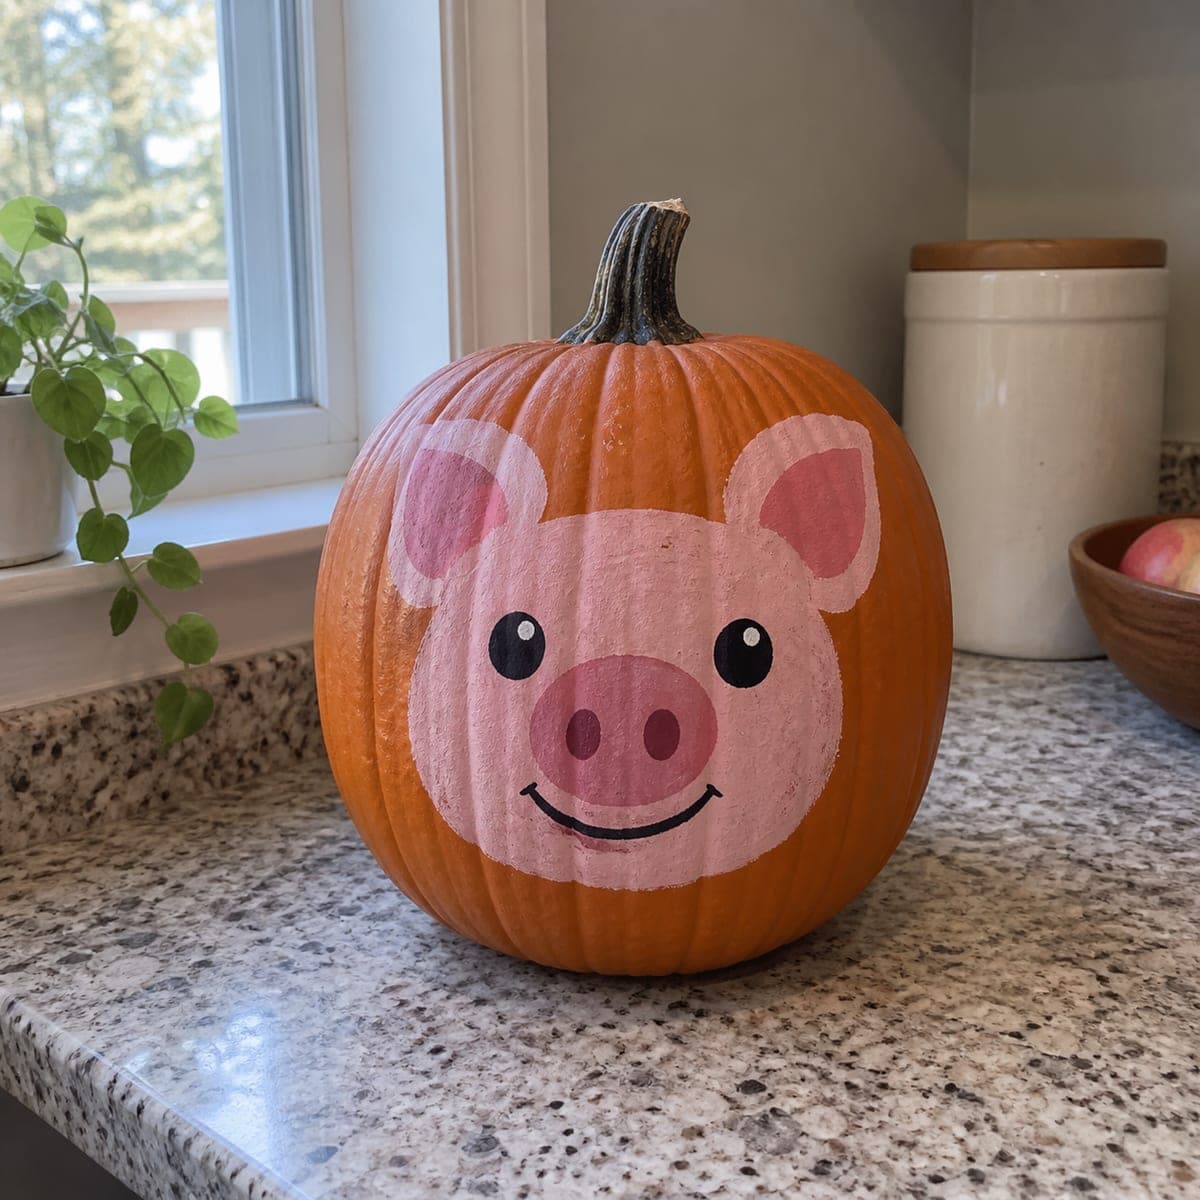
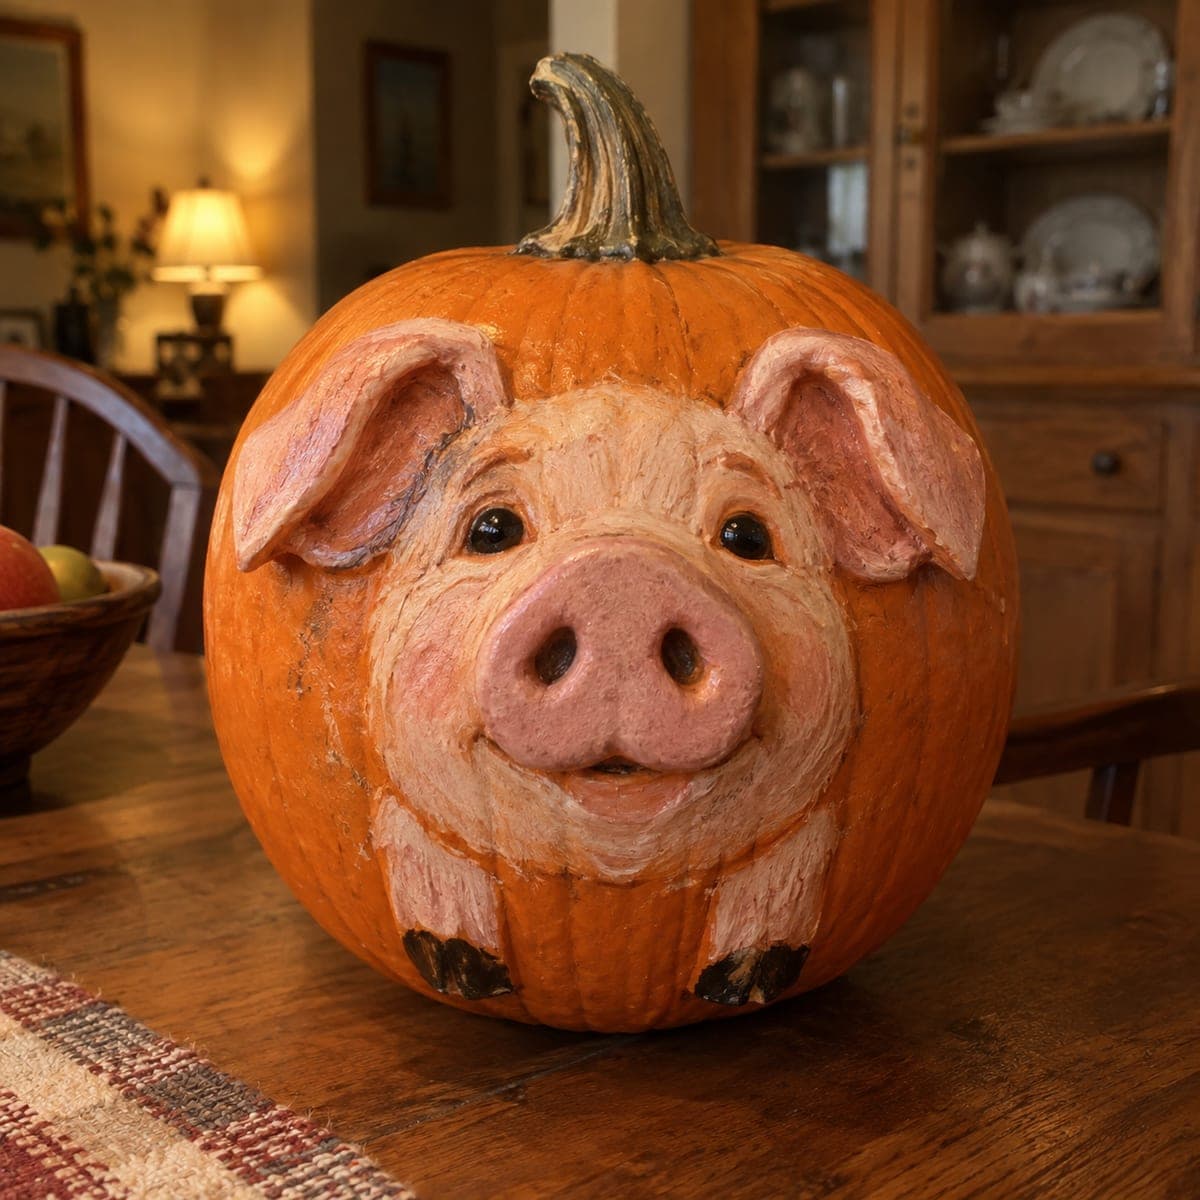
A rosy pig props its trotters over a painted fence board on this cheerful no-carve pumpkin, flanked by sketched corn leaves. The whole barnyard scene is acrylic paint on an uncut shell, so it keeps for weeks indoors. Base-coat the pig in cream, blush the ears, cheeks, and snout in pink, then outline sparingly in brown so it reads like folk art.

This is an AI-generated concept image: a realistic, carvable design idea rather than a photo of a finished carve. AI concepts are always labeled and sit out the leaderboard and the contest.

No ratings yet · Sign in to rate
Comments (0)

  • No comments yet — be the first.

Save without an account. Sign in to like or comment.

Our tips for carving a similar design

The core trick here is treating the pumpkin's own orange shell as the background of a little folk-art painting, with the pig's trotters draped over a fence board to add depth. Everything is acrylic paint on an uncut pumpkin, so the shape stays strong and the pumpkin lasts for weeks indoors. Work from a cream base coat up through soft pink blushing and finish with sparing brown outlines so the whole scene reads like a hand-painted barn sign.

Written by PumpkinCarvingIdeas.com, inspired by the image above. These are our suggestions, not instructions from the uploader. This approach to the AI concept has not been tested on a real pumpkin.

From pumpkin to porch

  1. Pick and prep the canvas

    Choose a tall, smooth pumpkin with as few ribs as possible across the front so your painting sits flat. Wipe the shell down with a damp cloth and let it dry fully, since paint grips better on clean skin. Sketch the pig, the fence board, and the two corn-leaf sprigs lightly in pencil first. Keep the pig centered and reserve the lower third for the fence so the trotters have somewhere to rest.

  2. Block in the big shapes

    Base-coat the pig's head and body in cream acrylic, using two thin coats rather than one thick one so it dries even. Paint the fence board in a weathered tan and the corn leaves in a muted sage green. Let each color dry before you add the next so edges stay crisp. Do not worry about detail yet, you are just setting the map.

  3. Add the pink blush

    Mix a soft pink and lightly blush the inner ears, the cheeks, and the snout, keeping the color concentrated in the center and fading it outward. Dab with a nearly dry brush so the pink melts into the cream instead of forming hard lines. Add a slightly deeper rose inside the nostrils and ear hollows for warmth. Step back often to check that the face still looks gentle and rounded.

  4. Build fur and wood texture

    Load a fine brush with thinned brown and pull short strokes outward along the pig's edges to suggest fuzzy fur. Use the same brown to streak wood grain along the fence board and to shade under the trotters. Add a touch of white highlight down the snout and on the eyes so they catch the light. These small strokes are what give the folk-art look its charm.

  5. Outline sparingly and detail the eyes

    Go around the ears, eyes, snout, and trotters with a thin brown line, lifting the brush so the outline stays delicate rather than heavy. Paint the eyes with a dark brown iris, a black pupil, and one tiny white dot each for a lively sparkle. Add small hooves at the tips of the trotters and a few brown notches on the fence. Less is more here, so stop before it looks busy.

  6. Seal and stage the photo

    Once everything is bone dry, brush on a thin coat of matte acrylic sealer to protect the paint from smudges and humidity. Set the pumpkin on a table runner with warm lamp light nearby, the way this concept image is styled, since no-carve pumpkins show best in soft indoor light. Tuck a small LED tea light behind or beside it if you want a glow, never a flame near paint. Snap your photo from straight on so the pig looks right at the camera.

Gather your supplies

Check things off as you get ready.

Work on a stable surface, keep your free hand out of the cutting path, and have an adult handle sharp tools.

Three levels of light

  • Leave intact

    The surrounding orange shell stays bare and untouched as the natural background around the pig and fence.

  • Peel & shade

    Since this is a no-carve design there is no peeling, but you could lightly scuff and paint thinned cream to fake a soft glow behind the pig if you want extra depth.

  • Cut through

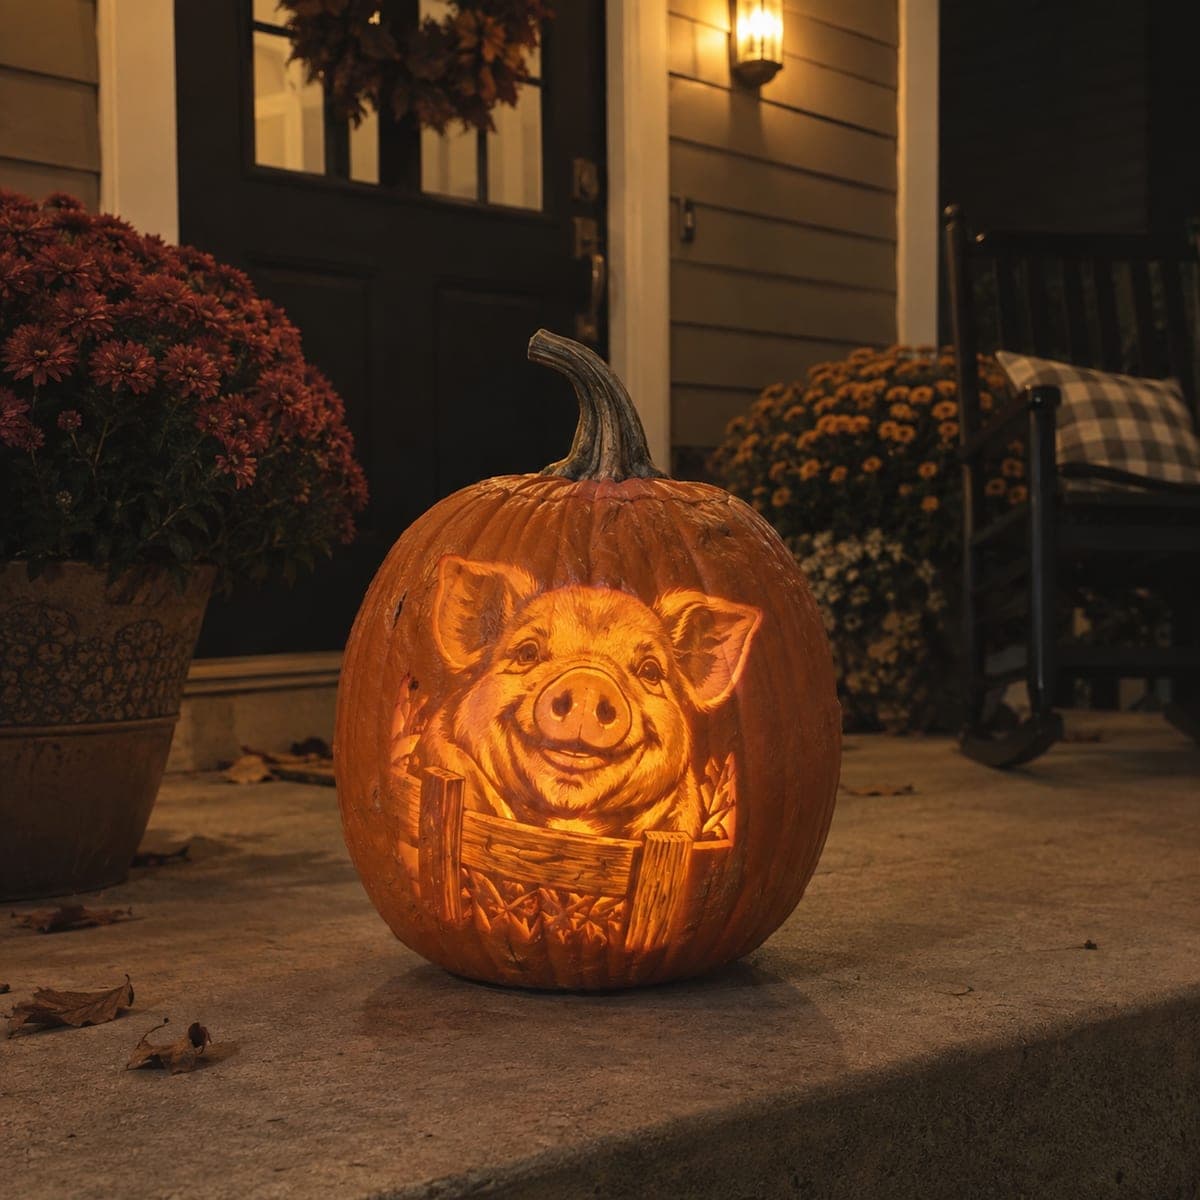
    No cutouts are needed at all; if you crave a lit accent, carve only two tiny knothole dots in the fence board last and back them with an LED.

Learn the carving basics

Before you start cutting

Do I really not carve anything on this one?

Correct, this is a painted no-carve design, so the pumpkin shell stays whole and sturdy. That is what lets it last for weeks indoors instead of caving in after a few days. If you want a touch of glow you can add one or two tiny knothole cutouts in the fence, but the pig itself should stay solid paint.

What paint holds up best on a pumpkin skin?

Acrylic craft paint is the go-to because it bonds to the waxy shell and dries fast. Apply it in two thin coats rather than one heavy layer so it does not pool in the ribs. Finish with a matte acrylic sealer to guard against smudges and indoor humidity.

How do I keep the pig looking cute and not stiff?

Keep your brown outlines thin and sparing, and let the pink blush fade softly into the cream instead of drawing hard borders. Round cheeks, a slightly upturned mouth, and bright dotted eye highlights sell the friendly expression. Step back frequently, since folk-art charm comes from loose, warm strokes rather than perfect precision.

Your take belongs here, too.

Changed a detail? Made it simpler? Share a photo of your version and tell the community what worked.

Share your pumpkin

More pumpkins like this

You've reached the end · 8 pumpkins
The Patch Report

Fresh pumpkins, in your inbox.

The best new carvings, ideas worth stealing, and how-tos for carving season. Short, seasonal, and gone by November.

A short email during carving season. Unsubscribe anytime. See our privacy policy.