Halloween Pumpkin Carving Contest · Starts October 1st · $500 in prizes
← Back to ideas
@ai_concepts
Aug 5, 2026
Smiling Cartoon Pig Etched PumpkinAI
0

Smiling Cartoon Pig Etched Pumpkin

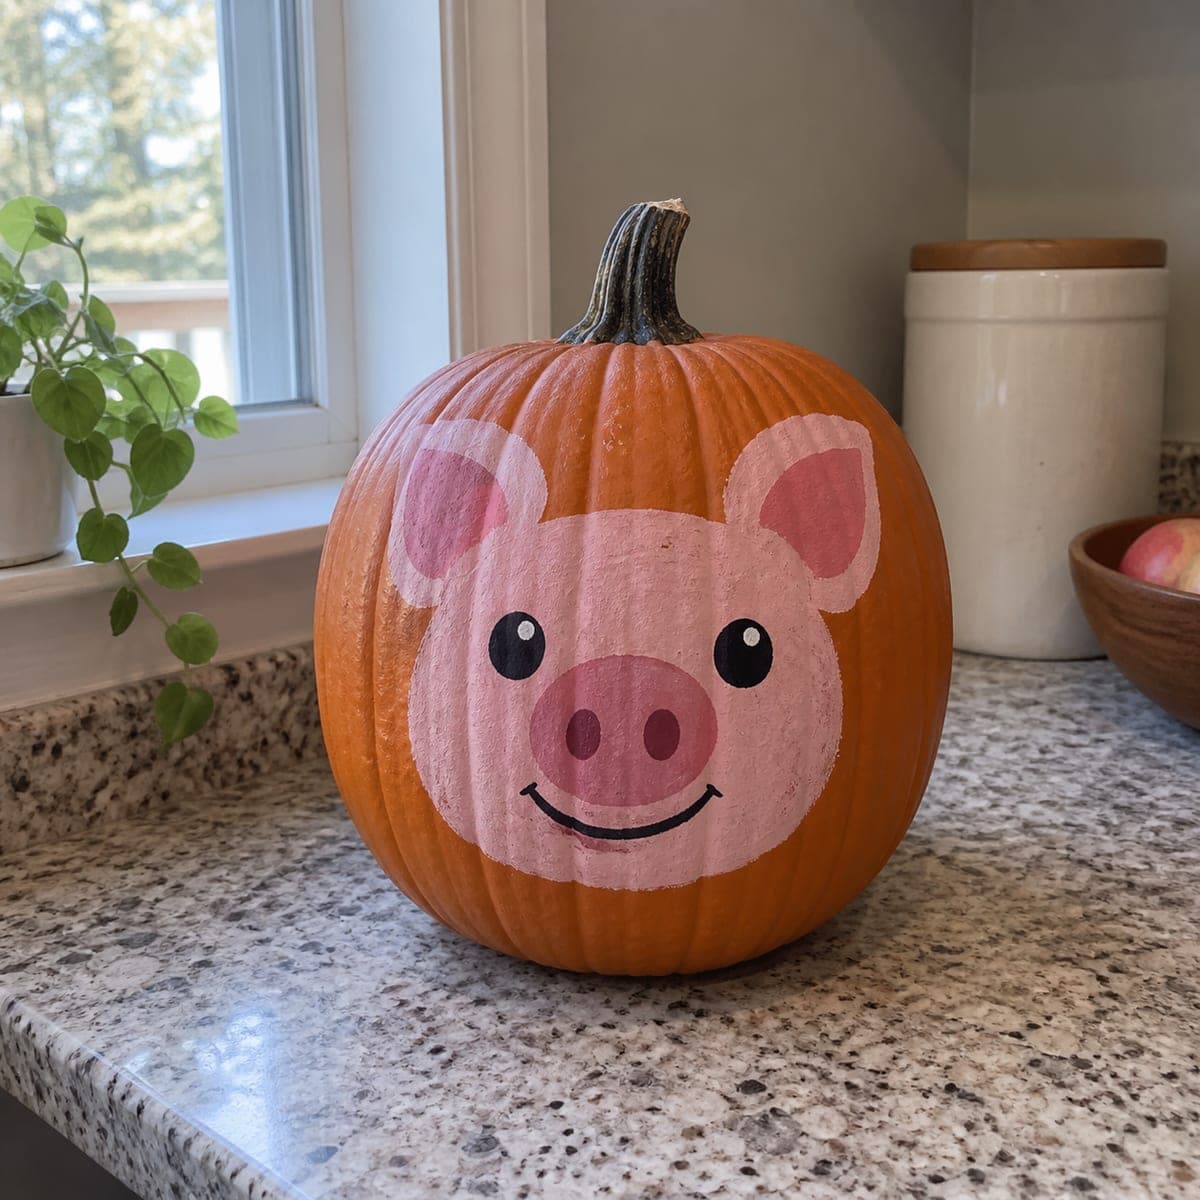
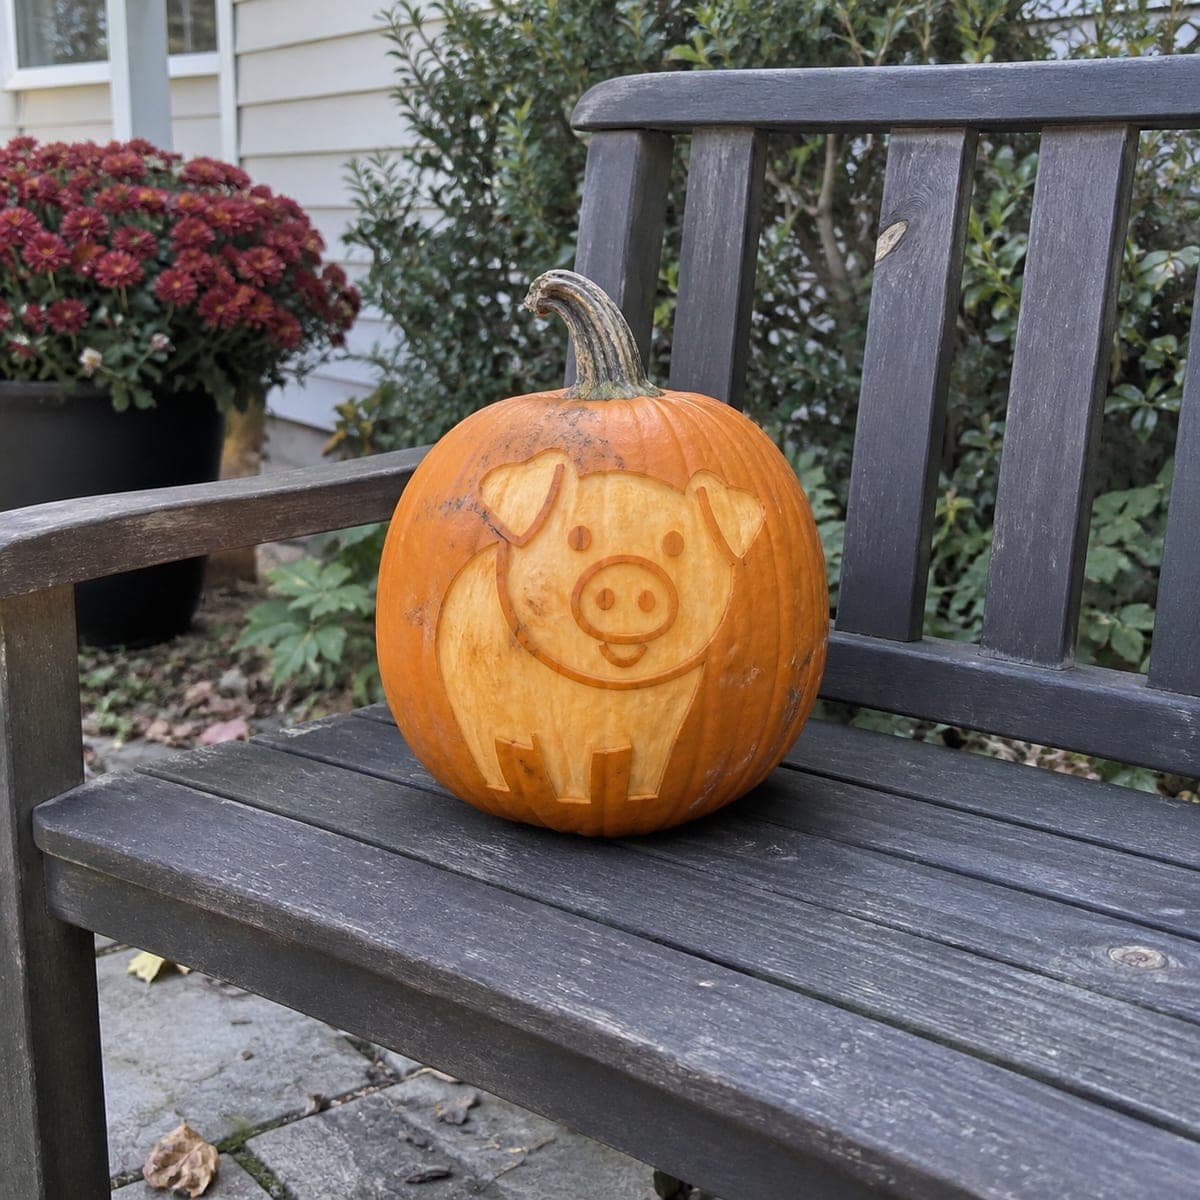
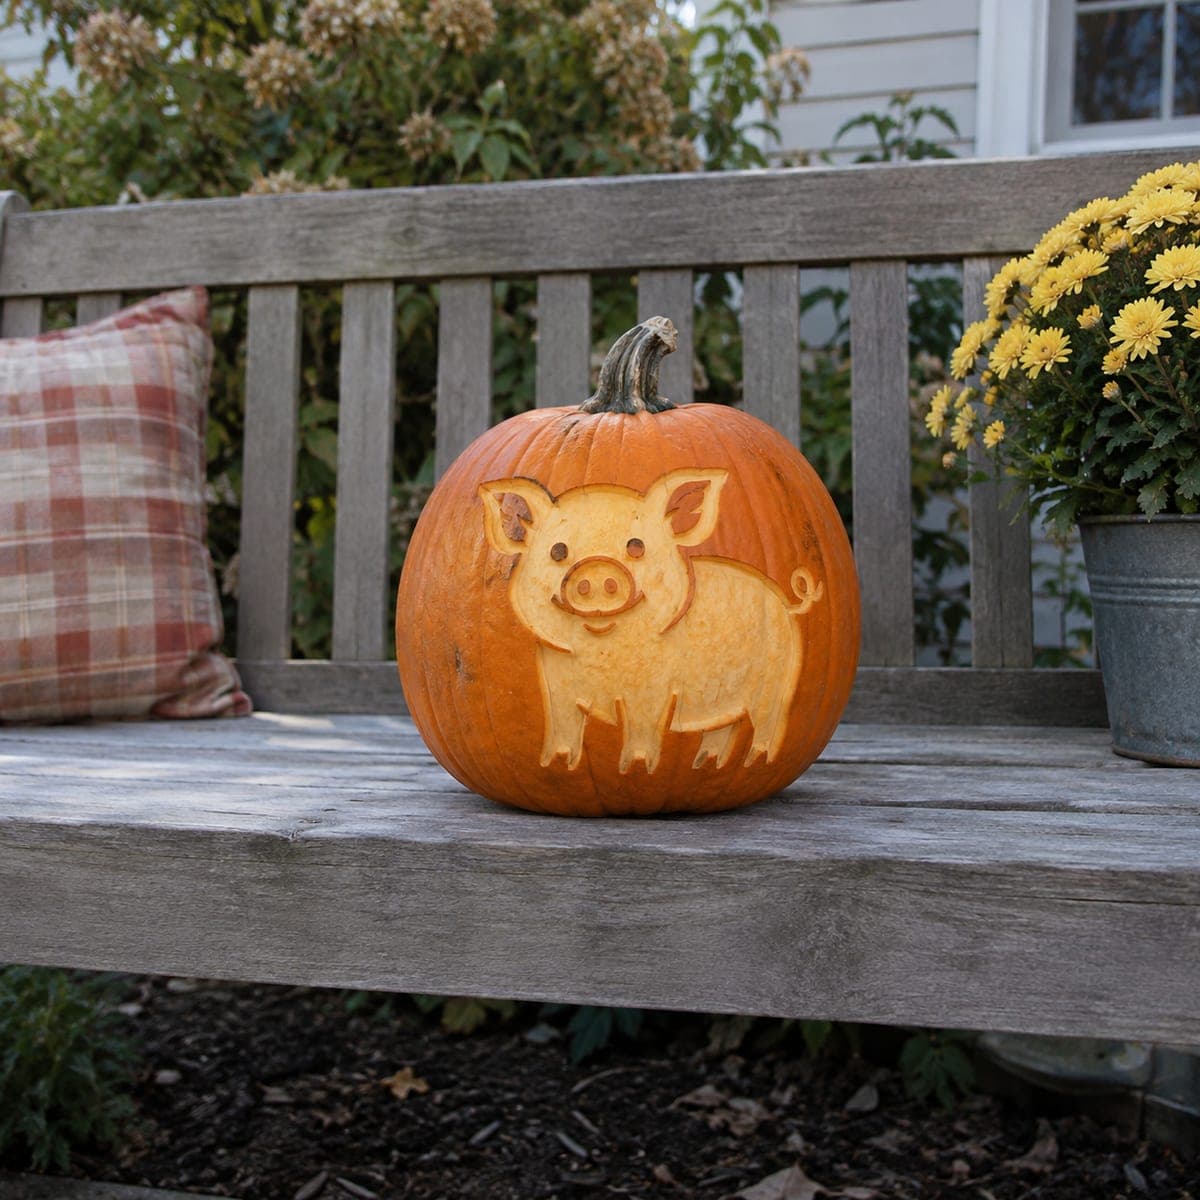
A grinning cartoon pig with floppy ears and a round snout is peeled into the skin of this small pumpkin, no cutting through required. Because everything sits at one shallow depth, a linoleum cutter or even a sturdy spoon handles the whole design. Trace a printed template, remove the skin inside the pig shape, and score the smile, nostrils, and hooves as thin lines. A fun farm-animal option for kids who are not ready for knives.

This is an AI-generated concept image: a realistic, carvable design idea rather than a photo of a finished carve. AI concepts are always labeled and sit out the leaderboard and the contest.

No ratings yet · Sign in to rate
Comments (0)

  • No comments yet — be the first.

Save without an account. Sign in to like or comment.

Our tips for carving a similar design

The whole charm here comes from one shallow depth. You peel away only the outer skin inside the pig shape so it glows soft orange against the dark, untouched background, then score thin lines for the smile, nostrils, and hooves. Nothing is cut clean through, which makes this a safe, forgiving project.

Written by PumpkinCarvingIdeas.com, inspired by the image above. These are our suggestions, not instructions from the uploader. This approach to the AI concept has not been tested on a real pumpkin.

From pumpkin to porch

  1. Pick a small pumpkin and print your template

    Choose a round, smooth pumpkin so the pig sits flat on the front. Print a cartoon pig outline sized to fill the belly of the pumpkin. Wipe the surface clean and dry so the template will stay put. A rounder pumpkin also gives you a nice even face for shading.

  2. Transfer the pig outline

    Tape the template to the front and go over every line with a poking tool or a dull pen, leaving small dots through the paper into the skin. Peel the paper and connect the dots lightly with a washable marker if you want a clearer guide. Include the ear shapes, snout circle, smile, and the little hoof notches. Take your time here since these guide lines shape the whole design.

  3. Peel the skin inside the pig

    Using a linoleum cutter or a sturdy spoon edge, remove just the orange skin inside the body, ears, and head. Aim for one even shallow depth so the exposed flesh glows the same soft tone all over. Stay inside your outline and leave the surrounding skin untouched for contrast. Work in small strokes and stop often to check your depth in good light.

  4. Score the detail lines

    Switch to a small V gouge or the tip of the linoleum cutter for the smile, the two nostril dots, the eye line, and the hoof splits. Keep these lines thin and shallow so they read as darker accents against the peeled body. Do not carve all the way through, since the whole design lives at the surface. Light, steady pressure gives the cleanest lines.

  5. Clean up and test the look

    Brush away loose bits with a dry pastry brush or paper towel. Step back and check that the ears, snout, and hooves all read clearly. Deepen any peeled area that looks uneven so the glow stays consistent. Smooth the edges of the outline for a crisp cartoon shape.

  6. Light it and photograph

    Because this is an etched design, it shines best with strong side or front light rather than an inside candle. Set a battery LED puck in front or use daylight for the softest orange glow through the peeled skin. Rub a little vegetable oil on the exposed areas to slow drying and boost color. Snap your photo the same day for the freshest look.

Gather your supplies

Check things off as you get ready.

Work on a stable surface, keep your free hand out of the cutting path, and have an adult handle sharp tools.

Three levels of light

  • Leave intact

    The background around the pig and the crisp outline edges stay as dark, untouched skin.

  • Peel & shade

    The pig's body, head, and ears are skin-peeled to one shallow depth for a soft, even orange glow.

  • Cut through

    Nothing is cut fully through on this design; the smile, nostrils, and hooves are only scored as thin darker lines.

Learn the carving basics

Before you start cutting

Do I need to cut all the way through anywhere?

No, and that is the point of this design. Everything sits at one shallow etched depth, so you only remove the outer skin and score thin lines. This keeps the pumpkin sturdy and makes it a great no-knife project for kids with adult help.

How do I light an etched pumpkin if I am not cutting a hole?

Etched designs glow best with light from outside, not inside. Aim a battery LED puck or a small lamp at the front, or photograph it in daylight. If you want a little inner glow too, you can hollow the pumpkin and add an LED, but the peeled areas will still read best with front light.

What if I peel too deep in one spot?

Small uneven patches are easy to hide. Just peel the surrounding area to match that depth so the whole body glows evenly. Keep your strokes light and check often, since it is much easier to remove a little more than to put skin back.

Your take belongs here, too.

Changed a detail? Made it simpler? Share a photo of your version and tell the community what worked.

Share your pumpkin

More pumpkins like this

You've reached the end · 8 pumpkins
The Patch Report

Fresh pumpkins, in your inbox.

The best new carvings, ideas worth stealing, and how-tos for carving season. Short, seasonal, and gone by November.

A short email during carving season. Unsubscribe anytime. See our privacy policy.