Halloween Pumpkin Carving Contest · Starts October 1st · $500 in prizes
← Back to ideas
@ai_concepts
Jul 26, 2026
Farmhouse Pig Glowing Pumpkin CarvingAI
0

Farmhouse Pig Glowing Pumpkin Carving

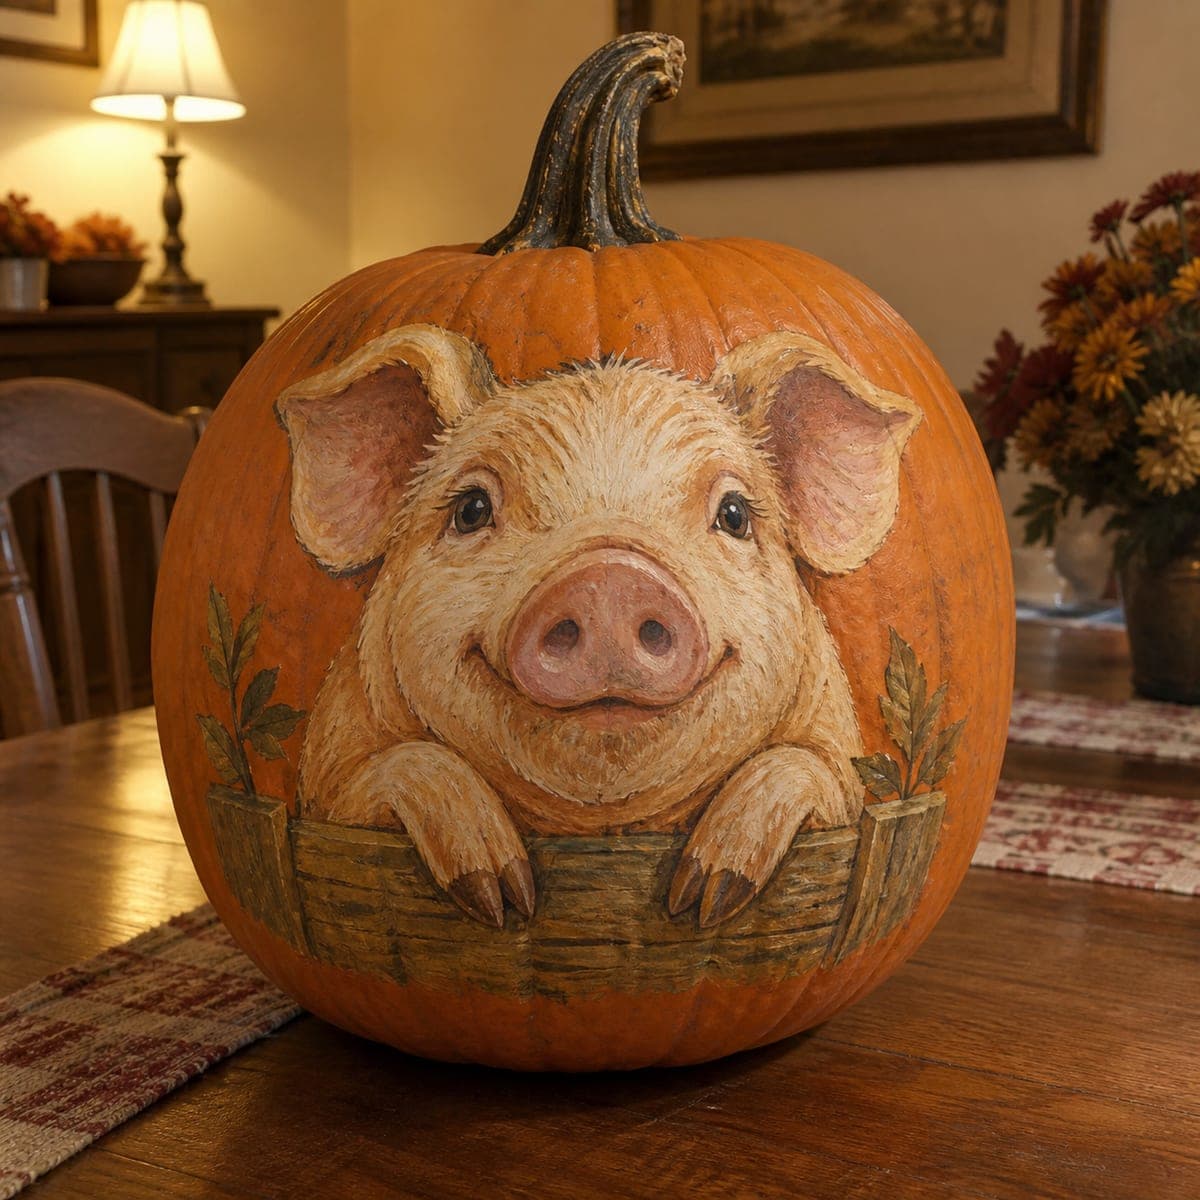
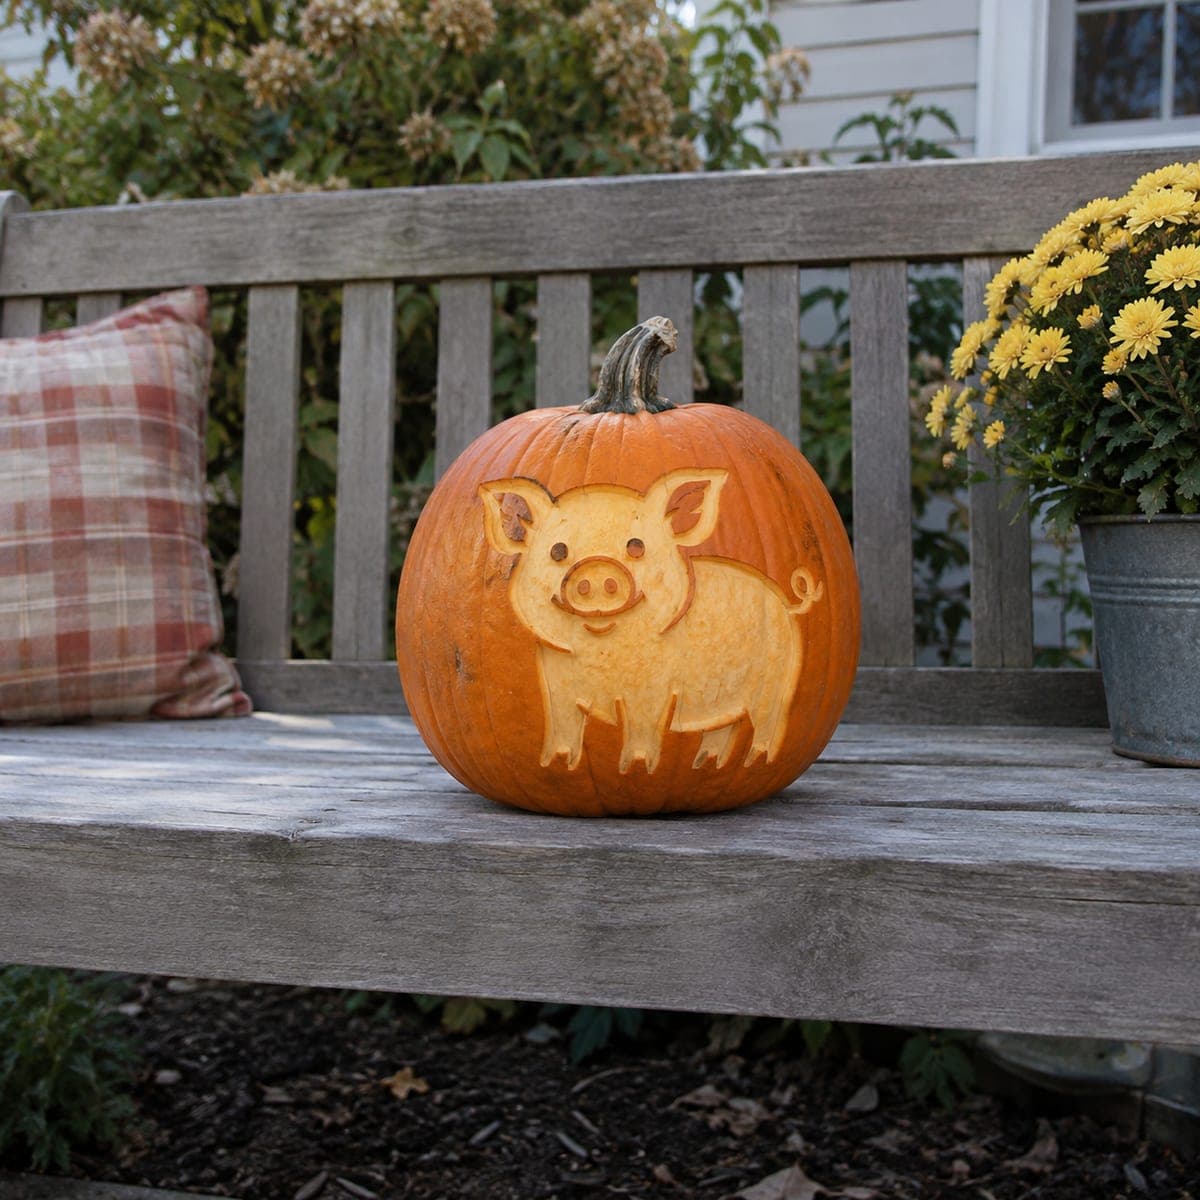
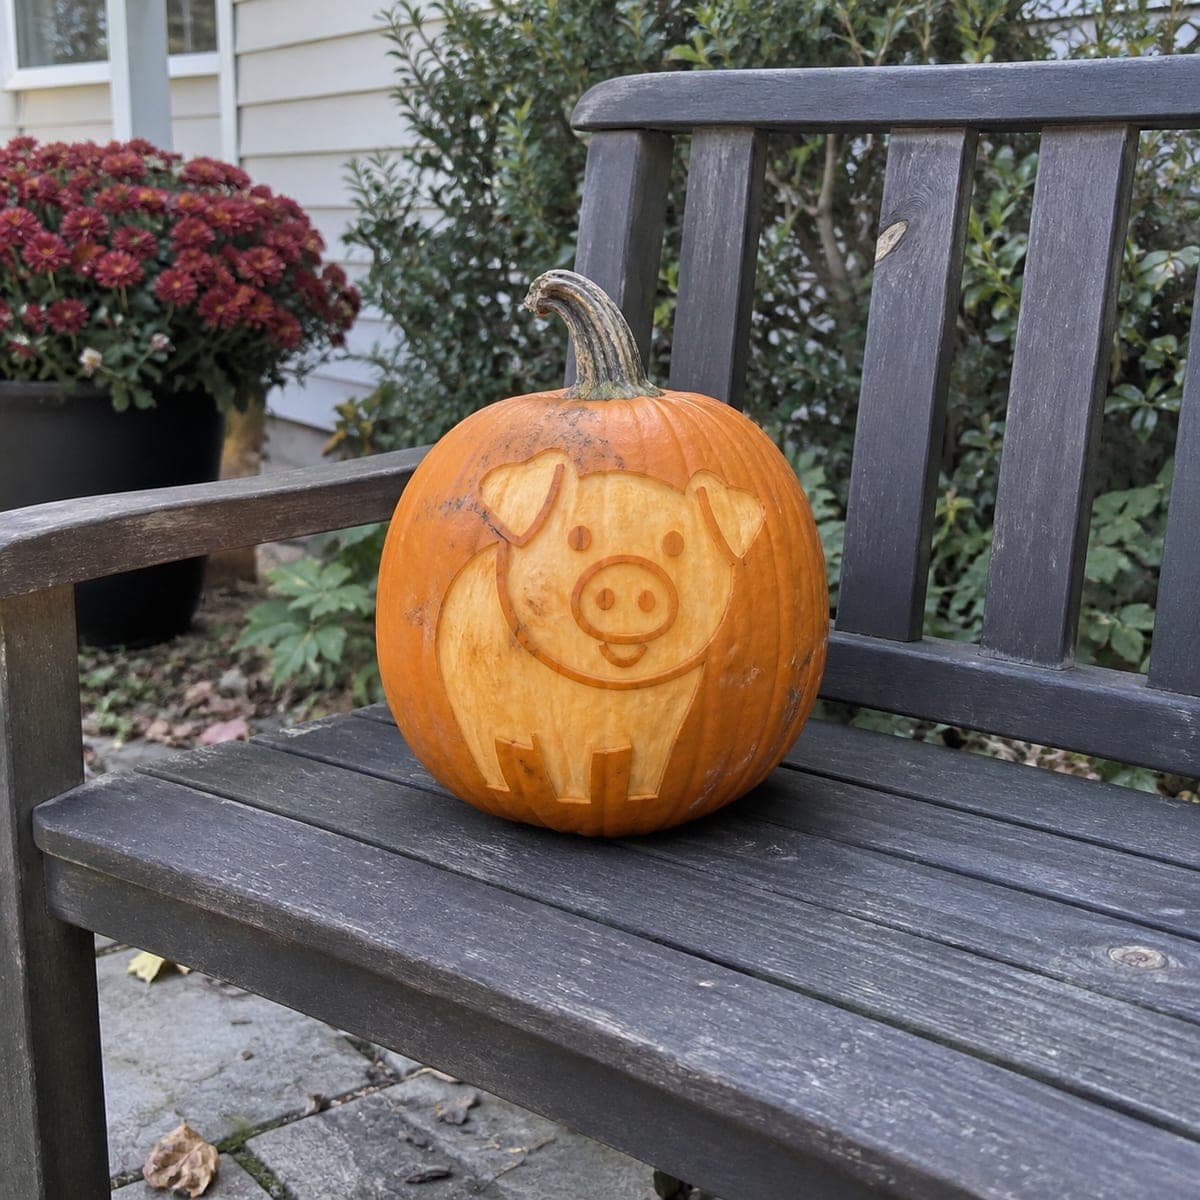
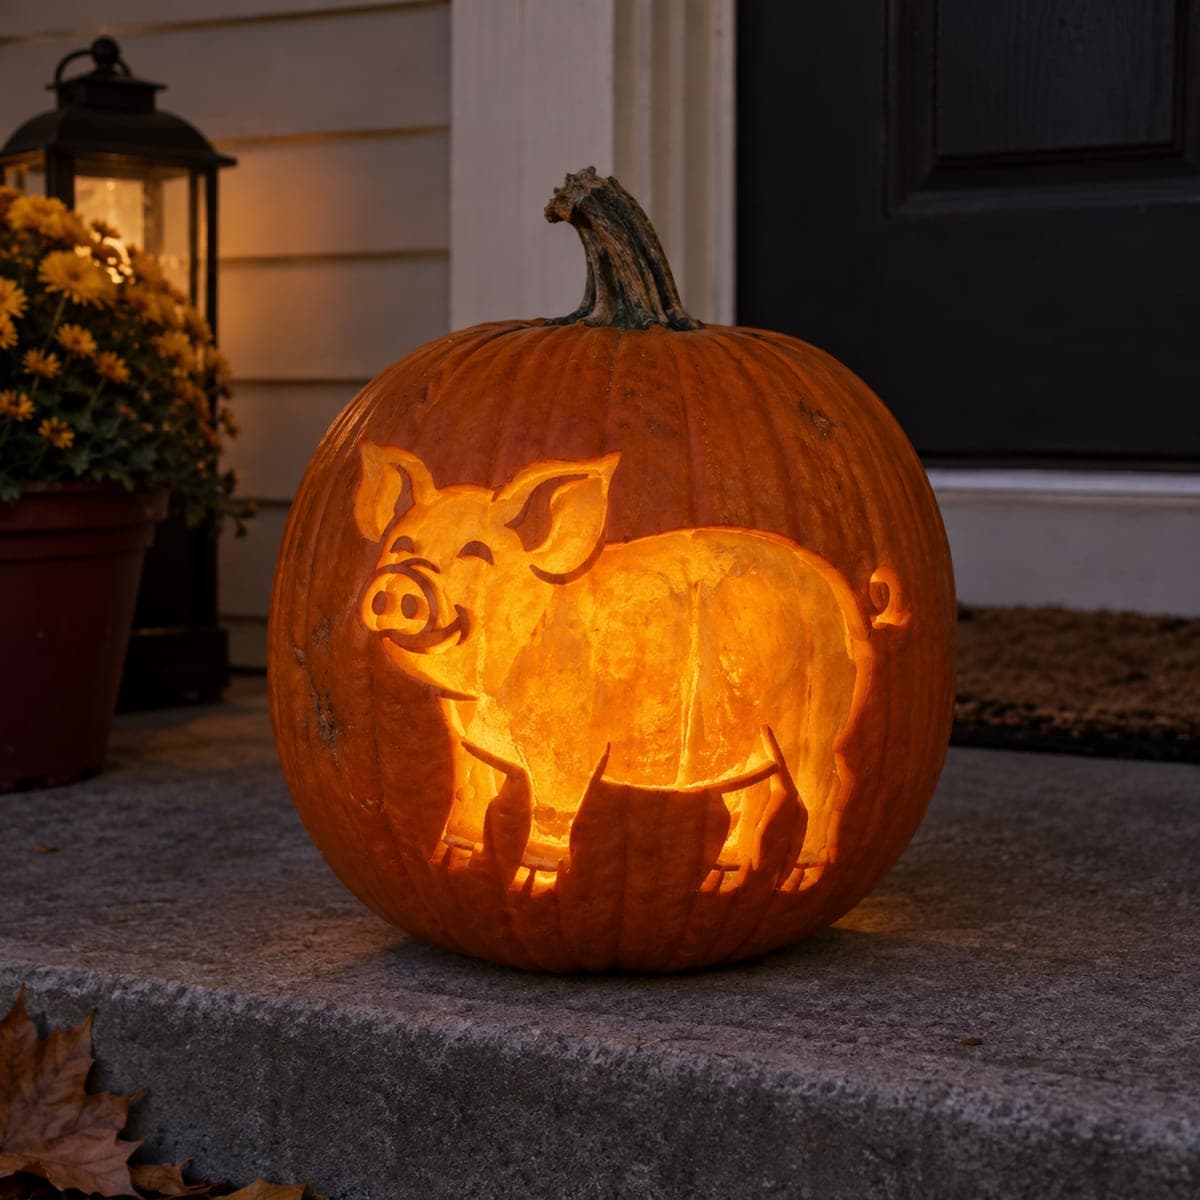
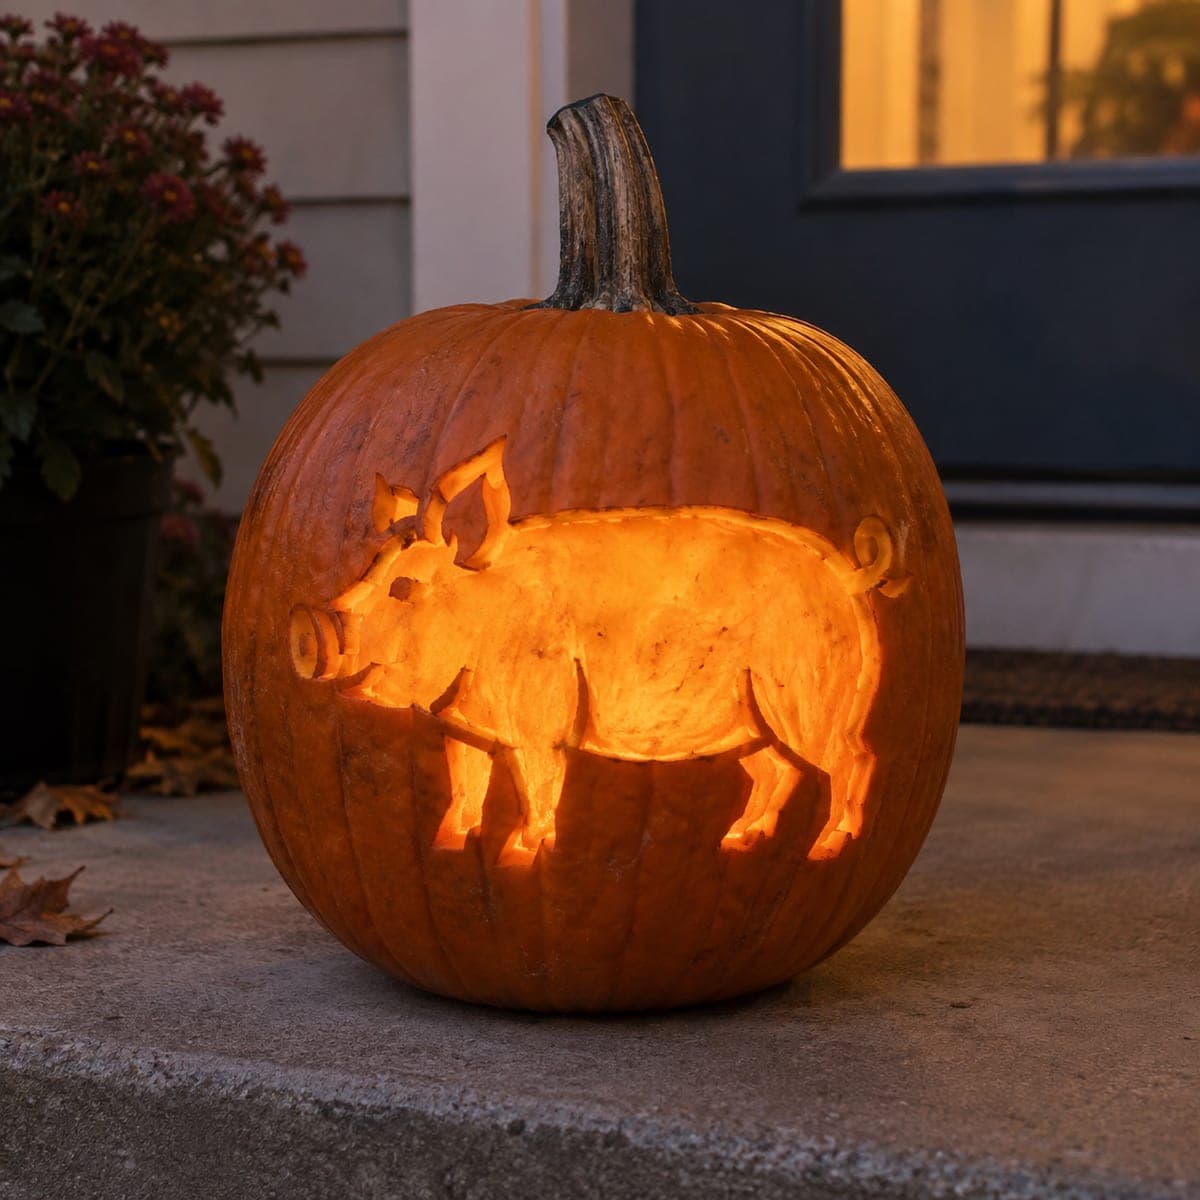
A plump pig with a curly tail glows warmly from this pumpkin, its whole body thinned to a soft lantern shine while the snout, ears, and legs stay outlined in dark skin. Peel the body area down evenly with a scraper until light passes through, testing with a flashlight as you go, then cut the outline details last. The even glow flatters candles and LEDs alike. Charming barnyard decor for a fall farm stand or porch.

This is an AI-generated concept image: a realistic, carvable design idea rather than a photo of a finished carve. AI concepts are always labeled and sit out the leaderboard and the contest.

No ratings yet · Sign in to rate
Comments (0)

  • No comments yet — be the first.

Save without an account. Sign in to like or comment.

Our tips for carving a similar design

The core trick here is a shaded silhouette: the whole pig body is thinned from behind so light glows softly through it, while the snout, ears, legs, and curly tail read as dark outlines drawn into that glow. Plan to peel the large body area evenly first, then save the thin cutout lines for last so the shell stays strong while you work. Test with a flashlight often so the glow stays even across the belly and back.

Written by PumpkinCarvingIdeas.com, inspired by the image above. These are our suggestions, not instructions from the uploader. This approach to the AI concept has not been tested on a real pumpkin.

From pumpkin to porch

  1. Prep the pumpkin and pick your window

    Choose a tall, round pumpkin with a smooth patch on one side roughly the size you want the pig. Cut a lid or, better, a wide access hole in the back so you can reach the inside and add an LED later. Scoop the guts and thin the carving wall from the inside to about one inch so light passes through more easily. A consistent inner wall makes even shading much simpler.

  2. Transfer the pig design

    Tape your stencil flat over the smooth area, snipping the edges so it hugs the curve. Poke closely spaced dots along the body outline, the snout, the ears, the four legs, and the curly tail. Remove the paper and connect the dots lightly with a washable marker. Keep the pig centered so the legs sit above the widest part of the belly.

  3. Shade the body for the glow

    With a lino or ribbon scraper, gently skin off just the outer orange layer inside the pig's body outline. Work in even passes and keep the depth uniform so the whole shape lights up the same. Pause and shine a flashlight from inside to spot dark patches, then scrape those a little more. Leave the snout, ears, legs, and tail alone for now so they stay dark against the glow.

  4. Add the small dark details

    Use the tip of a detail knife or a small gouge to lightly define the snout ring, the inner ear line, and the curl of the tail. These are shallow etch lines, not full cuts, so they stay dark and crisp. Keep the ears and tail attached to the surrounding skin with small bridges so nothing snaps off. Go slow, since thin details are easy to overcut.

  5. Make the accent cutouts last

    If you want brighter spark points, cut fully through only tiny spots such as the eye and a sliver at the tip of an ear. Do these openings last, after all the shading is done, so the pumpkin wall stays sturdy while you carve. Cut with slow, sawing strokes and let the blade do the work. Keep cutouts small so the soft body glow stays the star.

  6. Light it and photograph

    Set a battery LED inside, warm white or amber for a cozy barn feel, and skip open candles near thin walls. Rotate the light until the belly and back glow evenly, adding a second LED if one corner stays dim. Wipe off any marker lines with a damp cloth. Shoot at dusk on a porch or farm stand step to catch that warm lantern shine.

Gather your supplies

Check things off as you get ready.

Work on a stable surface, keep your free hand out of the cutting path, and have an adult handle sharp tools.

Three levels of light

  • Leave intact

    The snout, ears, legs, and curly tail stay as untouched dark skin to outline the pig.

  • Peel & shade

    The whole pig body is scraped thin so it glows a soft mid orange like a lantern.

  • Cut through

    Only tiny accents such as the eye or an ear tip are cut fully through for bright sparks.

Learn the carving basics

Before you start cutting

How thin should I scrape the body for an even glow?

Scrape off just the outer skin and a little of the flesh beneath, aiming for a uniform depth across the whole shape. The goal is a translucent wall, not a hole, so stop scraping any area as soon as the flashlight shows light coming through. Even depth matters more than exact thickness, so test often.

Will the curly tail hold up as a thin detail?

Yes, if you treat it as a shallow etched line rather than a cutout. Keep it attached to the surrounding skin so there is no fragile floating piece to break. On this AI concept the tail reads as a dark curl against the glow, which is safe and easy to reproduce.

Can I use a candle since the caption mentions it?

We recommend a battery LED instead, especially with thin shaded walls that can scorch or dry out fast. A warm white or amber LED gives the same cozy barn glow without the fire risk. Add a second light if one side of the belly looks dim.

Your take belongs here, too.

Changed a detail? Made it simpler? Share a photo of your version and tell the community what worked.

Share your pumpkin

More pumpkins like this

You've reached the end · 8 pumpkins
The Patch Report

Fresh pumpkins, in your inbox.

The best new carvings, ideas worth stealing, and how-tos for carving season. Short, seasonal, and gone by November.

A short email during carving season. Unsubscribe anytime. See our privacy policy.