Halloween Pumpkin Carving Contest · Starts October 1st · $500 in prizes
← Back to ideas
@ai_concepts
Aug 11, 2026
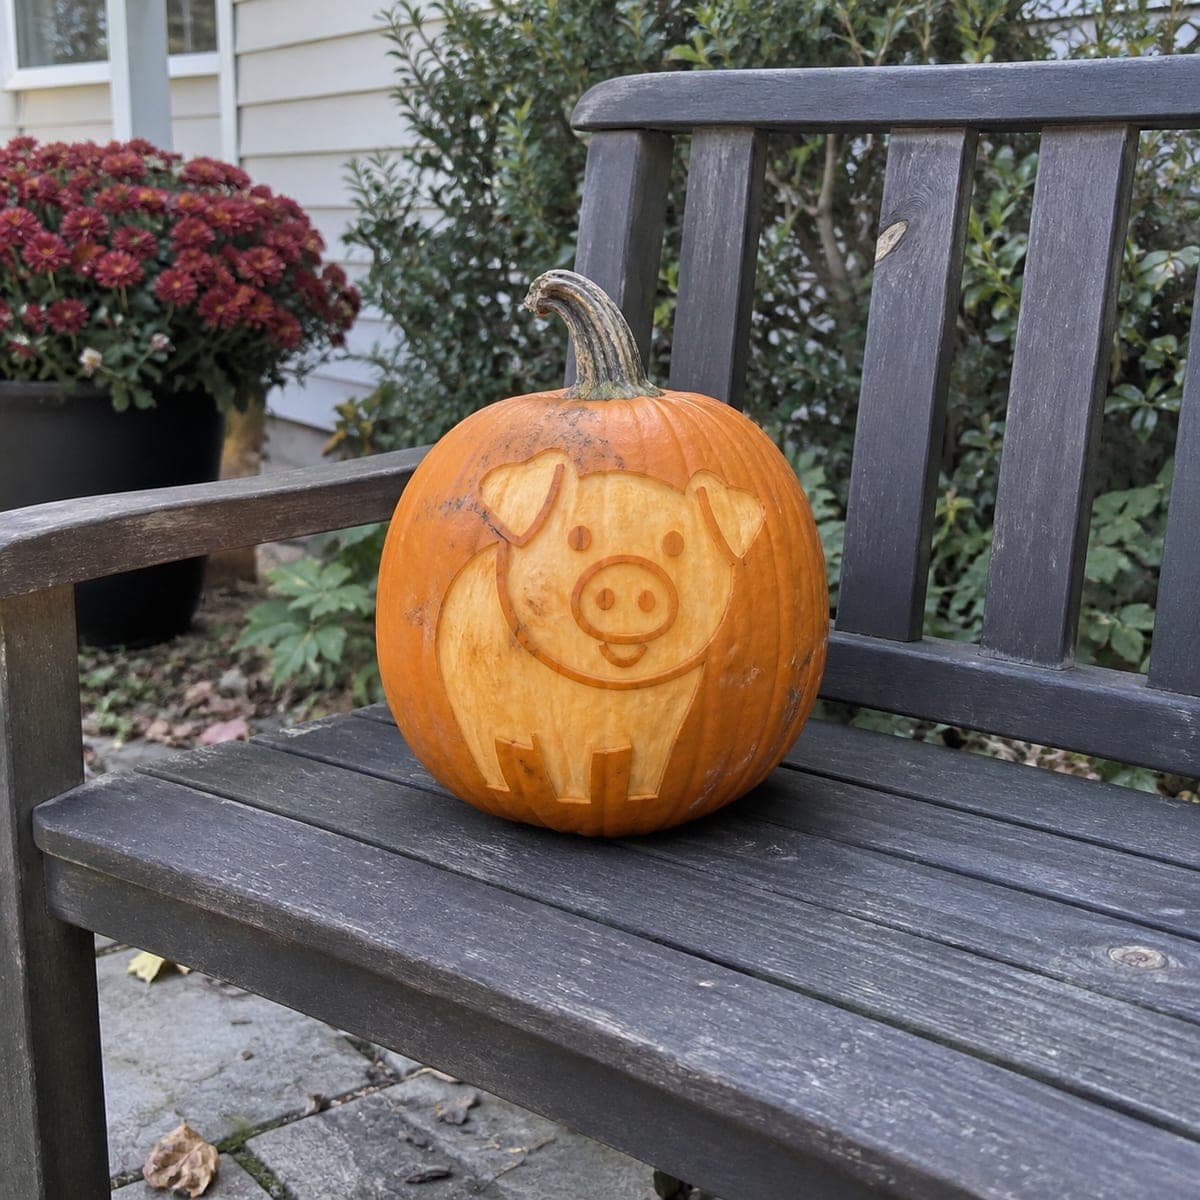
Cute Little Pig Etched Pumpkin CarvingAI
0

Cute Little Pig Etched Pumpkin Carving

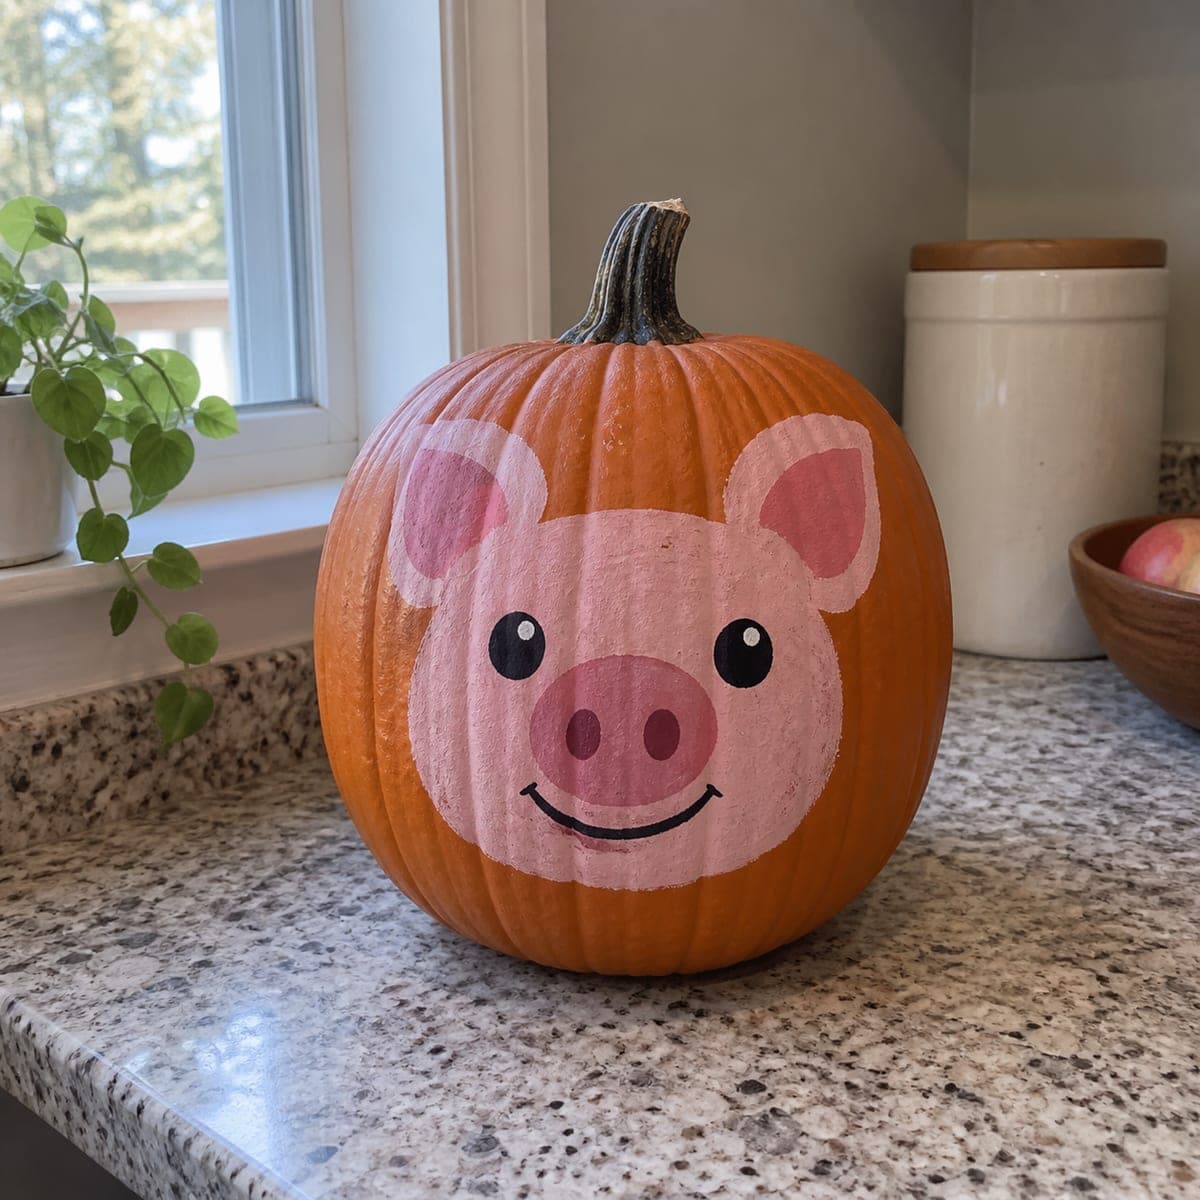
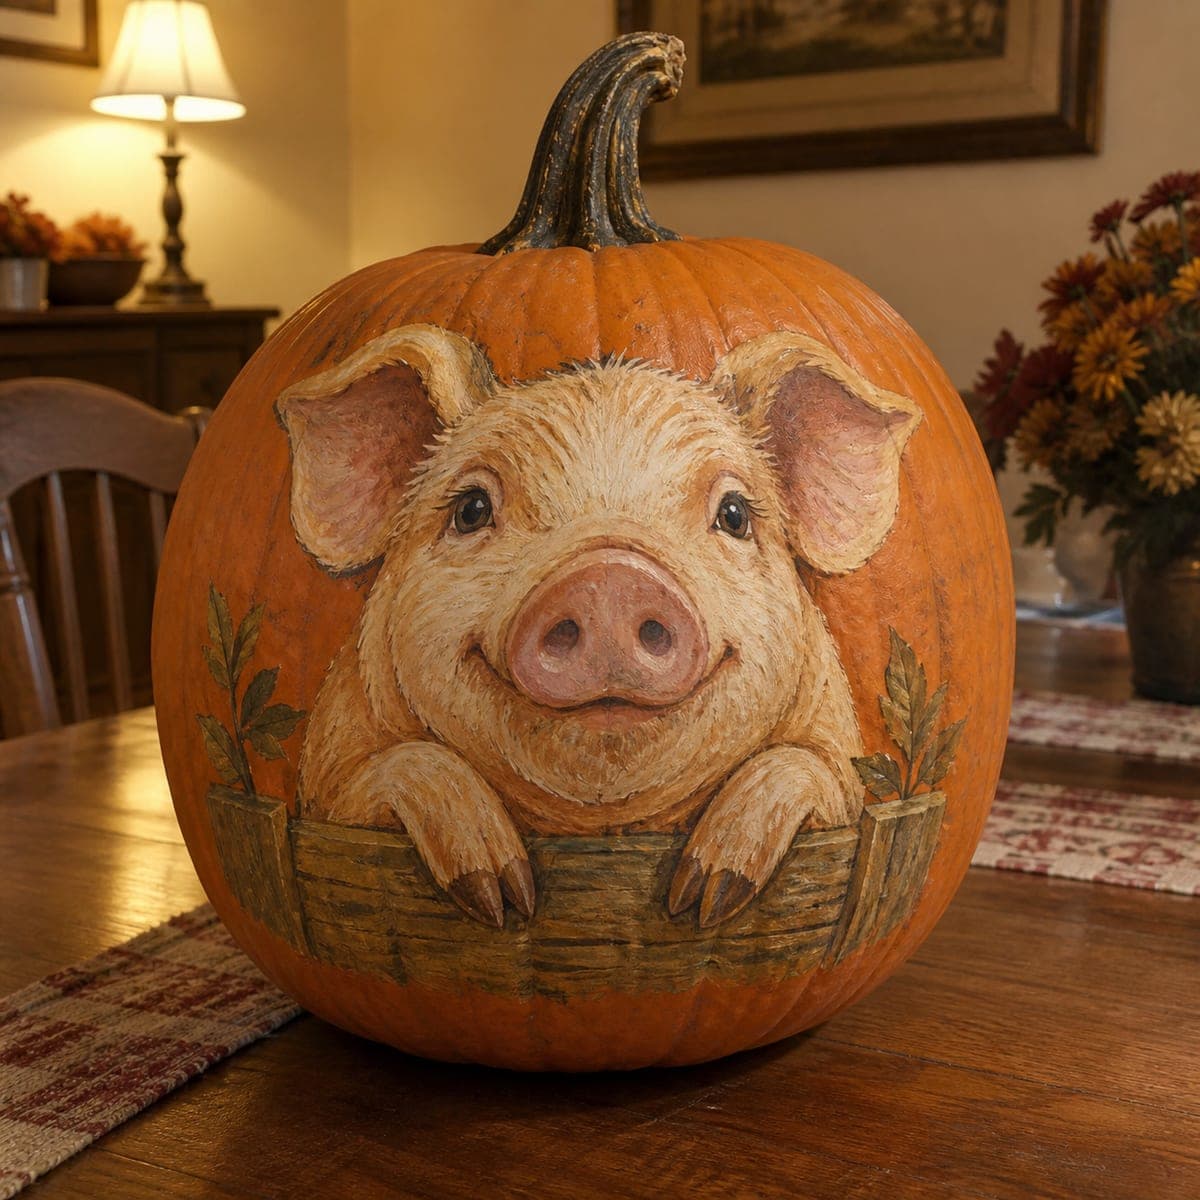
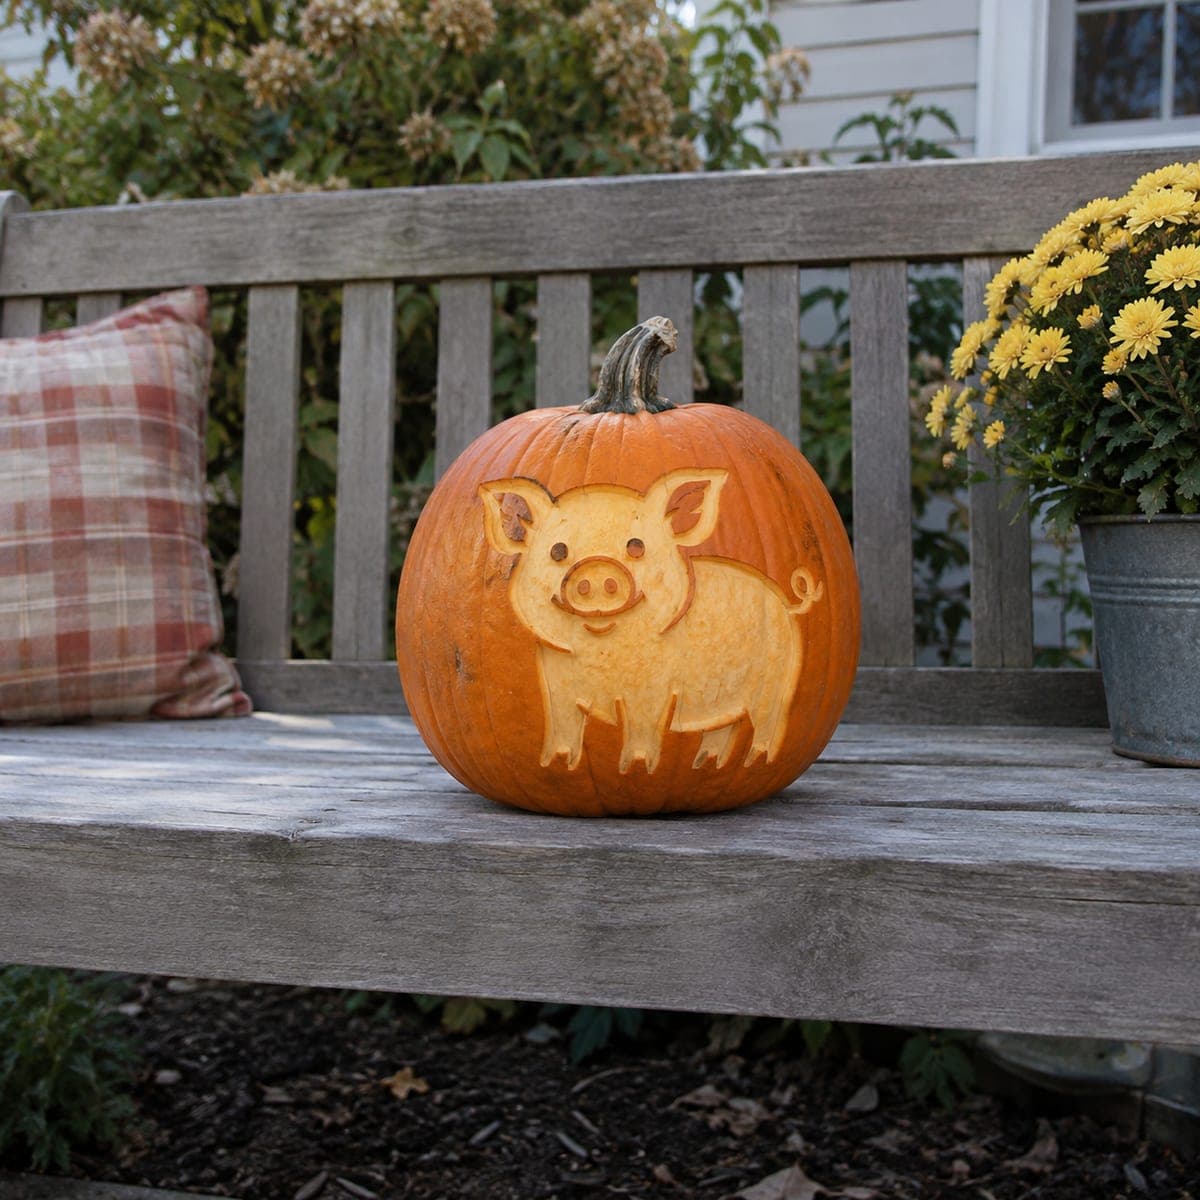
A smiling cartoon pig with perky ears, a round snout, and a curly tail is etched into the surface of this pumpkin. Because only the skin is peeled away, the design shows up in daylight, which makes it a great pumpkin carving idea for a garden bench or doorstep display. Use a linoleum cutter or clay loop to shave inside the outline, keeping the pig itself raised. It reads even better at night with a light inside.

This is an AI-generated concept image: a realistic, carvable design idea rather than a photo of a finished carve. AI concepts are always labeled and sit out the leaderboard and the contest.

No ratings yet · Sign in to rate
Comments (0)

  • No comments yet — be the first.

Save without an account. Sign in to like or comment.

Our tips for carving a similar design

The trick here is that the whole pig stays raised while you shave the skin away from the background around it, so the shape reads as a light silhouette against the darker pumpkin. A few key features like the eyes, nostrils, and mouth line get peeled a little deeper for contrast. Plan to keep the pig's outline crisp and let the peeled skin do all the work.

Written by PumpkinCarvingIdeas.com, inspired by the image above. These are our suggestions, not instructions from the uploader. This approach to the AI concept has not been tested on a real pumpkin.

From pumpkin to porch

  1. Prep the pumpkin and pick your side

    Choose a wide, smooth face with few ribs so the pig sits flat and even. Wipe the surface clean and dry it. Since you are only etching the skin, you can leave the pumpkin whole and cut a small lid or a back access hole later for the light. A round, medium pumpkin like this gives the cartoon pig plenty of room.

  2. Transfer the pig outline

    Tape your pig stencil firmly to the chosen face so it does not shift. Trace the full outline, the ears, snout, legs, and curly tail with a poking tool or a washable marker. Add light marks for the eyes, nostril dots, and the smile line so you know where the deeper details go. Remove the paper and check that the whole shape is clear before cutting.

  3. Score the outline first

    Using a linoleum cutter or a small detail knife, trace just along the outside of the pig with a shallow cut. This gives you a clean edge to shave up to and keeps the raised pig from getting nicked. Keep the ears and legs connected to the body so nothing feels flimsy. Work slowly around the curly tail, which is the most delicate part.

  4. Shave the background skin

    With a clay loop tool or the linoleum cutter, peel away only the orange skin in the area around the pig, staying inside your scored line. Aim for an even, shallow depth so the exposed flesh glows the same tone all over. The pig itself stays untouched and slightly raised, which is what makes the shape pop. Take breaks to step back and check that your peeled area is smooth and consistent.

  5. Add the face details

    Peel the eyes, nostrils, and smile a touch deeper than the background so they read as darker marks on the light pig. You can also lightly shave the inner ears and a soft belly shadow for a rounder, cuter look. Keep these details small and shallow since deep cuts can blow out the cartoon feel. Clean up any ragged edges with the tip of your tool.

  6. Light it and set it out

    Cut a small access hole in the back or bottom and drop in an LED light or two, never a candle, since the thin etched skin can scorch. Scrape the inside wall behind the pig a little thinner if you want the design to glow more at night. Set the pumpkin on a bench or doorstep where daylight catches the etched contrast. Snap your photo both in daylight and after dark to show off the two looks.

Gather your supplies

Check things off as you get ready.

Work on a stable surface, keep your free hand out of the cutting path, and have an adult handle sharp tools.

Three levels of light

  • Leave intact

    The raised pig body, ears, legs, and curly tail keep their skin and stay the darkest, warmest orange.

  • Peel & shade

    The background around the pig is skin-peeled for a soft even glow that frames the shape in daylight and at night.

  • Cut through

    No full cutouts here, though you can thin the inside wall behind the pig so it glows a little brighter after dark.

Learn the carving basics

Before you start cutting

Do I need to cut all the way through anywhere?

No, this is an etched design, so the pig reads from peeled skin rather than open holes. You only cut through to make a small access hole for the light, ideally in the back or bottom. Keeping it solid is what lets the design show up in daylight.

How do I keep the curly tail from breaking?

The tail stays as raised skin, not a cutout, so it is far sturdier than a cut-through curl would be. Just shave gently around it and avoid undercutting the base. If your stencil has a floating tail loop, keep a small bridge of skin connecting it to the body.

Why does my etched pig look faint?

Faint etching usually means the background skin was not peeled evenly or deeply enough. Go back over the peeled area to remove any remaining orange film so the flesh tone is uniform. Peeling the eyes and smile slightly deeper also boosts the contrast.

Your take belongs here, too.

Changed a detail? Made it simpler? Share a photo of your version and tell the community what worked.

Share your pumpkin

More pumpkins like this

You've reached the end · 8 pumpkins
The Patch Report

Fresh pumpkins, in your inbox.

The best new carvings, ideas worth stealing, and how-tos for carving season. Short, seasonal, and gone by November.

A short email during carving season. Unsubscribe anytime. See our privacy policy.