Halloween Pumpkin Carving Contest · Starts October 1st · $500 in prizes
← Back to ideas
@ai_concepts
Sep 7, 2026
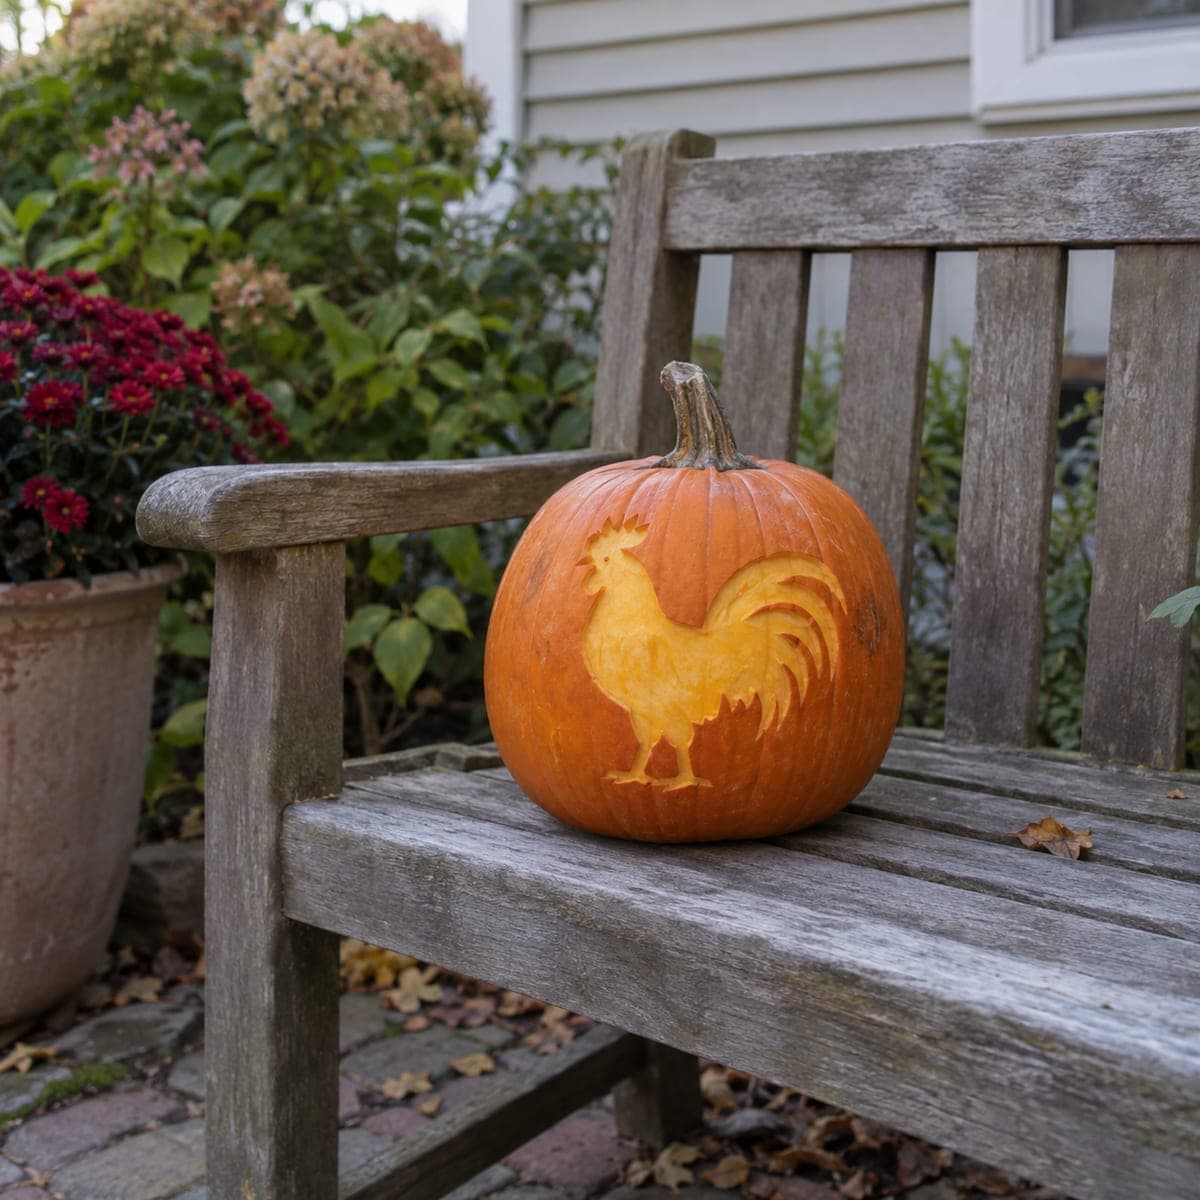
Standing Duck Etched Pumpkin CarvingAI
0

Standing Duck Etched Pumpkin Carving

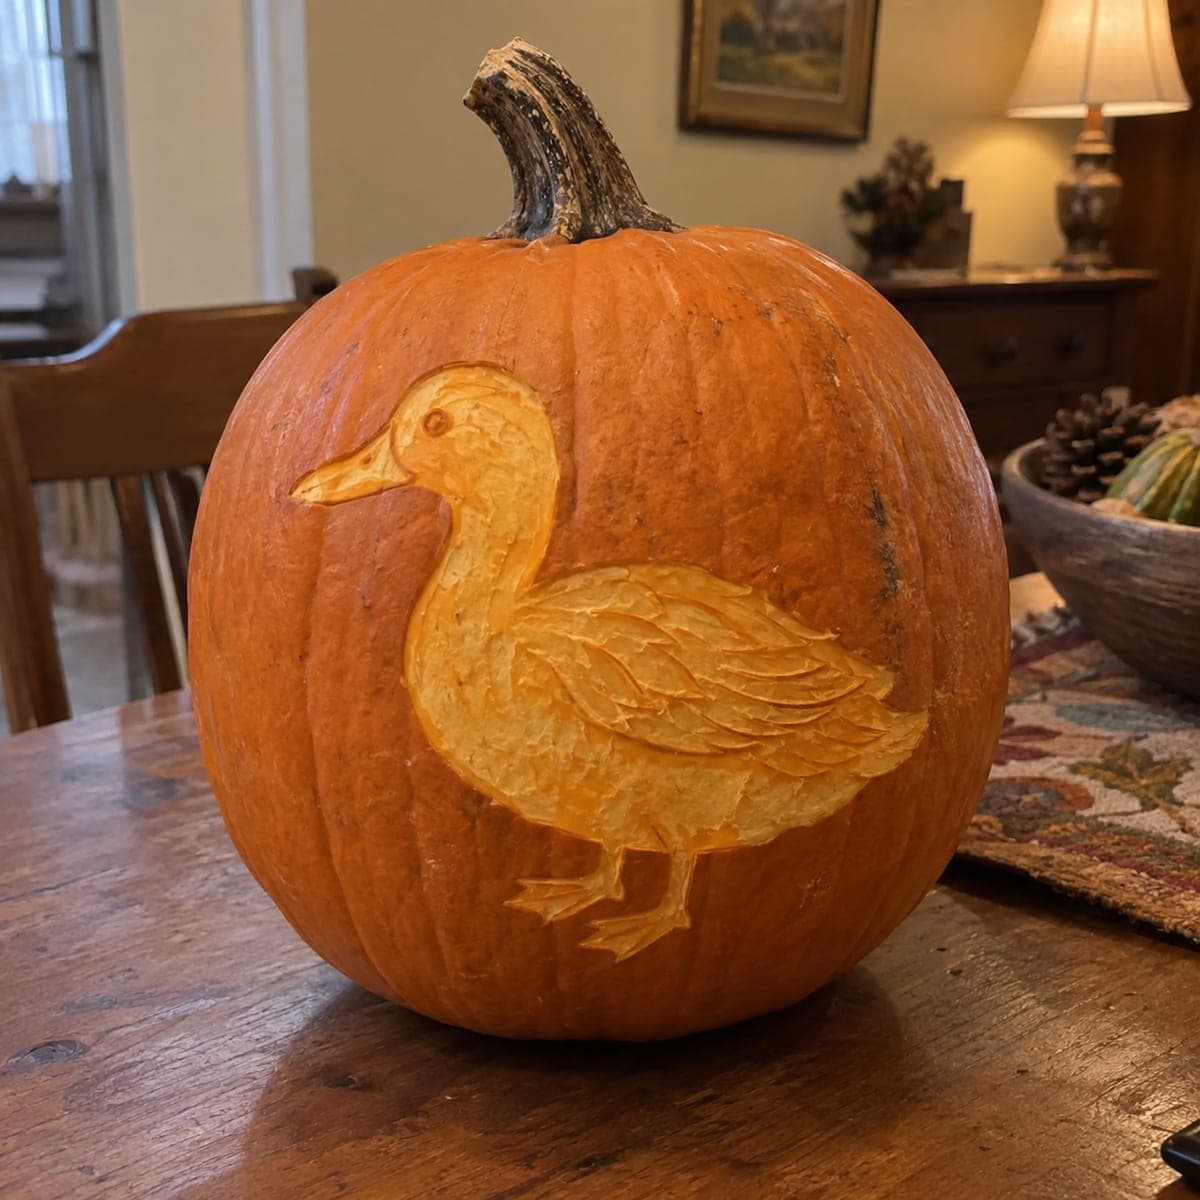
A standing duck is peeled in gentle relief on this fall pumpkin, feathers layered along the folded wing and light catching the curve of the breast. Because nothing is cut through, it works unlit as a Thanksgiving centerpiece as easily as a Halloween porch piece. Strip the skin inside the outline first, then texture the feathers with short pulls of a loop tool. Rub the exposed flesh with petroleum jelly to slow browning.

This is an AI-generated concept image: a realistic, carvable design idea rather than a photo of a finished carve. AI concepts are always labeled and sit out the leaderboard and the contest.

No ratings yet · Sign in to rate
Comments (0)

  • No comments yet — be the first.

Save without an account. Sign in to like or comment.

Our tips for carving a similar design

The core trick here is relief carving, where the whole duck is shaped by removing only the outer skin and a shallow layer of flesh rather than cutting all the way through. You map the outline, peel the body to a warm mid glow, then rake short feather strokes so the folded wing and rounded breast catch the light. Since nothing is opened up, the piece reads as art in daylight and as a soft lantern at night.

Written by PumpkinCarvingIdeas.com, inspired by the image above. These are our suggestions, not instructions from the uploader. This approach to the AI concept has not been tested on a real pumpkin.

From pumpkin to porch

  1. Transfer the outline and plan the light

    Pick the smoothest face of the pumpkin and tape your duck pattern flat, easing out wrinkles around the curve. Poke the outline and the main feather lines with a pin or dotting tool so you have dots to follow. Step back and decide now which areas stay dark skin and which get peeled, since this design has no cut-through openings to fix mistakes. On an AI concept like this there is no real pumpkin behind the image, so treat these as suggestions for building your own version.

  2. Score the silhouette

    With a small detail saw or a sharp craft knife, trace only the outer edge of the duck about an eighth of an inch deep. Keep the blade shallow and let an adult handle every cutting pass. This scored line gives the peeled skin a clean edge to break against so the body stands away from the background. Do not carry the cut deeper than the skin and a thin bit of flesh.

  3. Peel the body to a soft glow

    Use a ribbon or loop tool to strip the skin inside the outline down to the pale flesh, working in the same direction as the feathers flow. Aim for an even, shallow surface so the whole duck lifts to a gentle orange when lit. Leave the beak slightly higher and smoother than the wing so it reads as its own shape. Keep the background skin fully intact to frame the bird in dark.

  4. Texture the feathers

    Switch to a smaller loop tool and pull short, overlapping strokes to build the layered wing, deepening the flesh a touch under each feather edge. Vary the depth so ridges catch light and the grooves fall into shadow, which is what creates the shading effect. Carve the breast with longer, softer sweeps to keep it rounded, and press a shallow dot for the eye. Go slowly and let the feathers overlap like roof shingles.

  5. Protect and light it

    Rub petroleum jelly over all the exposed flesh to slow browning and keep the surface bright for days. Set a battery LED puck inside through a small hole in the base or back, never a candle, so the shallow relief glows without cooking the thin flesh. A warm white LED shows the feather texture better than a colored one. Take your photo in a dim room while the peeled body is still fresh and pale.

Gather your supplies

Check things off as you get ready.

Work on a stable surface, keep your free hand out of the cutting path, and have an adult handle sharp tools.

Three levels of light

  • Leave intact

    The entire background around the duck stays as untouched skin so the bird floats in dark orange.

  • Peel & shade

    The duck's body, breast, wing, and beak are skin-peeled to a soft mid glow, with feather grooves adding shadow.

  • Cut through

    This design uses no full cutouts, but you could pierce one tiny dot at the eye for a single bright glint if you want a spark of full light.

Learn the carving basics

Before you start cutting

Will this show up if I never cut all the way through?

Yes, that is the whole point of relief carving. Peeled skin glows a soft orange against the dark untouched background even with a low LED inside. In daylight the depth of the feathers reads clearly, so it works unlit as a table piece too.

How do I keep the feathers from looking flat?

Vary the depth as you pull each stroke, going a little deeper right under each feather edge so a ridge and a shadow form. Overlap the strokes like shingles and follow the curve of the wing. The contrast between raised and recessed flesh is what creates the shaded, layered look.

How long will the peeled surface stay bright?

Exposed flesh starts browning within hours, so coat it with petroleum jelly right after carving and reapply if it dulls. Keep the pumpkin cool and out of direct sun between displays. Carved this way it should look fresh for two or three days, longer in a cool spot.

Your take belongs here, too.

Changed a detail? Made it simpler? Share a photo of your version and tell the community what worked.

Share your pumpkin

More pumpkins like this

You've reached the end · 8 pumpkins
The Patch Report

Fresh pumpkins, in your inbox.

The best new carvings, ideas worth stealing, and how-tos for carving season. Short, seasonal, and gone by November.

A short email during carving season. Unsubscribe anytime. See our privacy policy.