Halloween Pumpkin Carving Contest · Starts October 1st · $500 in prizes
← Back to ideas
@ai_concepts
Sep 12, 2026
Farmhouse Goat Jack-O-Lantern CarvingAI
0

Farmhouse Goat Jack-O-Lantern Carving

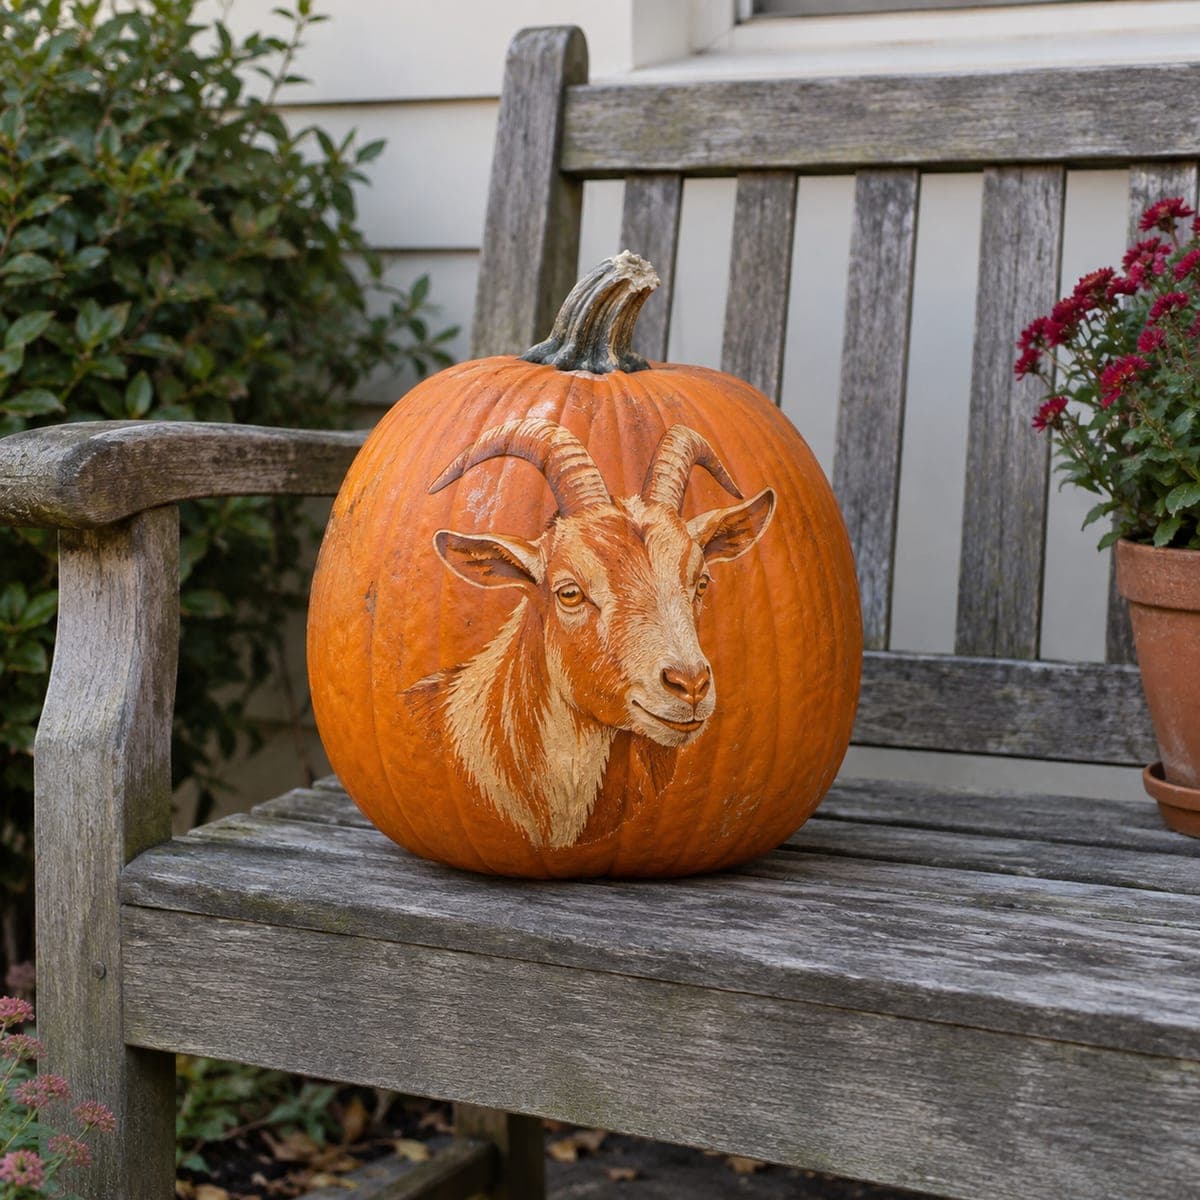
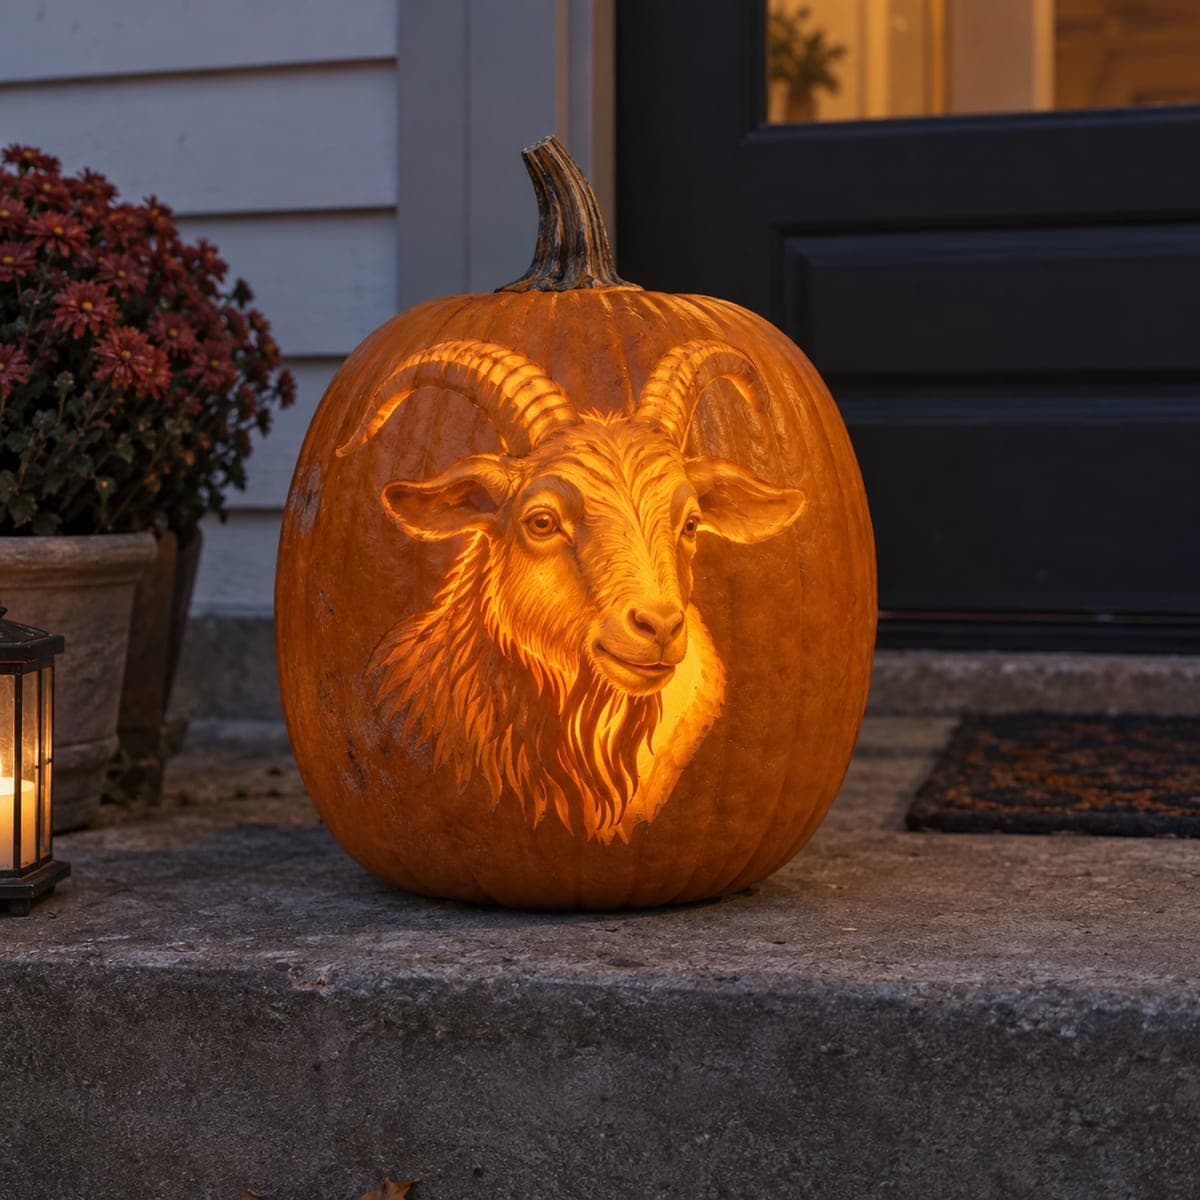
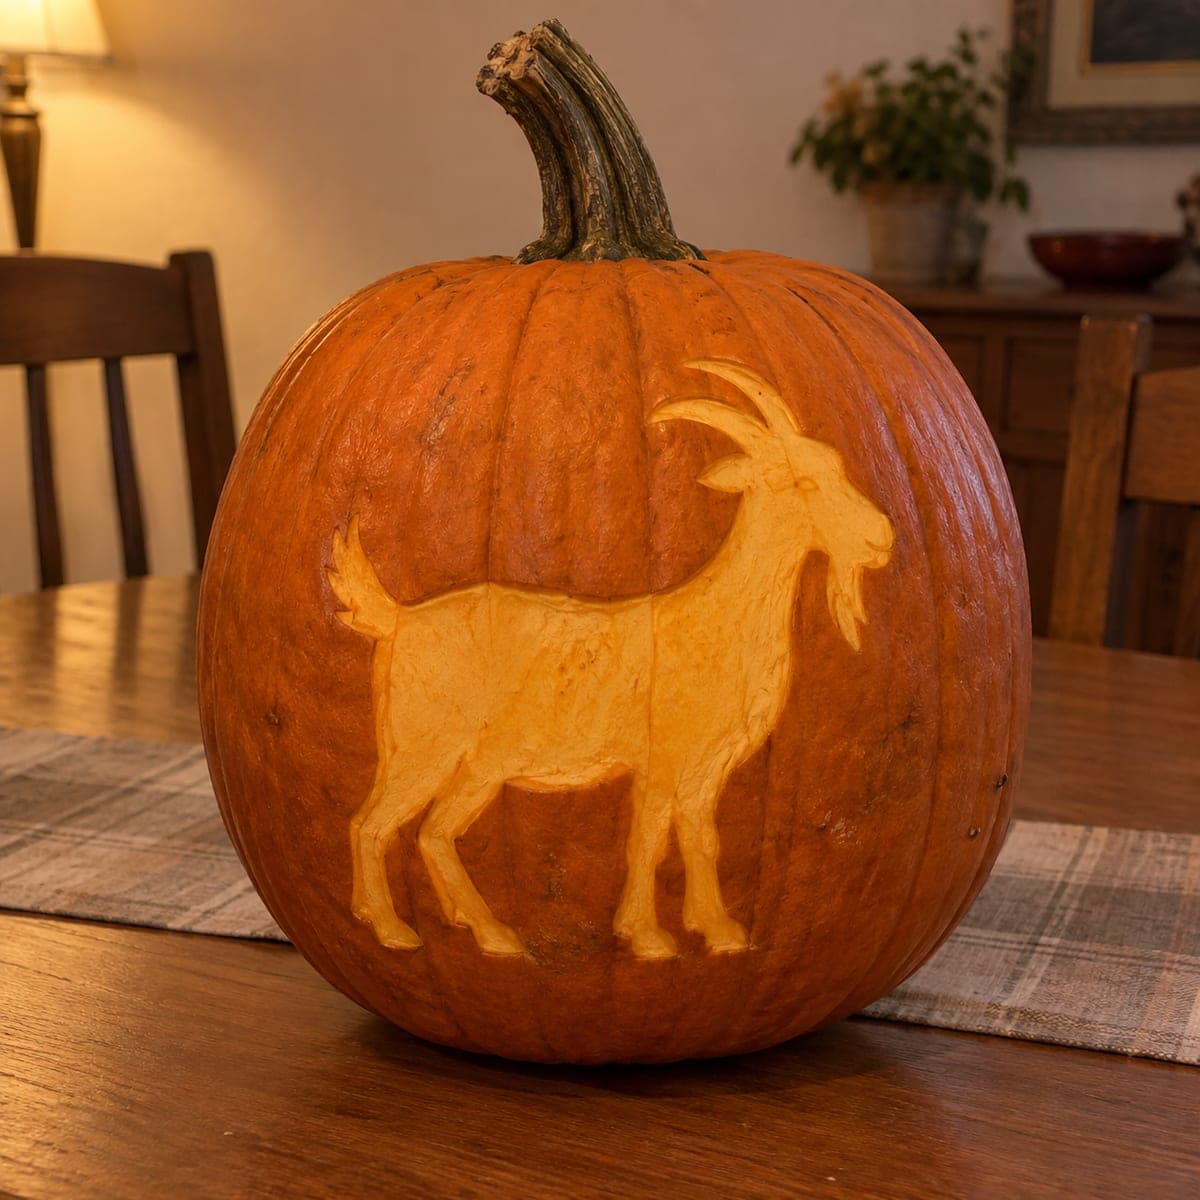
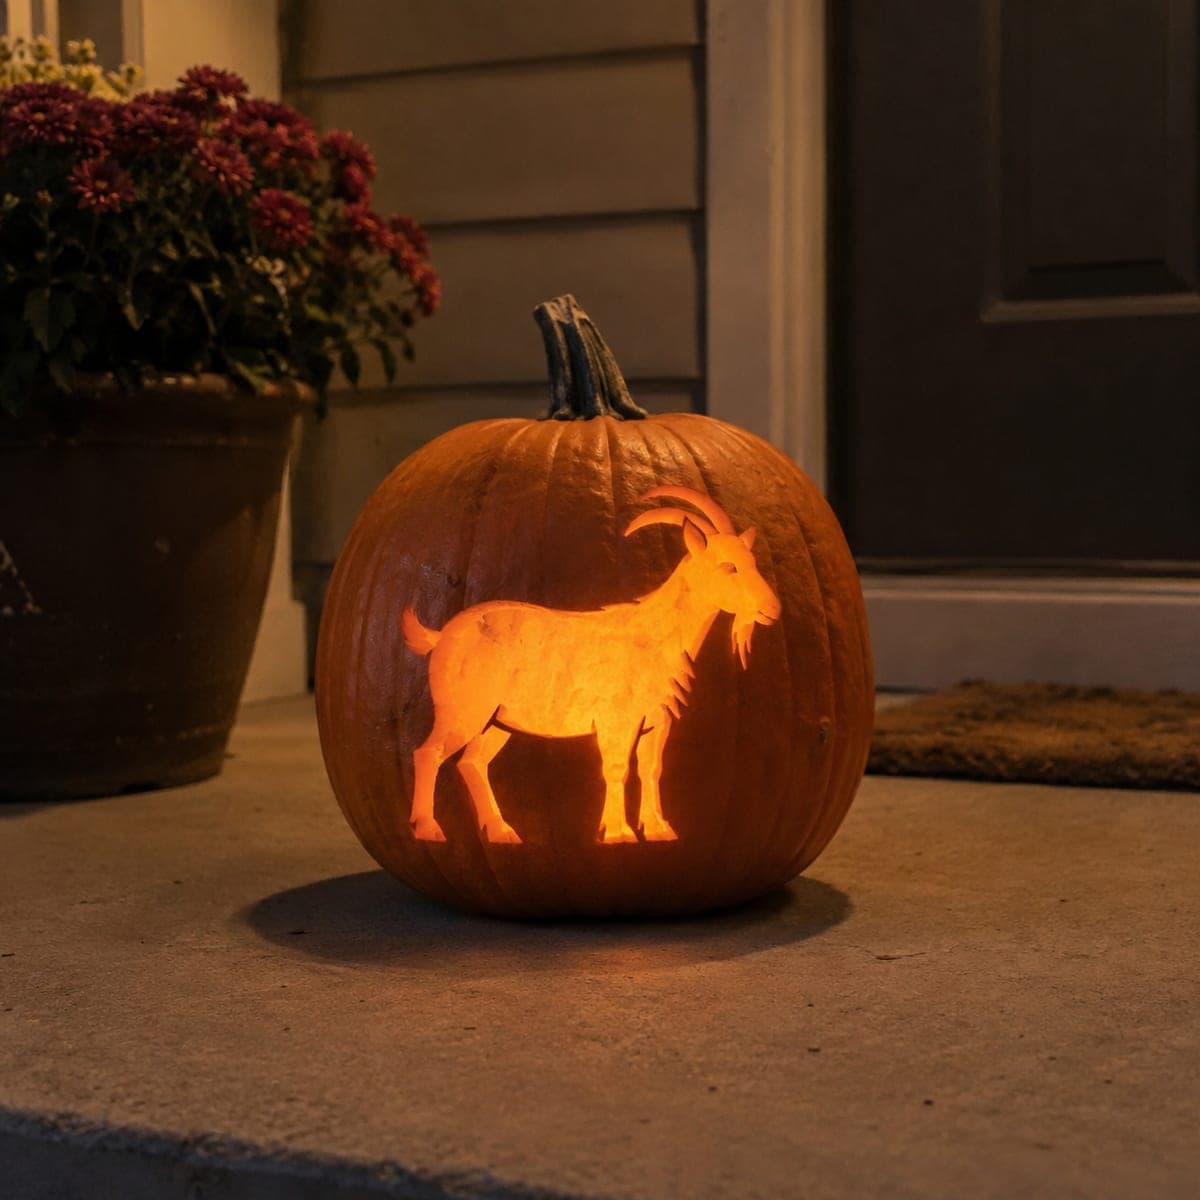
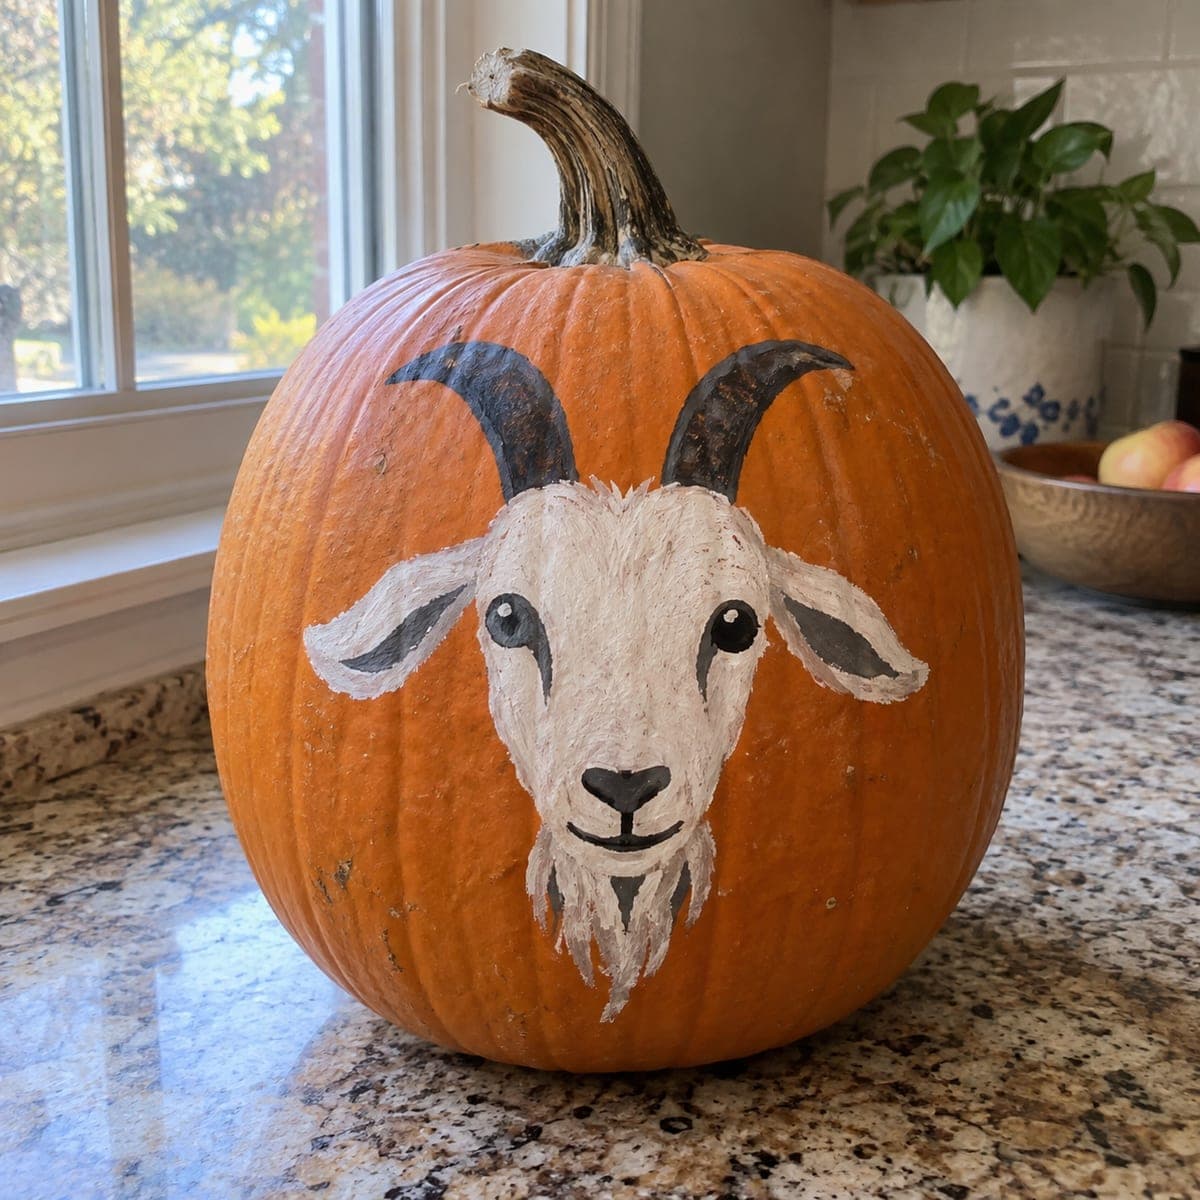
A standing goat with curved-back horns and a little beard glows brightly from this pumpkin, a charming pick for farmhouse fall decor or anyone with backyard goats. The animal is carved as one connected glowing shape, so the main challenge is keeping the slim legs intact; cut them last and leave them a bit wider than they look on paper. An etched pass over the body softens the glow so the horns and hooves stand out.

This is an AI-generated concept image: a realistic, carvable design idea rather than a photo of a finished carve. AI concepts are always labeled and sit out the leaderboard and the contest.

No ratings yet · Sign in to rate
Comments (0)

  • No comments yet — be the first.

Save without an account. Sign in to like or comment.

Our tips for carving a similar design

The whole goat reads as one connected glowing shape, which keeps the design strong and readable from the sidewalk. The core trick is a light etched pass over the body so the crisp cutouts of the horns, beard, and hooves pop against a softer glow. Plan to carve the slim legs last and leave them wider than the drawing suggests so they hold up.

Written by PumpkinCarvingIdeas.com, inspired by the image above. These are our suggestions, not instructions from the uploader. This approach to the AI concept has not been tested on a real pumpkin.

From pumpkin to porch

  1. Pick and prep the pumpkin

    Choose a rounder pumpkin with a smooth, blemish-free front panel wide enough for a full standing goat. Cut a lid from the bottom or the back rather than the top so the stem stays intact for that farmhouse look. Scrape the inside wall behind your design down to about one inch thick with a sturdy scoop. A thinner wall carves cleaner and lets more light through the etched areas.

  2. Transfer the goat pattern

    Tape your goat stencil flat against the front, snipping the edges of the paper so it hugs the curve without wrinkling. Use a poking tool or pushpin to dot along every line, spacing the dots close together on the thin legs and horns. Peel the paper and connect the dots lightly with a marker so you can see the full silhouette. Double check that the four legs and the gap between them are clearly marked before any blade touches the pumpkin.

  3. Etch the body for a soft glow

    With a lino or ribbon tool, peel away just the orange skin across the goat's main body, leaving the deeper shape below intact. Keep this pass shallow so the body glows dim and warm rather than punching through. Work from the center outward and stop cleanly at the outline. This shading is what makes the horns and hooves stand out later.

  4. Cut the detail openings first

    Switch to a fine saw for the full cutouts that need to be brightest: the curved horns, the beard, and the small negative space between the legs and under the belly. Make short, gentle strokes and let the saw do the work instead of forcing it. Cut these smaller openings before the big ones so the pumpkin stays rigid while you handle delicate lines. Leave a small bridge of skin where a horn tip gets very thin so it does not snap.

  5. Free the legs last

    Save the slim legs and the gaps between them for the final cuts, since these are the weakest points. Carve them a touch wider than they look on paper so they can support the weight above. Push cut pieces gently inward and out rather than prying, which can crack a leg. Take your time here, as one rushed stroke can lose a leg you cannot get back.

  6. Light it and photograph

    Drop in a battery LED puck or string, never a candle, and aim the brightest point behind the goat's midsection. Set the pumpkin on a flat porch step at dusk and check that all four legs read clearly from a few feet away. If any area looks too dim, thin the inner wall a little more behind it. Snap your photo in low light so the glowing goat is the star.

Gather your supplies

Check things off as you get ready.

Work on a stable surface, keep your free hand out of the cutting path, and have an adult handle sharp tools.

Three levels of light

  • Leave intact

    The pumpkin background around the goat stays untouched and dark.

  • Peel & shade

    The goat's main body is skin-peeled for a soft, dim orange glow.

  • Cut through

    The horns, beard, hooves, and the gaps between the legs are cut through for the brightest light.

Learn the carving basics

Before you start cutting

How do I keep the goat's thin legs from breaking?

Carve them last, after every other opening is done, so the pumpkin stays rigid while you work. Draw and cut them a bit wider than the stencil shows, since legs always look thinner once the light is behind them. Push the waste pieces out gently instead of prying, which is what usually cracks a leg.

Why etch the body instead of cutting it all the way out?

Etching removes only the skin so the body glows dim while the horns and hooves stay crisp and bright. If you cut the whole goat out, the shape turns into one flat blob of light with no separation. The two brightness levels are what give the goat depth and make it read as an animal.

This is a concept image. Can a real pumpkin hold this design?

Yes, as long as you keep the legs and horn tips a little chunkier than a printed outline. Real pumpkin flesh needs some width to stay attached, so add a small skin bridge at any spot that gets very thin. Thin the inner wall to about an inch so the etched body still glows.

Your take belongs here, too.

Changed a detail? Made it simpler? Share a photo of your version and tell the community what worked.

Share your pumpkin

More pumpkins like this

You've reached the end · 8 pumpkins
The Patch Report

Fresh pumpkins, in your inbox.

The best new carvings, ideas worth stealing, and how-tos for carving season. Short, seasonal, and gone by November.

A short email during carving season. Unsubscribe anytime. See our privacy policy.