Halloween Pumpkin Carving Contest · Starts October 1st · $500 in prizes
← Back to ideas
@ai_concepts
Aug 21, 2026
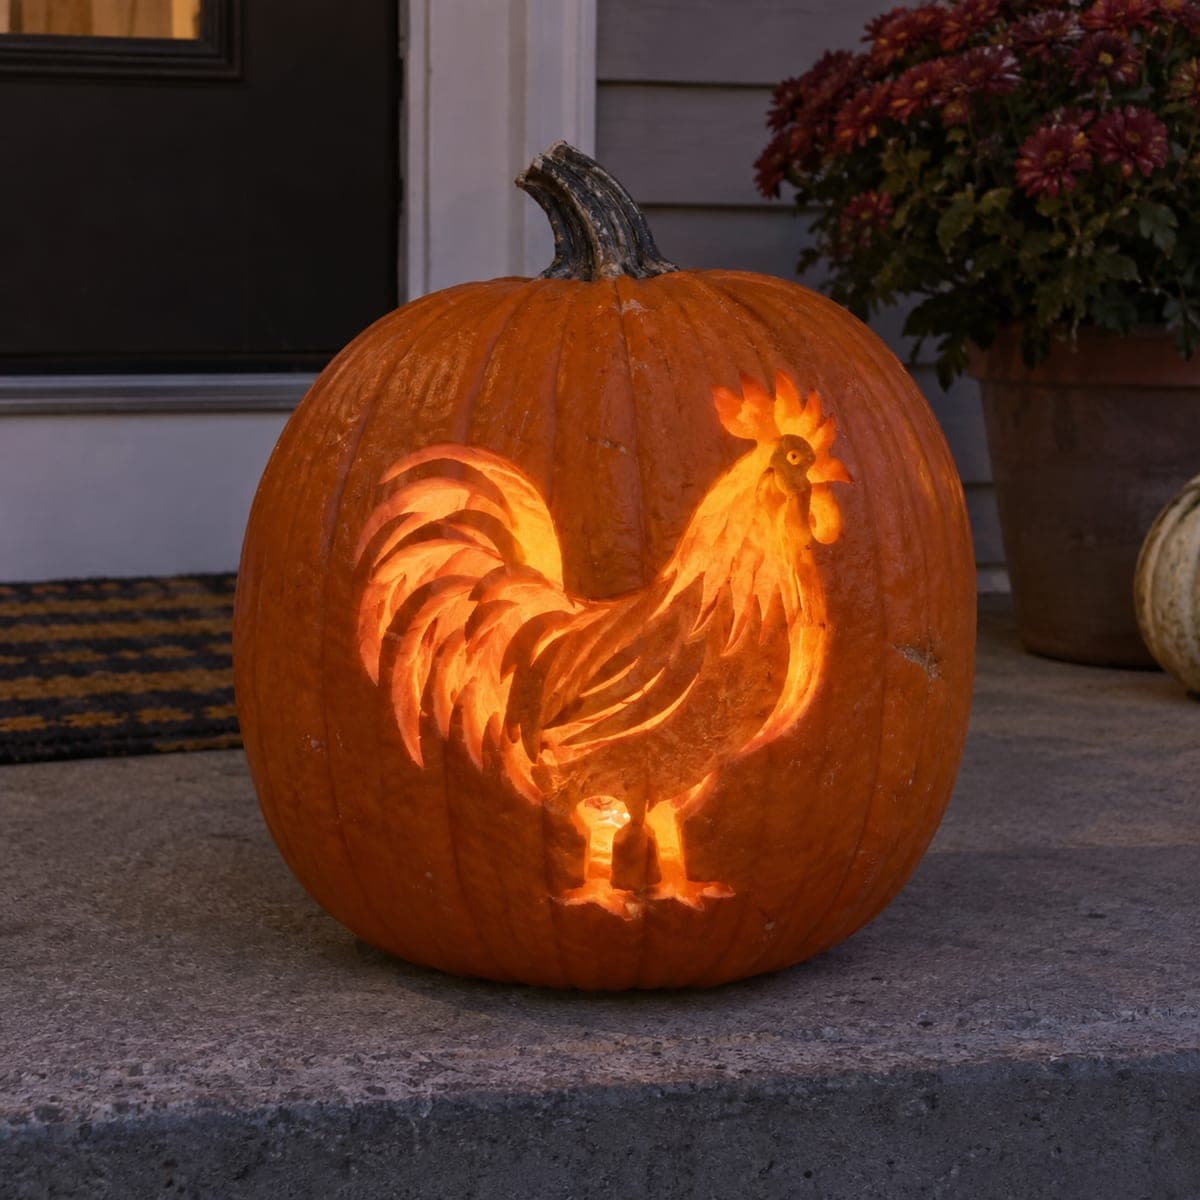
Dairy Cow Etched Pumpkin With Spotted HideAI
0

Dairy Cow Etched Pumpkin With Spotted Hide

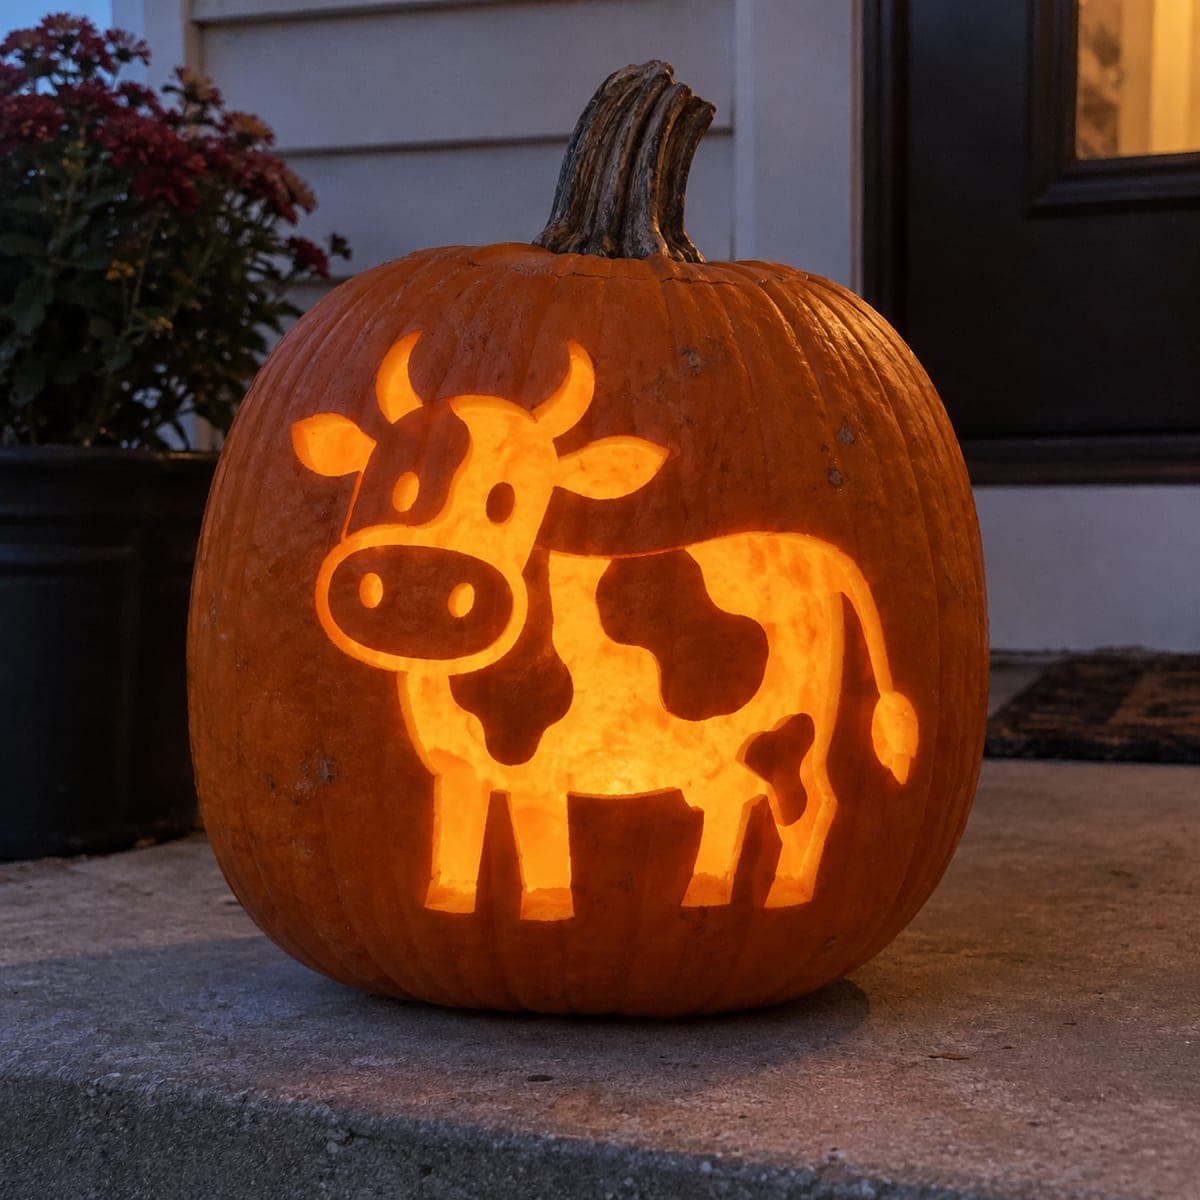
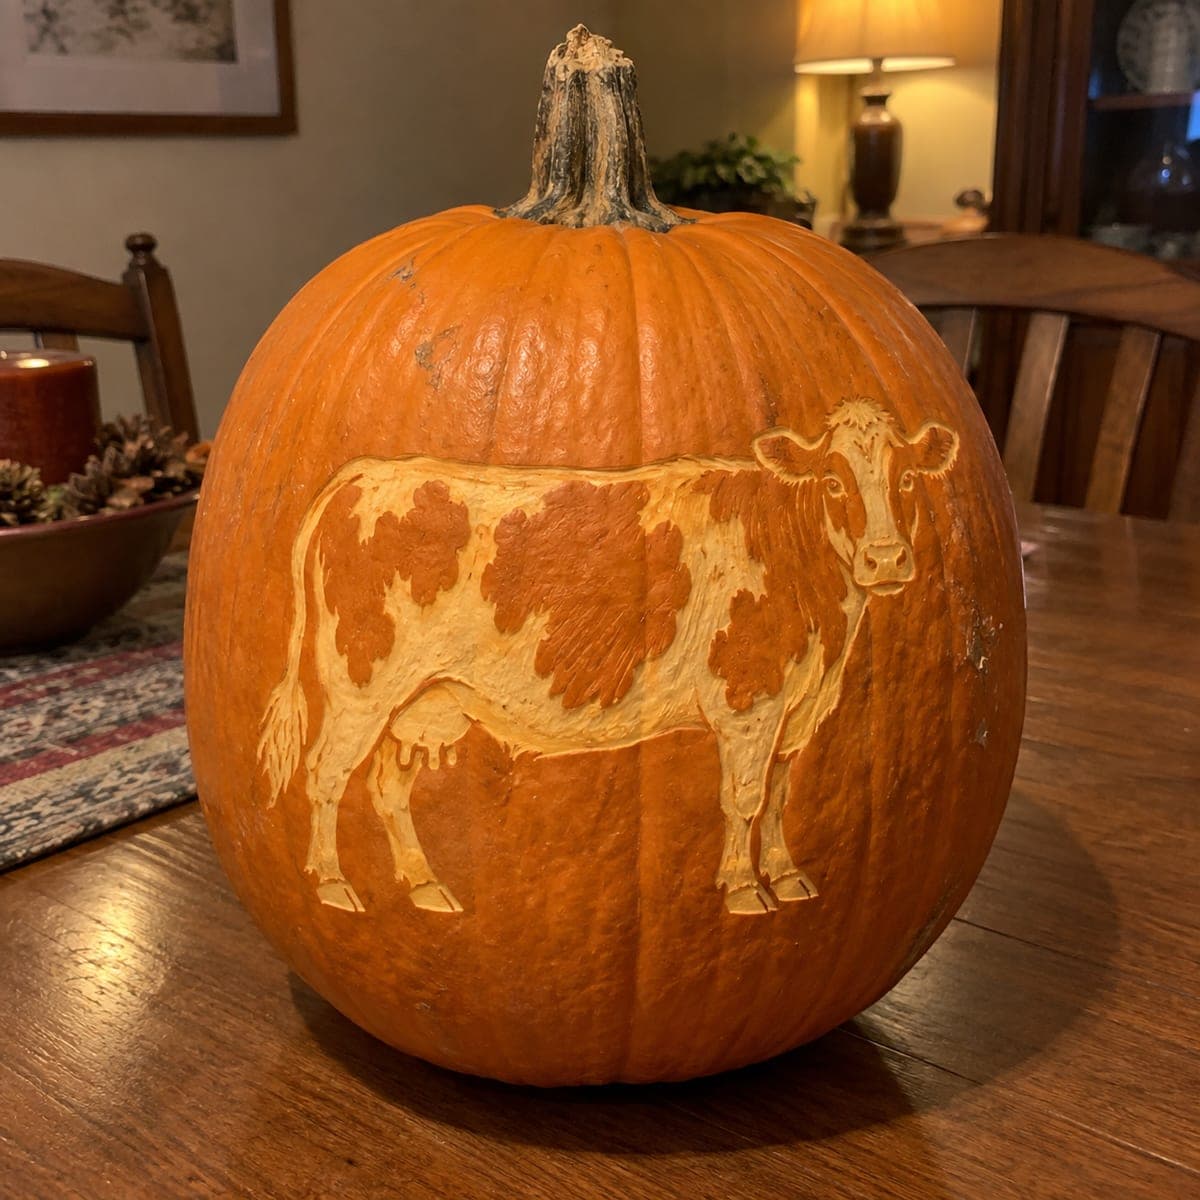
A full-bodied dairy cow stands broadside across this pumpkin, her patchy hide created by alternating peeled cream areas with untouched orange spots. Farm animal designs like this one suit fall harvest displays that stay up past Halloween. Outline the cow and shave the light areas of the coat first, then refine the face, ears, and hooves with a detail knife, leaving the spots as raw skin so they stay dark and glossy.

This is an AI-generated concept image: a realistic, carvable design idea rather than a photo of a finished carve. AI concepts are always labeled and sit out the leaderboard and the contest.

No ratings yet · Sign in to rate
Comments (0)

  • No comments yet — be the first.

Save without an account. Sign in to like or comment.

Our tips for carving a similar design

The whole effect here rests on a simple contrast: peel the cream-colored coat down to the pale flesh so it glows, and leave the cow's spots as raw untouched skin so they stay dark and glossy. Think of the orange peel as the cow's markings and the shaved areas as her white hide. Outline everything first, then shave the light areas before adding fine detail to the face, ears, and hooves.

Written by PumpkinCarvingIdeas.com, inspired by the image above. These are our suggestions, not instructions from the uploader. This approach to the AI concept has not been tested on a real pumpkin.

From pumpkin to porch

  1. Pick a wide pumpkin and prep it

    Choose a tall, broad pumpkin with a smooth flat panel wide enough to hold the whole cow from nose to tail. Cut a lid or, better for this etched look, a hatch in the back so the front stays uninterrupted. Scrape the inside wall of your carving side down to about one inch thick so the peeled areas will glow evenly. A thinner wall makes shading much easier to control.

  2. Transfer and outline the cow

    Tape your stencil flat against the widest part of the pumpkin and poke the main outlines with a transfer tool or pushpin. Include the body edge, the leg lines, the udder, the face, and the border of every spot. With a detail knife, lightly score along the full outline of the cow and around each spot so you have clean boundaries. Do not cut deep yet, these are just guide lines.

  3. Shave the cream-colored coat

    Using a ribbon or loop tool, peel away only the skin on the pale areas of the hide, staying inside your spot outlines. Remove just the outer orange layer to expose the lighter flesh underneath, which is what gives the soft glow. Keep the depth even so the whole coat lights up the same brightness. Leave the marked spots completely untouched so they read as dark patches.

  4. Refine the face, ears, and hooves

    Switch to a fine detail knife for the head, where the cow needs the most character. Shave shallow around the muzzle and cheeks, and leave a touch more skin near the eyes and nostrils to suggest depth. Etch light hairs on the ears and the tuft between them with short strokes. Give the hooves a crisp shaved edge so they stand out against the leg.

  5. Add shading and texture

    Vary how much skin you remove to build gentle shading, going a hair deeper along the belly and under the neck for soft shadow. Leave faint ridges in the tail and along the spine so the coat looks textured rather than flat. Step back often and check the balance between dark spots and pale coat. Clean up any ragged spot borders with the tip of your knife.

  6. Light it and photograph

    Drop a warm white LED puck or a battery tealight inside and set the pumpkin on a table away from foot traffic. The peeled coat should glow soft orange while the spots stay dark. Take your photo in a dim room so the contrast shows. Wipe the cut edges and store cool between showings to keep the etch fresh for a long harvest display.

Gather your supplies

Check things off as you get ready.

Work on a stable surface, keep your free hand out of the cutting path, and have an adult handle sharp tools.

Three levels of light

  • Leave intact

    The cow's spots, nostrils, and eye detail stay as untouched skin so they read dark and glossy.

  • Peel & shade

    The cream-colored coat, face, and legs are skin-peeled for a soft mid glow.

  • Cut through

    No full cutouts are needed, though you could pierce a tiny highlight in each eye for a spark if you want.

Learn the carving basics

Before you start cutting

This is a concept image, so can a real pumpkin actually look like this?

Yes, the design is fully carvable because it relies on shading rather than fragile cutouts. Everything stays connected to the pumpkin wall, so there are no thin bridges to snap. The main challenge is keeping your peel depth consistent across the large coat area.

How do I keep the spots looking sharp against the pale coat?

Score the outline of every spot cleanly before you start shaving so you have a wall to work against. Then peel right up to that line without crossing it, leaving the spot skin completely intact. A crisp border is what makes the pattern pop once the light is inside.

Since it is an etched design, how long will it last for a fall display?

Etched pumpkins with peeled skin dry out faster than deep cuts, so expect a good few days to a week if you keep it cool. Rub the shaved areas with a little petroleum jelly to slow moisture loss. Store it in a fridge or cold garage overnight to stretch its life through the harvest season.

Your take belongs here, too.

Changed a detail? Made it simpler? Share a photo of your version and tell the community what worked.

Share your pumpkin

More pumpkins like this

You've reached the end · 8 pumpkins
The Patch Report

Fresh pumpkins, in your inbox.

The best new carvings, ideas worth stealing, and how-tos for carving season. Short, seasonal, and gone by November.

A short email during carving season. Unsubscribe anytime. See our privacy policy.