Halloween Pumpkin Carving Contest · Starts October 1st · $500 in prizes
← Back to ideas
@ai_concepts
Aug 13, 2026
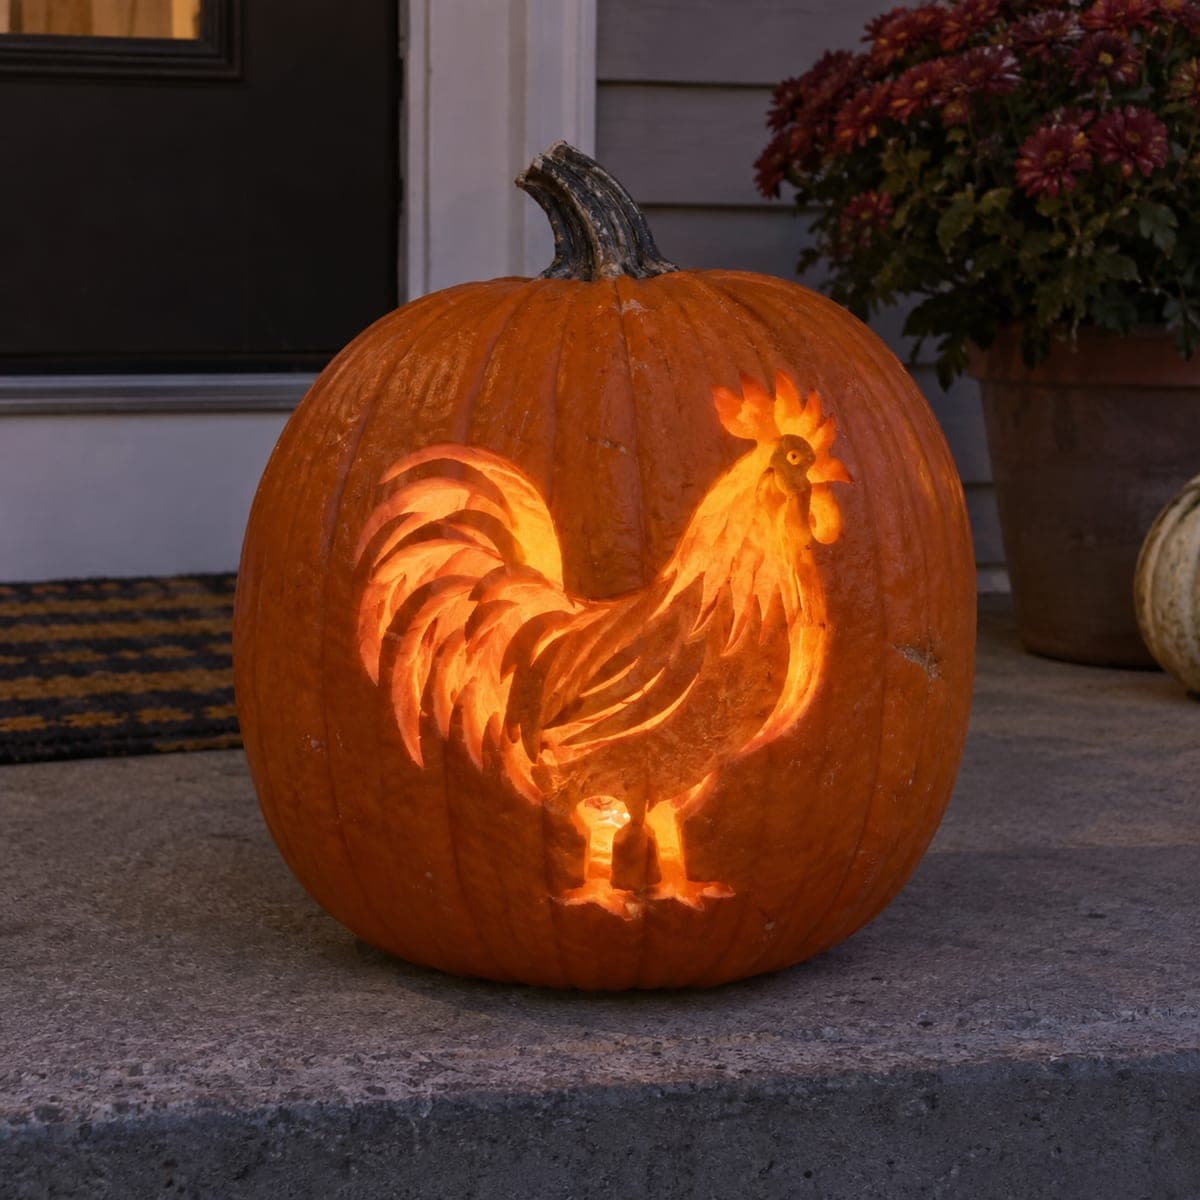
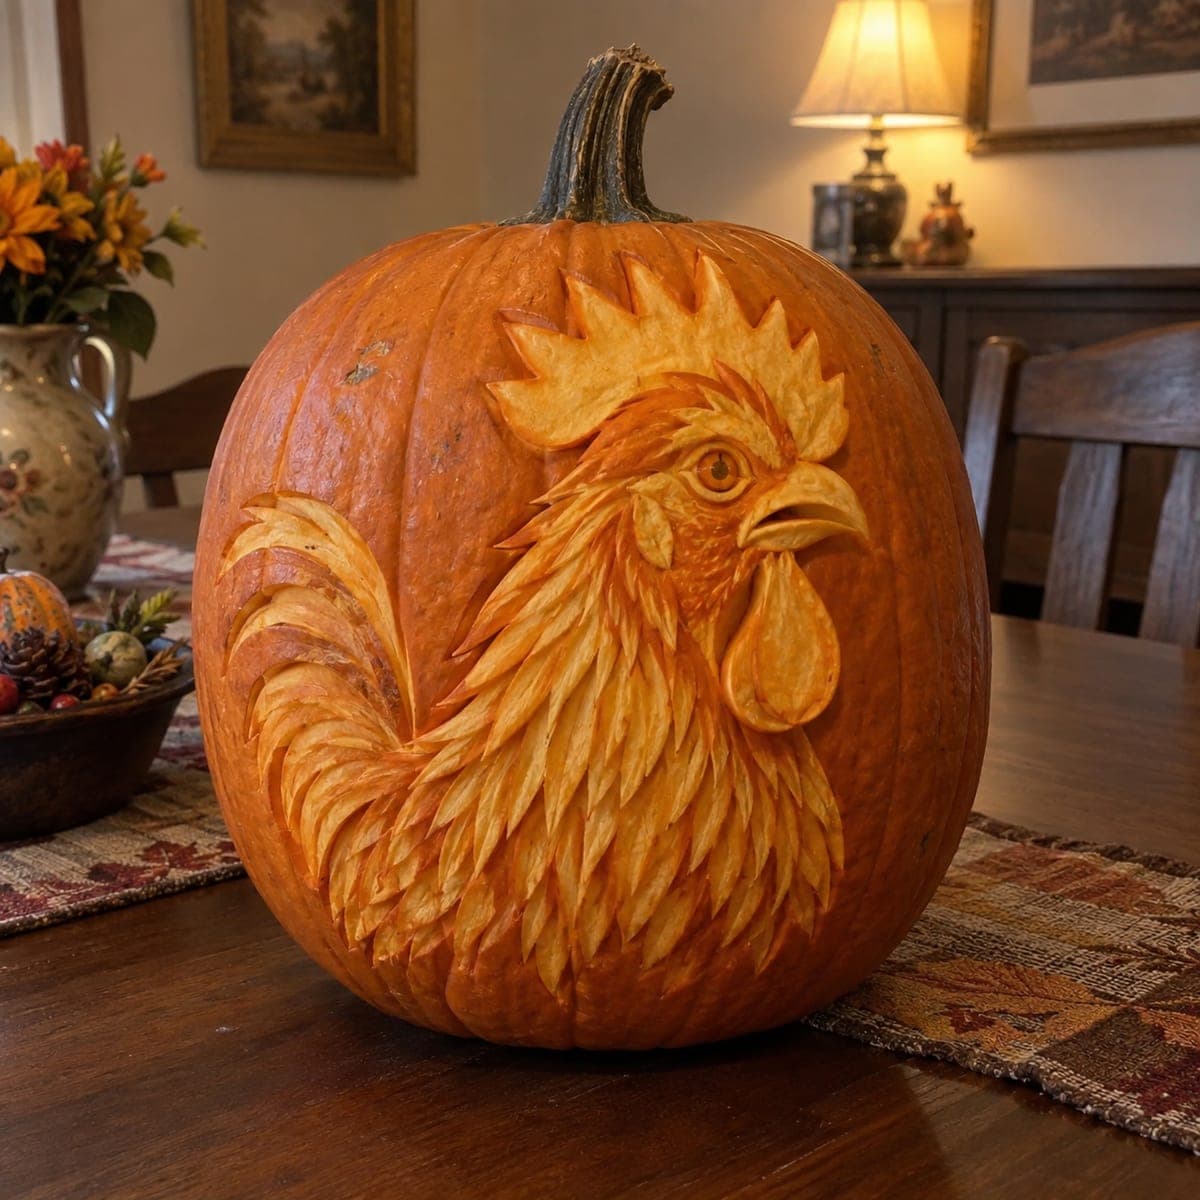
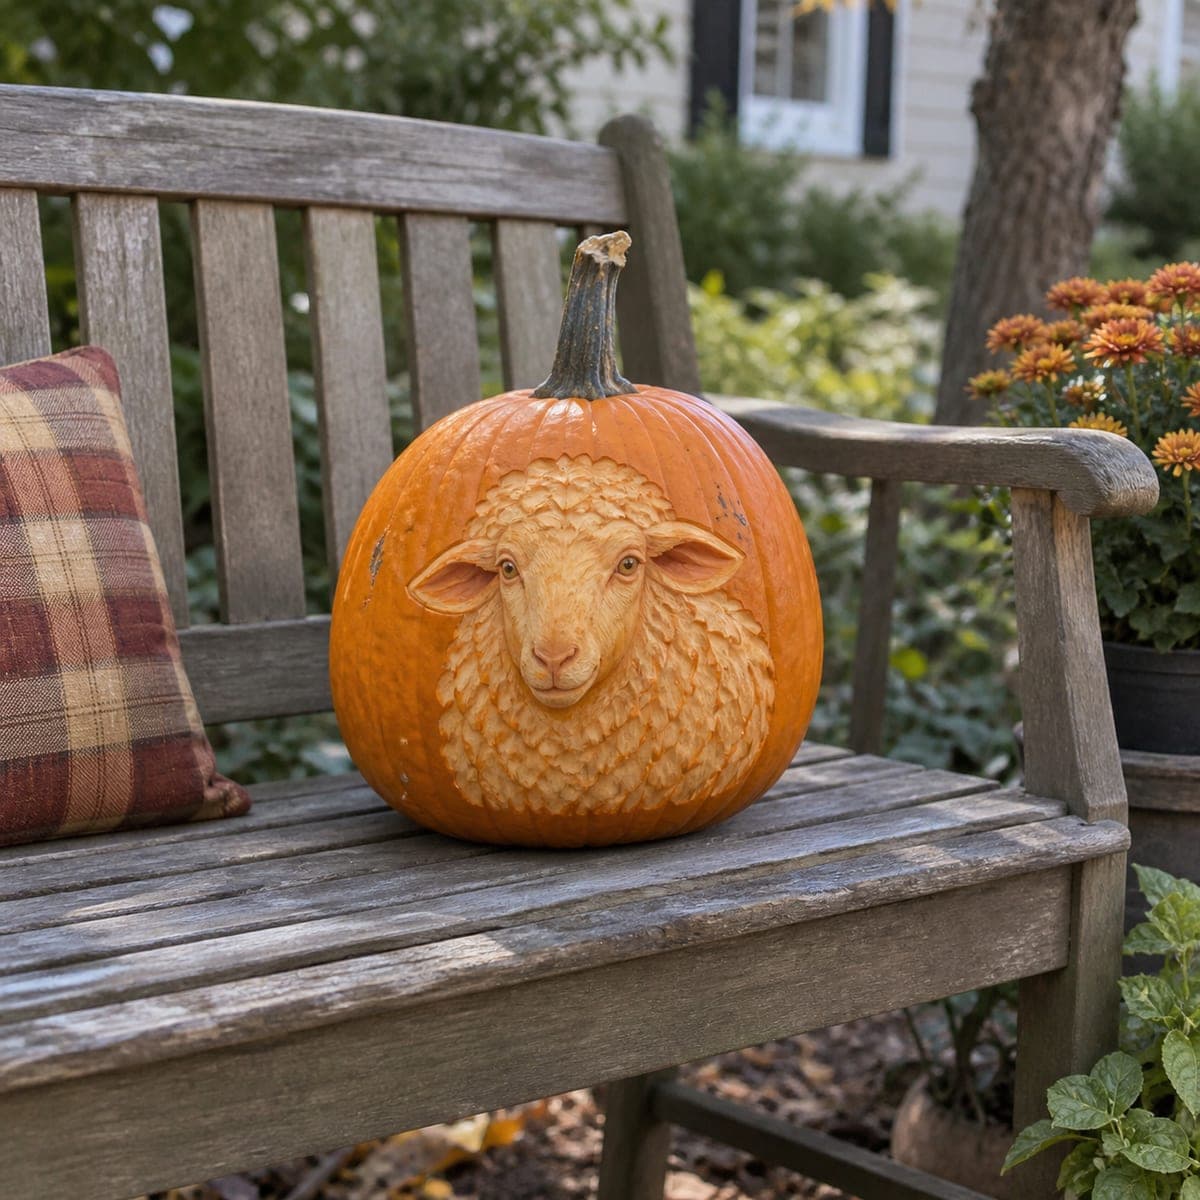
Rooster Portrait with Feather Detail Carved PumpkinAI
0

Rooster Portrait with Feather Detail Carved Pumpkin

A proud rooster's head and comb fill the pumpkin in sweeping carved relief, each feather rendered with a separate gouge stroke that fans outward from the neck in overlapping arcs. The comb spikes at the top and the curved beak create a dramatic silhouette that reads clearly from several feet away. Layer the feather carving from the outer edges inward, keeping the deeper background cuts around the beak and eye to make those features stand out. This intricate fall pumpkin carving idea suits a farmhouse or harvest-themed display alongside gourds and corn husks.

This is an AI-generated concept image: a realistic, carvable design idea rather than a photo of a finished carve. AI concepts are always labeled and sit out the leaderboard and the contest.
No ratings yet · Sign in to rate

Comments (0)

  • No comments yet — be the first.

Save without an account. Sign in to like or comment.

Our tips for carving a similar design

The core trick here is relief shading, not cutting all the way through. Each feather is a shallow gouge stroke that peels only the skin so light glows through in soft layers, while deeper background scoops around the beak and eye push those features forward. Work the whole rooster as overlapping arcs that fan out from the neck, going lighter and shallower toward the outer edges.

Written by PumpkinCarvingIdeas.com, inspired by the image above. These are our suggestions, not instructions from the uploader. This approach to the AI concept has not been tested on a real pumpkin.

From pumpkin to porch

  1. Prep and transfer the design

    Pick a tall, wide pumpkin with a smooth face for the rooster to fill. Cut a lid or a bottom access hole and scoop the wall on the carving side down to about one inch so the skin lights evenly. Tape your rooster stencil flat and poke the outline of the comb, beak, eye, and main feather groups. Remove the paper and connect the dots with a washable marker so you can see your whole plan before any blade touches the skin.

  2. Establish the deep background

    Start with the darkest, deepest areas around the beak, under the wattle, and beside the eye. Use a small gouge or loop tool to scoop these background zones lower than everything else. Keeping these recesses deep is what makes the beak and face pop out in relief. Leave the eye and beak edges standing slightly proud so they catch the strongest contrast.

  3. Carve the comb and beak details

    Shape the comb spikes at the top by peeling the skin to a mid tone and rounding each point. Do not cut the spikes free of each other; leave short bridges of pumpkin between them so the comb stays strong. Define the curved beak with a clean shallow line and a small peeled highlight along its top edge. Round the wattle below with a soft peeled surface so it reads as a hanging shape.

  4. Layer the feathers outer edge inward

    Work the feathers as overlapping arcs, starting at the outer edges of the neck and moving inward toward the face. Use a fine gouge to peel each feather with one confident stroke, leaving the tip slightly deeper for a shadow line. Overlap the next row so each feather tucks under the one above it. Vary your peel depth so feathers near the face stay lighter and the outermost ones fade darker, which builds the fanned, layered look.

  5. Refine shading and contrast

    Step back and light the pumpkin to check your tones. Deepen any background spots that look flat and peel a touch more skin on feathers that should glow brighter. Add fine texture lines within the larger feathers using the tip of a detail tool. Clean up stray marker and shave any rough edges so the transitions look smooth.

  6. Light it and photograph

    Drop in a battery LED light, ideally a warm-white one, and avoid open flames near all this thin peeled skin. Position the light low and slightly toward the face so the relief casts gentle shadows. Set the pumpkin on a runner with gourds and corn husks for a harvest display. Shoot in a dim room so the layered feather glow shows up in your photo.

Gather your supplies

Check things off as you get ready.

Work on a stable surface, keep your free hand out of the cutting path, and have an adult handle sharp tools.

Three levels of light

  • Leave intact

    The outermost feather tips and the darkest recesses beside the beak stay as untouched skin for shadow.

  • Peel & shade

    The bulk of the feathers, comb, and wattle get skin-peeled to a mid glow, with feathers near the face peeled thinner for a brighter tone.

  • Cut through

    Keep full cutouts minimal on this relief piece; a small opening at the eye can be cut through for one sharp bright accent.

Learn the carving basics

Before you start cutting

Do I need to cut all the way through for this rooster?

No, this is mostly a relief and shading piece. The glow comes from peeling the skin to different depths, not from open holes. You might cut fully through only at the eye for a single bright accent, and even that is optional.

How do I keep the comb spikes from breaking off?

Carve them as peeled relief rather than free-standing cutouts. Leave short bridges of pumpkin skin connecting the base of each spike so they support one another. Keeping the comb attached to the surface instead of cutting around it fully is what keeps it from snapping.

What order should I carve the feathers in?

Work from the outer edges inward toward the face, just as the layers overlap in nature. Peel each feather with one clean stroke and let the next row tuck under the one above. This keeps your overlaps clean and stops you from smearing tones you already carved.

Your take belongs here, too.

Changed a detail? Made it simpler? Share a photo of your version and tell the community what worked.

Share your pumpkin

More pumpkins like this

You've reached the end · 8 pumpkins
The Patch Report

Fresh pumpkins, in your inbox.

The best new carvings, ideas worth stealing, and how-tos for carving season. Short, seasonal, and gone by November.

A short email during carving season. Unsubscribe anytime. See our privacy policy.