Halloween Pumpkin Carving Contest · Starts October 1st · $500 in prizes
← Back to ideas
@ai_concepts
Aug 10, 2026
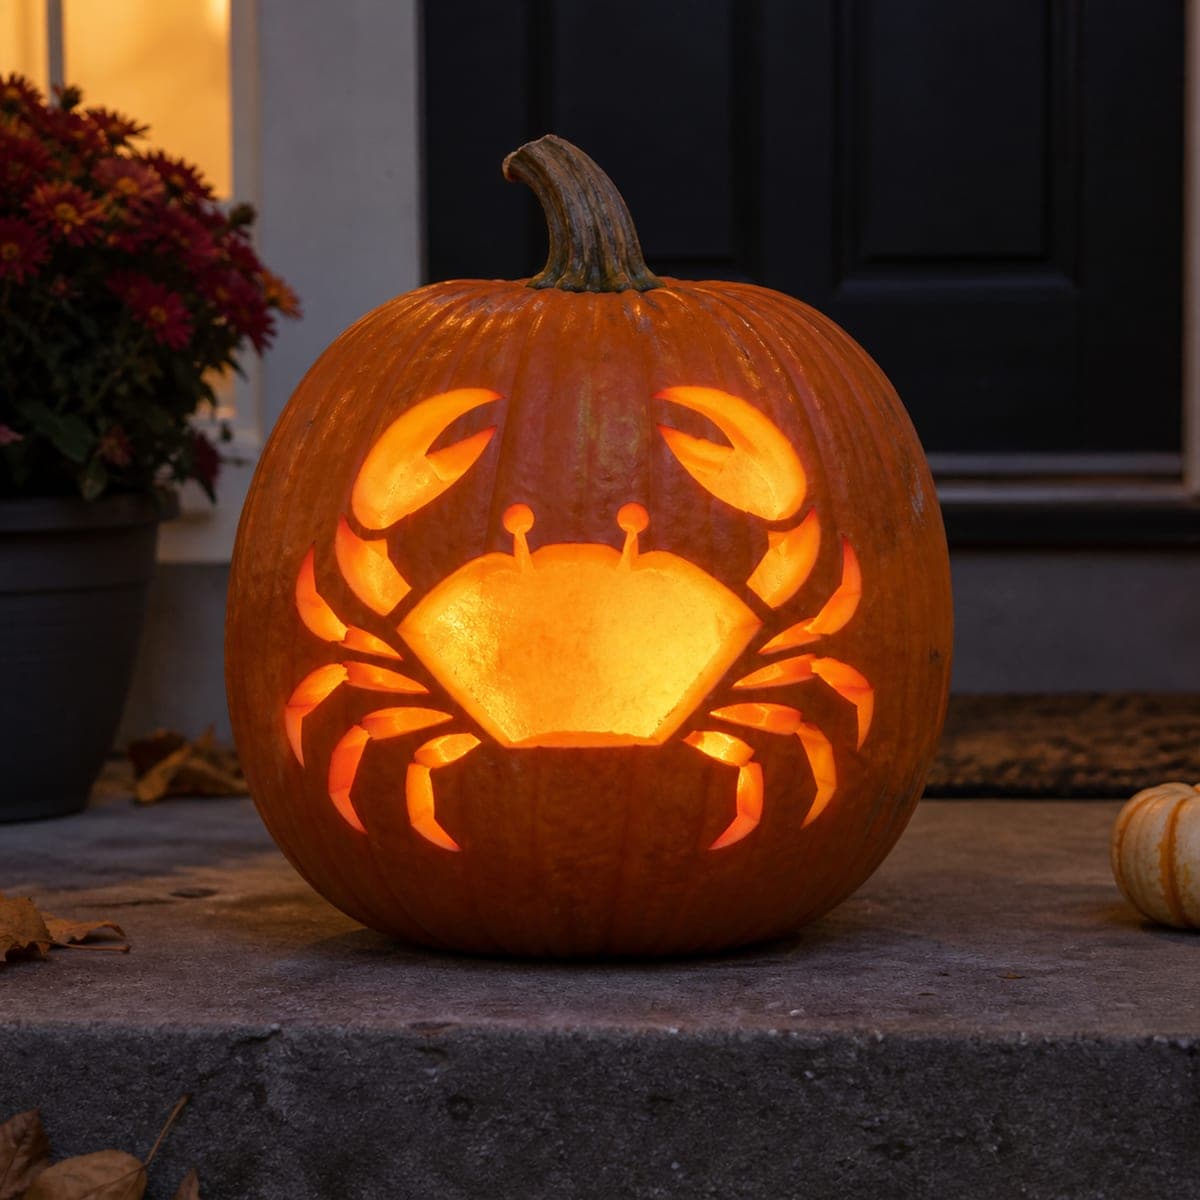
Starfish Cutout Coastal Jack-O-LanternAI
0

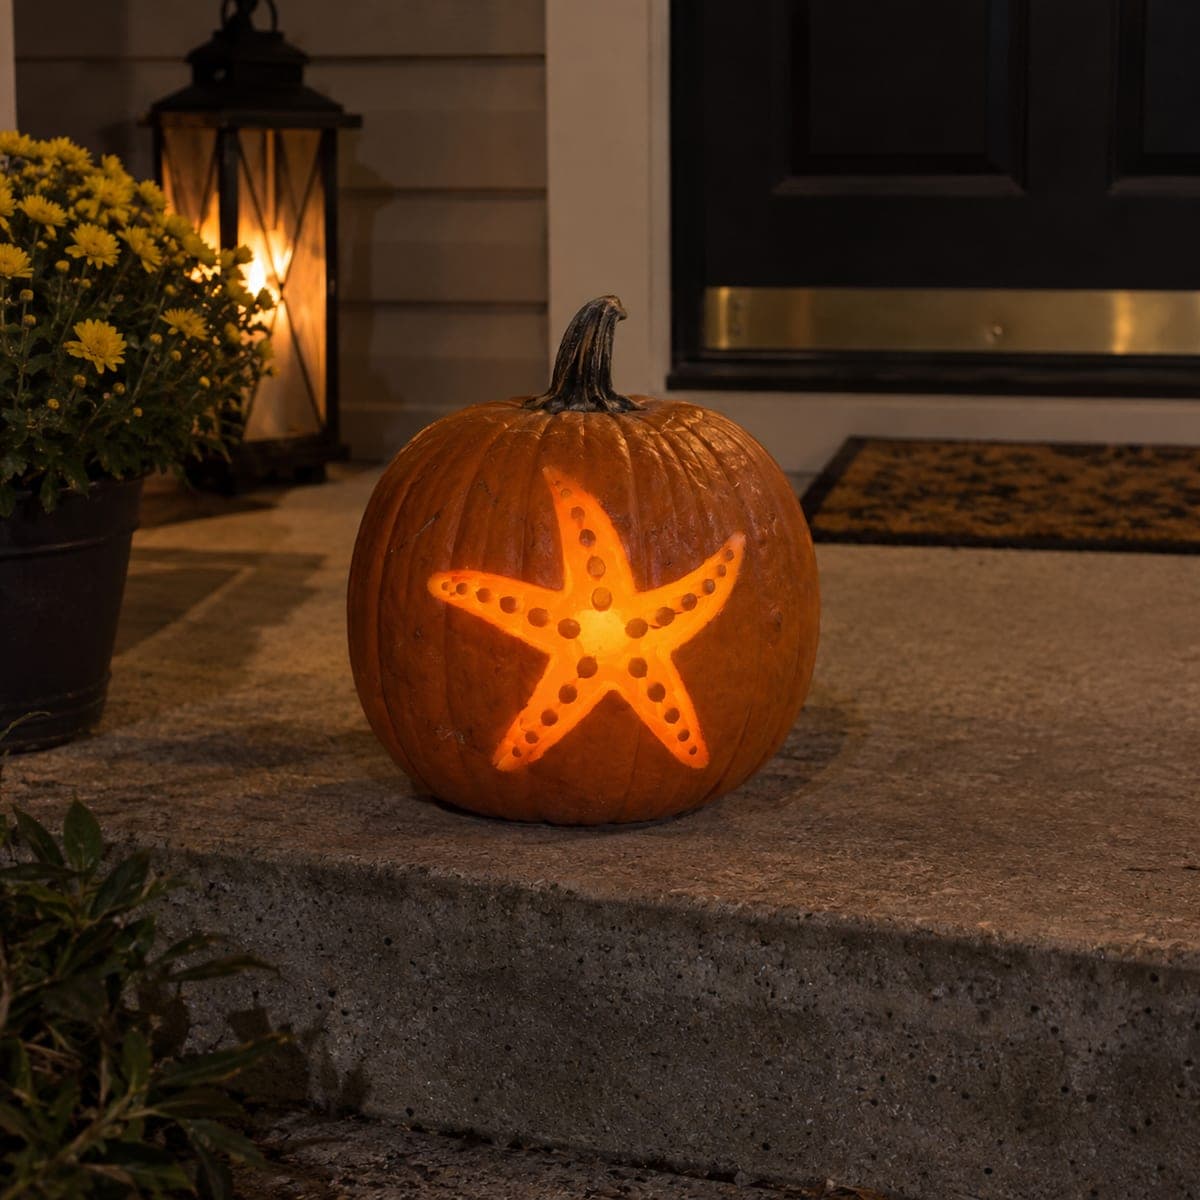
Starfish Cutout Coastal Jack-O-Lantern

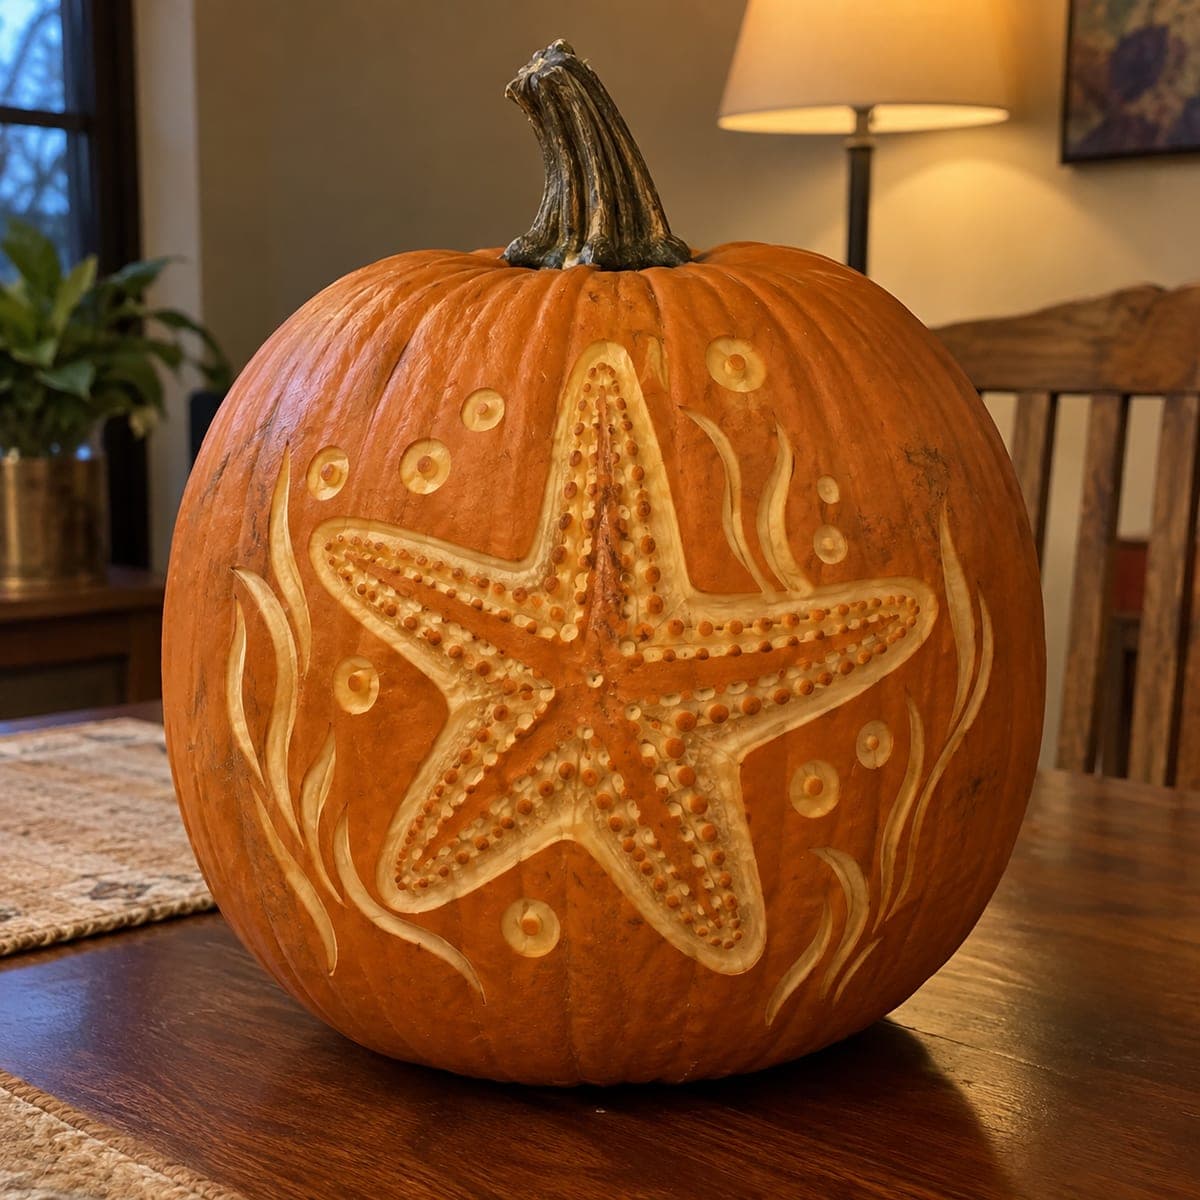
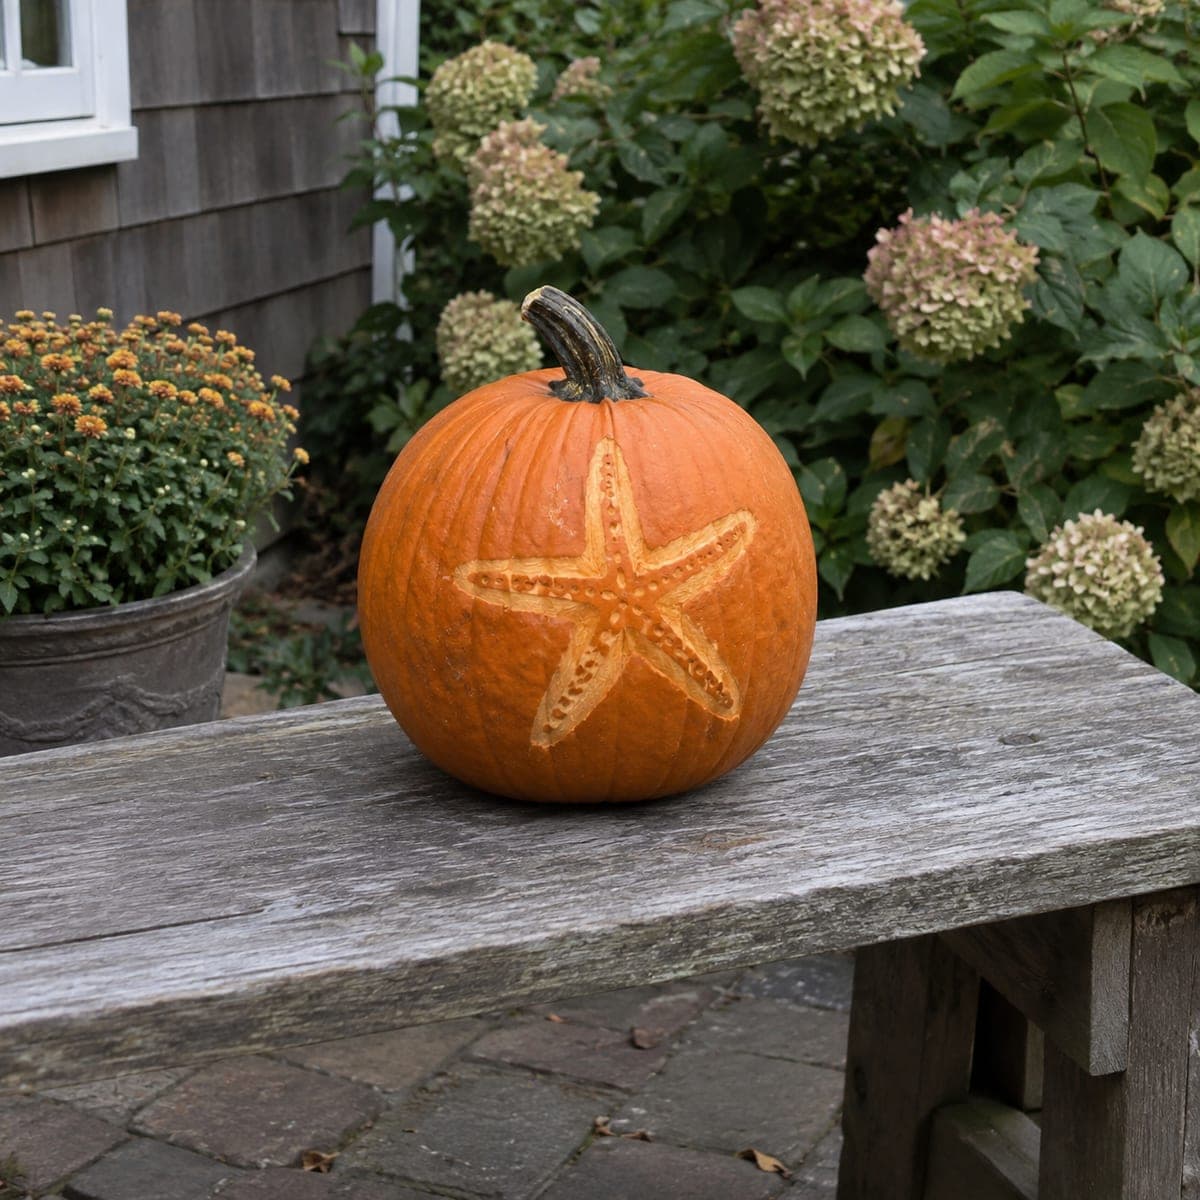
A simple five-pointed starfish with round dot details along each arm is cut entirely through a pumpkin so warm amber candlelight glows through the silhouette in a coastal-themed Jack-O-Lantern. The straightforward shape makes this one of the easier pumpkin carving ideas on this list, suitable for all skill levels with a basic carving kit. Cut the five arms from the center outward and finish by punching out the small circular dots with a round corer or apple corer for crisp circles. Pair with a lantern and seashell decorations on a porch for a beachy fall display.

This is an AI-generated concept image: a realistic, carvable design idea rather than a photo of a finished carve. AI concepts are always labeled and sit out the leaderboard and the contest.
No ratings yet · Sign in to rate

Comments (0)

  • No comments yet — be the first.

Save without an account. Sign in to like or comment.

Our tips for carving a similar design

The whole design leans on one clean silhouette, a five-pointed starfish cut fully through the wall so amber light pours out. The only extra flourish is a row of small round dots along each arm, punched with a corer for crisp circles. Keep the arms a little chunky so the shape stays strong and the pumpkin wall stays sturdy.

Written by PumpkinCarvingIdeas.com, inspired by the image above. These are our suggestions, not instructions from the uploader. This approach to the AI concept has not been tested on a real pumpkin.

From pumpkin to porch

  1. Pick and prep the pumpkin

    Choose a round, smooth pumpkin with a flat side facing out and no soft spots. Have an adult cut a lid from the bottom or the back rather than the top, which keeps the front face clean for the design. Scoop the inside and scrape the carving wall down to about one inch thick so your tools pass through easily. A thinner wall also lets the dots punch cleanly without tearing.

  2. Transfer the starfish

    Print or draw a simple five-pointed starfish sized to fill the front of the pumpkin. Tape it flat and poke the outline with a pushpin or a transfer tool, spacing dots close together along every edge. Mark the small circle details along the center of each arm as single pin points so you know where to punch later. Peel the paper and connect your dots lightly with a marker if it helps you see the shape.

  3. Cut the star from the center out

    Using a small serrated carving saw, start near the middle of the star and cut outward toward each arm tip. Working from the center keeps the blade steady and helps the points stay attached until you are ready. Gently push each freed piece inward and out. Take the arm tips slowly since they are the thinnest part of the silhouette.

  4. Punch the dot details

    Switch to a round corer or a clean apple corer for the small circles running along each arm. Press straight in with a slight twist so each dot comes out as a neat round hole. Space them evenly and leave a little pumpkin between dots so the arm does not weaken into a slot. Clear any plugs from inside the pumpkin.

  5. Clean up the edges

    Run your saw or a paring tool back along the star outline to smooth any ragged spots. Scrape the inside edges of the cut so light spreads evenly through the opening. Wipe the front with a damp cloth to remove marker lines. Dab cut edges with a little petroleum jelly to slow drying and keep the shape crisp longer.

  6. Light it and stage the scene

    Set a warm white or amber LED puck or string light inside, never a candle, so the cutout glows safely for hours. Place the pumpkin on a porch step with a lantern and a few seashells for the coastal look. Photograph it at dusk when the light inside reads brightest against the darker skin. Bring it indoors on warm nights to make it last.

Gather your supplies

Check things off as you get ready.

Work on a stable surface, keep your free hand out of the cutting path, and have an adult handle sharp tools.

Three levels of light

  • Leave intact

    The full pumpkin skin around the star stays untouched and dark for contrast.

  • Peel & shade

    Optionally shave a thin halo just outside the star outline for a soft dim glow that frames the shape.

  • Cut through

    The star body and the row of dots are cut fully through for the brightest amber light.

Learn the carving basics

Before you start cutting

How thick should I make the starfish arms so they do not break?

Keep each arm at least an inch and a half wide, tapering only near the tips. Chunky arms hold their shape and resist cracking as the pumpkin softens. Leave solid pumpkin between the punched dots so the arm stays like a bridge rather than a fragile strip.

Do I need a special tool for the round dots?

A round corer made for pumpkin kits works best, but a clean metal apple corer or even a large drinking straw for tiny dots will do. Press straight in with a slight twist for a clean circle. Practice one dot in a scrap area first to check your wall thickness.

This is a concept image, so how do I get that even amber glow on a real pumpkin?

The picture is an AI concept, so no real pumpkin was carved, but you can match the look easily. Use a warm amber LED rather than white, and scrape the inside wall thin so light spreads evenly. Adding a second small light near the center brightens the middle where the arms meet.

Your take belongs here, too.

Changed a detail? Made it simpler? Share a photo of your version and tell the community what worked.

Share your pumpkin

More pumpkins like this

You've reached the end · 8 pumpkins
The Patch Report

Fresh pumpkins, in your inbox.

The best new carvings, ideas worth stealing, and how-tos for carving season. Short, seasonal, and gone by November.

A short email during carving season. Unsubscribe anytime. See our privacy policy.