Halloween Pumpkin Carving Contest Β· Starts October 1st Β· $500 in prizes
← Back to ideas
@ai_concepts
Sep 25, 2026
Teal Tennis Racket and Mustard Ball Painted PumpkinAI
0

Report this carving

Tell us what is wrong. Reports are private.

Teal Tennis Racket and Mustard Ball Painted Pumpkin

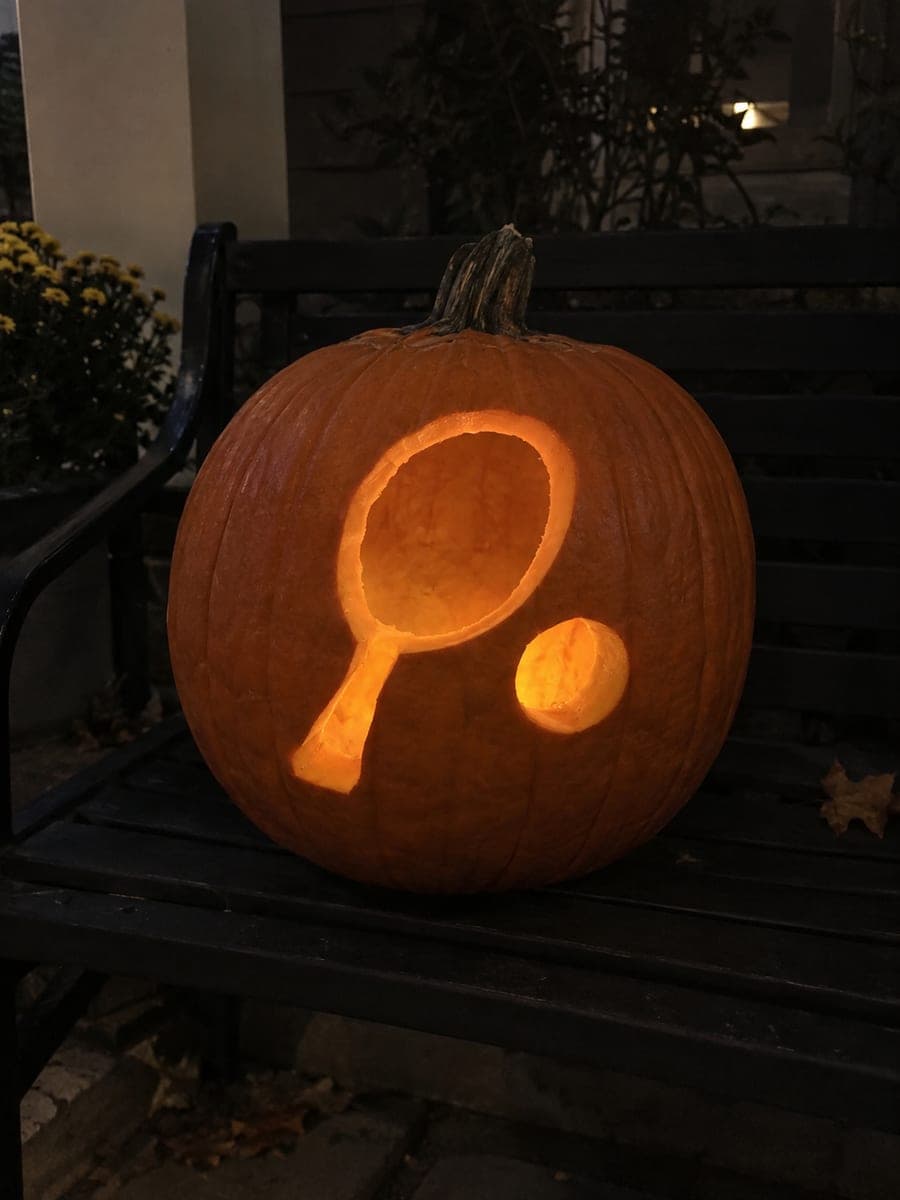
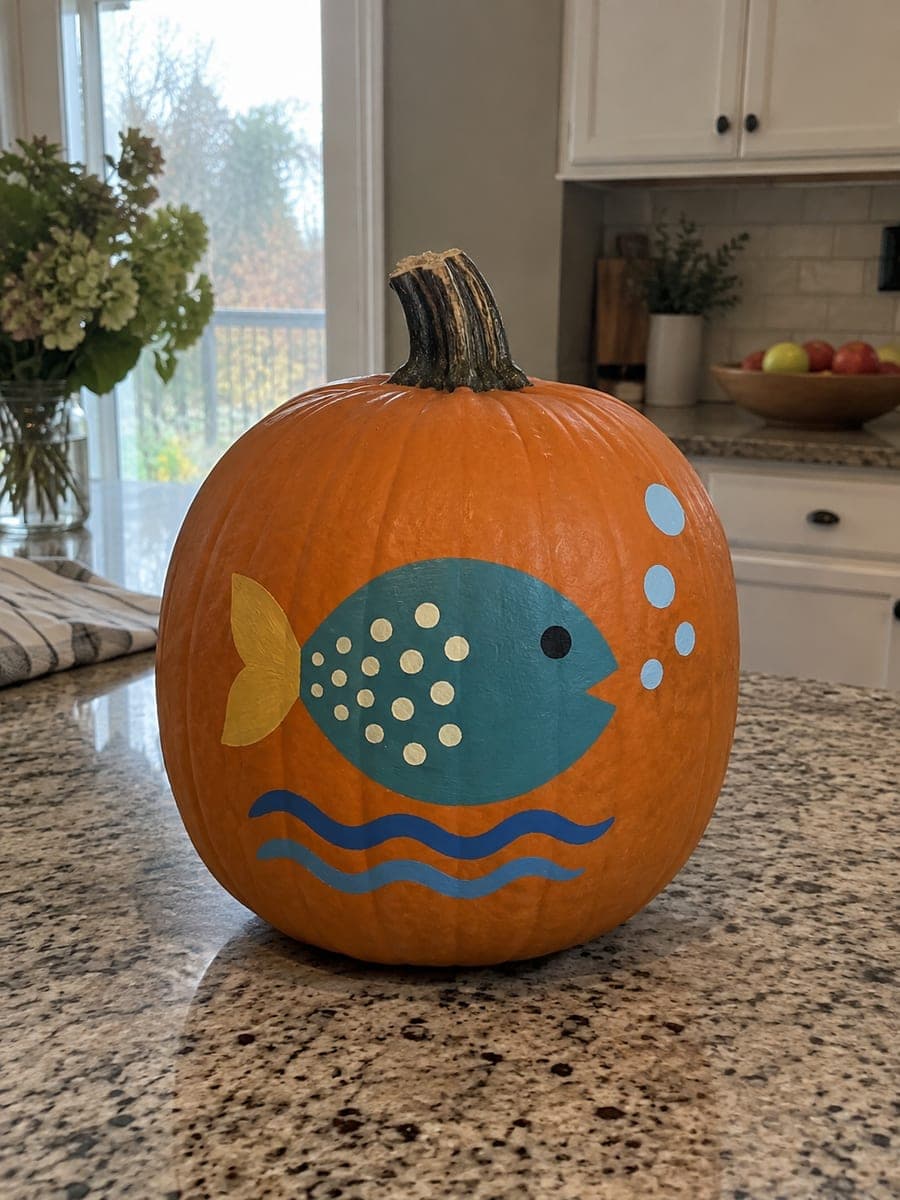
A flat teal tennis racket with a cream oval center and a few mauve grid lines, paired with a mustard yellow tennis ball showing two cream seams, is painted directly onto an orange pumpkin in this no-carve tennis pumpkin idea. Sketch the racket outline first in pencil, block in the teal handle and frame, then paint the cream oval center. Add the mauve grid lines with a thin round brush using light pressure. The mustard ball benefits from two coats for opacity, with cream seam curves and three dot accents added last.

No ratings yet Β· Sign in to rate

Comments (0)

  • No comments yet β€” be the first.

Save without an account. Sign in to like or comment.

Our tips for carving a similar design

A flat teal racket with a cream oval center and a few mauve grid lines sits beside a mustard tennis ball with cream seams and accent dots, all painted directly on an intact pumpkin. Painting from largest shape to smallest detail and allowing drying between each element prevents color blending. The palette of teal, mustard, mauve, and cream against the orange rind is distinctive and avoids the usual primary-color sports clichΓ©s.

From pumpkin to porch

  1. Clean and sketch

    Wipe the pumpkin clean and allow it to dry. Use a chalk pencil to sketch the racket outline, the cream oval center inside it, and the tennis ball circle to one side. Step back and check the proportions before committing to paint. The racket should be larger than the ball.

  2. Paint the teal racket frame and handle

    Block in the teal racket frame and handle with a small flat brush, using two coats and allowing each coat to dry. Teal covers orange reasonably well in two coats with minimal bleeding. Keep the brush strokes along the length of the frame for a smooth finish.

  3. Paint the cream oval center

    Fill the oval center of the racket head with cream acrylic using a medium round brush. Two to three coats are needed over the orange background. Allow each coat to dry fully. The cream oval represents the open string area and is the lightest area of the composition.

  4. Add the mauve grid lines

    Use a thin round brush and mauve acrylic to paint four to six grid lines across the cream oval in a simple cross-hatch pattern. Use light, confident strokes and hold the brush nearly vertical. These lines suggest the string pattern without requiring precise geometric accuracy.

  5. Paint the mustard ball

    Block in the mustard tennis ball circle with a medium round brush using two coats. Add the two cream seam curves with a fine brush once the mustard is fully dry. Finally, add three small cream dots in a cluster with the brush tip as the accent detail noted in the design.

  6. Seal and display

    Allow all paint to cure overnight. Apply two coats of matte varnish for outdoor use. Display indoors on a kitchen island or window ledge, or outdoors on a covered porch shelf where the palette reads well in soft light.

Written with AI to match this design

Gather your supplies

Check things off as you get ready.

Work on a stable surface, keep your free hand out of the cutting path, and have an adult handle sharp tools.

Three levels of light

  • Leave intact

    The orange rind outside the painted shapes stays natural.

  • Peel & shade

    None; the shell is fully intact.

  • Cut through

    None; use an indoor lamp or outdoor spotlight to show the painted design after dark.

Learn the carving basics

Before you start cutting

Teal is a mix of blue and green. Can I mix it from acrylic colors I already have?

Yes. Start with a mid-blue acrylic and add a small amount of bright green, mixing thoroughly on a palette. Test the color on a paper scrap before applying it to the pumpkin, adjusting the green proportion until the teal reads more blue-green than pure blue or pure green. Adding a tiny amount of white lightens the mix without dulling the color.

The mauve grid lines bleed slightly into the cream oval. How do I prevent that?

Allow the cream oval to cure for at least two hours before adding the mauve grid lines. If bleeding still occurs, wipe the mauve line immediately with a nearly dry damp brush, pulling the bleed back toward the center of the line. A thinner brush loaded with less paint also reduces bleeding significantly.

Three cream dots on the mustard ball seems like a very small detail. Will they show?

Yes, at close viewing distance the cream dots are visible against the mustard background and add a highlight texture that makes the ball read as dimensional. Use the very tip of a round brush with a minimal paint load, or apply each dot with the blunt end of a toothpick for the smallest, most consistent circles.

Your take belongs here, too.

Changed a detail? Made it simpler? Share a photo of your version and tell the community what worked.

Share your pumpkin

More pumpkins like this

You've reached the end Β· 8 pumpkins
The Patch Report

Fresh pumpkins, in your inbox.

The best new carvings, ideas worth stealing, and how-tos for carving season. Short, seasonal, and gone by November.

A short email during carving season. Unsubscribe anytime. See our privacy policy.