Halloween Pumpkin Carving Contest · Starts October 1st · $500 in prizes
← Back to ideas
@ai_concepts
Sep 25, 2026
White Golf Ball, Tee and Navy Club Painted PumpkinAI
0

Report this carving

Tell us what is wrong. Reports are private.

White Golf Ball, Tee and Navy Club Painted Pumpkin

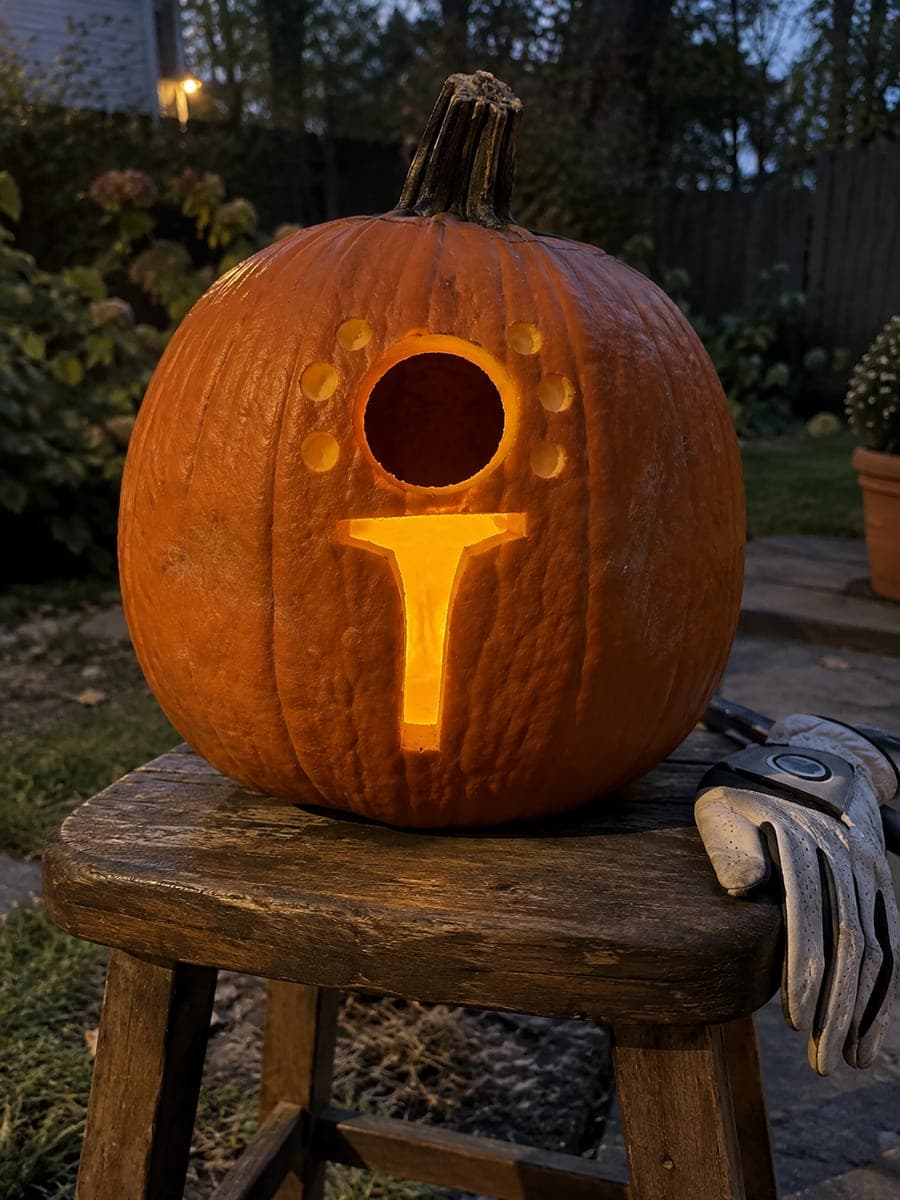
A white golf ball, a wooden tee, and a navy blue club head are painted onto an intact pumpkin in this no-carve golf pumpkin idea. Start with the white ball circle and let it dry before painting the tee in tan and the club shaft in navy. Add a cluster of small grey dimple dots across the ball with a fine round brush for a realistic touch. Matte varnish completes the look and extends the life of the design on an outdoor display.

No ratings yet · Sign in to rate
Comments (0)

  • No comments yet — be the first.

Save without an account. Sign in to like or comment.

Our tips for carving a similar design

Three flat painted shapes, a white ball circle, a tan wooden tee, and a navy club shaft and head, sit together on the orange rind in a clean sporting vignette. Painting in order from largest to smallest and waiting for full drying between colors prevents bleed. A cluster of small grey dimple dots on the white ball adds realistic texture with minimal effort.

From pumpkin to porch

  1. Clean and prime the surface

    Wipe the pumpkin with a damp cloth and allow full drying. If the surface looks waxy, wipe lightly with isopropyl alcohol on a cloth. A thin coat of white gesso applied to the planned painting area and dried before applying color paint dramatically improves the coverage of both white and navy paints over the orange rind.

  2. Sketch the design

    Lightly sketch the white ball circle, the tee below it, and the club shaft and head to one side using a chalk pencil. Check proportions by stepping back before committing to paint. The tee should fit snugly beneath the ball, and the club head should sit lower than the ball center.

  3. Paint the white ball

    Apply the first coat of white acrylic to the ball circle with a wide flat brush. Two to three coats will be needed for opacity over the orange background. Allow full drying between coats. Once the final coat is dry, add a cluster of small grey dimple dots with a fine round brush.

  4. Paint the tan tee

    Use a medium round brush to paint the tee in tan or light brown acrylic. The tee is a narrow shape with a round top, so use the brush tip for the edges and the flat belly for the shaft. Two coats produce a solid result.

  5. Paint the navy club

    Paint the club shaft in navy with a small flat brush using long, even strokes along the length of the shaft. Add the club head at the bottom with slightly heavier paint coverage since navy over orange needs full opacity. A thin white highlight line along the upper edge of the shaft adds depth.

  6. Seal and display

    Apply two light coats of matte acrylic spray varnish over the entire painted area. Matte finish keeps the design looking natural rather than plastic. Display indoors or on a covered porch, and add a small exterior spotlight for evening visibility.

Written with AI to match this design

Gather your supplies

Check things off as you get ready.

Work on a stable surface, keep your free hand out of the cutting path, and have an adult handle sharp tools.

Three levels of light

  • Leave intact

    The orange rind outside the painted shapes stays natural and visible.

  • Peel & shade

    None; the shell is fully intact.

  • Cut through

    None; use an outside spotlight or porch light for evening display.

Learn the carving basics

Before you start cutting

How do I make the white ball opaque over the bright orange rind?

A thin coat of white gesso applied first and fully dried creates a neutral undercoat that makes subsequent white acrylic coats fully opaque in two to three layers rather than four or five. Without gesso, count on three to four coats of white acrylic and allow each coat to dry thoroughly before the next.

The dimple dots on the ball look too large. How do I fix them?

Use the very tip of a round brush with minimal paint, or dip a toothpick into grey paint and dot it directly onto the white ball for tiny, consistent circles. Real golf ball dimples are small and closely spaced, so aim for dots no larger than two millimeters in diameter.

Can I add a second club or a flag to the composition?

Yes, adding a simple triangle flag or a second club on the opposite side of the ball works well and fills the space more fully. Keep additional elements the same navy color as the club shaft for a unified palette. Sketch them lightly in chalk before committing to paint so you can adjust placement.

Your take belongs here, too.

Changed a detail? Made it simpler? Share a photo of your version and tell the community what worked.

Share your pumpkin

More pumpkins like this

You've reached the end · 8 pumpkins
The Patch Report

Fresh pumpkins, in your inbox.

The best new carvings, ideas worth stealing, and how-tos for carving season. Short, seasonal, and gone by November.

A short email during carving season. Unsubscribe anytime. See our privacy policy.