Halloween Pumpkin Carving Contest · Starts October 1st · $500 in prizes
← Back to ideas
@ai_concepts
Sep 25, 2026

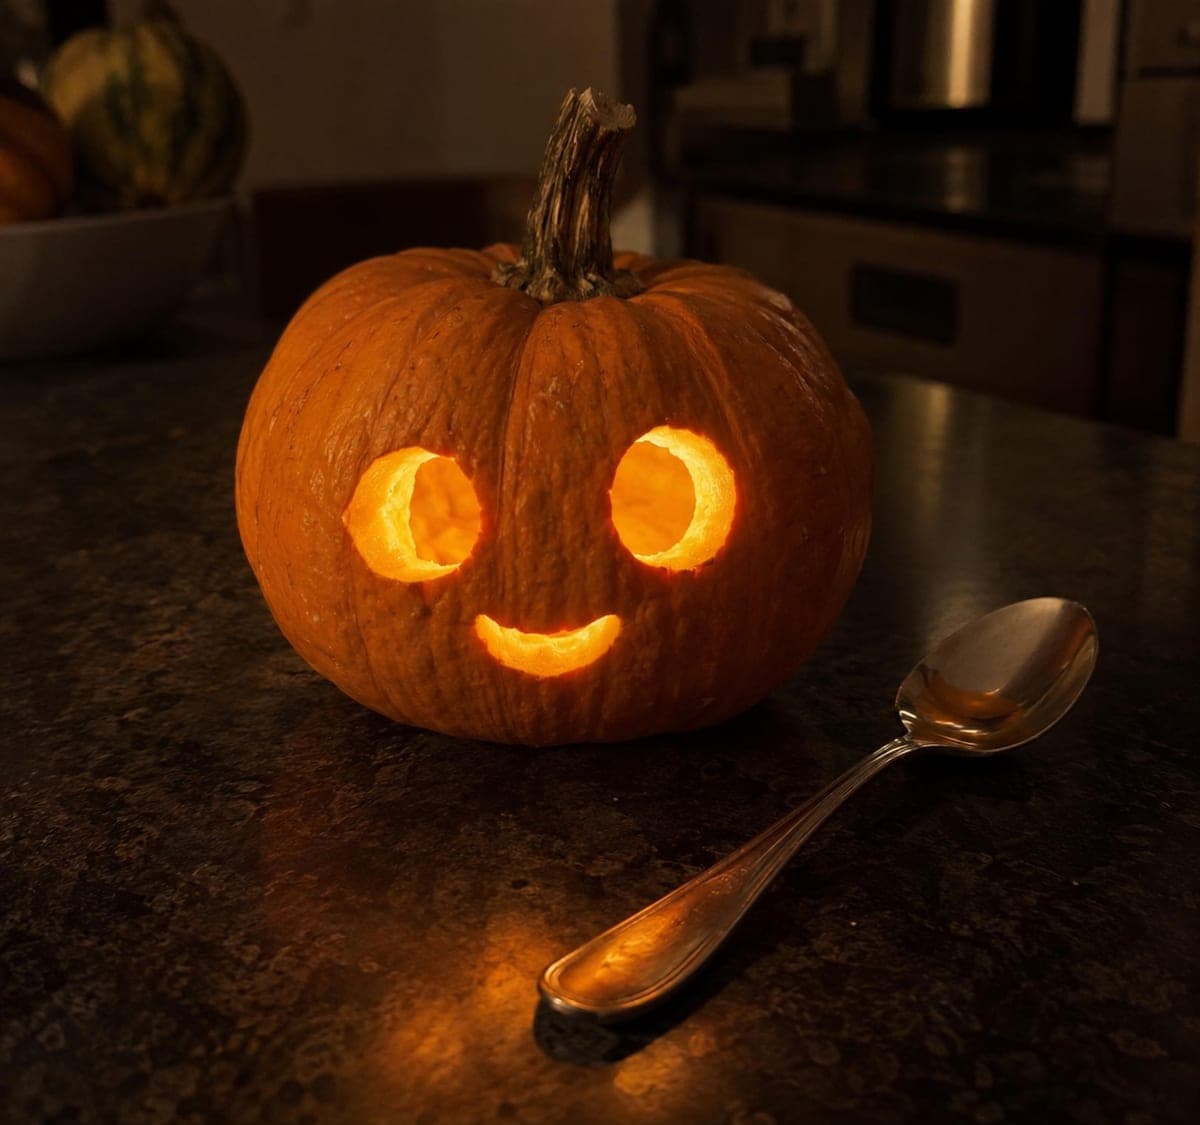
Triangle Eyes and Crescent Smile Small PumpkinAI
0

Report this carving

Tell us what is wrong. Reports are private.

Triangle Eyes and Crescent Smile Small Pumpkin

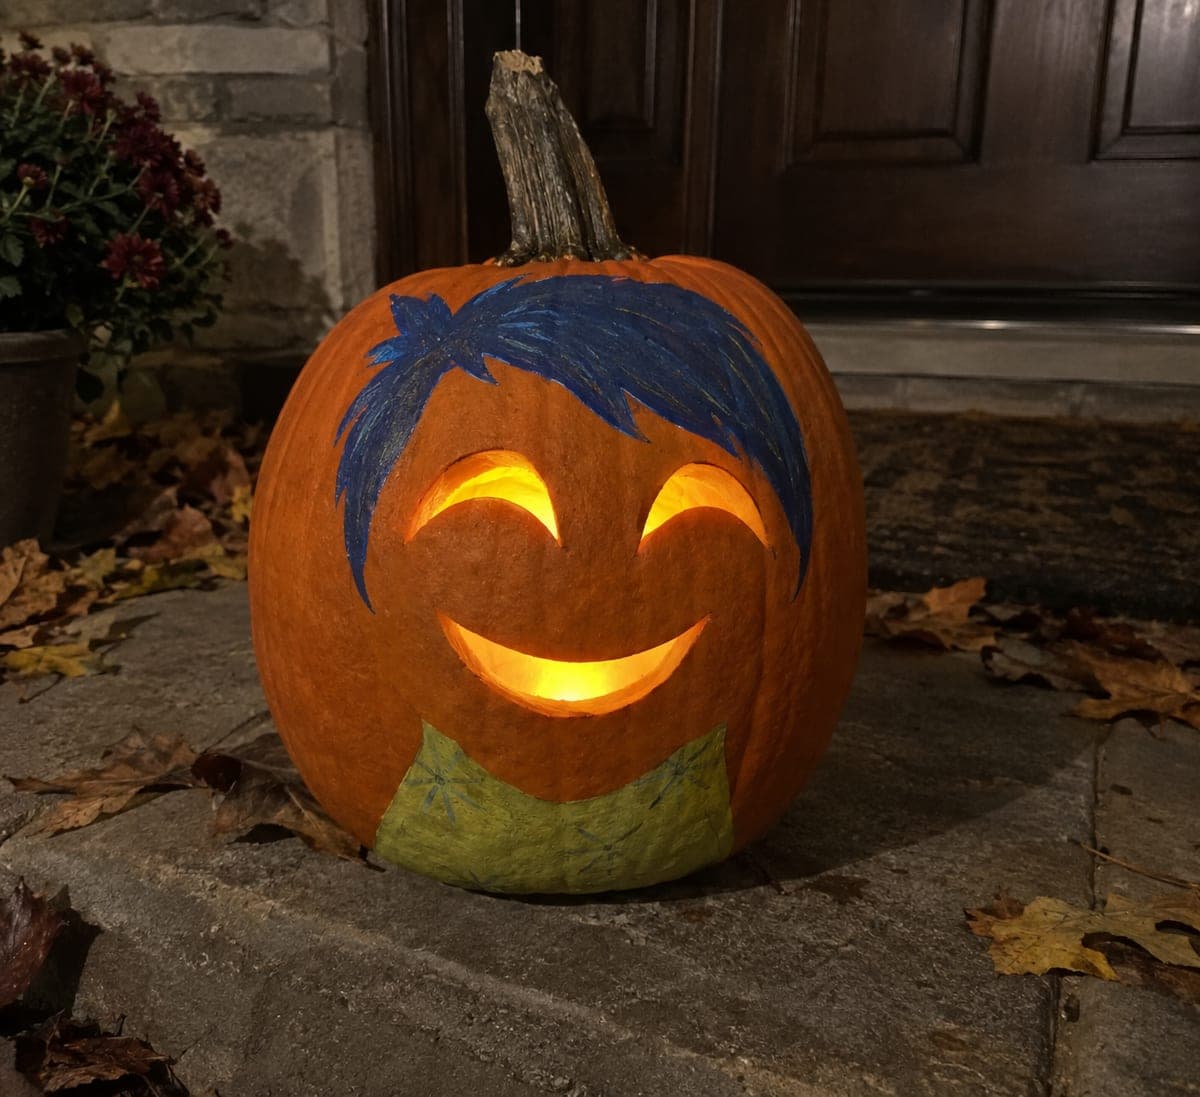
Two crisp triangular eye holes and a wide empty crescent smile are all it takes to give this 15-centimeter pumpkin a friendly glowing face. Trace the triangles and smile with a dry-erase marker before cutting so you can adjust the proportions without committing, then use a small serrated carving saw for clean edges on the curves. Gut the pumpkin thoroughly and scrape the inside walls thin beneath the smile so the glow spreads evenly. This small pumpkin carving idea looks great clustered with a ceramic mug and candles for a low-key autumn table display.

No ratings yet · Sign in to rate
Comments (0)

  • No comments yet — be the first.

Save without an account. Sign in to like or comment.

Our tips for carving a similar design

Two triangular eyes and a wide empty crescent smile give this 15-centimeter pumpkin a friendly expression with minimal cutting. Tracing shapes with a dry-erase marker lets you adjust proportions before committing, and a small serrated carving saw makes clean curves on the smile. Scraping the inside thin beneath the smile ensures even glow spread.

From pumpkin to porch

  1. Hollow the pumpkin

    Cut an angled lid and scoop out all seeds and fiber with a spoon. Scrape the interior walls to about 1.5 cm thickness, paying extra attention to the area behind where the smile will go so the glow spreads evenly across the full curve.

  2. Draw the face with a dry-erase marker

    Sketch two triangles for eyes and a wide crescent for the smile. A dry-erase marker wipes off cleanly with a damp cloth so you can reposition shapes until the proportions look balanced before any cutting begins.

  3. Cut the two triangle eyes

    Use a small serrated carving saw for each triangle. Cut from corner to corner in straight strokes, push the triangular plug inward, and pull it out through the lid hole. Adults should handle the saw throughout.

  4. Cut the crescent smile

    Follow the curved smile line with the carving saw in smooth, continuous strokes. Cut the outer curve first, then the inner curve. Push the crescent plug inward and remove it through the top opening.

  5. Clean up and wipe dry-erase residue

    Wipe any remaining marker lines from the exterior with a damp cloth. Pat the surface dry so moisture does not soften the rind around the cut edges.

  6. Light and display

    Place an LED tea-light inside and replace the lid. Set on an autumn table display beside a ceramic mug and candles where the small glowing face reads well at eye level.

Written with AI to match this design

Gather your supplies

Check things off as you get ready.

Work on a stable surface, keep your free hand out of the cutting path, and have an adult handle sharp tools.

Three levels of light

  • Leave intact

    All rind between the three openings and the uncarved back half of the pumpkin stay dark.

  • Peel & shade

    None; no skin peeling is used.

  • Cut through

    Both triangle eyes and the wide crescent smile are cut fully through.

Learn the carving basics

Before you start cutting

How do I get a clean curve on the crescent smile with a saw?

Short, overlapping strokes work better than one long sweep. Pivot the pumpkin rather than your wrist so the blade always points toward the next section of the curve. A fine-toothed saw tears the rind less on curves than a coarse blade.

Can I skip the dry-erase marker step and draw directly in permanent marker?

You can, but permanent marker shows on the orange rind if your cuts deviate from the line. Dry-erase gives you a low-risk test run. If you prefer permanent marker, draw lightly and stay close to the line when cutting.

The smile curve leaves a convex inner plug. Is there a trick to removing it cleanly?

Score a small notch at the center of the inner smile curve to give the plug a natural break point, then push gently from outside. It usually comes free in one piece without needing extra cuts.

Your take belongs here, too.

Changed a detail? Made it simpler? Share a photo of your version and tell the community what worked.

Share your pumpkin

More pumpkins like this

You've reached the end · 8 pumpkins
The Patch Report

Fresh pumpkins, in your inbox.

The best new carvings, ideas worth stealing, and how-tos for carving season. Short, seasonal, and gone by November.

A short email during carving season. Unsubscribe anytime. See our privacy policy.