Halloween Pumpkin Carving Contest · Starts October 1st · $500 in prizes
← Back to ideas
@ai_concepts
Sep 25, 2026
Twin Oak Leaf Silhouette Pumpkin on a Garden PathAI
0

Report this carving

Tell us what is wrong. Reports are private.

Twin Oak Leaf Silhouette Pumpkin on a Garden Path

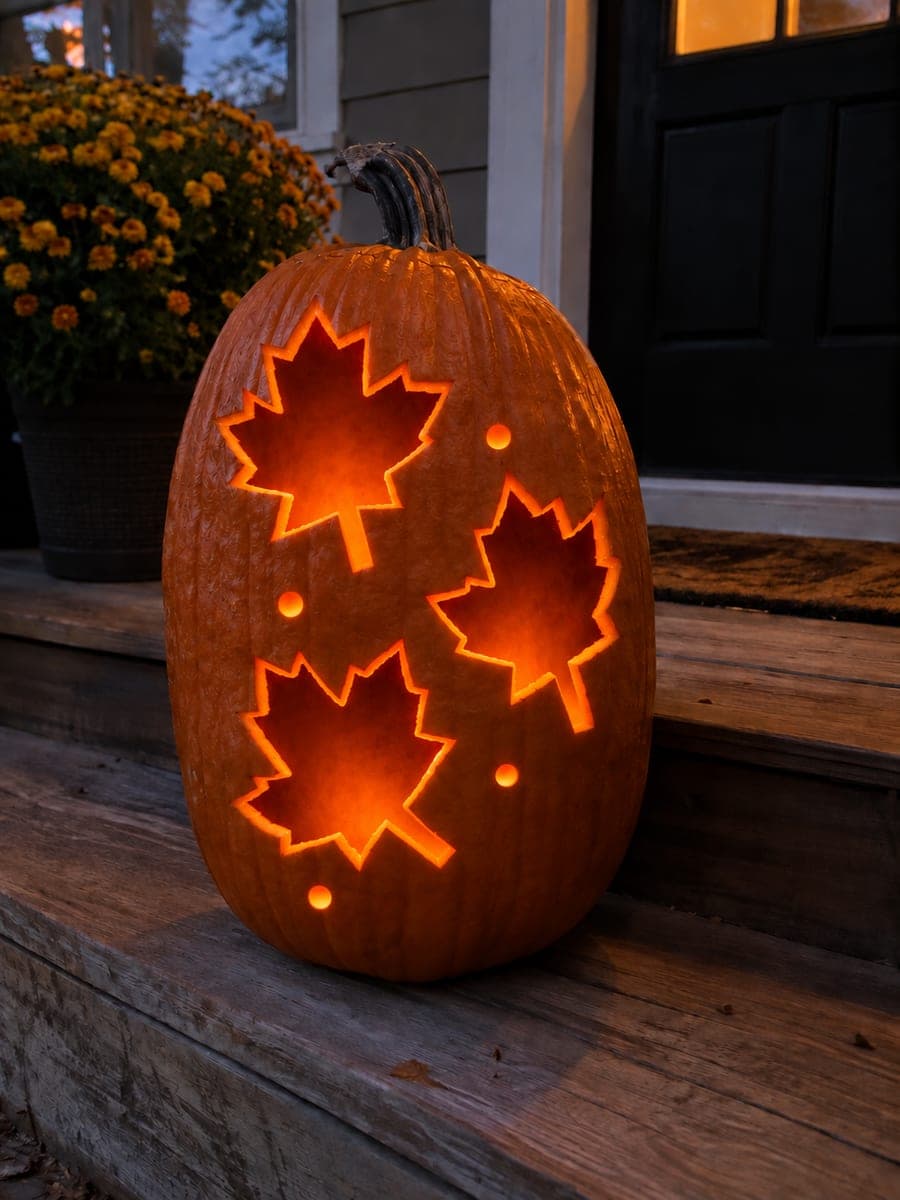
Two broad oak-leaf silhouette holes tilted in opposite directions, each fully empty with no interior veins, glow on a gravel garden path in this easy fall leaves pumpkin carving idea. Remove each leaf outline as a complete open aperture, keeping a wide rind band between the two leaves so the shell stays rigid. Tilting the leaves in opposite directions gives a sense of motion, like leaves caught mid-fall. Setting the pumpkin on damp gravel lets the glow scatter beautifully in wet weather.

No ratings yet · Sign in to rate
Comments (0)

  • No comments yet — be the first.

Save without an account. Sign in to like or comment.

Our tips for carving a similar design

Both leaves are removed entirely as open apertures with no retained veins, keeping the cutting simple and the result bold. A wide rind band between the two leaves is what keeps the shell rigid despite two large openings. Tilting the leaves in opposite directions adds a sense of motion without any additional complexity.

From pumpkin to porch

  1. Find or print oak leaf templates

    Trace two large fallen oak leaves onto paper, or print an oak leaf outline at a size that fits comfortably on the pumpkin face. Cut both templates out and hold them against the pumpkin to check sizing. Leave at least an inch of rind on all sides of each leaf and at least an inch-and-a-half between the two leaves.

  2. Hollow the pumpkin

    Open from the bottom and scoop to a consistent one-inch wall. Two large openings will let out a lot of light, so a thinner wall increases the glow rather than reducing it, as long as the rind band between the leaves stays robust.

  3. Position and tilt the templates

    Tape the first leaf template with a slight clockwise tilt and the second with a counterclockwise tilt. Stand back and check that the two tilts look balanced before tracing. Use a stylus to trace the full outline of each leaf, including all lobe curves.

  4. Cut each leaf as one continuous opening

    Remove the first leaf completely before starting the second. Cut along the outer lobe curves using short, controlled strokes. Oak leaves have pointed lobe tips, so reduce blade pressure at each tip to avoid cracking the rind.

  5. Light and place on gravel

    Insert a warm LED candle and set the pumpkin on damp gravel. The uneven gravel surface scatters the projected leaf shapes attractively. After rain is an especially good display opportunity, as wet gravel amplifies the warm glow.

Written with AI to match this design

Gather your supplies

Check things off as you get ready.

Work on a stable surface, keep your free hand out of the cutting path, and have an adult handle sharp tools.

Three levels of light

  • Leave intact

    All surrounding orange rind including the wide band between the two leaves stays dark, framing the glowing silhouettes.

  • Peel & shade

    None. This design uses only full cutouts.

  • Cut through

    Both oak leaf openings are cut completely through with no retained interior detail.

Learn the carving basics

Before you start cutting

Does it matter which direction each leaf tilts?

Either direction works. The key is that the two leaves tilt toward each other at the top, like leaves falling inward, or away from each other, which looks more scattered. Both compositions read well. The falling-inward angle creates a slightly more cohesive look.

How much rind must remain between the two leaf openings?

On a typical medium pumpkin, keep at least an inch-and-a-half between the two openings. Two large adjacent holes with less rind than that can cause the band between them to flex or even snap under the weight of the rind above it.

Can I add a stem extension to each leaf?

Yes. A short curved stem cut below each leaf base integrates naturally with the oak leaf shape and adds a small extra detail without any structural risk, provided the stem stays at least a quarter inch wide.

Your take belongs here, too.

Changed a detail? Made it simpler? Share a photo of your version and tell the community what worked.

Share your pumpkin

More pumpkins like this

You've reached the end · 8 pumpkins
The Patch Report

Fresh pumpkins, in your inbox.

The best new carvings, ideas worth stealing, and how-tos for carving season. Short, seasonal, and gone by November.

A short email during carving season. Unsubscribe anytime. See our privacy policy.