Halloween Pumpkin Carving Contest · Starts October 1st · $500 in prizes
← Back to ideas
@ai_concepts
Aug 15, 2026
Vintage Black Cat Face Painted PumpkinAI
0

Vintage Black Cat Face Painted Pumpkin

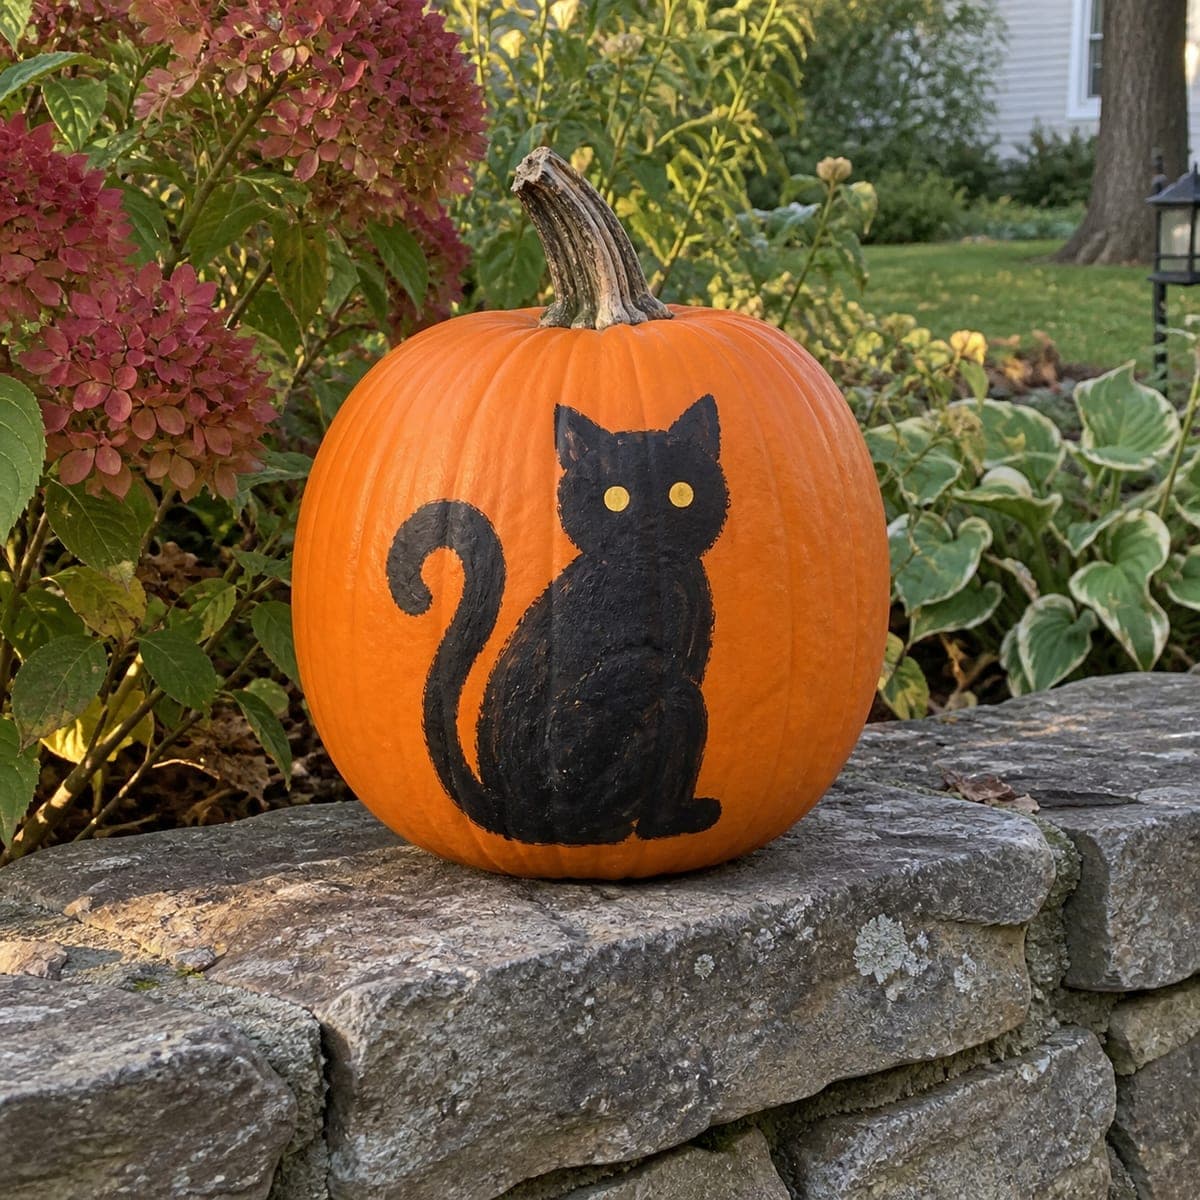
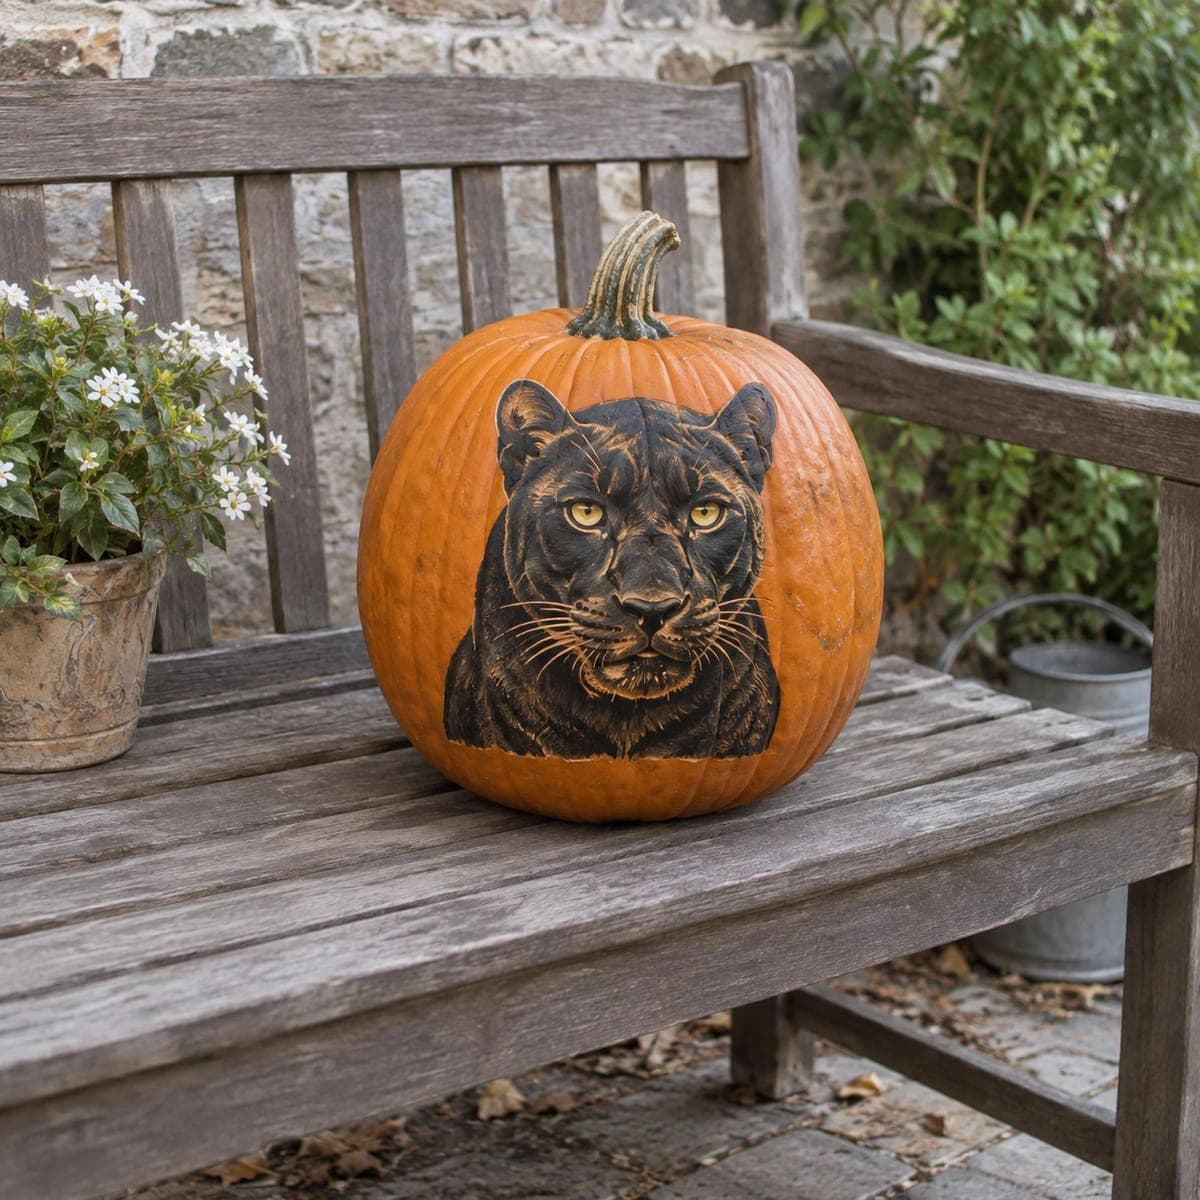
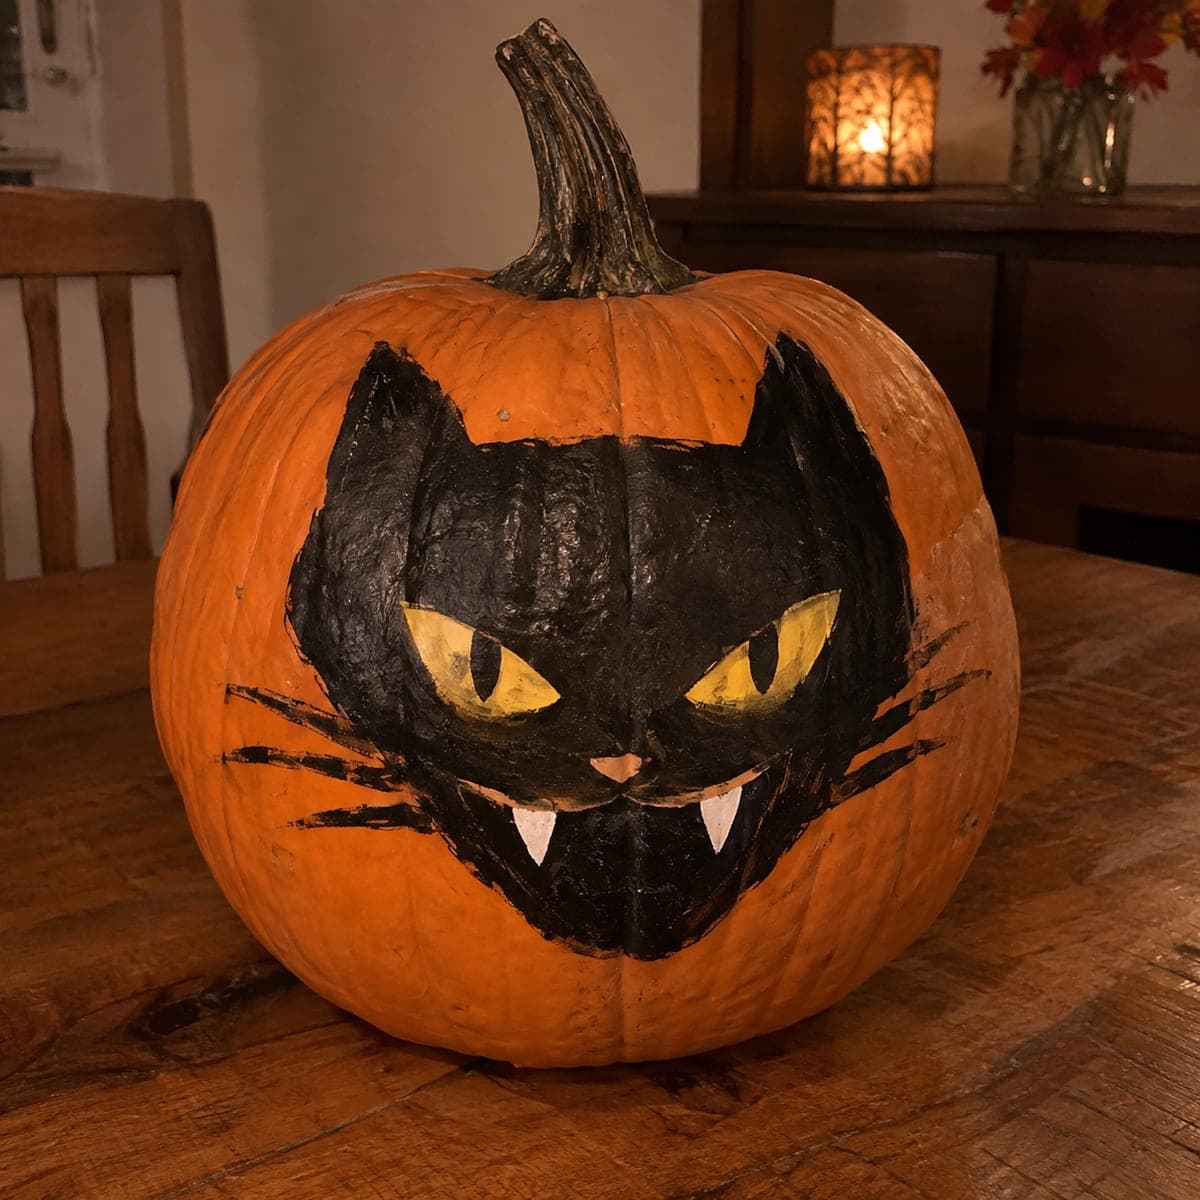
A retro black cat face with slanted yellow eyes, tiny white fangs, and brushy whiskers covers this pumpkin in a style straight off a midcentury Halloween postcard. The rough, dry-brushed edges are part of the charm, so do not fuss over clean lines. Rough in the head and ears with a big flat brush, add the eyes while the black is still tacky, and drag the whiskers outward with almost-dry bristles.

This is an AI-generated concept image: a realistic, carvable design idea rather than a photo of a finished carve. AI concepts are always labeled and sit out the leaderboard and the contest.

No ratings yet · Sign in to rate
Comments (0)

  • No comments yet — be the first.

Save without an account. Sign in to like or comment.

Our tips for carving a similar design

The core trick here is a loose, dry-brushed black cat face painted straight onto the pumpkin skin, so the rough edges read as vintage charm instead of mistakes. You block in the head and pointed ears with a big flat brush, drop in slanted yellow eyes and two little white fangs, then flick out whiskers with an almost-dry brush. Since this is a no-carve piece, the plan is all about layering paint and letting the orange skin peek through at the edges.

Written by PumpkinCarvingIdeas.com, inspired by the image above. These are our suggestions, not instructions from the uploader. This approach to the AI concept has not been tested on a real pumpkin.

From pumpkin to porch

  1. Pick and prep the pumpkin

    Choose a round, smooth pumpkin with a flat front area big enough for a cat face. Wipe it down with a damp cloth and let it dry fully so paint grabs the surface. Leave the stem on, since the ears sit nicely on either side of it. A wide belly gives you room for the whiskers to fan out.

  2. Sketch the shape in pencil

    Lightly draw the cat head as a wide rounded triangle with two pointed ears near the stem. Add almond-shaped slanted eyes above center, a small nose, and a soft curved mouth line. Keep the pencil marks faint so they disappear under the paint. Step back and check that the face is centered before you commit.

  3. Block in the black head

    Load a big flat brush with black acrylic and fill the head and ears with confident strokes. Let the edges stay a little ragged and dry-brushed so the orange skin shows through, which is what gives it that midcentury postcard look. Do not overwork it or try for perfectly clean lines. Let this base coat get tacky but not bone dry before the next step.

  4. Add the eyes, nose, and fangs

    Paint the two slanted eyes in yellow, then add a thin black slit pupil down the center of each once the yellow sets. Dab a small peach or pale nose at the center and paint two little white triangle fangs below the mouth line. Keep the fangs short and simple so they stay tidy. A fine liner brush makes the small details easier to control.

  5. Flick out the whiskers

    Dip a liner brush in black, wipe most of it off, then drag several whiskers outward from the cheeks in one quick motion each. The almost-dry bristles give you that brushy, broken line. Do three or so per side and vary the lengths a little. Let everything dry completely before moving the pumpkin.

  6. Light it and photograph

    Because this is a painted design, set a battery LED nearby or in front rather than inside, since there are no cutouts to glow. Try a warm candle-style LED off to one side for that cozy vintage mood. Snap your photo in low room light so the yellow eyes pop against the black. Share it with the community when you are happy with it.

Gather your supplies

Check things off as you get ready.

Work on a stable surface, keep your free hand out of the cutting path, and have an adult handle sharp tools.

Three levels of light

  • Leave intact

    The orange skin around the face and the ragged dry-brushed edges stay bare for contrast.

  • Peel & shade

    For a subtle glow you could lightly scrape a thin ring of skin just outside the head before painting, letting a faint halo show when lit from the side.

  • Cut through

    Since this is a no-carve painted design there are no full cutouts, but you could carefully cut out just the two yellow eyes for glowing eyes if you want light.

Learn the carving basics

Before you start cutting

Do I have to carve anything at all?

No, this is a fully painted no-carve design, so you can skip the knives entirely. If you want a bit of glow, an adult can optionally cut out just the two eyes and back them with yellow film. Otherwise light it from the outside with an LED.

What paint holds up best on pumpkin skin?

Acrylic craft paint works well because it dries fast and sticks to the waxy surface once the pumpkin is clean and dry. Do two thin coats of black rather than one thick one for even coverage. A quick wipe with rubbing alcohol before painting helps it grip.

How do I get the whiskers to look brushy instead of clumpy?

Load your liner brush, then wipe almost all the paint off onto a paper towel before you stroke. Drag each whisker in one fast motion so the bristles split and leave a broken line. Practice a couple on scrap paper first to find the right dryness.

Your take belongs here, too.

Changed a detail? Made it simpler? Share a photo of your version and tell the community what worked.

Share your pumpkin

More pumpkins like this

You've reached the end · 8 pumpkins
The Patch Report

Fresh pumpkins, in your inbox.

The best new carvings, ideas worth stealing, and how-tos for carving season. Short, seasonal, and gone by November.

A short email during carving season. Unsubscribe anytime. See our privacy policy.